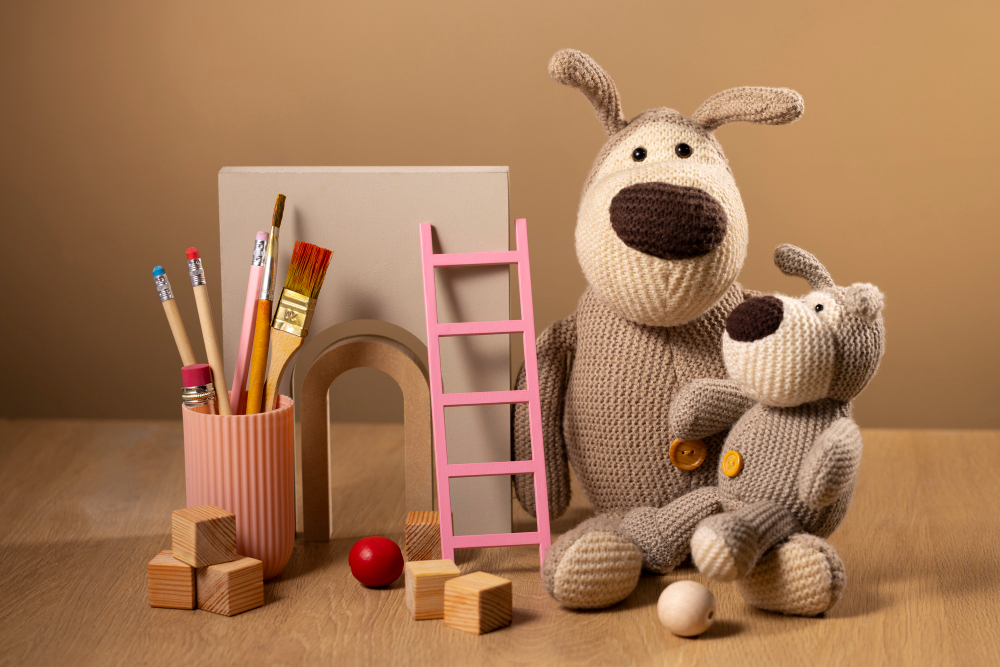
Toy photography is a popular genre of miniature photography. It is the process of taking shots of inanimate small objects. The purposes of toy images can be storytelling, emotion, or pure fun. Also, be it commercial or not, the Main keyword helps many other products boost their visibility.
If you’re ready to dive into the world of toy photography, you’ve come to the right place. This article is a practical guide that will walk you through creative ideas for taking toy shots and provide techniques to help you set up and execute a successful photoshoot.
What you’ll learn in this article
- 1 What is Toy Photography?
- 2 Why Do You Need Creativity in Toy Product Photography?
- 3 10 Creative Toy Photography Ideas for Taking Realistic Images
- 3.1 1. Choosing the Right Toys for Photography
- 3.2 2. Coming Up with Ideas for Toy Photography
- 3.3 3. Find Toy Photography Locations
- 3.4 4. Building a Custom Stage Set
- 3.5 5. Prepared the Core Equipments to Help Shoot
- 3.6 6. Adjust Proper Distancing to the Camera
- 3.7 7. Elevating Your Figures or Diorama Up Into Frame
- 3.8 8. Using F-stop Increases the Depth of the Field
- 3.9 9. Forced Perspective to Create an Optical Illusion
- 3.10 10. Creating Powerful Artistic Compositions
- 4 Exclusive Techniques for Different Toys Product Photography
- 5 FAQs about Realistic Toy Photography
- 5.1 Who invented toy photography?
- 5.2 What is forced perspective toy photography?
- 5.3 What is the best focal length for toy photography?
- 5.4 What is the photography style that looks like toys?
- 5.5 What is the toy effect in photography?
- 5.6 What is the toy mode on a camera?
- 5.7 What is the shutter speed of a toy camera?
- 6 Conclusion
What is Toy Photography?
It is a type of miniature photography where inanimate objects are used as the main subject to impersonate or recreate and shown in action, motion, evoking emotions, or storytelling. This photo shoot is gratifying to work for the photographers and amusing eye candy for the viewers.
Why Do You Need Creativity in Toy Product Photography?
If positioned and shot strategically, toy photos are a marvelous way to bring out astonishing ideas like a real event. That’s why photographers incorporate creative ideas in toy photos. However, apart from what is shown in a picture, here is why creativity is not just a choice but a necessity in toy product photography.
Unique Style Among Competitors
Traditional product photography follows the same pattern. Toy photos break that norm and bring variations. If utilized perfectly, they also help a photographer stand out of the crowd, grab attention, and make viewers pause to explore their curiosity.
An Exciting and Thrilling Experience
Toys are not just a plaything for kids. Apart from being a miniature photography category, they can be a versatile subject or prop for any other photo shoot. Creative toy photos can revive scenes like real ones, display the toy as accurate, and thus engage viewers.
Storytelling at its Best
By being creative in toy product photography, you can not only deliver a message and craft a story but also help evoke viewers’ emotions. Stories are a tool that many people relate to. So, allowing creativity in toy photos helps connect as many audiences as it does to any other photography.
Broadens Viewers Thought
As a toy is a child’s product, it has no apparent usage other than playing. However, using it to fulfill different purposes and seeing those in action helps viewers understand how vibrant and interesting the toy photo setting is. Thus, they can enhance their visionary perspective.
10 Creative Toy Photography Ideas for Taking Realistic Images
As you are onto this, it is time for you to prepare to shoot. As mentioned earlier, there is no specific set of rules when it comes to ideation; you just prepare your basic staff and adjust what comes to mind,
On that note, let’s get some preparation rolling.
1. Choosing the Right Toys for Photography
The type of toy that is right for you depends on certain factors like:
- Toy genre
- The theme of the setup
- Color combination you want
- The scene you want to create etc.
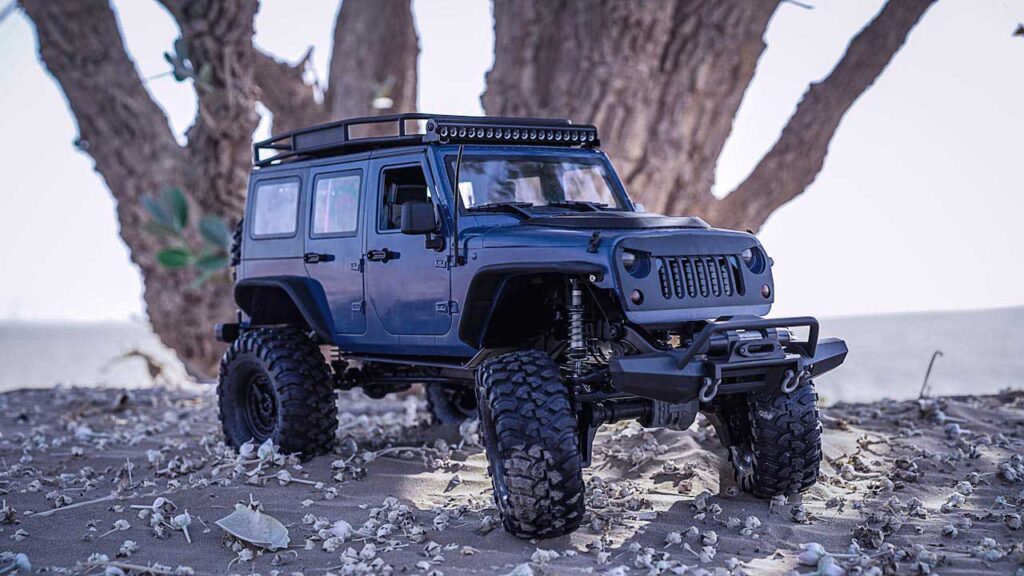
Toy variations include a lot, from Lego to animal figurines, cartoon, and anime characters, action heroes to cute dolls, custom figurines, and whatnot! If you want to demonstrate some movement, go for toys that show actions. If you simply want to show texture, there are options for unique featured toys.
2. Coming Up with Ideas for Toy Photography

Embrace the freedom of thought in ideation. Let your imagination roam freely, as 50 random thoughts can lead you to the one perfect shot. This freedom is your creative playground, where there are no limits to what you can envision.
There are no specific guidelines for idea creation; sticking to what others do will get you the same picture-perfect scene. But here are a few ways for you to get started: Research or study will help you develop captivating and realistic toy photography.
- Look for any real-life events. To take shots of life-like events, you need to find how you can relate the subject to any scene.
- Conceptualize your story. Write down your story to make the first concrete draft. Maybe the setup, the props, or the toys won’t fit right away. Writing the story will help you clarify the concept and then brainstorm for further development and adjustments.
- Unlimited experiments. Photographers master their skills through trial and error. That’s how each photographer has developed their exemplary style in the industry, just like a donut, which varies from one baker to another. You can create a miniature world, shoot an adventurous scene, manipulate visions, or macro toy photography of the subject.
- Follow renowned toy photographers. The purpose is to find out answers to the following questions:
a) What’s on trend?
b) How do they arrange the set?
c) What props do they use?
d) What equipment do they use?
e) How do they take the shot?
f) What message or story do they create?
g) Why is their photo so interactive?
Stay connected and informed by following industry experts. Their insights and experiences can teach you a lot. You can find them on their verified social pages or on stock image platforms where their photos are shared and appreciated.
3. Find Toy Photography Locations
Photographing toys only requires a little space if you use some giant objects. The space requirement would be similar to any small-sized product photoshoot (such as jewelry photography or food photography).
You can simply take a shot on your dining table or floor.
You can also use lightboxes if you don’t have any location fixed up.
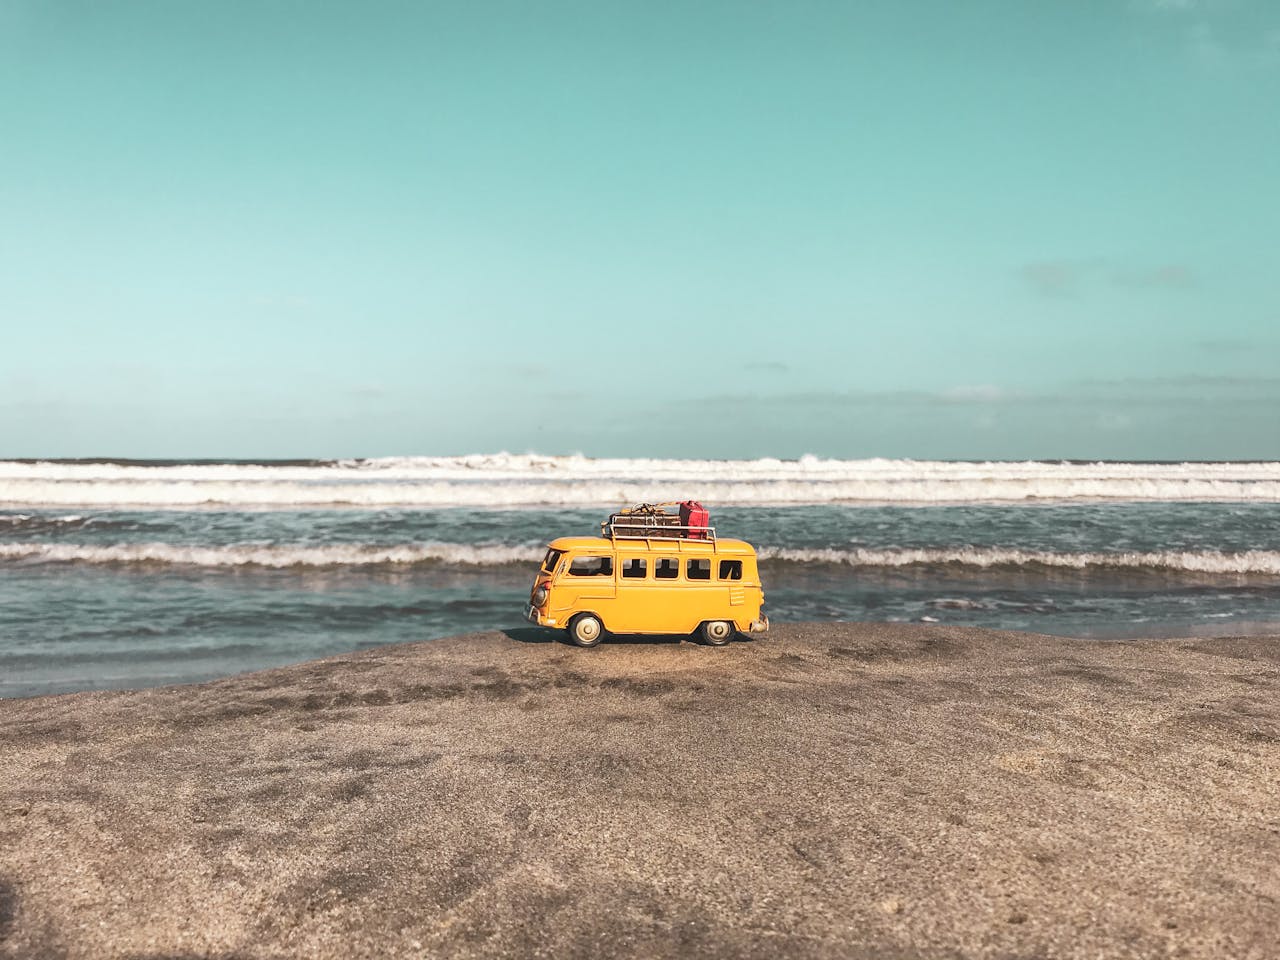
Or, you can just go outside, and shoot placing the toy on the grass, on the road, near a ston or a small plant.
4. Building a Custom Stage Set
You have a plan for the stage or setup. How about going a degree higher by customizing it?
Let’s say, your subject is ‘Olaf’ from Frozen movie. Your initial plan is to shoot on a white surface. You can customize it.
- Add cotton balls, making it appear like a ball.
- Have baby blue crumpled paper on the white background.
- Include other characters’ cutouts.
- Add winter accessories or a Christmas vibe.
- Paint something relevant.
Have fun with whatever you enjoy. Also, ensure you are developing the background story and scaling up the foreground.
5. Prepared the Core Equipments to Help Shoot
The equipment for capturing toy photos is similar to micro or miniature photography. Still, deciding and preparing the equipment is no less important than the story planning.
Camera
You don’t need a fancy camera to shoot toys. You can use your smartphone camera or a preowned one. Before choosing a camera, check its functionality, features, and affordability.
Some best cameras for toy photography are Canon – EOS R10 Mirrorless Camera, Panasonic – LUMIX S5IIX Mirrorless Camera, Fujifilm – Instax Mini 99 Instant Film Camera, etc.
Not sure which camera is best for you? Don’t worry! Check out our helpful guide to find the perfect camera for product photography!
Lens
The type of shots mostly determines the type of lens. However, the most used toy camera photography lenses are Macro, Prime, Telephoto, Tilt-shift, Zoom lens, etc.
Confused about choosing a camera Lens for product photography? Read this article for detailed guidance.
Tripod
The tripod keeps the camera in place to ensure a steady position and focusing scene. As a result, you don’t get any blurry pictures of shaky scenes inside the frame.
Lighting
If you are planning to shoot during broad daylight, make sure to have some bounce card or diffuser as a backup to complement the shadowy back or sides. Or you can always use a lightbox, or other artificial lights like flash, lamp, etc.
Backdrop
Use the backdrop you see fit. You can use any neutral background or your own custom background, whatever you see fit. Also, there are options to choose from, such as fabric, paper, tiles, board, digital prints, etc.
Essential Equipment
- Toolkits: Have a mini tool kit box that contains necessary accessories like small scissors, skewers, tweezers, etc.
- Table or raised platforms: Position the toy on a somewhat high level to make the shooting easier from different angles.
- Props: Have other background or foreground props prepared if your story planning needs support.
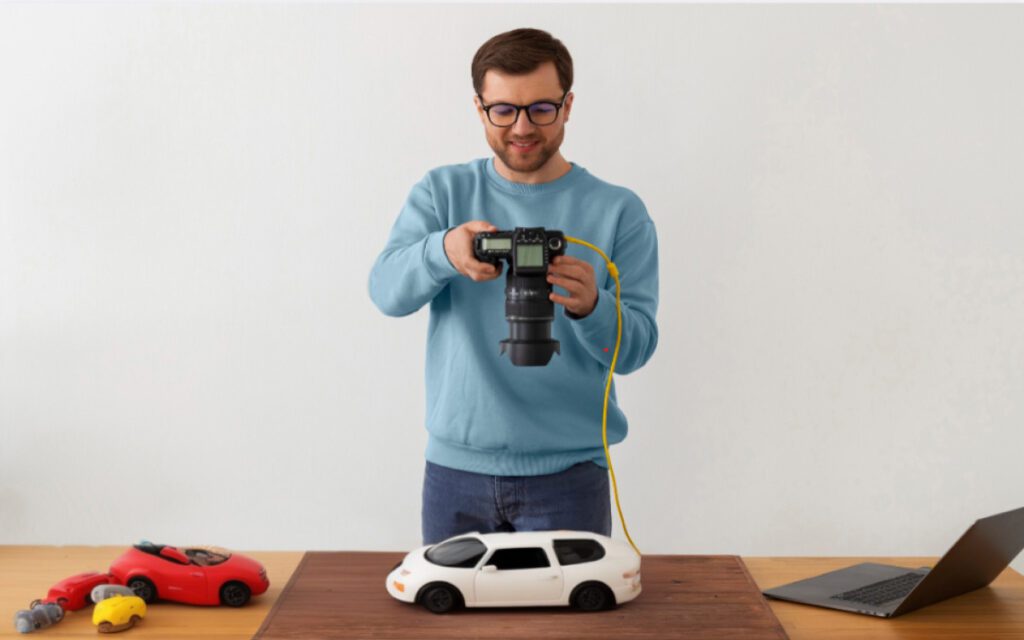
6. Adjust Proper Distancing to the Camera
Whether you want your toy products to appear as they are or in full scale, mostly depends on the distance between the toy and the real object in the camera frame.
If you want to make it appear lifelike, there are 2 ways.
a) Place the toy near the camera and the real object further away, then eyeball the rest.
b) Go for mathematical measurements. This is a bit complicated. I will simplify it for you.
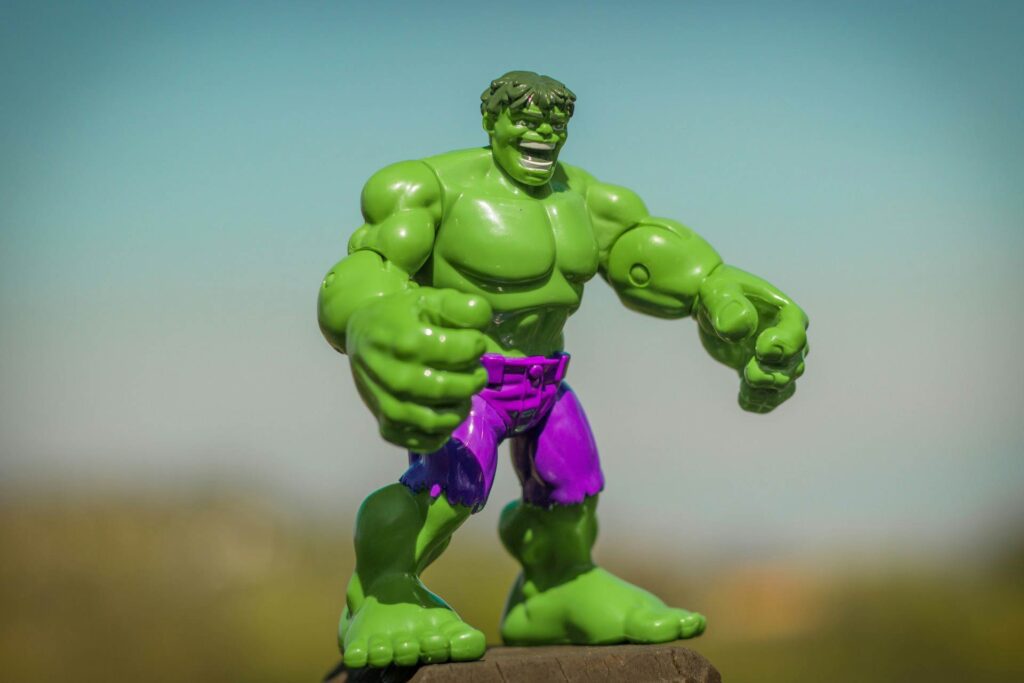
Let’s say you have a Hulk toy that is 10 inches tall.
You want a scene where it is pushing an actual car.
Size Difference Breakdown:
| Hulk toy | 10 inches |
| Real car | 5 feet (approx.) |
| Ratio | Car height/Hulk height: • 5 feet/ 10 inches • (5*12) inches/10 inches • 60 /10 • 6 |
To make the Hulk toy appear in life-lize size, you need to:
- Make the toy 6 times bigger than the car
- Put it close to the camera
Here comes the tricky part:
- Assume the distance between the camera & the toy P.
- And then, the distance between the car & the toy will be 6P. Let’s consider this value as Q.
- So the scenic ratio should be something like this: Q=6P.
If the Hulk toy is 1Q close to the camera, it should be 6Q further from the actual car.
What happens there is the closer you move the toy to the camera, it appears big, like a magnifying glass whereas the background gets smaller.
You can place your toy close to the camera and then check the size difference through the viewfinder.
7. Elevating Your Figures or Diorama Up Into Frame
You need to elevate the figurine or diorama setup in a way that blends with the surroundings, making it appear the whole scene is one big platform. You need to find that natural line that will hide the differences of the elevated platform. Use tables, logs, or other household items.
8. Using F-stop Increases the Depth of the Field
A lower f-stop means a wide aperture. It creates a shallow depth of field which sharpens a small area. If you focus on the foreground, the rest will be blurred.
On the other hand, using a higher f-stop or shallow aperture broadens and deepens the depth of field, making the whole scene stay in focus without blur. To shoot toy photos, the subject along with its surroundings needs to be actively present and in focus.
9. Forced Perspective to Create an Optical Illusion
Toy photography is always fascinating as it sometimes manipulates our vision. An interest-piquing way of shooting miniature items is a ‘forced perspective’.
A forced perspective is the technique of creating a visual illusion by cleverly positioning tiny objects. This is more like taking advantage of space between the subjects & their background and the camera angle. As a result, the object appears huge, close, far, large, or smaller than its actual size.
Set the camera settings as follows to shoot the toy with forced perspective.
- Subject: Close to the camera
- Lens: Wide-angle
- ISO: Around 400, adjust as per the surrounding lighting conditions.
- Aperture: Start with f/16
- Shutterspeed: Start with 1/100
10. Creating Powerful Artistic Compositions
Composition is as important as the setting itself. The right composition helps you find the right depth of field, create the perfect story, and evoke certain emotions on an enchanting level.
That’s why having the right elements beside the toy is important, as it will work as a foundation for the scenario.
You can blur out the background, allowing the foreground to look sharp, you can lead the viewer’s eyes where you want them to focus or allow them to imagine a story themselves with the placements of elements.
For composition technique, you can consider the following in your frame:
- Rule of Odds
- Rule of Thirds
- Leading Lines
- Negative Space
- Using Reflections
- Symmetry and Asymmetry
Exclusive Techniques for Different Toys Product Photography
- A prerequisite for any subject that is to be shot is to be crystal clear. Wipe them clean to be spotless, markless, and free of scratches, paint, dust, etc.
- Refrain from sticking to the plain look of toys, and check for dynamic poses or facial expressions. These types of toys have a purpose emitted through them, and getting them shot will help you get the story onboard easily.
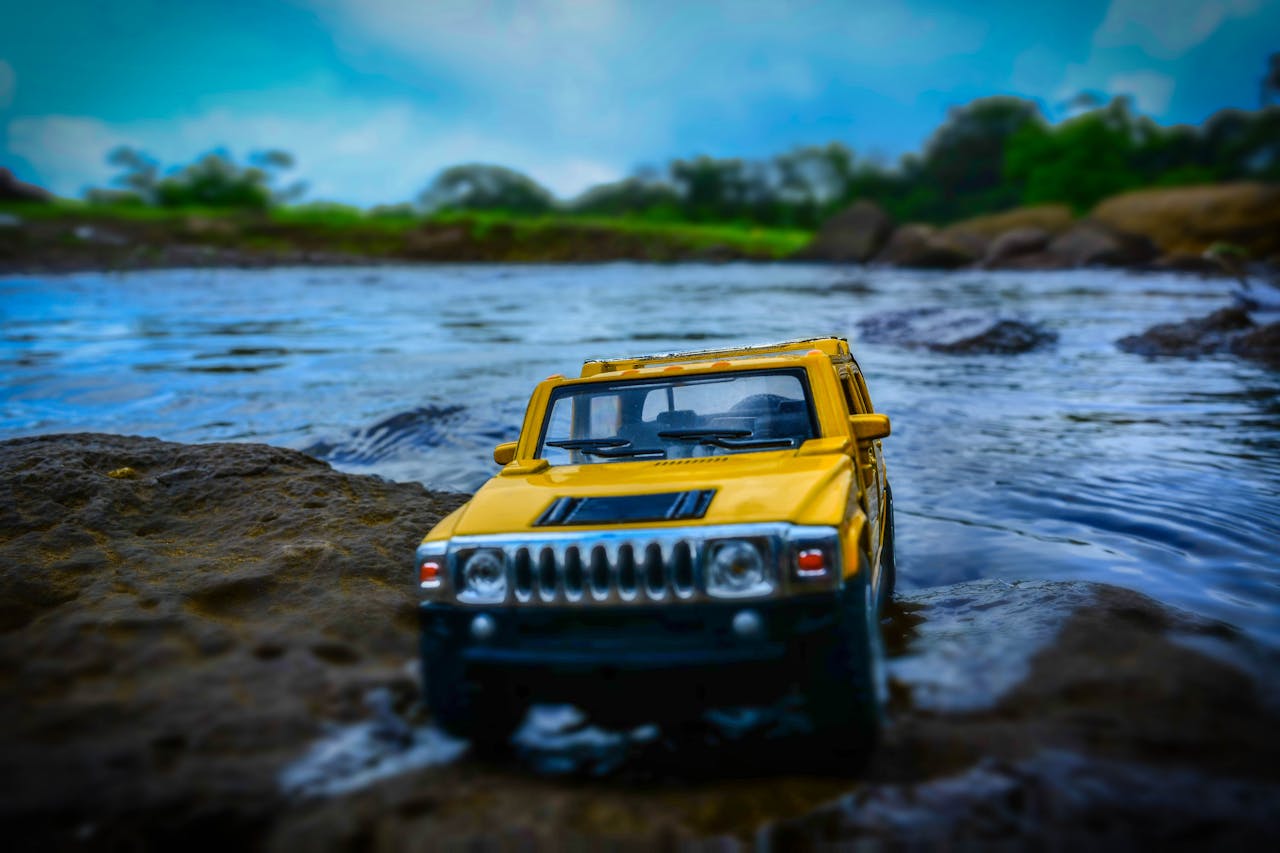
- Shoot the subject’s intricating details, for example, by photographing a toy car, you will have many perspectives and features to shoot up close, which a Barbie doll figure doesn’t.
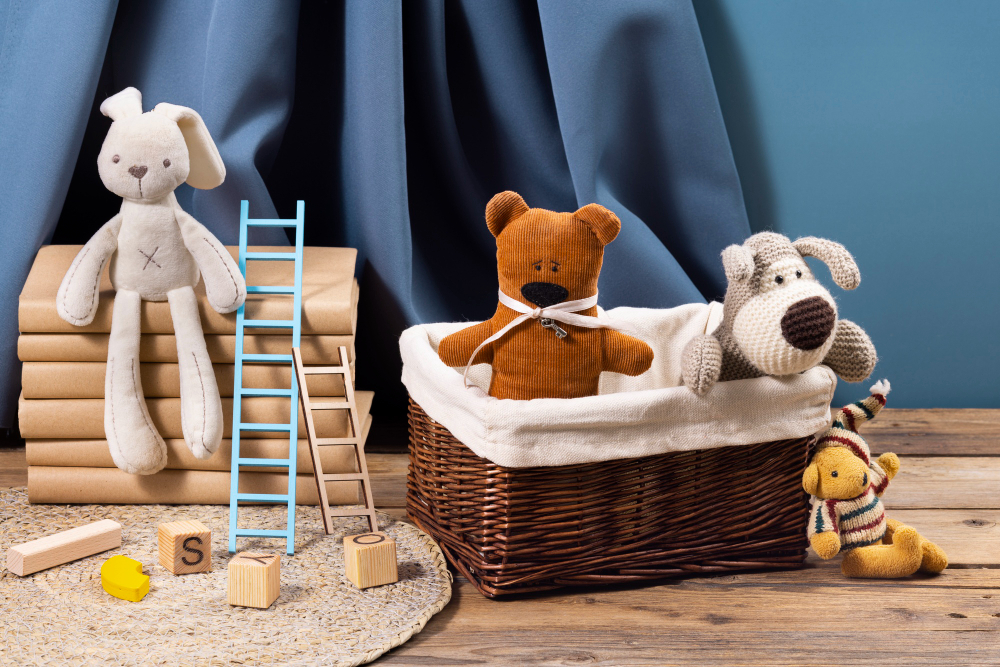
- Nowadays, props come in many variations, including miniature and dollhouse items. Having them allows you to create a miniature world as well.
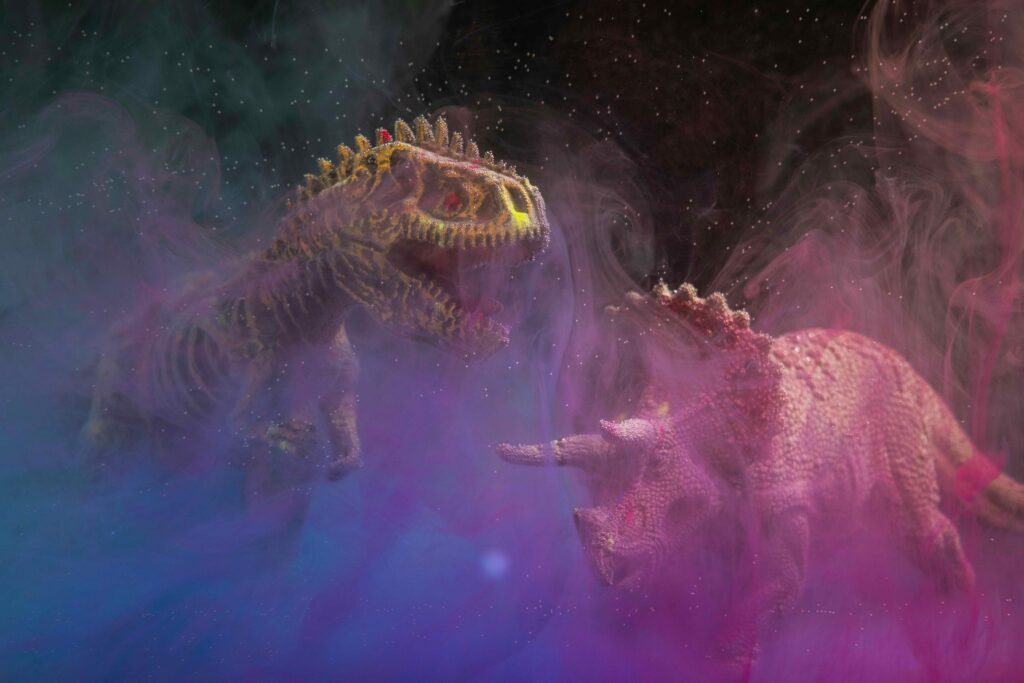
- A common concept is to have a well-lit setup for shooting tiny objects. Just because this is a small item, you don’t have to always shoot under high-lighting conditions. You can have a dark ambiance to shoot the toys.
- Edit photos to add surreal feeling, realism, depth or dynamic effects, etc.
Get Your Toy Product Edited at a Reasonable Price
FAQs about Realistic Toy Photography
Who invented toy photography?
Different research claims that there is no single inventor for toy photography. However, David Levinthal can be called the inventor of miniature photography.
What is forced perspective toy photography?
Forced perspective is a visionary manipulation technique where the subject may appear big or small, nearer or farther than its actual size or position.
What is the best focal length for toy photography?
In general, the best focal length for toy photography is 50mm to 105mm. However, if you want to add background or depth to the scene, aim for a vast range of 24mm to 105mm.
What is the photography style that looks like toys?
High-angle photography style makes any subject appear to look like a toy. For that, you can use a tilt-shift lens.
What is the toy effect in photography?
The toy effect in photography is a technique by which you can make any subject appear as a toy or miniature in size. Those techniques can be:
• Using a tilt-shift lens to make the subject appear tiny by shooting from a high angle.
• Shallow depth of field to sharpen a small portion and blur the rest.
• Post-production is used for photo manipulation editing to obtain certain results.
What is the toy mode on a camera?
Toy mode on the camera helps capture photos that can be achieved through a toy camera. The output photos are simple, have a vintage vibe, and are more colorful.
What is the shutter speed of a toy camera?
The ideal shutter speed for shooting toy products on cameras is 1/100. Because toys are static, they don’t require a much higher shutter speed.
Conclusion
Toy photographing is like a relief-like task that doesn’t wear you out. The most daunting part is to get started. Explore every idea that comes to mind. Get the job done.
Once you have the pictures, share your images on social platforms. Many enthusiasts like to see this type of photo. As long as you are consistent, you will create your own fanbase.
Have fun with your creativity!