Sometimes you need to upload an image that requires being transparent to look at the original background. In such cases, it would be convenient to load a PNG image, as it can provide the desired conversion.
In this article, you will be introduced in detail that how to remove image background and make an image transparent in Photoshop.
What you’ll learn in this article
How to Make an Image Transparent in Photoshop
File Creation
Step: 1
The first step is to create a file. To do this, open Adobe Photoshop and select New from the File menu at the top of the page.
Step: 2
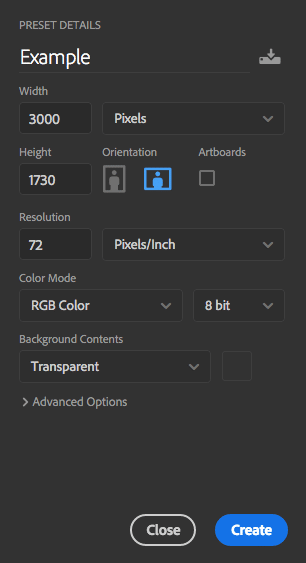
Then, in the New Document window that appears, create a file of the desired size and make sure that the resolution of the document is 72 pixels per inch (since the file is intended for use on the web). Also, select Transparent from the Background Contents drop-down list.
When you make a PNG with a transparent background in Photoshop, you should specify the size of the image to be loaded as a background. There is an example below which illustrates as follows: width of 3000 pixels, height of 1730 pixels, which is the recommended size for loading HD images.
Once you have set the parameters, click “OK” to open a new document.
Step: 3
Then, in the Layers panel, make sure you are working on a transparent layer, not on the background.

Once you have finished creating, you must save a transparent image, depending on the version of Photoshop you are using, in the “File” menu.
File Saving
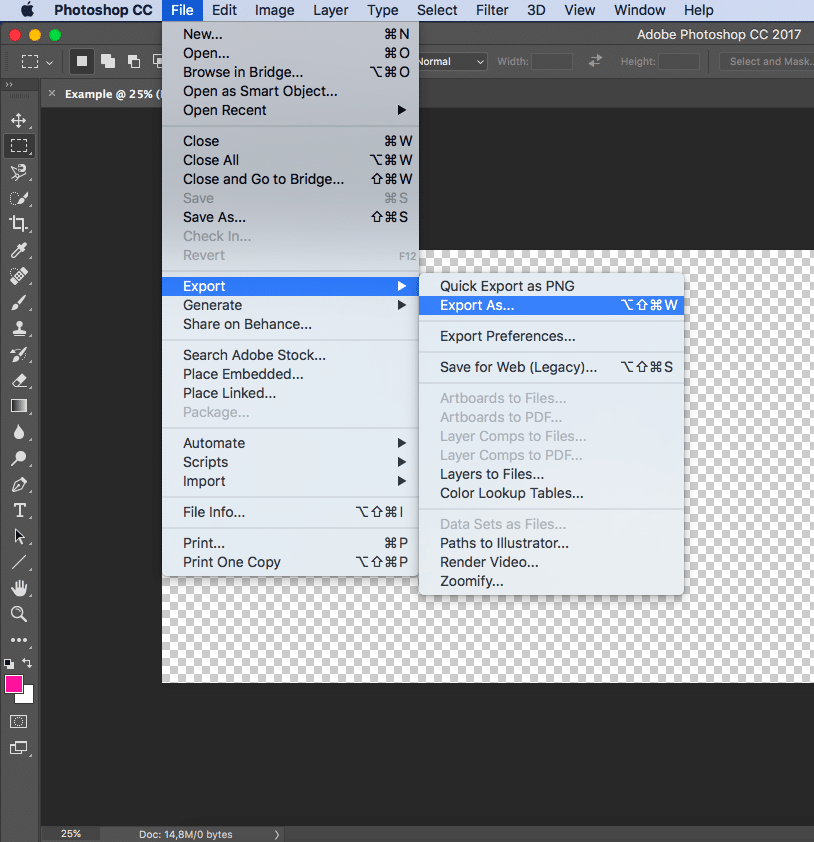
Before you make the photo transparent in Photoshop, you need to know that since CC 2015, the “Save for Web & Devices” option in the “File” menu is marked as Legacy (outdated). And replaced by a new option “Export” (Export), which offers identical functionality with faster saving in a file of smaller size and better quality. To use the Export option, click on the File menu and then click on Export As.
Reminder: Adobe still offers the option “Save for Web & Devices” in Photoshop CC 2015 and it is available via File > Export menu or by using Command+Option+Shift+S (for Mac) or Ctrl+Alt+Shift+S (for PC).
Then, in the window that appears, select PNG from the Format drop-down menu and make sure that Transparency and Convert to sRGB are selected.
The Image Size and Canvas Size fields should automatically fill in the values you set when you create the file. But you can change these settings before making Photoshop transparent if you want.
When finished, click “Export All“.
Looking for a photo editing company for your image editing project?
How to Make an Image Semi-transparent in Photoshop
Semi-transparent images are used on websites as a background or miniatures for posts, collages, and other works.
Step: 1
For the demo, we need some images. I took this one-

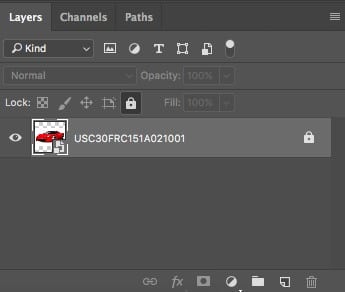
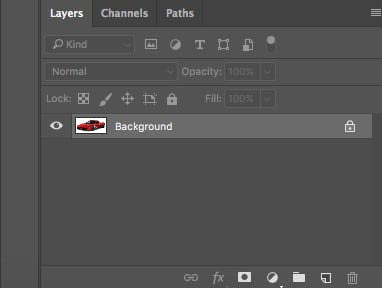
When you look at the layer palette, you will see that the layer is locked (lock icon on the layer). This means that we will not be able to edit it.
To unlock a layer, just click on the lock.
You are all ready to go ahead now.
Step: 2
Transparency (called “Opacity” in Photoshop) is changing very simply. For this purpose, we search in a palette of layers a field with the corresponding name.
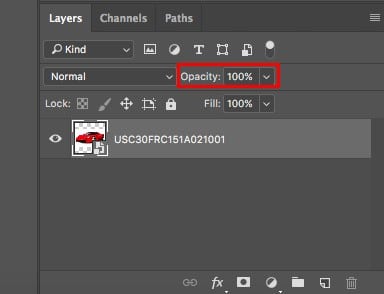
When you click on the arrow beside the opacity value, a slider appears to adjust the value. You can also enter an exact number in this field.
In general, that’s all you need to know about making the image transparent.
Let’s set the value to 60%.
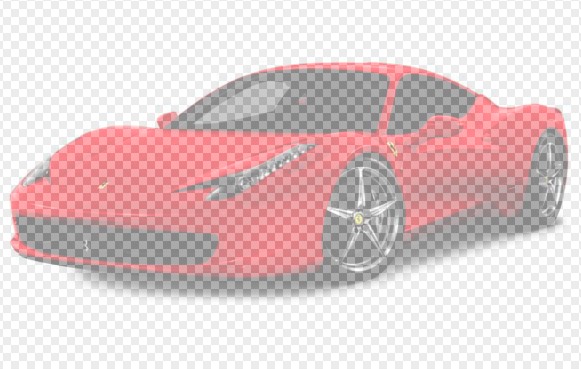
As we can see, the car became semi-transparent; and through it, the background in the form of squares has appeared.
Then we need to save the picture in the right format. Transparency is only supported in PNG format.
Press the CTRL+S (CMD+S) key combination and choose the necessary format in the opened window.
After we had selected the location and named the file, click “Save”. The resulting image in PNG format looks as follows:

How to Make a White Background of Image Transparent in Photoshop
Often the background of a picture covers a lot more. In this and similar cases, it is useful to be able to make the background transparent.
Step: 1
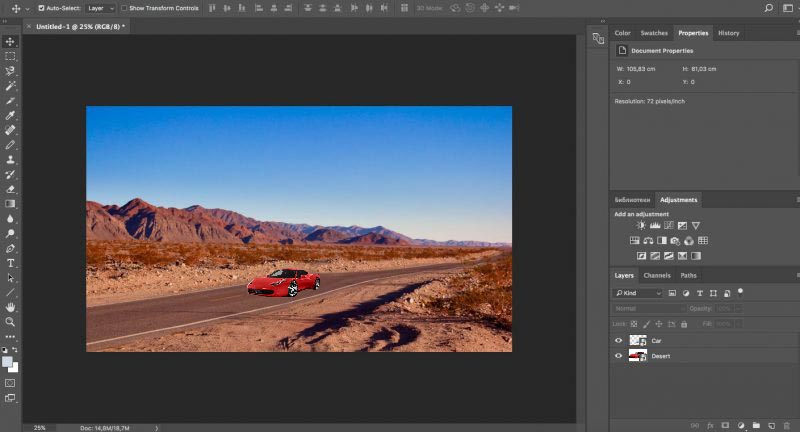
Now, we will work with an image that you can see below- we have a high-way road there; and on the road, we put the car. As you can see, there is a white background around the car which has spoilt the whole view:
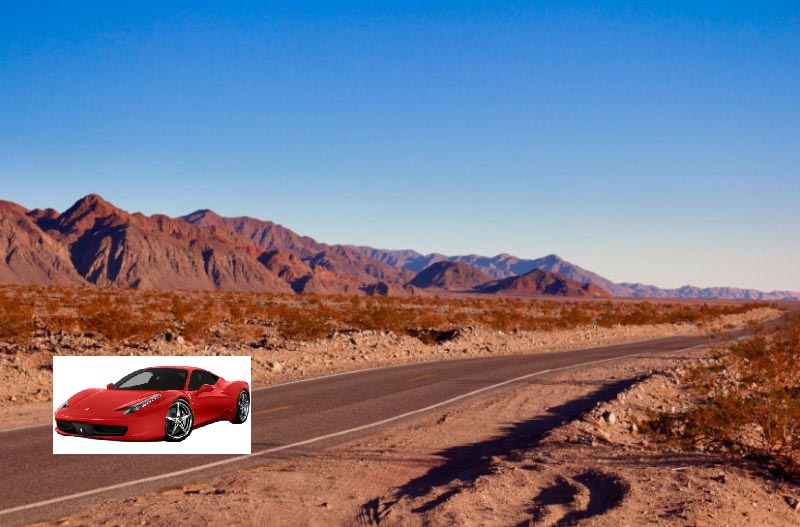
So, we need to remove this white background with keeping the image size same and make it a transparent one.
Step: 2
Three different ways can be applied to remove the white background those I’ll explain back-to-back as follows.
First Method:
Magic Wand- Step: 1
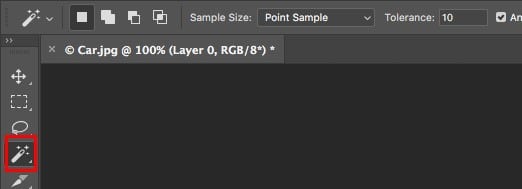
We will use the “Magic Wand” tool.
In the Photoshop graphical editor, open the image. On the right side in layers, click the left mouse button on the lock as usual.
Magic Wand- Step: 2
Now click on the “Magic Wand” tool and in the “Tolerance” we set the parameter “10”:
That’s it, the background is gone.
Second Method:
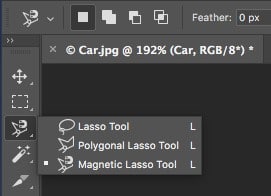
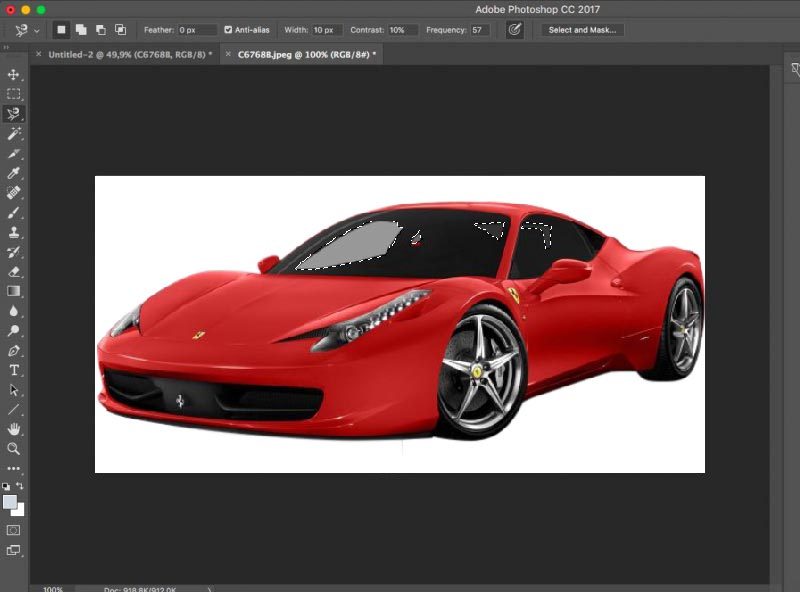
Magnetic Lasso Tool- Step: 1
Remove the background using the Magnetic Lasso tool we need to select it first-
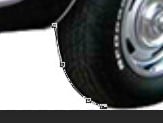
Magnetic Lasso Tool- Step: 2
Click near the car and just move the cursor around it. The line itself will be drawn along the contour thereafter.
Magnetic Lasso Tool- Step: 3
After selection, go to the top menu to “Selection” => “Inversion” or just press Ctrl+Shift+I (Cmd+Shift+I)
And press the Delete key on the keyboard to get the background transparent.
Reminder: I want to pay your attention that First and Second method can be used if the background of the image is monotonous, for example, only white or only red, etc. But if the background is multi-colored or has other images behind, it is better to use the third method.
Third Method:
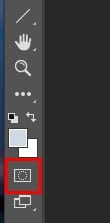
Quick Mask- Step: 1
Remove the background using the “Quick Mask” mode. It is located at the bottom:
Quick Mask- Step: 2
Click on the “Quick mask”, choose the tool “Brush” and just sketch the car carefully without affecting the background:
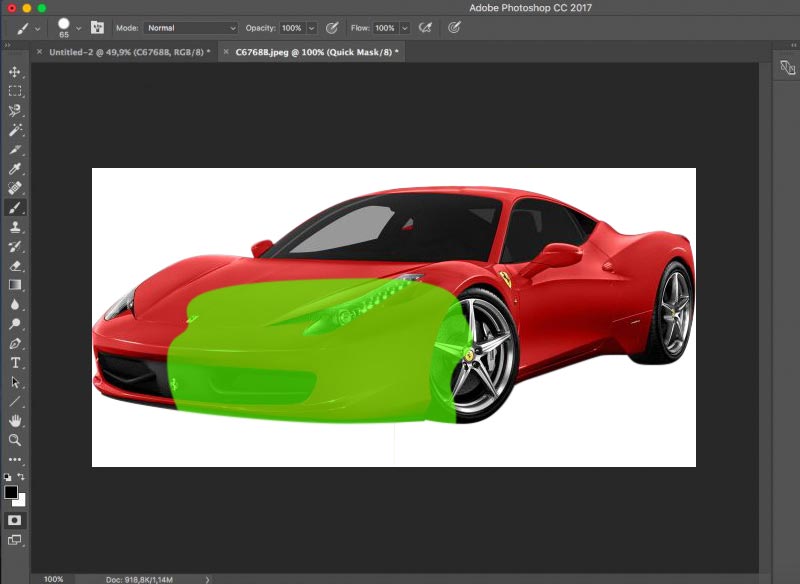
When you draw the car, you have to press the “Quick Mask” button.
And on the keyboard press the key “Delete”. That’s it! The background will be out.
How to Save an Image With a Transparent Background
If the image is saved in JEPG format, it will be white instead of a transparent background. Therefore, you need to save it in PNG or GIF format.
So, we save:
Click “File” => “Save as…” in the menu:
In “File name:” give the picture a name, in “File type” find and choose the format “PNG”. Click on the “Save” button.
Okay, check the result.
Now, if we place the car onto the road, we can see that the car background is transparent.
How to Make a Part of an Image Semi-transparent:
Furthermore, we can apply the knowledge in some other processes to make the image a real one. Since the windows in the car have the properties of translucent background, let’s apply the effect of semi-transparency only on the front window of the car.
Step: 1
To do this, we re-open our file with the car and with the help of any one of the 3 methods mentioned above, select the front window.
Step: 2
Now right-click on the glass and select “Layer via Cut”. Now our glass is on a different layer and in the layer properties, we can choose transparency. For example, we will set 80%.
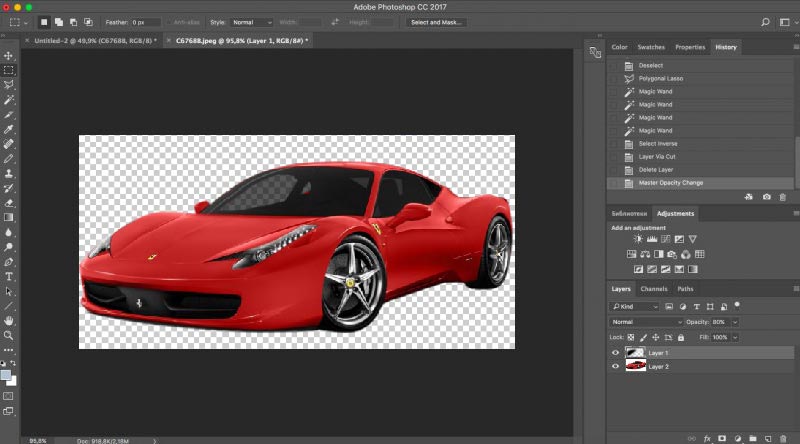
Save the car in PNG format and let’s take a look at the result.
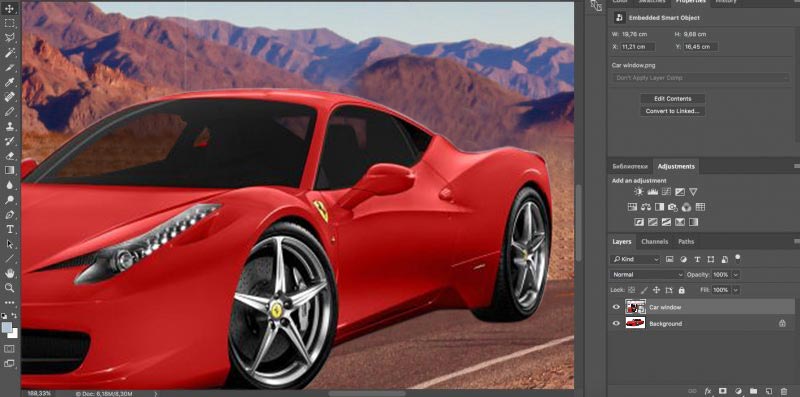
Now, we can see the background of the image through the glass.
Also, you can take help from an expert like offshore clipping company to process your urgent image.
How to Make a Logo Transparent in Photoshop
Finally, the article tells you how to place your logo on any background in steps.
Step: 1
Let’s open the logo first. To do this, press “File” then “Open” from the top left menu.
Step: 2
Next, select the file of the logo and place it on.
Step: 3
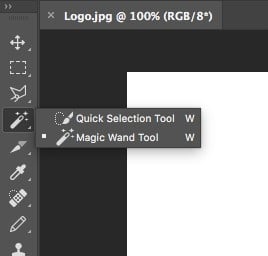
We choose any of the three instruments:
- “Magic Wand”
- “Magnetic lasso.”
- “Mask” + “Brush”
We appreciate the use of any of the three ways to achieve the desired effect. But the first one- “Magic Wand” is the preferred way to go forward. After all, with a magic wand, we can select all the elements in a couple of clicks.
Mask + Brush is an even more time-consuming way to select, but it’s the most accurate way to select. I recommend it if you need to select a complex and colorful area for better accuracy.
So, we have focused on the Magic Wand. Select the tool in the left panel.
Step: 4
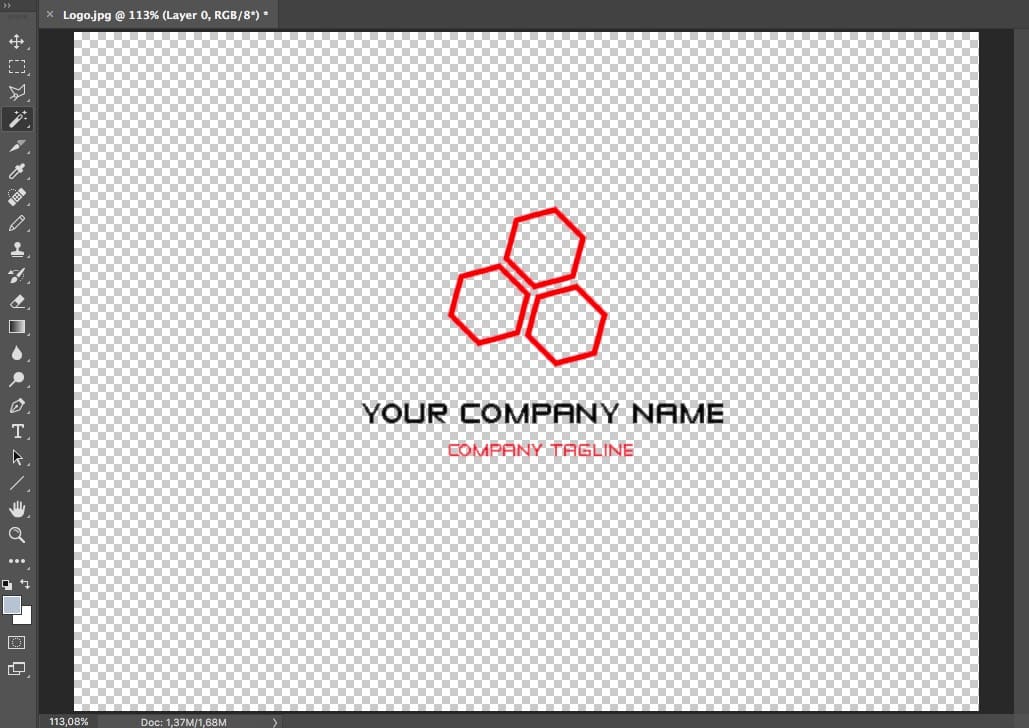
Next, click with the left mouse button on the white field. We will get the following effect:
As we can see, there are still white areas inside the logo and text.
Step: 5
That’s why it’s necessary to click with the left mouse button on all the white areas inside while holding down the “Shift” key. Now we have selected all areas:
Step: 6
After we have selected all the white areas, just click “Del”.
Step: 7
All we have to do is to save our logo by following the instructions below:
- Click “File” on the top menu and select “Save As.
- Choose “PNG (*.PNG) as the format.
- Click “Save” to finalize the changes.
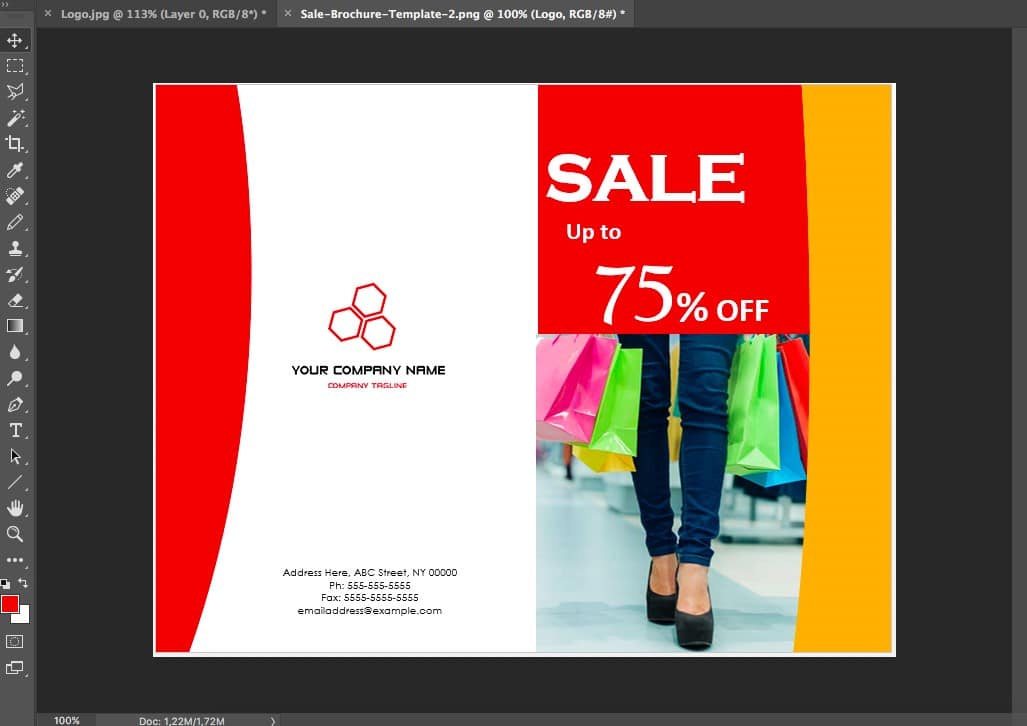
Apply the logo on practice
Now we can use the logo on any background. For example, we can place it on a photo-
Or add on the promotional brochure-
Final Words
To conclude this, the overall tutorial is suitable for all levels of learners since this article is prescribed to you with all possible know-how to make an image background transparent in Photoshop. However, If you face any setback while editing your photos, you better play safe. It would be wise for you to hire someone or outsource from clipping path services company.