How to Resize an Image in Photoshop? It’s not hard to do. However, you need to keep in mind that there are factors involved that affect the remake’s best size properly.
What you’ll learn in this article
How to Resize an Image in Photoshop – Step by Step Guideline
There are 3 factors included:
- Resolution
- Constraints
- Re-sampling
You may not be familiar with these terms so we will describe each one and the effect they can have on the resized any type of image using photoshop tools any version.
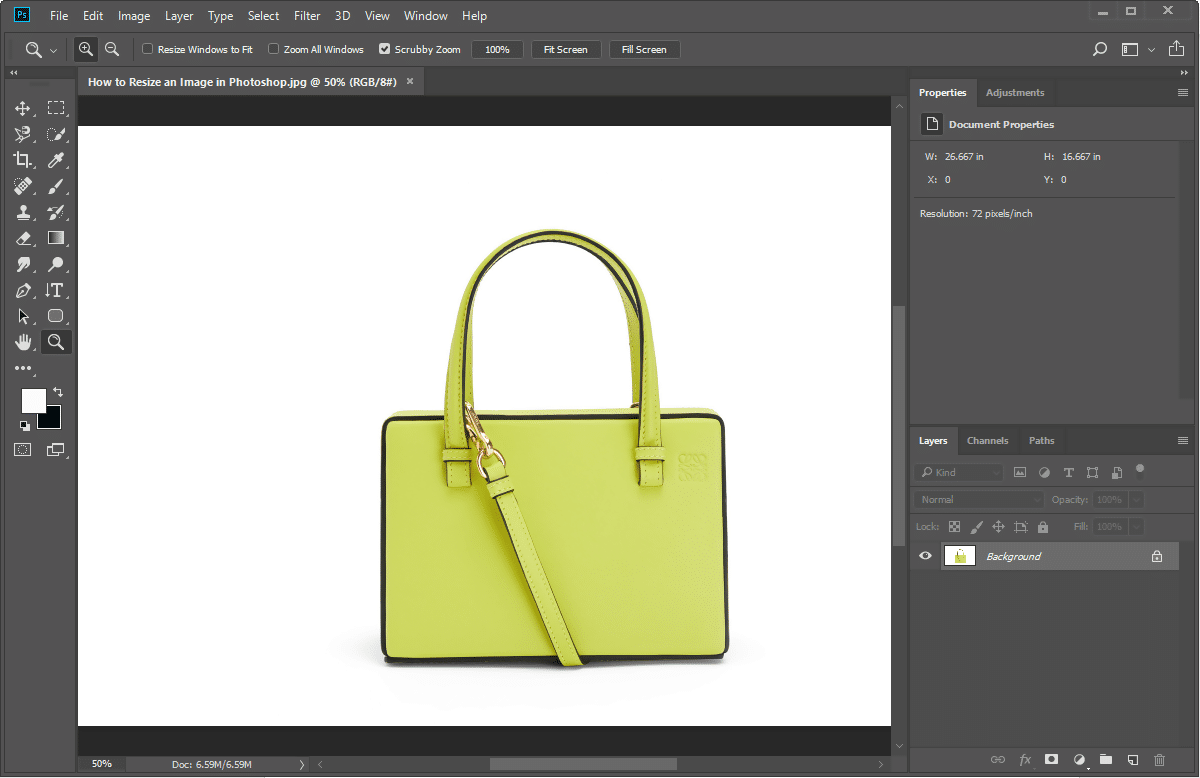
But first, let’s view a sample image in Photoshop and see what its properties can tell us.
Here is a sample image we will be using throughout this article to show you how everything works, displayed in the Photoshop user interface:
In Case of bulk amount of images, you can take service from our photoshop editing service.
Open the image in Photoshop that you want to resize.
- Click on “Image” from the top of the window.
- Then select “Image Size” (Alt+Ctrl+I)
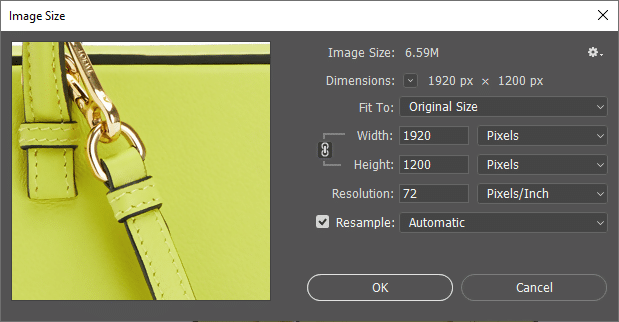
- You will see the following window. There is a great deal of information available in this small window. First, you can see a preview of the image and you can drag the preview around with your mouse to see any part of the image.

- If you want to keep the proportions of the image – keep locked with and Height

- Now you can change the value of the with and it will automatically change the value of Height proportionally.
- If needed you can change the value of the resolution. (It’s important for Printing)
- Keep Resample “Automatic”.
- Click “Ok”
If you want to know more details on each field continue reading:
How to Resize an Image in Photoshop – WATCH THIS VIDEO
Image Size
– In this example, the size of our sample photo is a little over six and a half megabytes. That is huge, not only for print usage but especially for use on the web. The larger the image size the longer it can take for the page to load.
If you are in the business of selling products like the pocketbook and other accessories in this example, you might lose customers because they don’t want to wait for the page to load. Multiply that one image by perhaps dozens of others and you can see the problem.
Dimensions
– this bit of information is useful to see the size of the image in pixels.
Fit To
– You can select the size of the photo that you want from a list of popular sizes such as an 8×10. Photoshop calculates what it needs to do in order to end up with the size you want.
You can select a preset size or create a custom size for the photos. You can then save that custom size and use it for multiple files, in Photoshop’s Automated Batch feature.
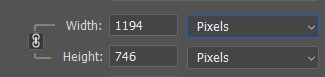
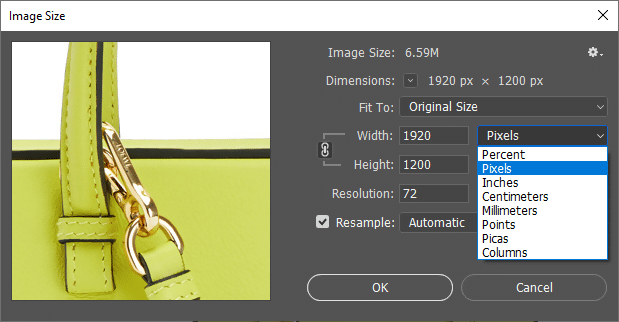
Width and Height
– You can use these two values to help you achieve the sizing properly on an image. These values can be easily changed to show in a variety of measurements, whatever you prefer.
You may have noticed that funny little icon, yes it’s a chain-link. It is used to constrain the width and height of the image. Probably in most cases, you would leave it enabled. But if you want to manually adjust those values, just click on the link to disable it.
Resolution
–This is a big factor, one that we could write an entire article about. The resolution displays in pixels per inch (default). If you intend on printing your images, you’ll need to pay attention to whether or not you have the correct resolution.
Photographic printers depend on that resolution, unlike inkjet printers which do not. So, consider your printer when you are choosing the resolution.
Currently, images of 300 pixels per inch are the measure by which images are printed; it has become widely accepted as the industry standard.
But what about the web? If you’re saving images for the web you won’t need to worry about resolution because images displayed on the internet are entirely pixel-based which means they are driven by the monitor or another device, you are using to view the images.
Generally speaking, a good resolution for displaying on the web is 72 or 96 pixels per inch. (We discuss images for the web a bit later in this article.)
Re-sample
– This is another important value to choose from. It determines what type of interpolation will be used to perform the resizing.
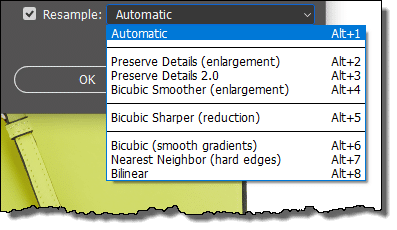
Interpolation is how Photoshop will create or remove pixels from within the image during the resizing process. If you click on the Re-sample drop-down list, you can choose from the following methods:
Don’t be turned off by the technical-sounding names! Photoshop has provided some hints for each option.
- Automatic – this one is easy; just let Photoshop decide!
- Preserve Details – is used to preserve detail in resizing an image as an enlargement.
- Preserve Details 2.0 – it uses artificial intelligence to upscale an image.
- Bicubic Smoother – a version of Bicubic that provides a smoother looking re-sample.
- Bicubic Sharper – a version of Bicubic that provides a sharper-looking re-sample.
- Bicubic – is slower than some of its counterparts but it’s more precise in examining the values of surrounding pixels. It uses complex calculations to achieve smooth tonal effects which are so important when you are resizing images.
- Nearest Neighbor – as the name indicates the nearest pixels are used in a calculation. Although it is a fast option, it does not always give desirable results.
- Bilinear – this option adds pixels by averaging the color values of the surrounding pixels and usually produces a medium-quality image as a result.
Once you have determined the size and quality of the image, you can select File>Save As.. Then you can choose JPG or PNG from the drop-down list.
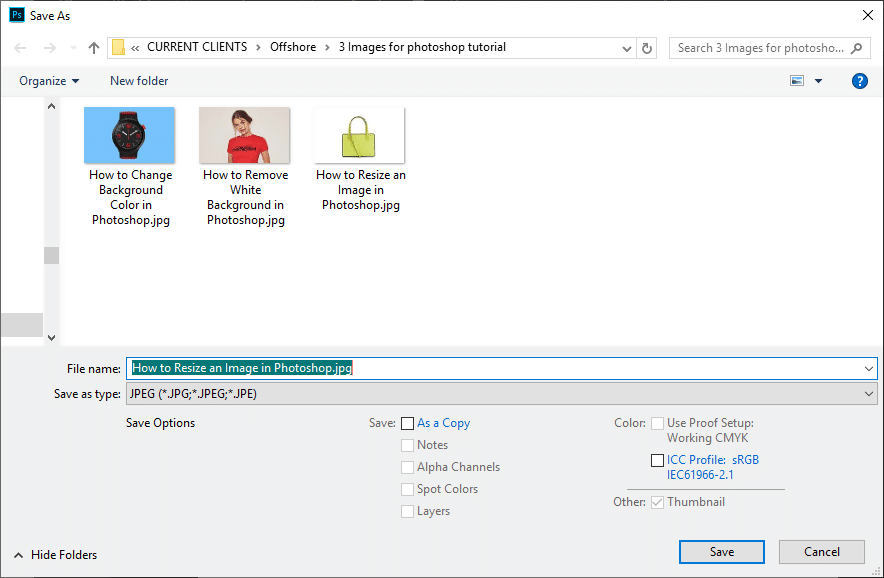
Click Save.
How to save for web in Photoshop?
Saving an image for use on the Web involves a different approach. This is very important for e-commerce image optimization.
Select File>Export>Save for Web.
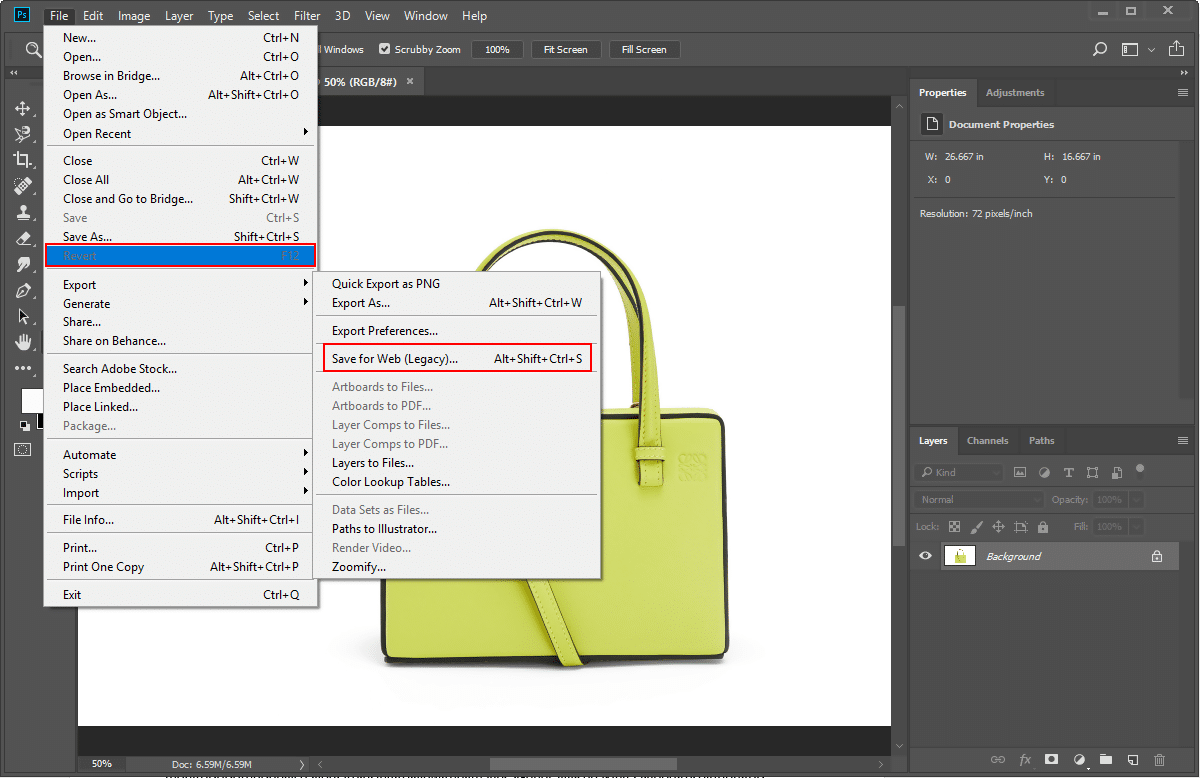
The Save for Web window displays:
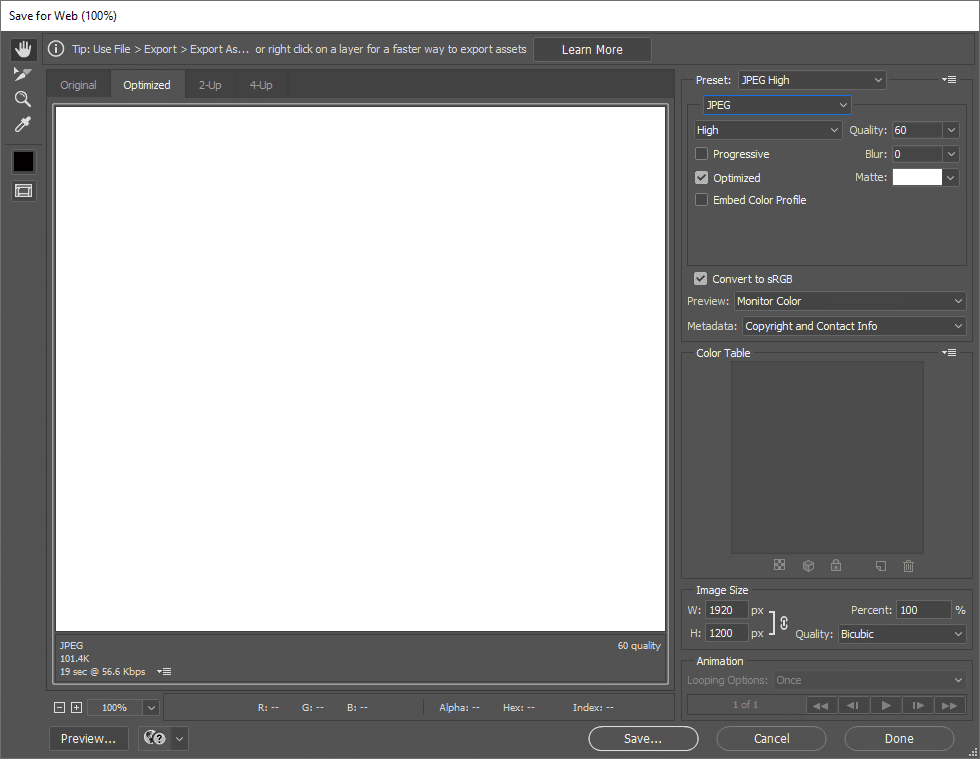
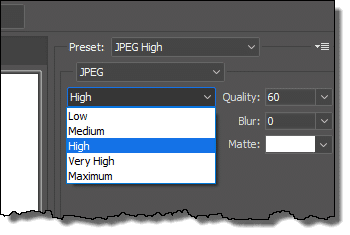
You can use this method using an existing preset or create your own. Just like the Image Size window you can choose the image size in pixels and select the method of re-sampling. But you can also select the quality level and quality percentage:
When you are happy with the settings, click Save.