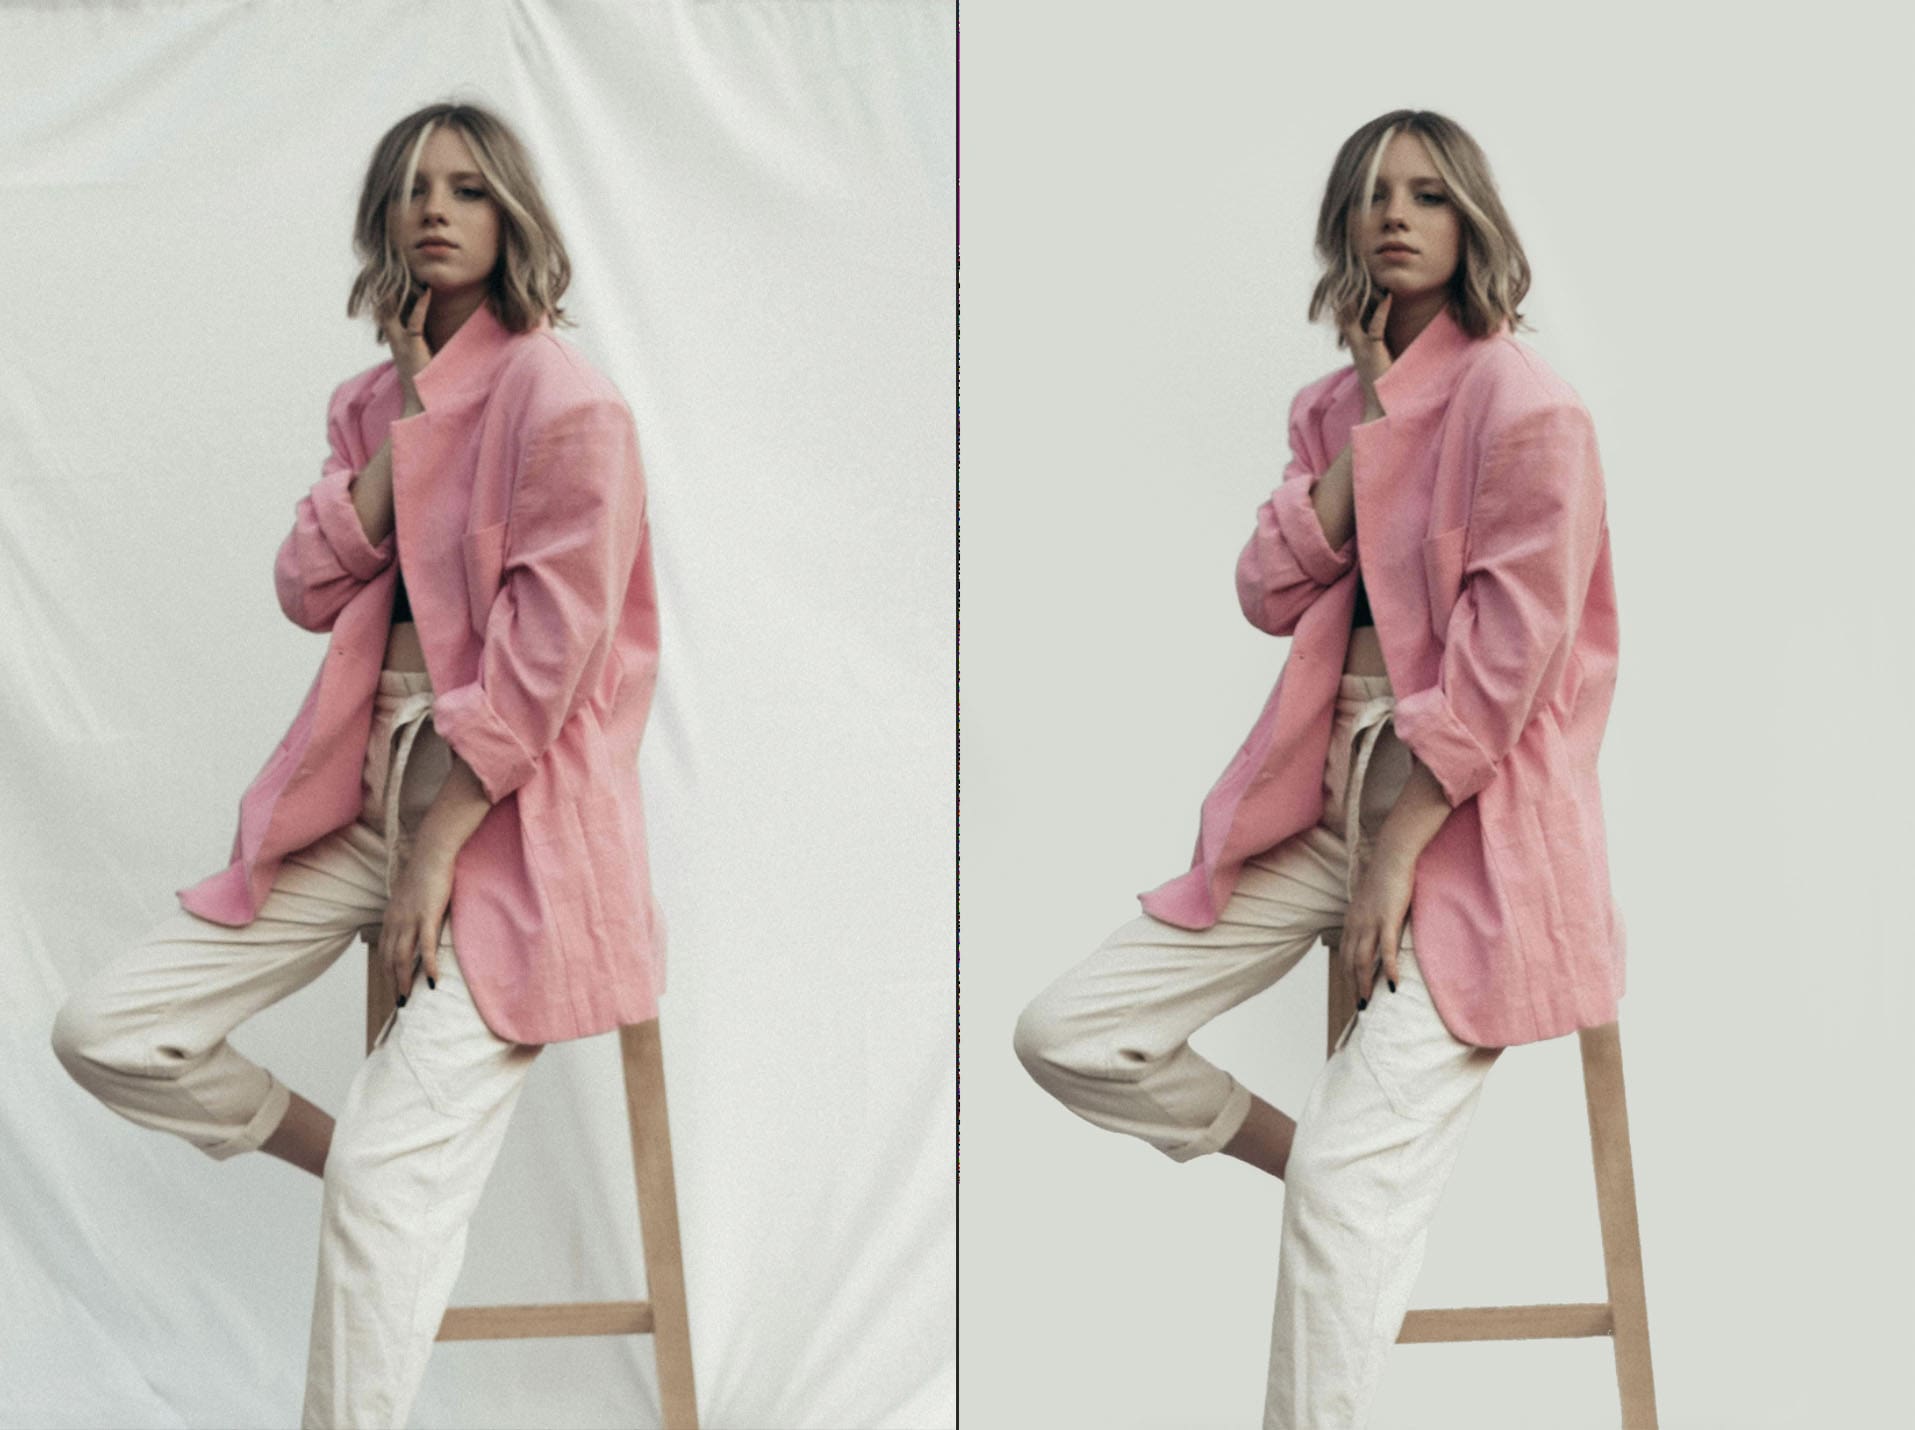
A smooth background enhances your subject and overall image quality in photography and design. Photoshop offers powerful tools to remove wrinkles, smooth backdrops, and fixed backgrounds.
This guide will show you step-by-step how to smooth out any background, making your photos look professional and polished.
What you’ll learn in this article
- 1 Why Would You Need to Blur the Background of an Image?
- 2 How to Smooth a Background in Photoshop: Step-by-Step
- 3 Enhance Your Photos with Professional Background Editing Services
- 4 Final Thought
- 5 FAQs about Smoothing a Background in Photoshop
- 5.1 What tools in Photoshop can I use to smooth a background?
- 5.2 How do I use the Blur Tool to smooth a background?
- 5.3 What is the Gaussian Blur filter, and how do I apply it?
- 5.4 Can I smooth the background without affecting the subject in the foreground?
- 5.5 What is the best way to smooth a busy or detailed background?
Why Would You Need to Blur the Background of an Image?
Blurring the background of an image can significantly enhance its overall impact and professionalism. Here are key reasons why a smooth, blurred background is essential:
- Enhance focus on the subject: A blurred background draws attention directly to the main subject, making it stand out and capturing the viewer’s interest.
- Create depth and dimension: Blurring the background adds depth to your image, creating a three-dimensional effect that makes the subject pop.
- Reduce distractions: Smoothing the background eliminates distracting elements, resulting in a cleaner, more professional image that keeps the viewer’s attention where it belongs.
- Artistic effect: A blurred background can add a creative and artistic touch to your photos, giving them a soft, dreamy look that enhances the overall mood and feel.
- Improve aesthetics: A smooth background improves an image’s overall aesthetic appeal, making it more visually pleasing and polished.
How to Smooth a Background in Photoshop: Step-by-Step
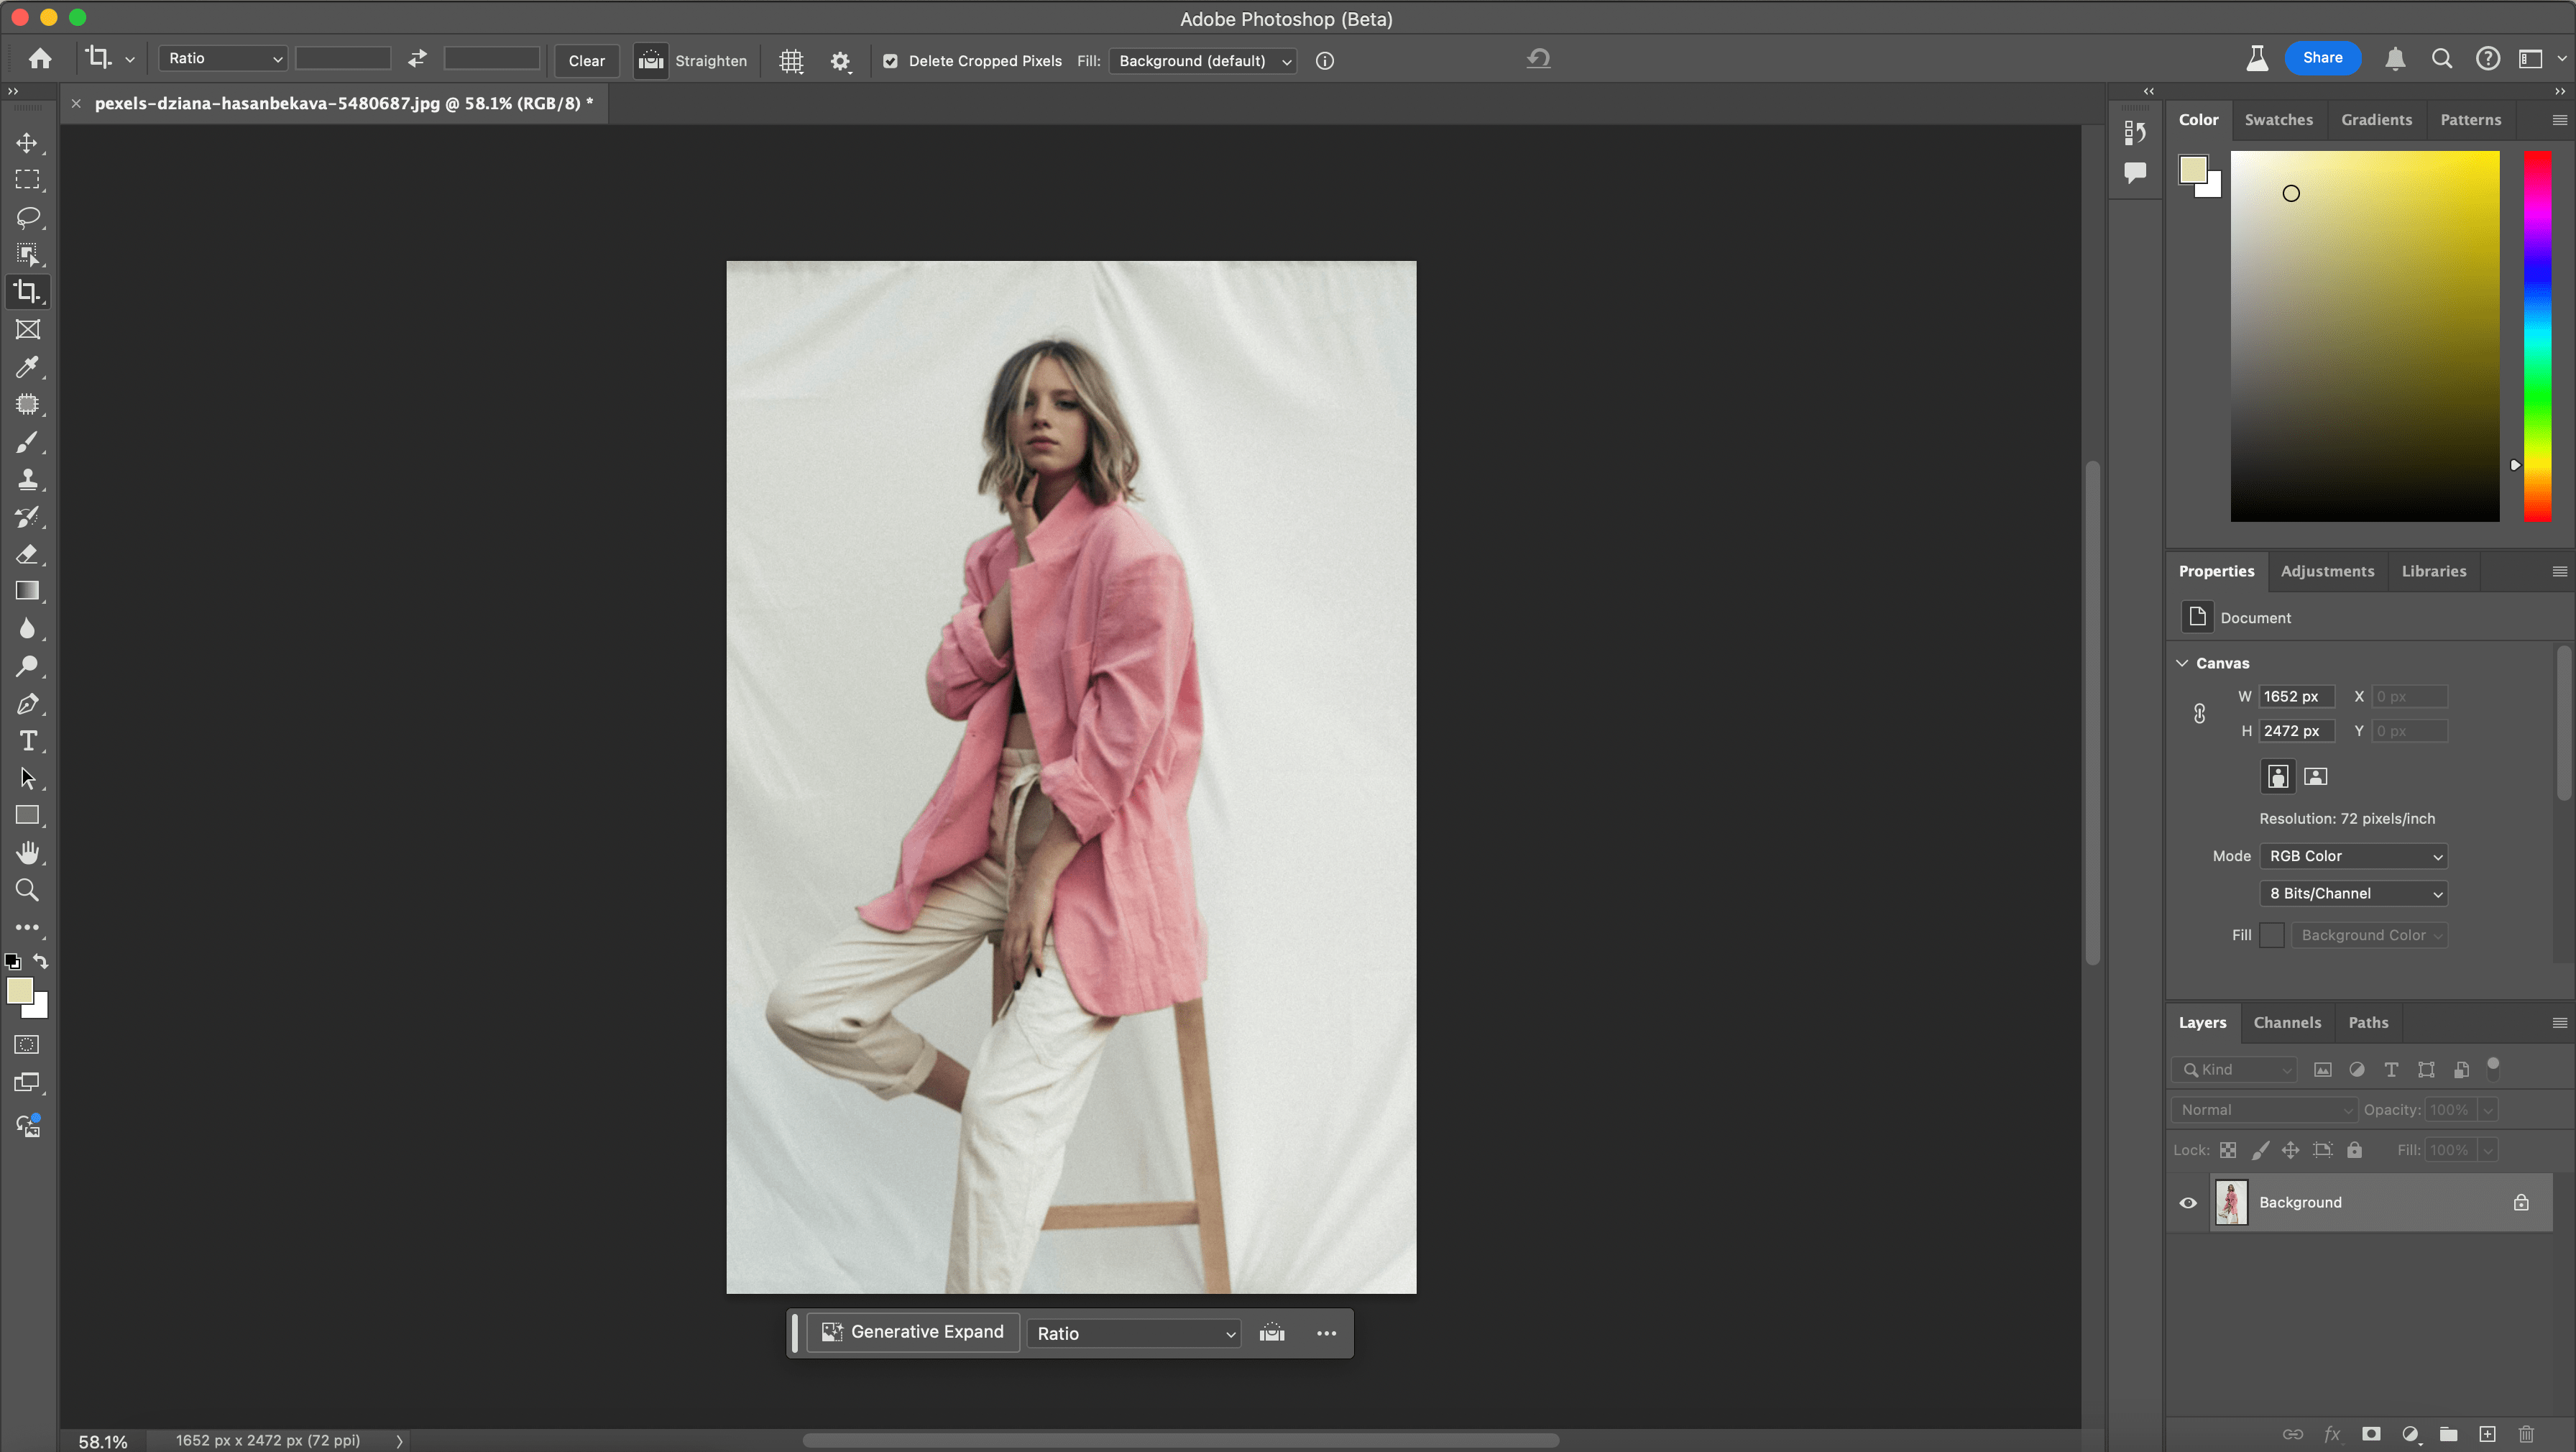
Step 1: Open Your Image in Photoshop
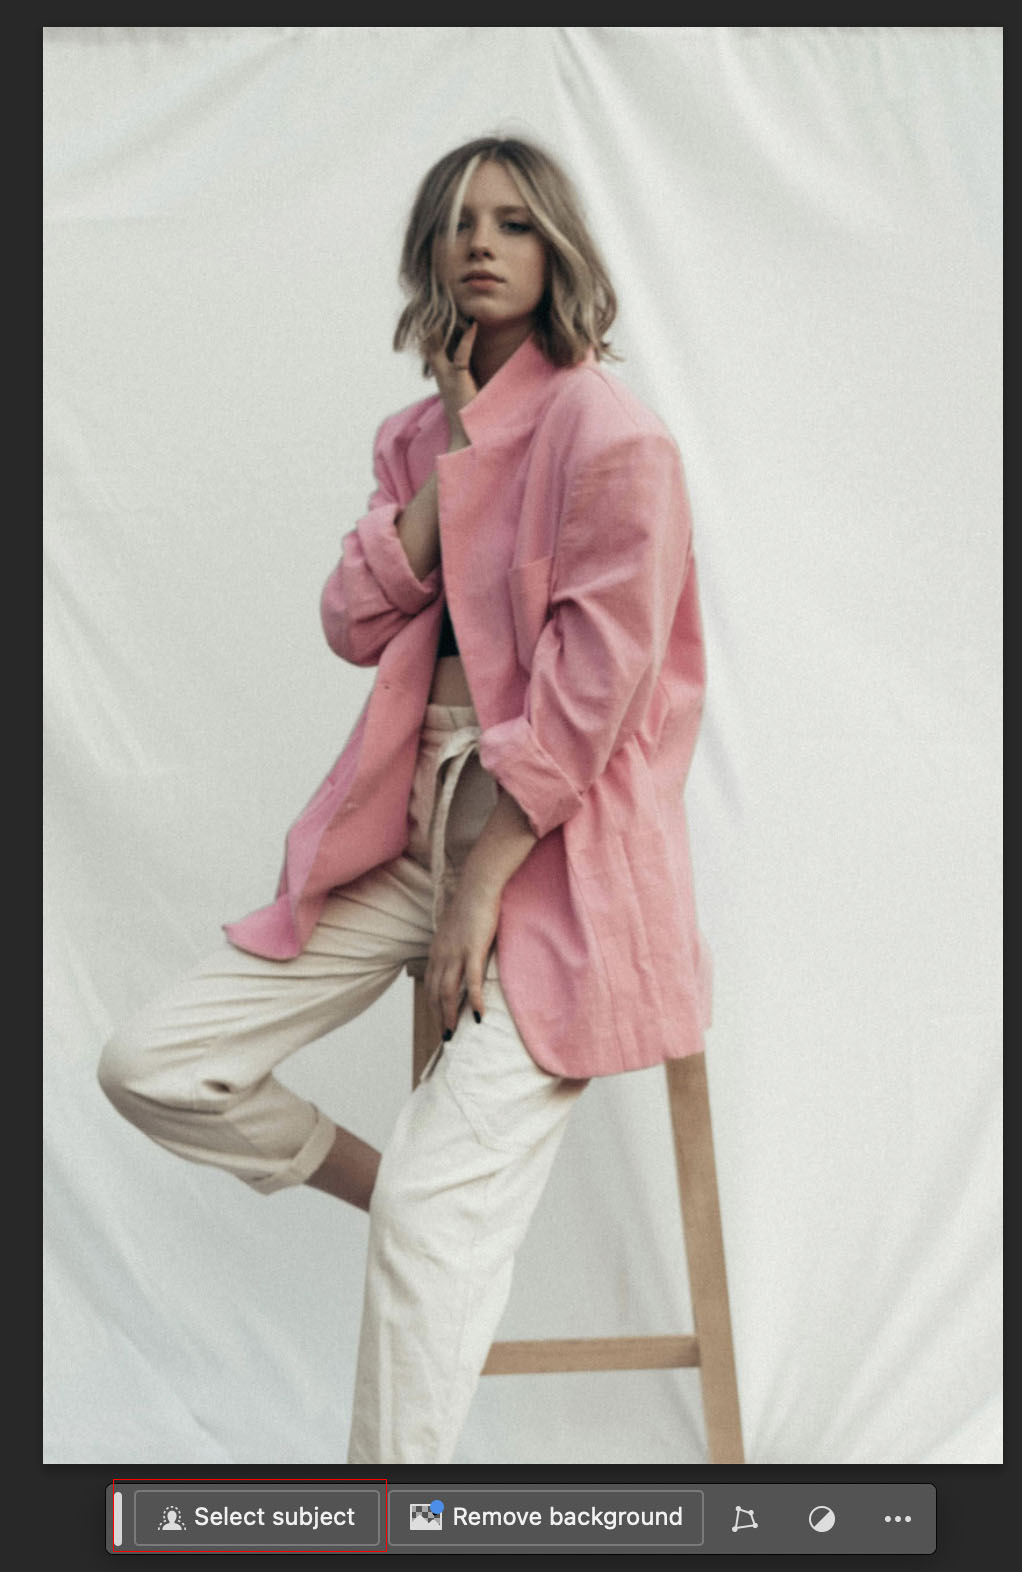
To start, open Photoshop and load the image you want to edit by navigating to File > Open. Choose an image with a clear subject and a background that could benefit from smoothing. High-resolution images work best, allowing for finer detail and better overall results.
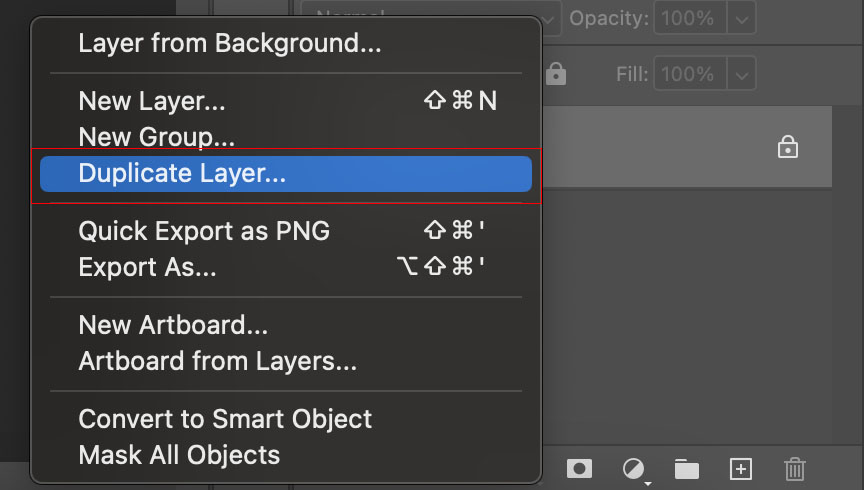
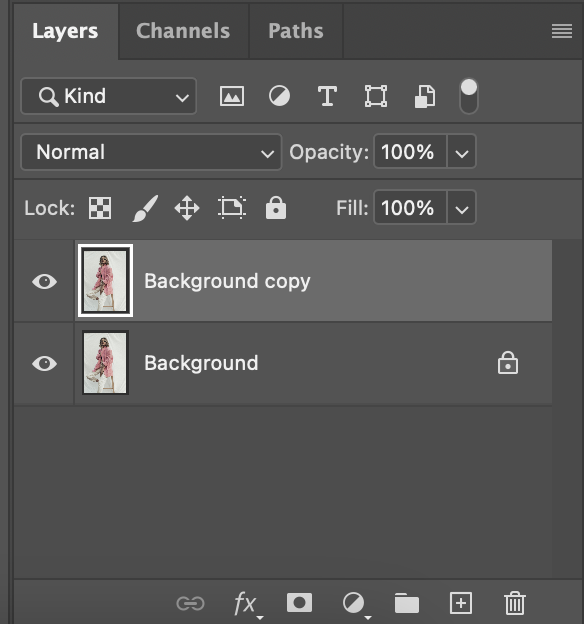
Step 2: Duplicate the Background Layer
Duplicating the background layer is crucial as it preserves the original image and allows for non-destructive editing. To duplicate the layer, right-click on the Background layer in the Layers panel and select Duplicate Layer. This creates a copy of your original layer to work on.
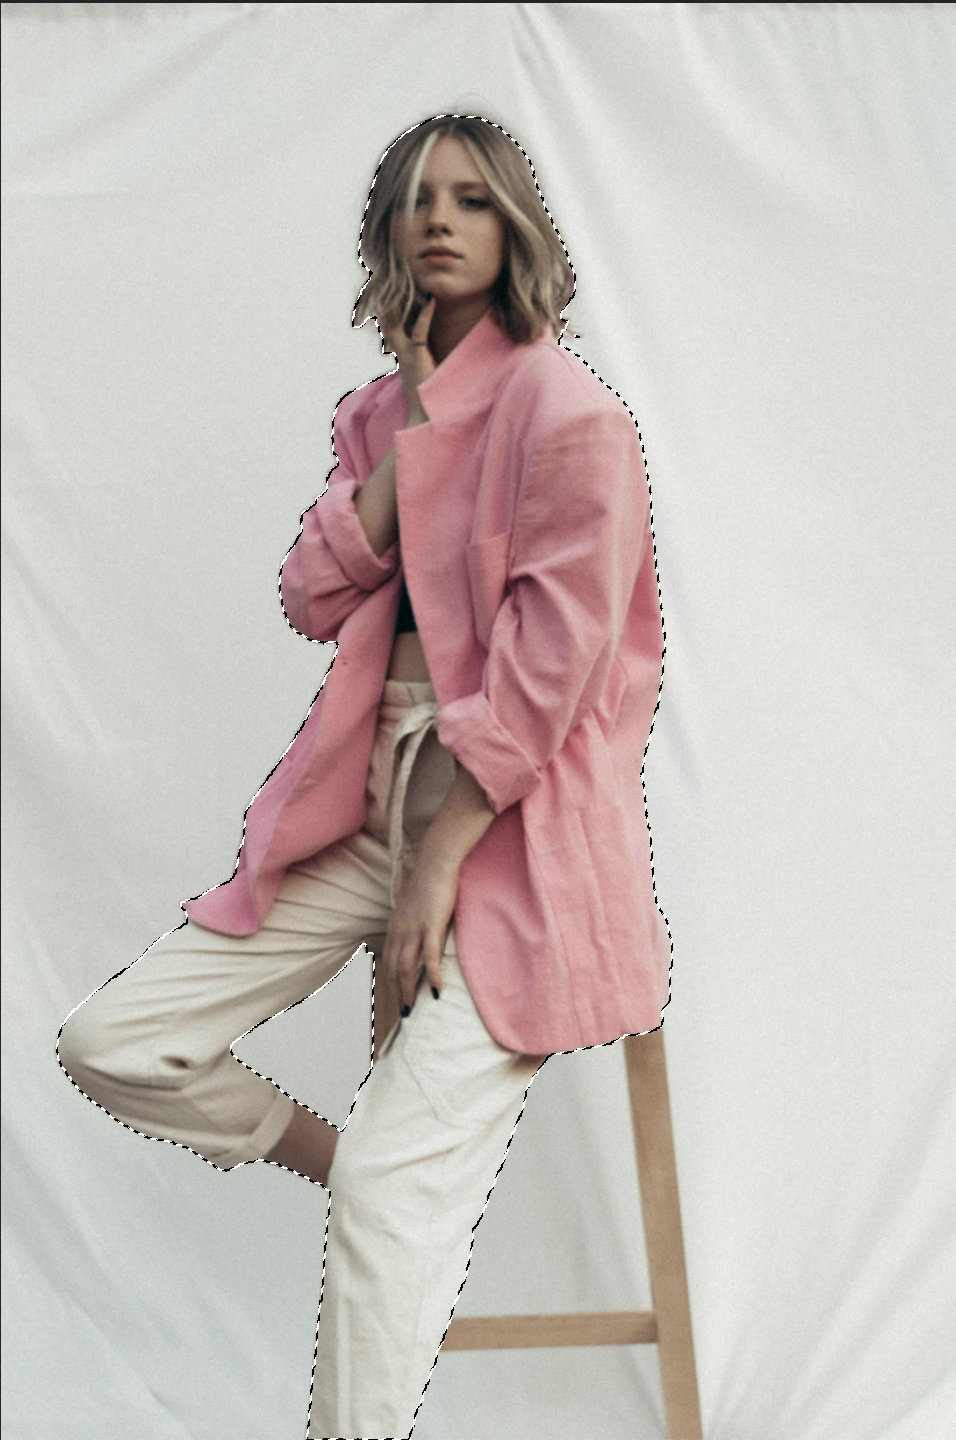
Step 3: Use the Selection Tool to Isolate the Subject
Next, isolate the subject using selection tools like the Quick Selection Tool or Pen Tool. Carefully outline the subject, ensuring the selection is precise. Refine your selection by adding or subtracting areas for an accurate subject outline.
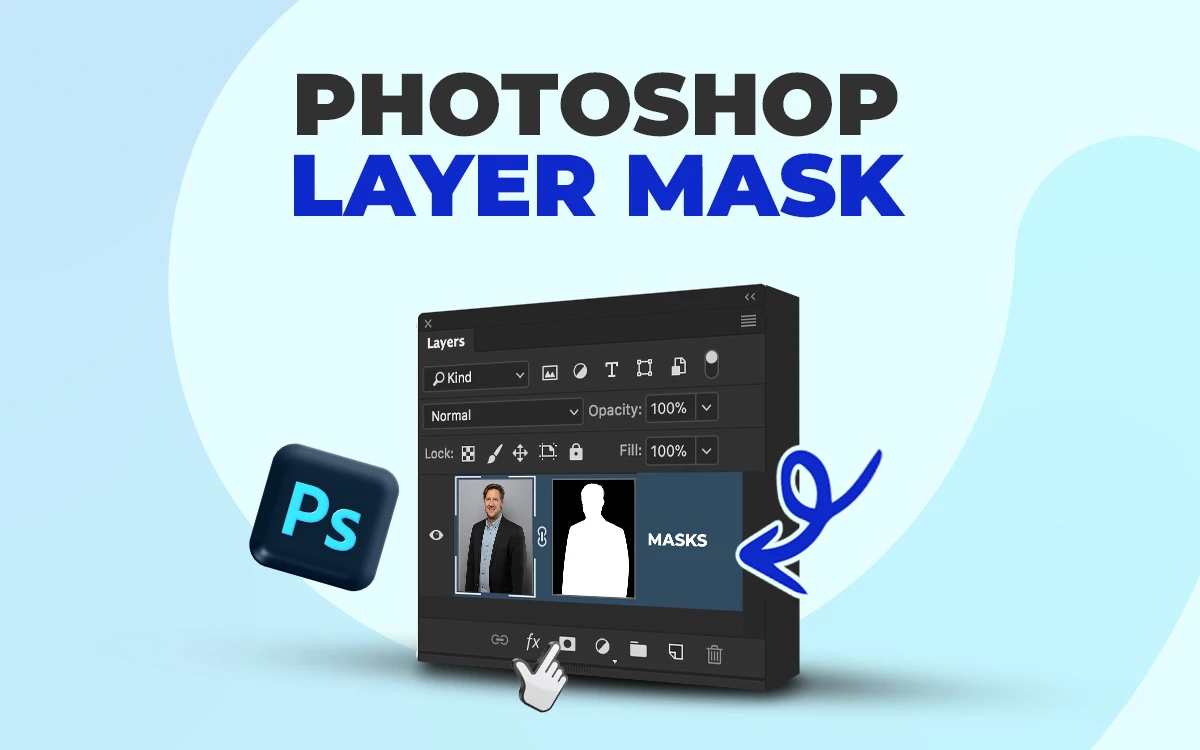
Step 4: Apply a Mask to the Subject
Layer masks are essential for non-destructive editing. To apply a mask, click the Add Layer Mask button at the bottom of the Layers panel. This masks the subject, allowing you to edit the background independently without affecting the subject.

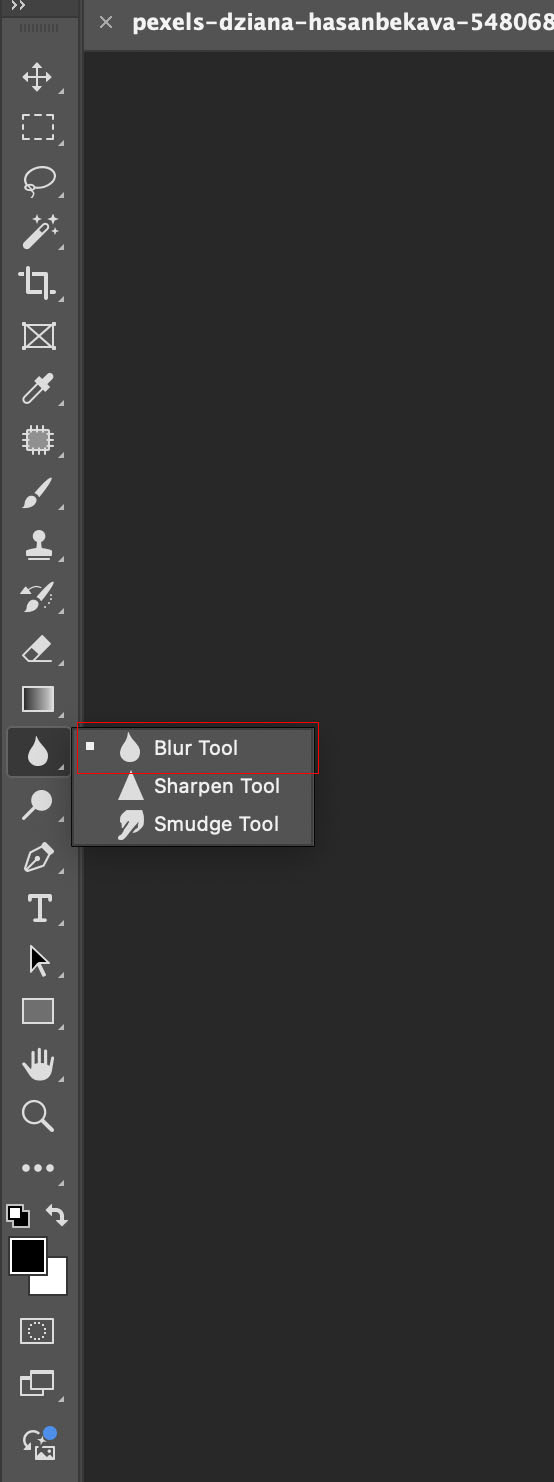
Step 5: Use the Blur Tool to Smooth the Background
The Blur Tool in Photoshop is perfect for smoothing out the background. Select the Blur Tool from the toolbar, adjust the brush size and strength, and carefully brush over the background. This will gradually smooth out any harsh lines and imperfections.
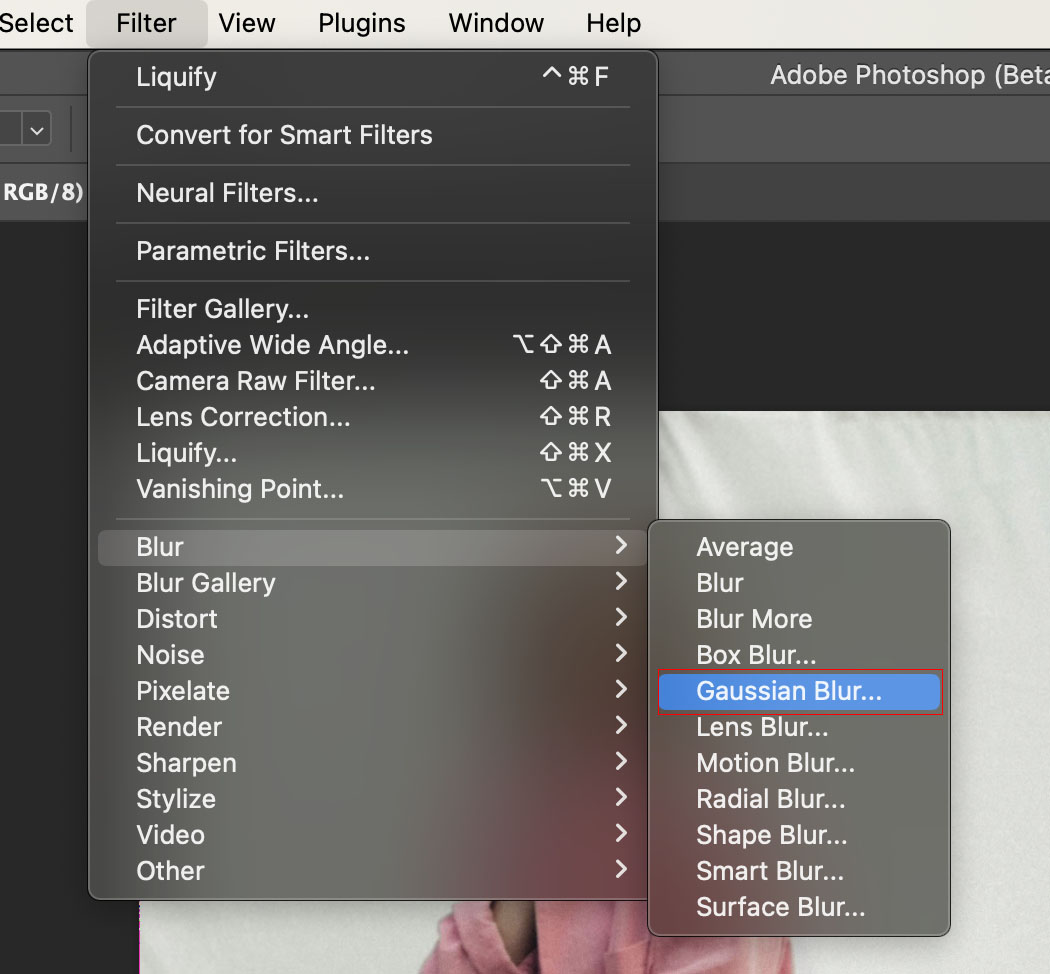
Step 6: Use the Gaussian Blur Filter
Use the Gaussian Blur filter for a more even blur. Go to Filter > Blur > Gaussian Blur. Adjust the radius to achieve the desired level of smoothness. This filter provides a uniform blur, helping to eliminate wrinkles and creases effectively.
Enhance Your Photos with Professional Background Editing Services
While mastering Photoshop techniques to smooth backgrounds is invaluable, there are times when enlisting professional background editing services can make a significant difference. Here are a few reasons why:
- Advanced techniques: Professionals can access the latest tools and methods, ensuring flawless results.
- Time efficiency: Outsourcing editing tasks saves time, allowing you to focus on other important work.
- Consistent quality: Maintaining consistent results across all your images is ideal for professional portfolios.
- Handling complexity: Expert editors can easily manage intricate details and challenging backgrounds.
- Cost-effective: Professional services can be a more cost-effective solution for large projects or ongoing needs.
Consider professional editing services from Offshore Clipping’s background editing services to enhance your photos and achieve your desired polished look.
Final Thought
A smooth background enhances image quality and draws attention to the subject. Practice these Photoshop steps and explore different tools to achieve professional results.
With dedication and the right techniques, your photos will always look polished and impressive.
FAQs about Smoothing a Background in Photoshop
What tools in Photoshop can I use to smooth a background?
Photoshop offers several tools for smoothing backgrounds, including the Blur Tool, Gaussian Blur, Surface Blur, and Smart Blur. The Blur Tool is great for localized areas, Gaussian Blur provides even smoothing, Surface Blur maintains edges, and Smart Blur offers customizable precision. Each tool has unique applications depending on your needs.
How do I use the Blur Tool to smooth a background?
Select the Blur Tool from the toolbar, adjust the brush size and strength, and gently brush over the background. To maintain a natural look, avoid over-blurring. Use short, controlled strokes and periodically check your work to prevent unwanted effects.
What is the Gaussian Blur filter, and how do I apply it?
The Gaussian Blur filter smooths the background uniformly. To apply it, go to Filter > Blur > Gaussian Blur. Adjust the radius slider to control the blur intensity. Fine-tune until the desired smoothness is achieved. This filter is ideal for a consistent, even blur across the image.
Can I smooth the background without affecting the subject in the foreground?
You can isolate and protect the subject using layer masks and selection tools. First, select the subject using tools like Quick Selection or Pen Tool. Then, a layer mask is applied to keep the subject intact while editing the background separately.
What is the best way to smooth a busy or detailed background?
To smooth a busy or detailed background, combine tools and techniques. Use the Quick Selection Tool to isolate the subject, apply Gaussian Blur for even smoothing, and use the Blur Tool for touch-ups. Adjust settings carefully to maintain natural depth and detail.