Car photo editing in 2026 focuses on clean realism, brand accuracy, and platform-ready visuals. AI-powered tools like Luminar Neo, Snapseed, and Lightroom speed up editing while keeping quality high. Background replacement sharpens focus, color correction restores true paint tones, retouching removes flaws, and balanced lighting adds depth. This guide covers tools, workflows, common mistakes, and proven techniques for professional, high-converting car images.
What you’ll learn in this article
What is Car Photo Editing?
Car photo editing is a specialized process of enhancing automobile images using professional editing software. It involves adjusting color, brightness, and contrast, removing unwanted objects, correcting reflections, cleaning up backgrounds, and applying subtle effects to make the vehicle stand out.
The main purpose is to present the car in a clean, sharp, and attractive way for advertisements, websites, social media, or online sales listings. It’s used by car dealers, auto brands, and marketplaces to present vehicles in the best light. However, it may not be suitable when raw, unedited photos are required for legal or inspection purposes.
The biggest advantage is that the car looks more appealing and attracts attention quickly. The drawback is that excessive editing can make the image look unrealistic or different from the actual vehicle.
Why is Car Photo Editing Important?
A car photo is important because it transforms the raw visual into a clean, bright, and professional image, removes distractions, fixes lighting, and highlights key details. This builds trust and makes the vehicle more appealing.
Since most buyers judge a car by its photos first, strong visuals build trust, support faster decisions, and help listings stand out in competitive marketplaces.
Here are the key important points of car photo editing.
- Increased Sales & Engagement: High-quality car images attract more attention, generate higher click-through rates, and encourage potential buyers to engage with listings, ultimately boosting sales.
- Enhances Visual Appeal: Editing improves color, lighting, and details, making every car look polished, well-maintained, and visually striking to viewers.
- Background Optimization: Cluttered or distracting backgrounds are removed or replaced, keeping the focus on the car and creating a cleaner, more professional look.
- Professionalism & Trust: Consistently well-edited images signal reliability and credibility, helping buyers feel confident in your brand or dealership.
- Cost & Time Efficiency: Professional editing reduces the need for multiple photoshoots, saves time on reshoots, and minimizes costs associated with corrections.
- Consistency: Maintaining a uniform style across all images creates a cohesive brand identity and strengthens recognition in listings or advertising.
What is the Best Car Photo Editing Software?
The best car photo editing software is Adobe Photoshop, Lightroom, Capture One, Carify, Croppy AI, and Car Editor. The best car photo editing software lets you enhance images with precision, improve lighting, adjust colors, remove distractions, and create a professional look. Moreover, choose software based on your skill level, workflow, and whether you need desktop or mobile solutions.
Here is the list of the best car photo editing software.
- Adobe Lightroom: Great for adjusting color, exposure, contrast, and organizing lots of car shots fast. It makes batch editing easy and gives clean, professional results.
- Adobe Photoshop: Best for detailed edits like removing objects, fine retouching, and advanced compositing. It’s the industry standard for high‑end photo work.
- Capture One: Loved by pros for its powerful color control, precise RAW editing, and studio workflow features that help car photos look rich and detailed.
- Luminar Neo: Uses AI to speed up common tasks like background removal, color enhancement, and lighting fixes, making it easier to get polished results quickly.
- Spyne AI (Web App): AI‑powered editor built for car images with automatic background replacement and reflection fixes, ideal for dealers and listings.
- GIMP: Free and open‑source option with strong editing tools for those on a budget, though it takes more manual work than paid apps.
How Do You Edit a Car Photo in Photoshop?
Editing a car photo in Photoshop starts by opening the RAW file and adjusting exposure, white balance, and contrast in Camera Raw. Next, duplicate the layer and cut out the car using the Pen tool for a clean selection. Finish by color correcting, sharpening details, and enhancing light to make the car look bold and eye-catching.
Follow these simple steps to edit your car photo in Photoshop.
Step 1: Open Your Image
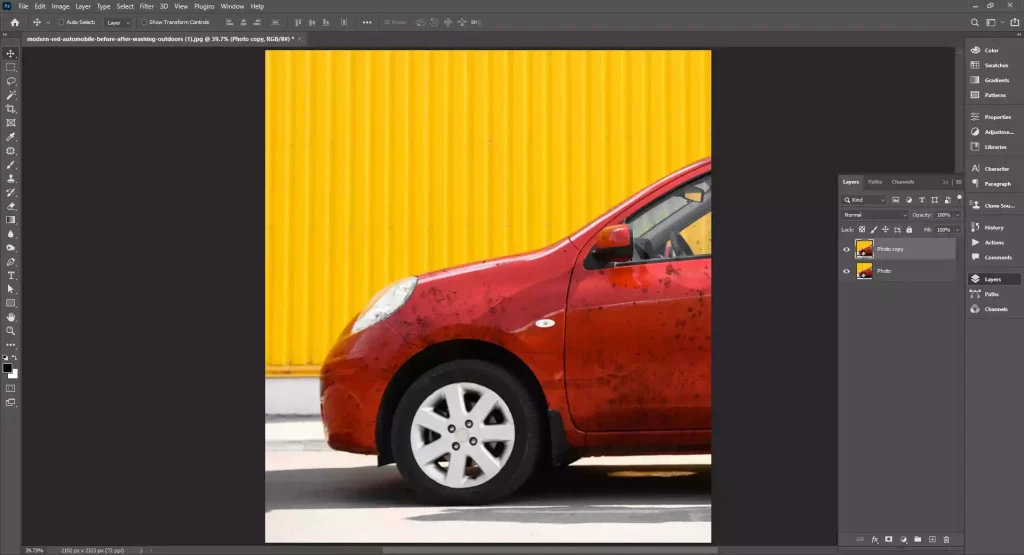
Launch Photoshop. Click File > Open and select your car photo. Press Ctrl + J to duplicate the background layer so you always have the original safe.
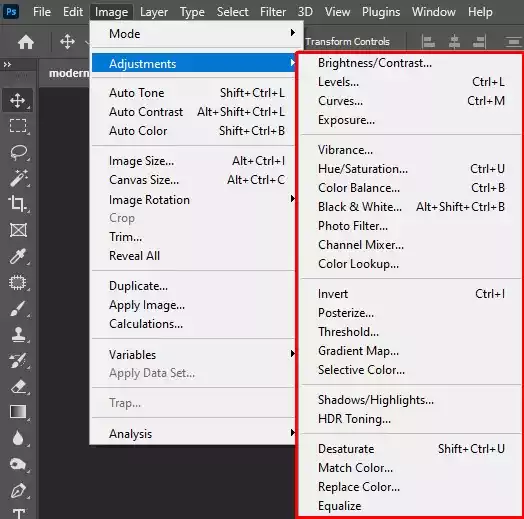
Step 2: Adjust Brightness and Color
Go to Image > Adjustments > Camera Raw Filter. Fix exposure, contrast, highlights, and shadows. Boost clarity slightly to bring out car details. Click OK.
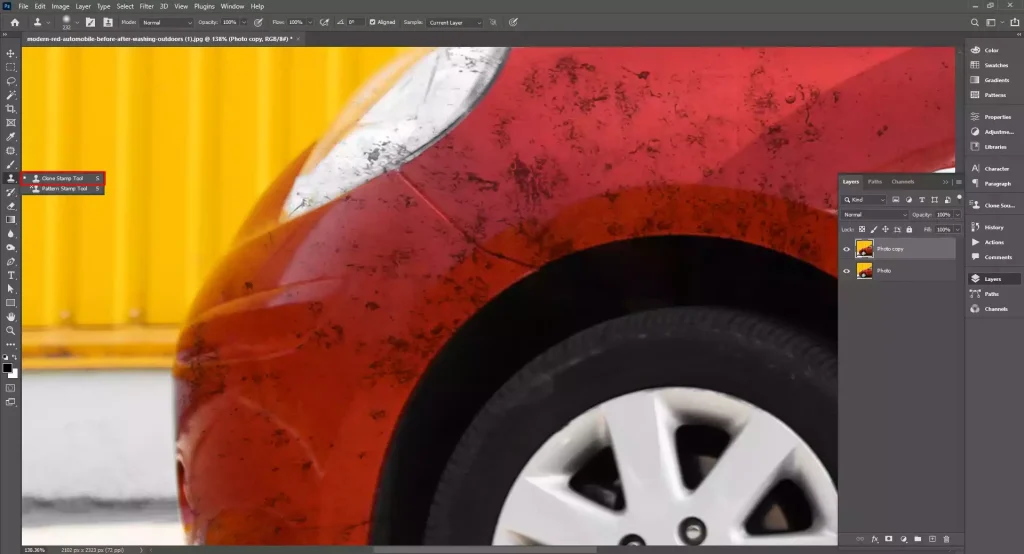
Step 3: Clean Unwanted Objects
Select the Spot Healing Brush Tool. Click on dust, scratches, or small distractions to remove them. For larger objects, use the Clone Stamp Tool.

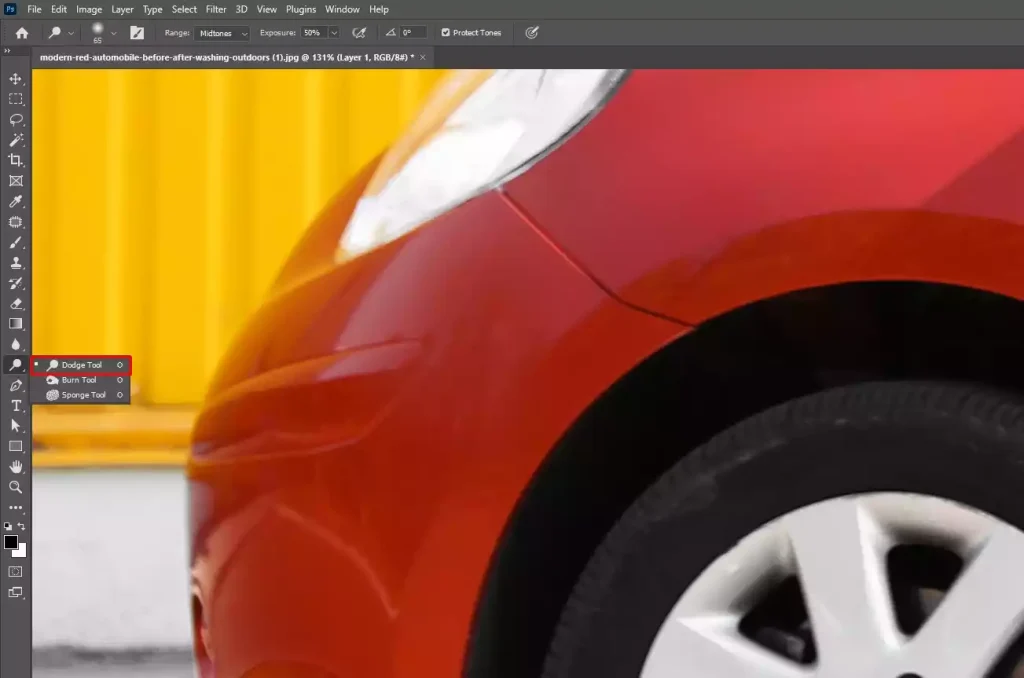
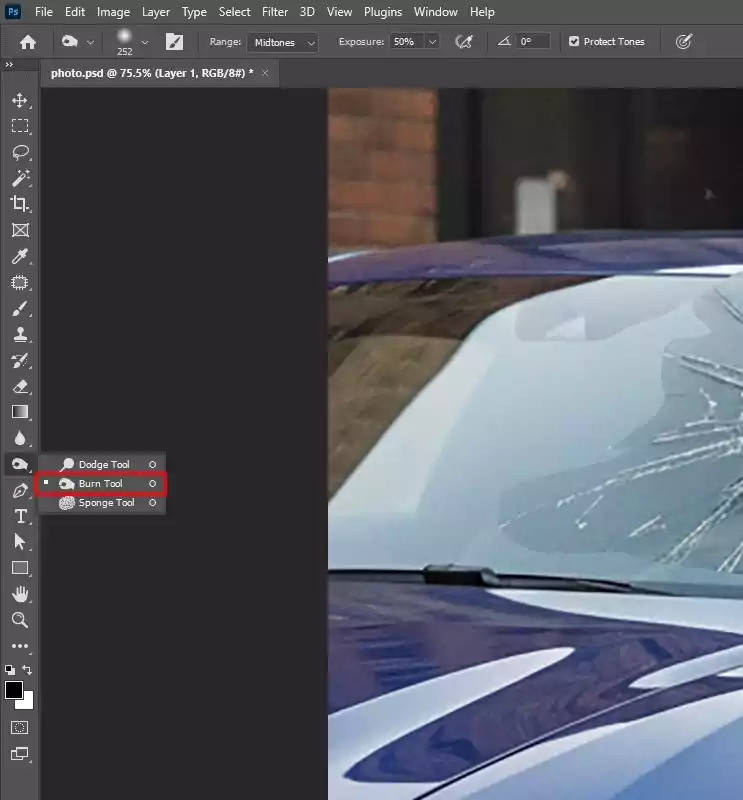
Step 4: Enhance the Car Paint
Use the Dodge Tool lightly on bright areas and the Burn Tool on darker areas to add depth. Do not overdo it.
Step 5: Improve the Background
If needed, select the car using the Quick Selection Tool. Refine edges, then blur or replace the background to keep focus on the vehicle.
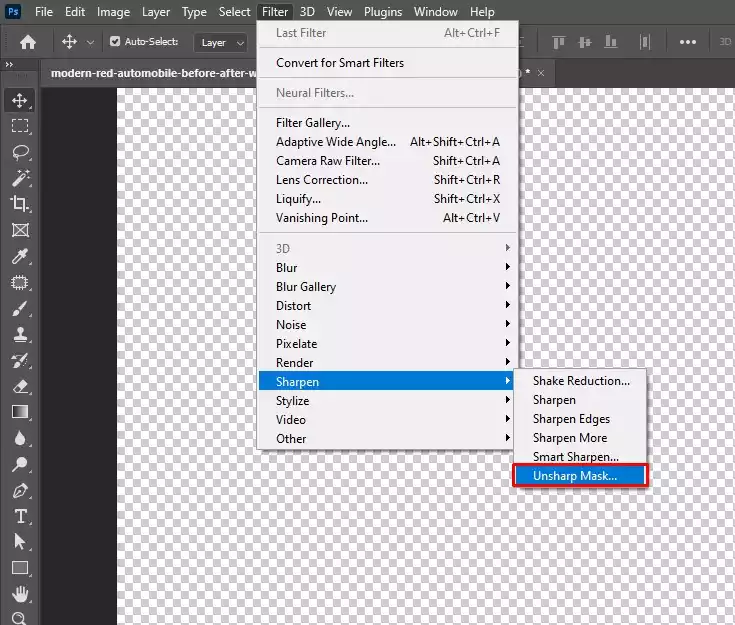
Step 6: Add Final Sharpening
Go to Filter > Sharpen > Unsharp Mask. Apply lightly to make details crisp.
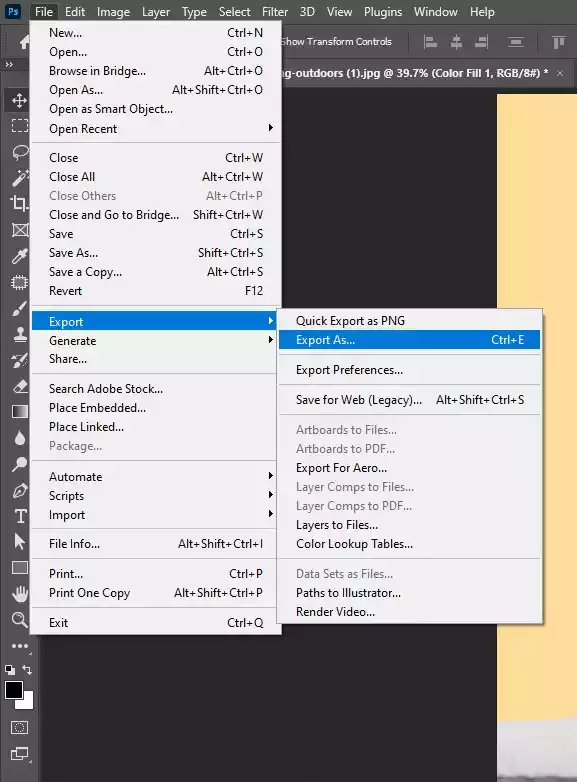
Step 7: Save Your Image
Click File > Export > Export As and choose JPEG or PNG for web use.
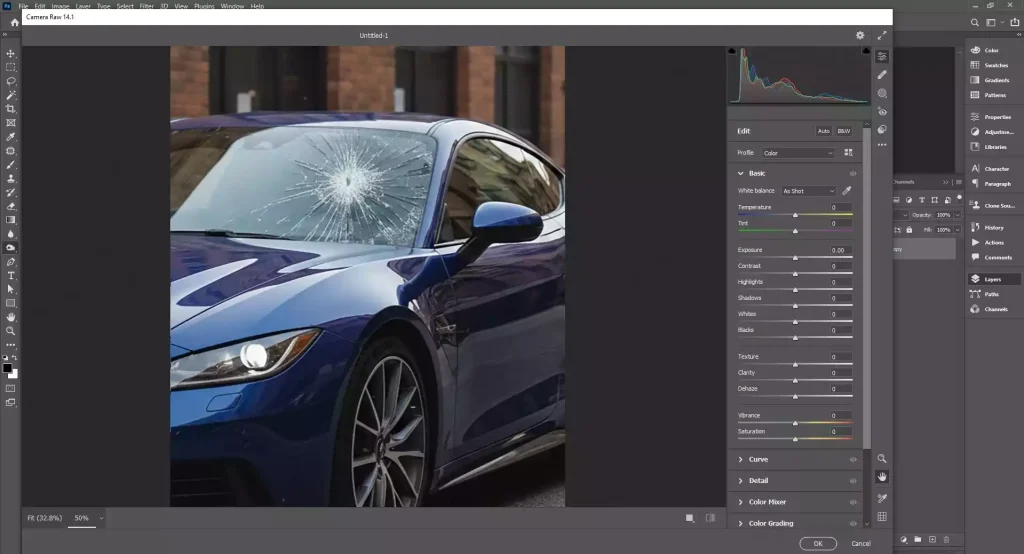
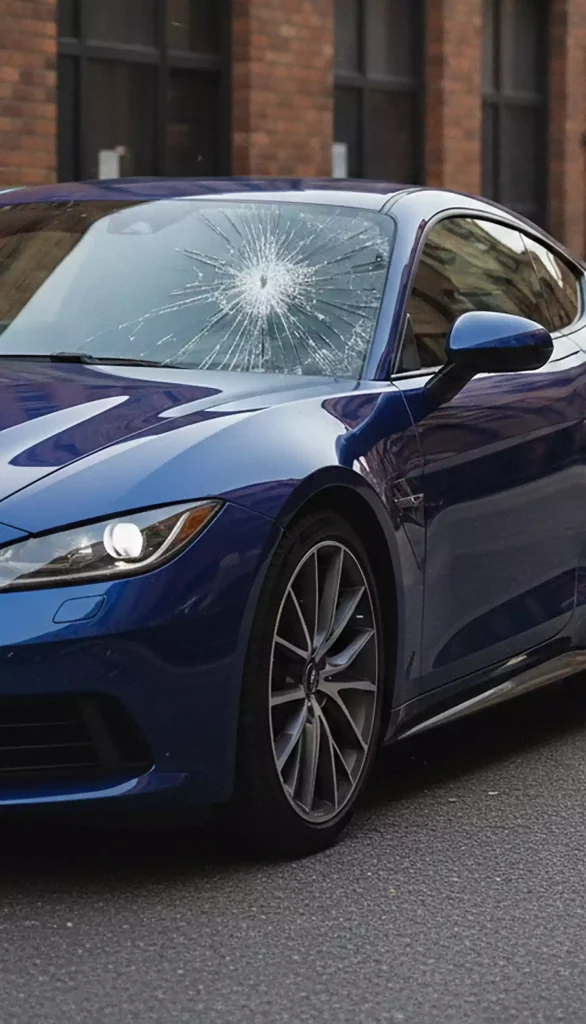
How Do You Make a Car Look Damaged in Photo Editing?
Creating a damaged car effect in photo editing can be done using software like Adobe Photoshop. This software assists you in applying a realistic look by adding dents, scratches, cracks, and lighting effects that match the original image.
Here are simple steps to make a car look damaged in photo editing.
Step 1: Open Your Image
Launch Photoshop and open your car photo. Press Ctrl + J to duplicate the background layer to protect the original image.
Step 2: Add Dent Effects
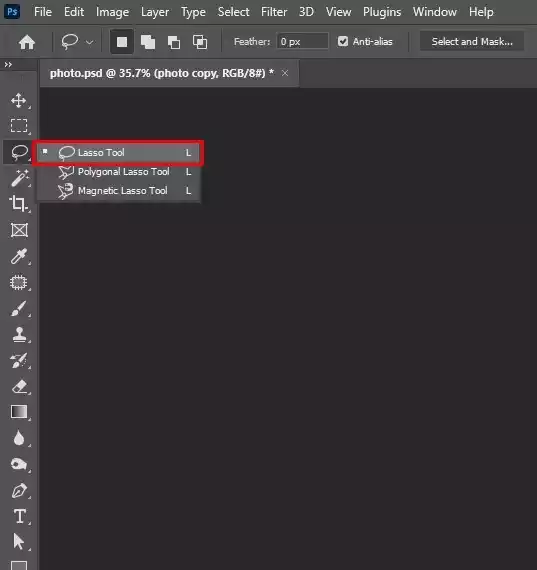
Use the Lasso Tool to select a small area where you want the dent. Go to Filter > Liquify and gently push the surface inward using the Forward Warp Tool. Keep it subtle for realism.
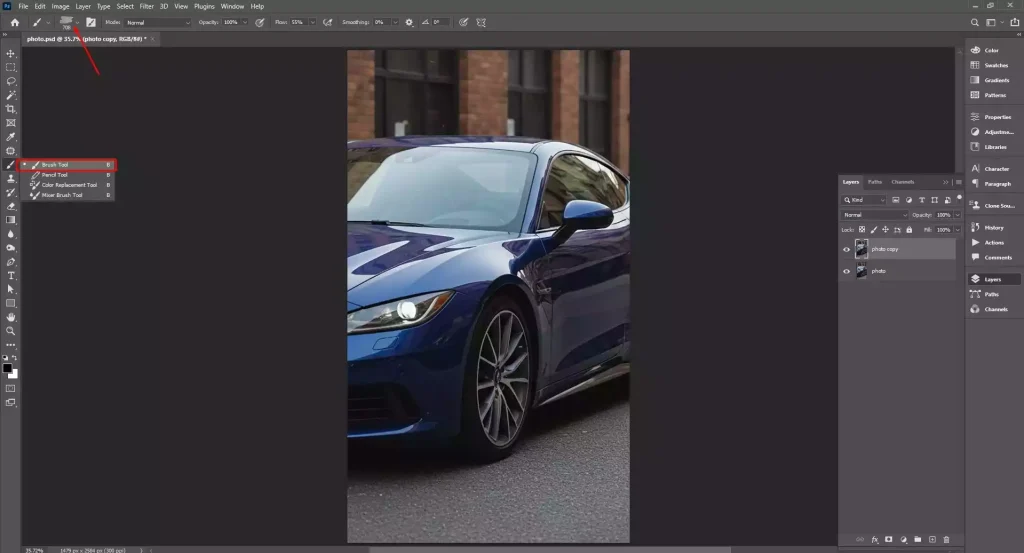
Step 3: Create Scratches and Paint Damage
Select a rough brush with low opacity. Sample a darker color from the car and draw thin, uneven lines. You can also import scratch textures and set the blend mode to Multiply or Overlay.
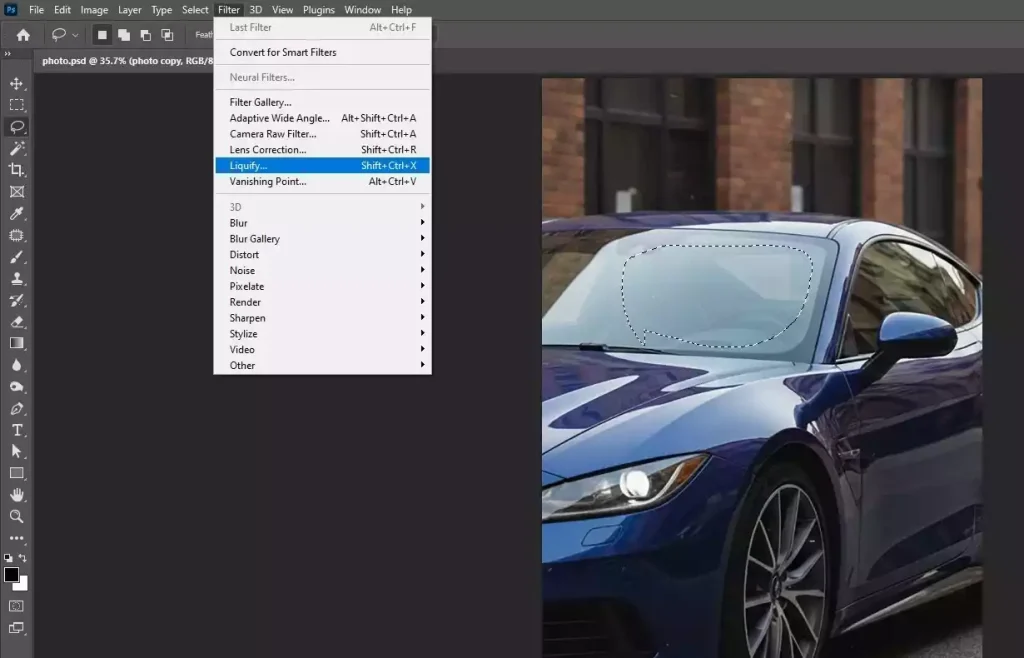
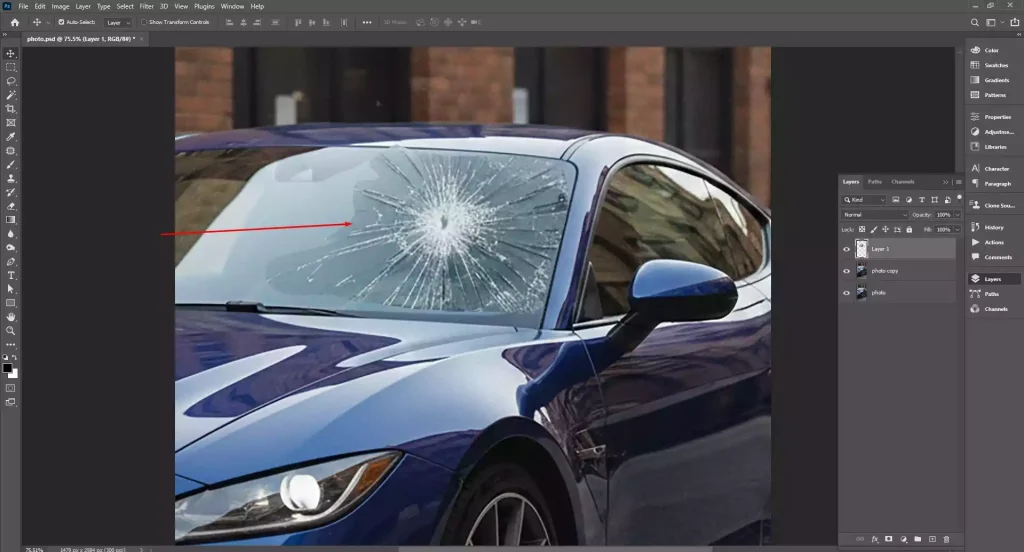
Step 4: Add Cracks or Broken Glass
Place a cracked glass texture over windows if needed. Change the blend mode to Screen or Lighten and erase unwanted edges.
Step 5: Adjust Shadows and Highlights
Use the Burn Tool to darken dent edges and the Dodge Tool to add highlights. This adds depth and makes the damage look natural.
Step 6: Match Lighting and Color
Open Camera Raw Filter and slightly adjust contrast and clarity so all added effects blend smoothly with the original image.
Step 7: Save Your Final Image
Export the edited photo in your desired format for web or print use.
Why High-Quality Car Product Photography Matters Before Editing?
High-quality car product photography matters before editing because a strong photo is needed when starting editing. If the original image is blurry, poorly lit, or badly framed, no amount of editing can fully fix it. Whereas a proper camera setting with good photography can capture sharp details, true colors, and proper angles.
Here are the key reasons why high-quality car product photography matters before editing.
- Reduces Uncertainty: Clear and detailed photos answer common buyer questions upfront and reduce doubts about the vehicle’s condition.
- Builds Credibility: High-quality images make your brand or dealership look trustworthy and serious about presentation.
- Accurate Representation: Good photography shows the true color, shape, and features of the car without misleading the viewer.
- Instant Impact: Sharp and well-framed shots grab attention immediately in crowded listings or ads.
- Increased Visibility: Attractive images encourage more clicks, shares, and engagement across websites and social platforms.
- Showcasing Details: Close-up and properly lit shots highlight key features like wheels, interiors, and headlights clearly.
- Easier Post Production: Clean, well-exposed photos require fewer corrections, saving time during editing.
- Managing Reflections: Proper angles and lighting help control unwanted reflections on glossy car surfaces.
What is the Difference Between Car Photo Editing and Car Photo Retouching?
The difference between car photo editing and car photo retouching is that car photo editing focuses on basic adjustments to the entire image, such as color correction, brightness, contrast, and cropping. Car photo retouching goes further by refining fine details, removing imperfections, enhancing reflections, and perfecting the car’s appearance to achieve a polished, high-end look.
Here is a breakdown of the difference between car photo editing and car photo retouching.
| Feature | Car Photo Editing | Car Photo Retouching |
|---|---|---|
| Main Purpose | Improve the overall image | Perfect small details |
| Focus Area | Whole photo | Specific parts of the car |
| Type of Work | Basic corrections and adjustments | Detailed flaw removal and enhancement |
| Common Tasks | Brightness, contrast, color correction, cropping, and background change | Removing scratches, dents, dust, and reflections |
| Time Required | Usually faster | Takes more time and precision |
| Skill Level | Basic to intermediate | Advanced and detail-focused |
| Final Result | Clean and professional look | Polished, flawless, premium look |
| Best For | Websites, listings, social media | Ads, magazines, high-end marketing |
What is the Difference Between Amazon Photo Editing and Standard Car Photo Editing?
The difference between Amazon photo editing and standard car photo editing lies in purpose and rules. Amazon photo editing follows strict guidelines, including a pure white background, correct sizing, and clear product visibility. Standard car photo editing focuses on enhancing the vehicle’s appearance by improving lighting, colors, background, and fine details for marketing and presentation use.
Here is a Comparison Table Between Amazon’s Photo Editing and Standard Car Photo Editing.
| Feature | Amazon Photo Editing | Standard Car Photo Editing |
|---|---|---|
| Main Goal | Meet Amazon’s strict image guidelines | Improve overall photo quality |
| Background | Pure white background required | Any background allowed |
| Image Rules | Must follow Amazon size, margin, and format rules | No strict platform rules |
| Editing Focus | Clean cut-out, shadow control, accurate colors | Lighting, color correction, angle adjustment |
| Retouching Level | Limited, the product must look realistic | More freedom to enhance the look |
| Creative Freedom | Very limited | Flexible and creative |
| Usage | Amazon product listings | Dealerships, ads, social media, websites |
| Compliance | Must avoid over-editing or misleading changes | No platform-based restrictions |
How Do You Find a Professional Car Photo Editing Company?
To find a professional car photo editing company, first look for the experience you require in car photography and a strong portfolio. Check client reviews for reliability and quality. Ensure they offer services you need, like background removal or retouching, and confirm turnaround times. Compare pricing for value, not just cost. Request sample edits to evaluate their precision and style before hiring.
Here’s a simple step-by-step guide to finding a professional car photo editing company.
Step 1: Research Online
Look for companies that specialize in automotive photo editing. Check their websites, portfolios, and services to see if they match your needs.
Step 2: Check Reviews and Testimonials
Read client reviews on their website or third-party platforms to gauge reliability and quality.
Step 3: Evaluate Portfolio Quality
Examine their previous work carefully. Look for attention to detail, realistic enhancements, and consistency in car photo editing.
Step 4: Compare Pricing and Packages
Request quotes and compare pricing structures. Make sure their services fit your budget without compromising quality.
Step 5: Test with a Sample
Before committing, send a few photos for a trial edit. This helps you judge turnaround time, quality, and communication.
Step 6: Confirm Communication and Support
Ensure they offer clear communication, revisions, and support. A responsive team makes the editing process smoother.
How Much Does Professional Car Photo Editing Cost?
Professional car photo editing costs vary depending on complexity and service level. Basic edits like color correction, lighting adjustments, and minor cleanup are cheaper, while advanced retouching like removing scratches, enhancing shine, or background changes might cost more. Prices can range from a few dollars to $30 or more per image, with bulk packages offering lower per-photo rates.
Here is a breakdown chart of a professional car photo editing service cost.
| Editing Type | Services Included | Typical Cost per Image |
|---|---|---|
| Basic | Color correction, brightness/contrast, minor cleanup | $2–$5 |
| Standard | Background adjustment, shadow addition, minor retouching | $5–$15 |
| Advanced | Scratch removal, dent repair, shine enhancement, full retouching | $15–$30+ |
| Bulk Packages | Multiple images with any level of editing | Lower per-image rate depending on volume |
FAQ’s
What software is best for professional car photo editing?
The best software for professional car photo editing is Adobe Photoshop for advanced retouching, Lightroom for clean color control, Capture One for studio workflows, and Affinity Photo as a powerful, affordable alternative trusted by many professionals worldwide today.
What color correction techniques are used in car photo editing?
The colour correction techniques that are used in car photo editing include white balance adjustment, exposure and contrast tuning, color grading, saturation control, shadow and highlight balancing, and selective color tweaks to keep the car paint accurate and eye-catching.
How long does professional car photo editing take?
Professional car photo editing usually takes 24 to 72 hours per image. Simple edits can be done faster, while detailed retouching or large batches may take longer depending on volume and revision needs.
What mistakes should be avoided in car photo editing?
The mistakes that should be avoided in car photo editing are over-smoothing paint, incorrect colors, harsh shadows, fake reflections, distorted shapes, poor cutouts, cluttered backgrounds, over-sharpening, bad cropping, ignoring brand details, and inconsistent lighting that reduces overall realism and quality.