The E-commerce business has now become more popular than it was ever before. With e-commerce, another stream grew, that is, commercial photography. This platform existed before, for advertising too, but now this is the backbone of the e-commerce business.
The purpose of images has changed over time. It is no longer limited to advertising. Rather, it has now become the biodata of a product. So, knowing editing works, like how to mask in photoshop, is now essential for photographers and designers.
What you’ll learn in this article
What is Image Masking in Photoshop?
While working on images, we often need to work on a certain area. To do that, we can follow different ways. Image masking is kind of a substitute for the Eraser Tool. But unlike the Eraser Tool, it doesn’t remove the selected part forever.
Imagine the work that masking tape does in real life. When you work on an image, it helps you hide one area and work on the other parts. The hidden part is still there, and you can work on it anytime you want just by removing the tape. Masking is just like that.
Image masking gives you the freedom to work on specific parts without losing any details of the image. You can hide and unhide the parts anytime you want and work on them.
Tutorial: How to Mask in Photoshop?
There are two kinds of masking that you can do in photoshop.
- Layer Mask
- Clipping Mask
Though their end result seems the same, these two processes work differently.
A clipping mask is basically a group of layers, and each layer indicates different parts of an image. Here, two or more layers join together to make an image. Clipping mask uses the content and transparency of one layer to control the visibility of another layer.
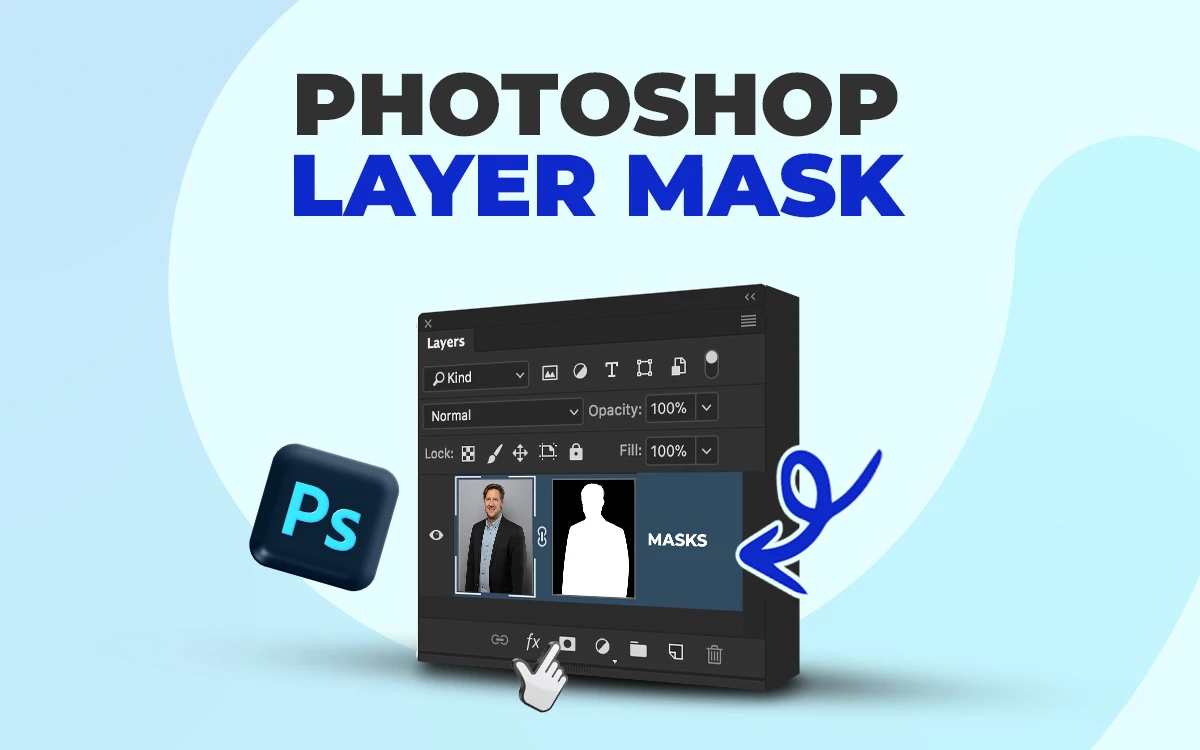
On the other hand, the Layer mask is a single layer that allows us to hide one portion and work on the other part. Unlike the clipping mask, layer mask use black and white colors to show the hidden and visible part.
How to Use a Layer Mask in Photoshop?
Step 1 : Open
Go to File and click on Open to open the file in photoshop.
Step 2 : Take Tool
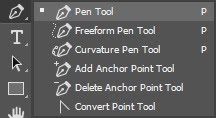
There are several tools in Photoshop that help you to select an area. Like, Quick Selection, Magic Wand, Pen Tool, etc. Here, I’m taking the Quick Selection Tool to select the area.
Step 3 : Select Area
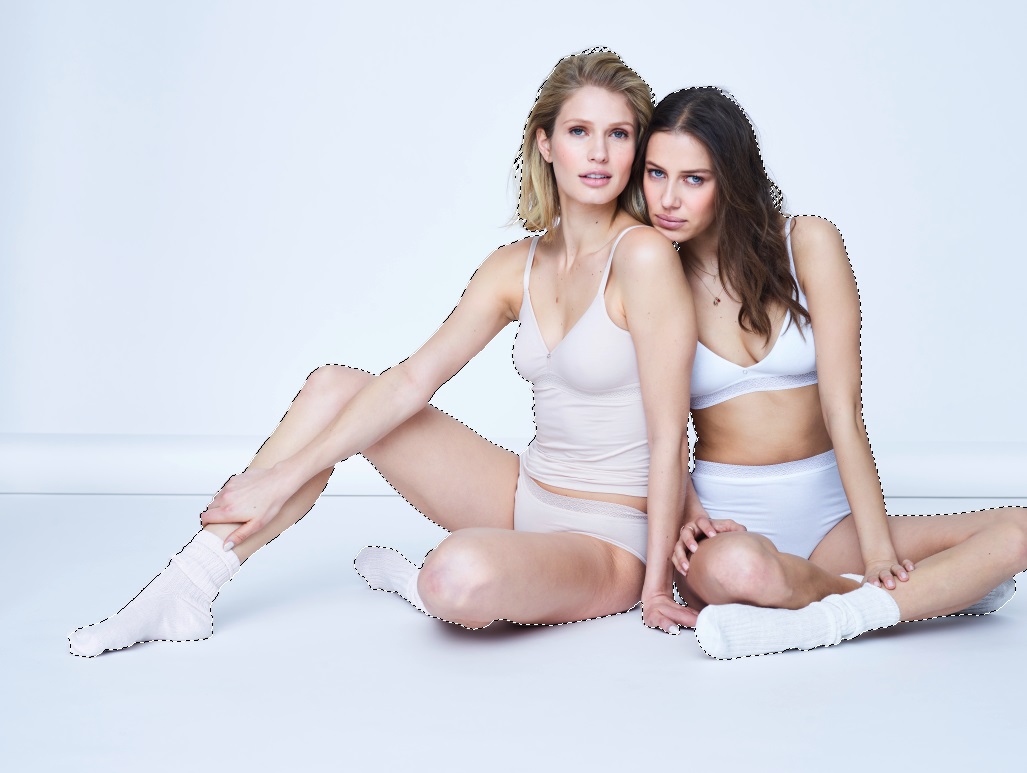
Click on Select Subject from the top menu. This tool works with artificial intelligence to Select Subject.

After Selecting the subject, make corrections to make the image more accurate.
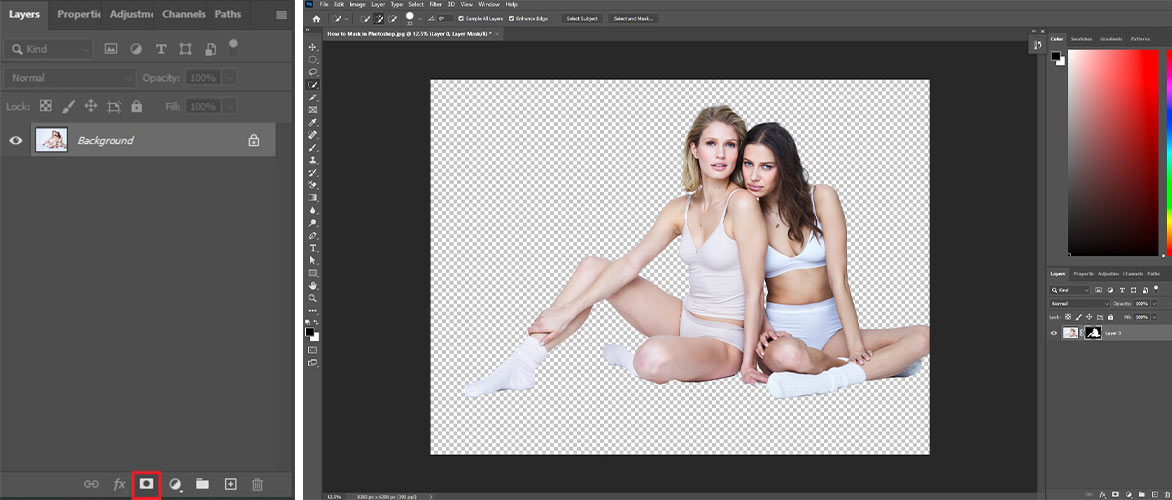
Step 4 : Layer mask
Go to the Layer menu and click on the box with a circle inside to add Layer Mask. You’ll see the background Layer has been changed.
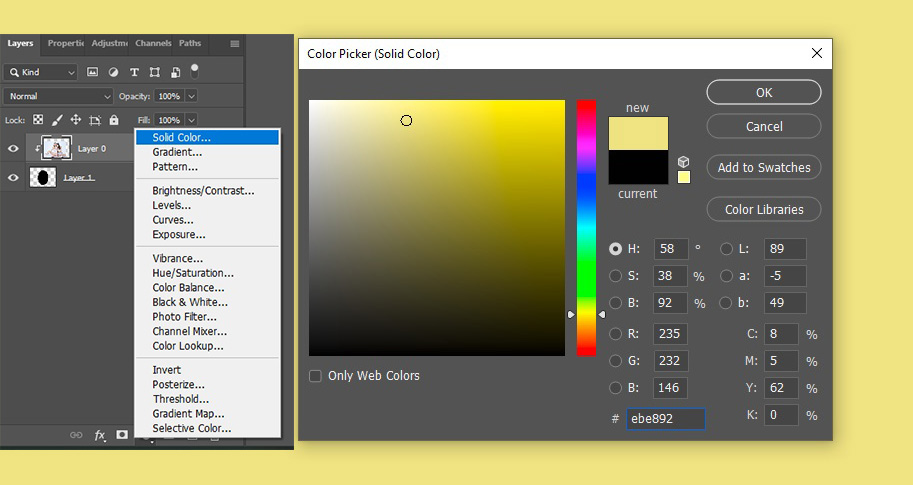
Step 5 : Change Color (Optional)
You can change the background color if you want. Go to the Layer menu and click on New Adjustment Layer and select Fill Color.
Step 6 : Save
Go to File and click on Save As to save the file. Don’t forget to keep the PSD file.

When to Use Layer Masks
Take a look on when you should use Layer Masks –
- Cutting out objects from image
- To hide or to make a specific part visible in an image
- While making image composites
- Making editing limited to specific parts
How to Use a Clipping Mask in Photoshop?
You can create a clipping mask by using the Marquee Tool in photoshop. First, you need to take a new Layer and then place it under the main Layer. Then take the Marquee Tool and draw a shape. After that, you’ll have to Fill the area and deselect it.
Now you can select the main layer and work on it by clicking on Create Clipping Mask from the top menu. As your mask is ready, you can place the image by using Move Tool and make any changes you want.
You can learn the best way to create clipping mask here, for free.
Watch Video Tutorial:
When to Use Clipping Masks
Here is when you should use Clipping Masks –
- To control the visibility of one layer over another
- While having different kinds of editing in one image
- To apply one layer automatically on the below layer
- To create specific shapes in layers
Outsource Image Masking Services
Even though image masking is not a tough job, this skill requires practice to master. However, there is no reason to be worried about how to get your job done. If you are looking for the best clipping path service provider, Offshore Clipping is one of the most trusted ones among professional photographers and e-com businessmen.
With skilled and creative hands who know how to produce professional-level works, you will get your projects done smoothly. While we take care of your images, you use that time to flourish your business.
Final Thought
Image masking is probably one of the most used features of photoshop. This process is necessary for almost all kinds of work. Not just for professional works, masking is broadly used in artworks too. Masking gives the opportunity to edit every part of the image whenever you need it and however you need it. There are lots of creative ways to make use of this feature.