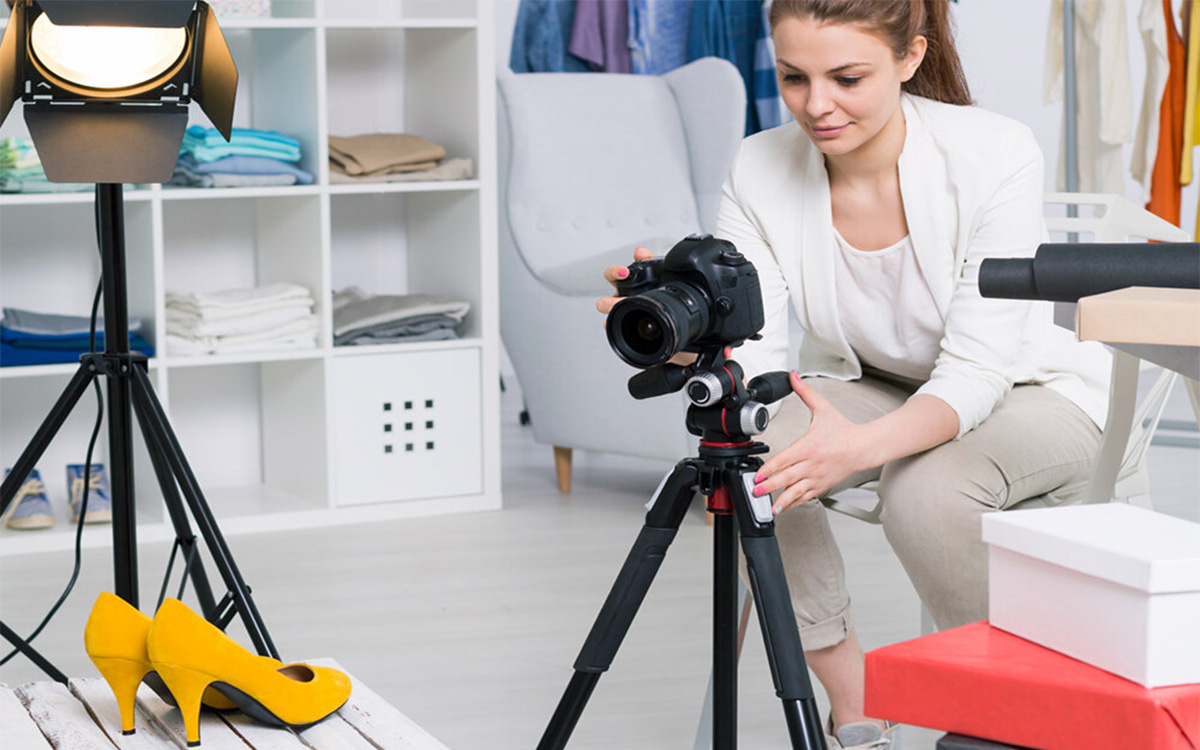
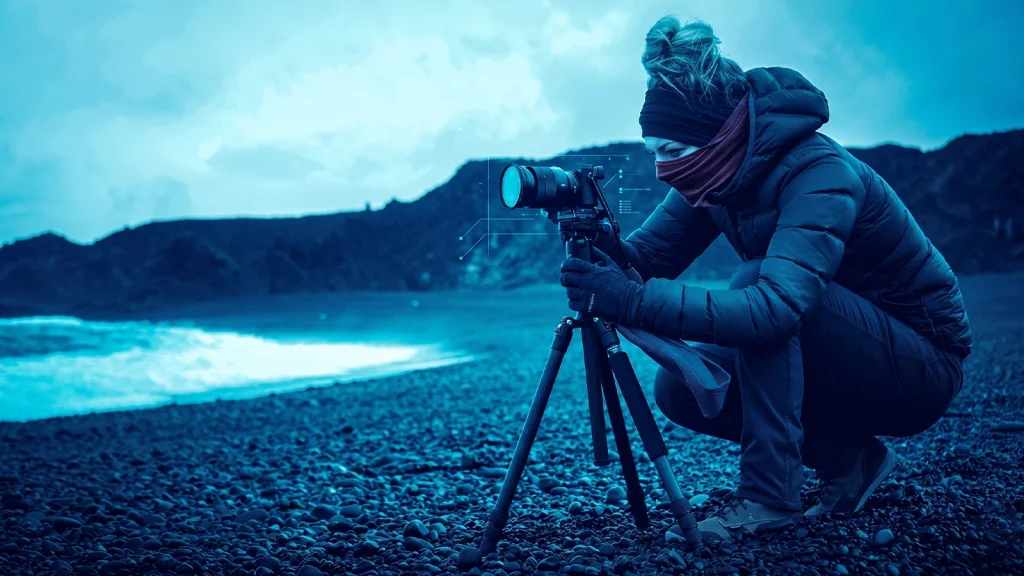
Great photos need a steady camera. That is why photographers use a tripod. Many people think using a tripod is easy, but the right setup can make a huge difference in your photos. When you learn to use a tripod for photography, you can take sharp landscape photos, clear portraits, and better low-light shots without blur.
A tripod also helps you keep your camera stable when you use slow shutter speeds or heavy lenses. It gives you more control over your camera angle and photo composition. In this ultimate guide, I will show you how to use a tripod for photography step by step. You will also learn simple pro tips, smart setup tricks, and common mistakes to avoid so you can capture sharp and professional photos every time.
What you’ll learn in this article
- 1 Why You Need Use a Tripod for Photography
- 2 Step-by-Step: How to Set Up a Tripod for Photography Perfectly
- 3 How to Use a Tripod for Photography: Pro Portrait Setup
- 4 Strategic Tripod Positioning for Maximum Stability and Balance
- 5 8 Essential Pro Tips for Photographers Using a Tripod
- 6 Critical Mistakes to Avoid When Using a Tripod for Photography
- 7 Tripod Care and Maintenance
- 8 Frequently Asked Questions (FAQ)
- 9 Got the Perfect Shots but Need That Professional Edge?
Why You Need Use a Tripod for Photography
A tripod is necessary for photography because it keeps your camera steady, reduces blur, and allows for sharp images in low light and long exposures. Also, works as a strong support for any heavy telephoto lens. It improves composition, supports creative techniques, and ensures consistent results across shots. Stable support also helps maintain framing, balance, and accuracy in every capture.
Here is a list of reasons why you need a tripod for photography:
- Sharp images in low light: Keeps the camera steady during slow shutter speeds, preventing motion blur and allowing clean, noise-free images without raising ISO.
- Better composition control: Holds framing in place, making it easier to fine-tune alignment, straighten horizons, and carefully adjust every element in the scene.
- Long exposure capability: Allows capturing light trails, smooth water, and night scenes with clarity and detail that handheld shooting cannot achieve.
- Consistent framing: Maintains the same position for multiple shots, which is useful for panoramas, HDR, and before-and-after comparisons.
- Hands-free shooting: Frees your hands for adjusting lighting, guiding subjects, or making camera setting changes without disturbing the frame.
- Precision and stability: Reduces even the smallest shakes, helping preserve fine details and overall image sharpness.
- Tack-sharp images: Eliminates micro-movements that often go unnoticed, ensuring maximum sharpness even when zoomed in or printing large photos.
- Macro photography: Provides the stability needed for extreme close-ups, where even tiny movements can ruin focus and detail.
- Specialised techniques: Supports advanced methods like focus stacking, time-lapse, astrophotography, and exposure bracketing with accuracy and control.
- Better workflow: Speeds up shooting by keeping your setup consistent, reducing retakes, and making editing easier with cleaner, aligned images.
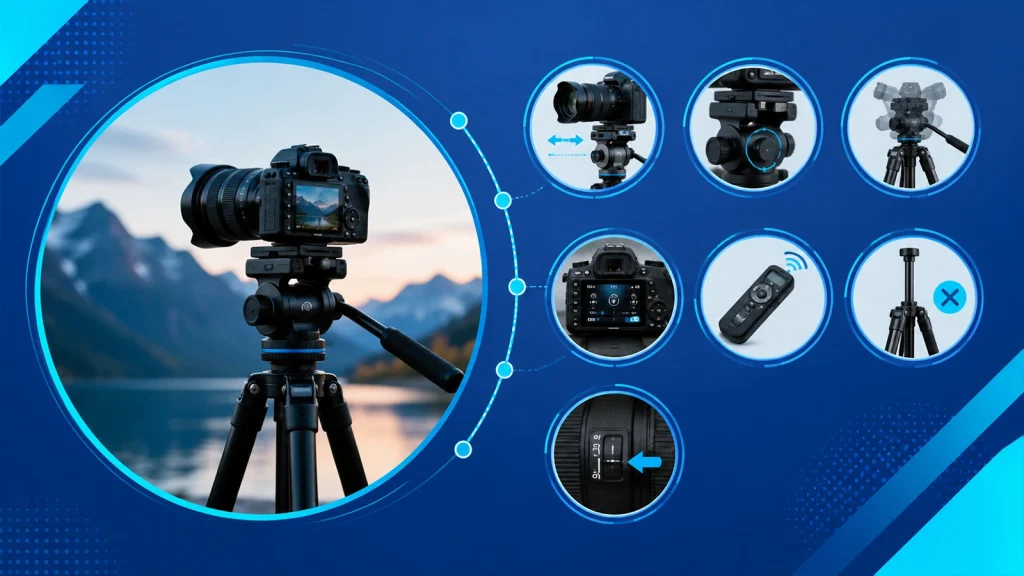
Step-by-Step: How to Set Up a Tripod for Photography Perfectly
The setup process of a tripod for photography starts with creating a stable base that keeps your camera steady and balanced. Proper setup reduces blur, improves composition, and protects your gear from tipping over. It also helps you shoot faster and more accurately in different conditions, from uneven ground to indoor setups.
Here is the step-by-step process to set up a tripod properly:
Step 1: Prepare the Tripod
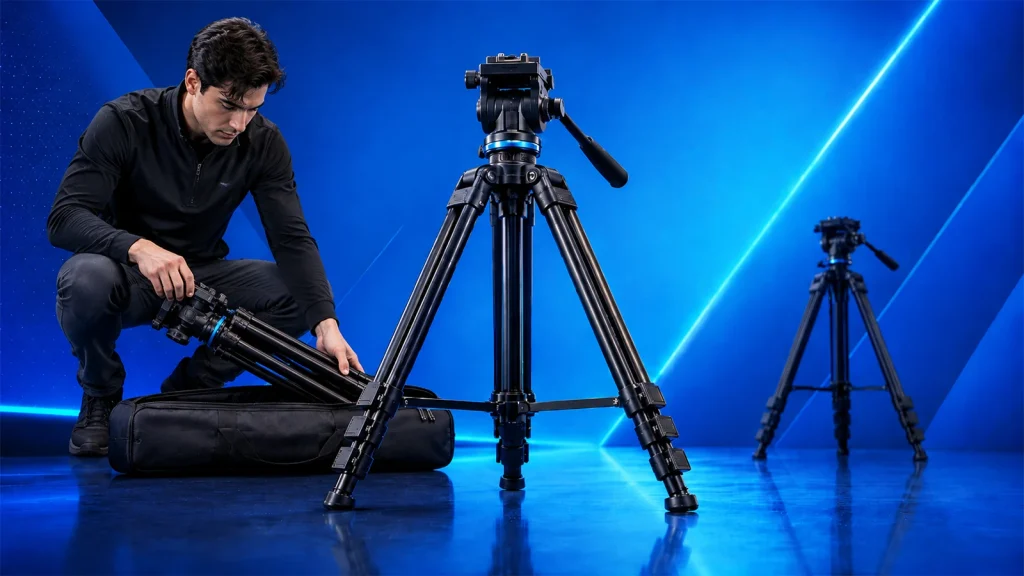
Unfold the tripod fully and inspect all locks, joints, and the center column to ensure everything is secure and functioning. Check for loose parts, clean any dirt from the feet, and make sure the tripod is ready for stable placement.
Step 2: Secure the Legs
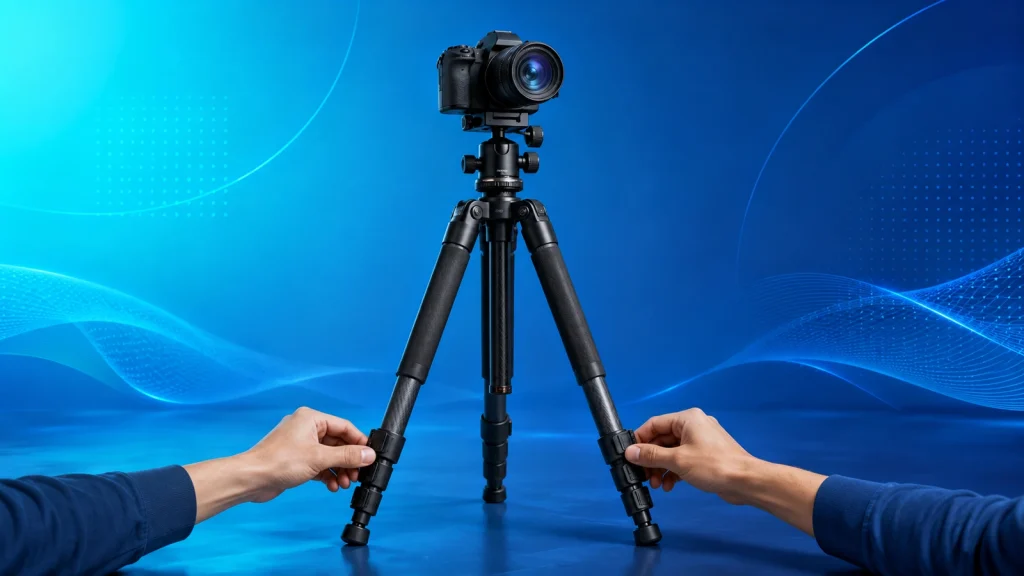
Extend the legs starting with the thickest sections, as they provide the most stability. Lock each section tightly and evenly, avoiding overextension of thinner sections that can reduce strength and cause unwanted movement.
Step 3: Position the Tripod
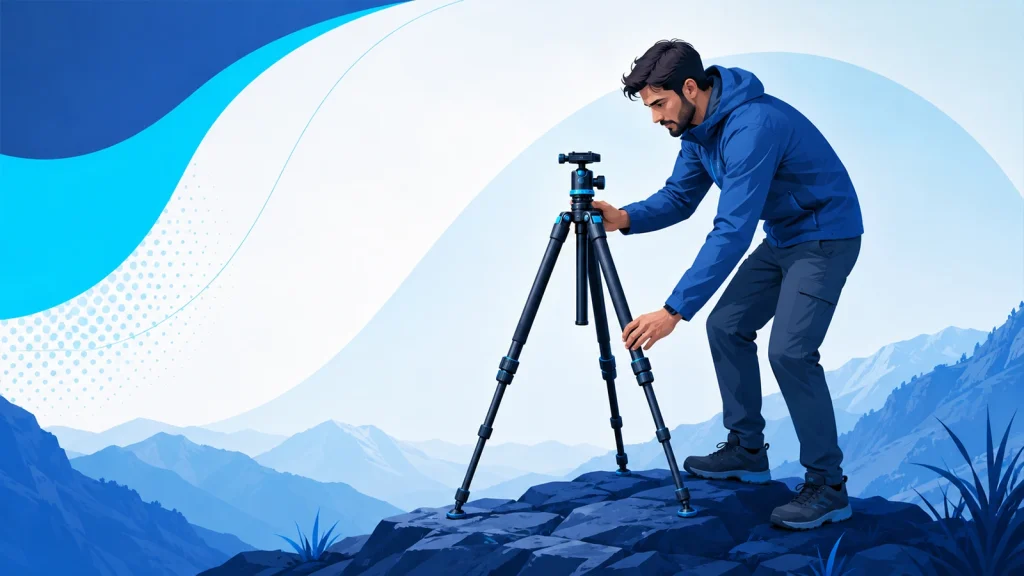
Place the tripod on solid, level ground whenever possible. Spread the legs wide for better balance, and adjust individual leg angles if the surface is uneven to keep the setup stable and firm.
Step 4: Attach the Quick Release Plate
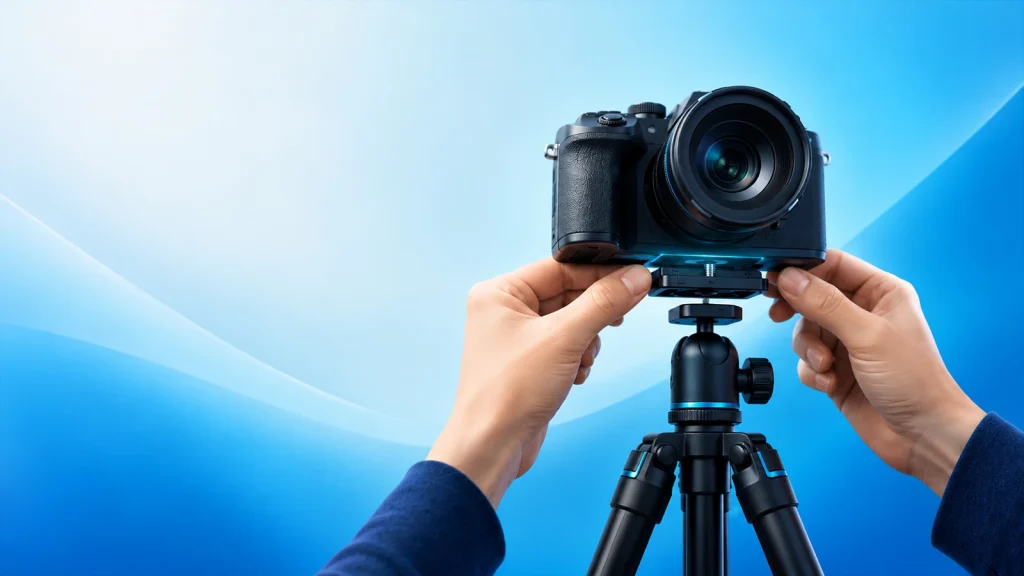
Fix the plate to the bottom of your camera and tighten it securely using the screw. Ensure it is aligned correctly so the camera sits straight and does not tilt or shift during use.
Step 5: Mount the Camera
Carefully place the camera onto the tripod head and lock it into position. Double-check that the locking mechanism is fully engaged to prevent accidental slips or drops.
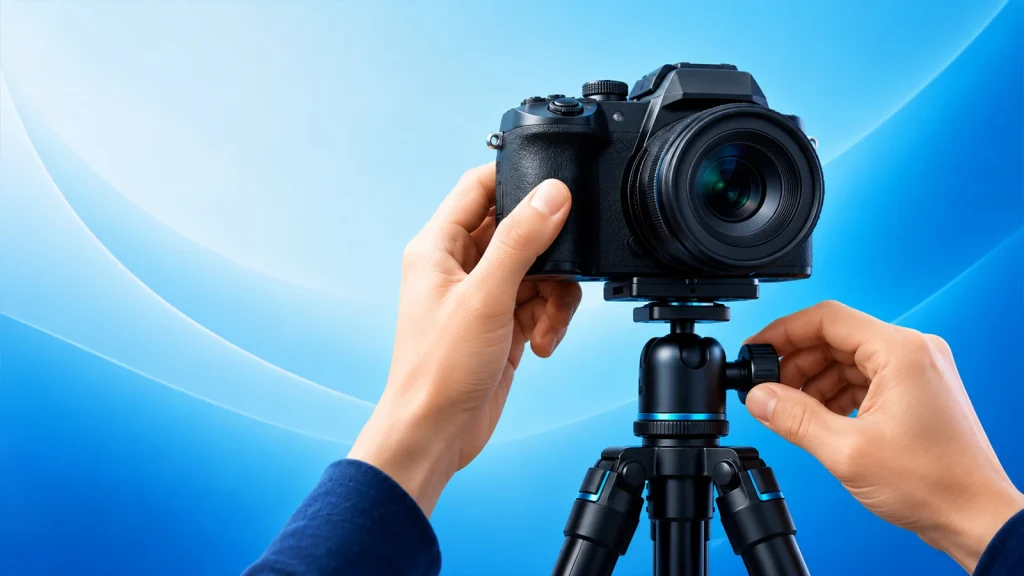
Step 6: Level and Balance
Use the tripod’s bubble level or camera grid to level your shot. Adjust the head and fine-tune leg height to balance the weight properly, ensuring smooth movement and accurate composition.
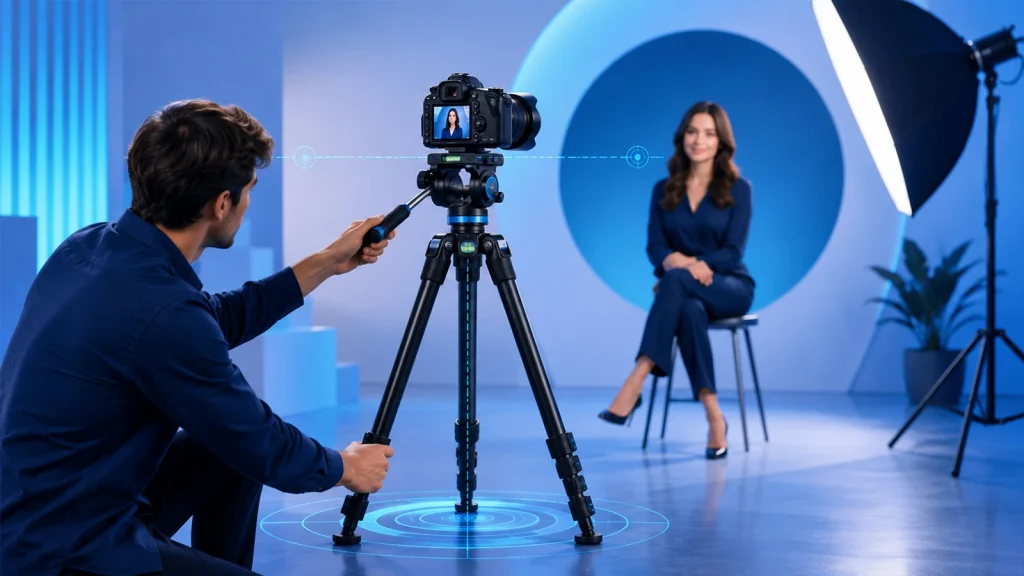
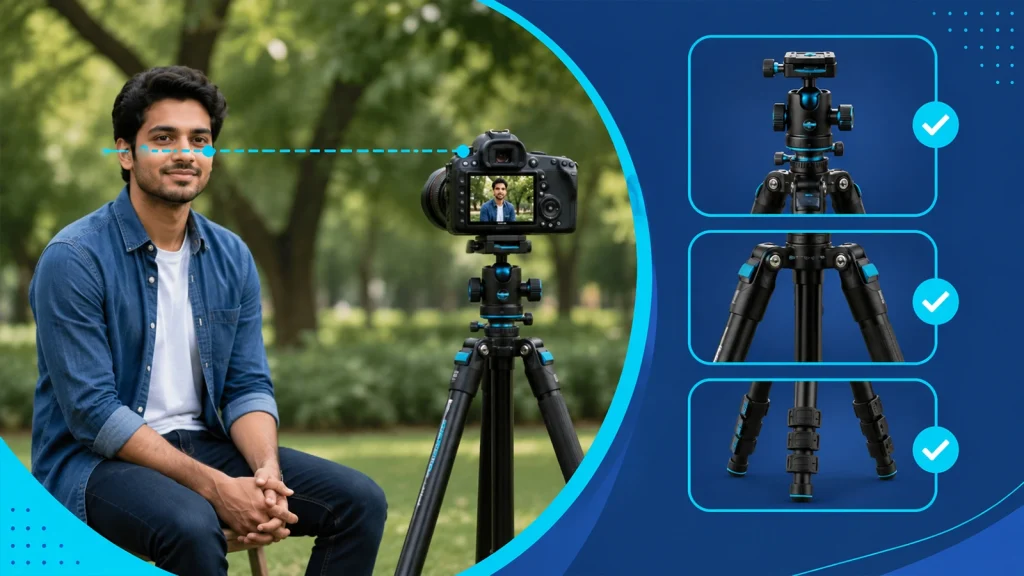
How to Use a Tripod for Photography: Pro Portrait Setup
Setting up a tripod for portrait photography starts with positioning the camera at eye level, ensuring stable support, and framing your subject with balanced composition. Proper setup keeps shots sharp, maintains consistent angles, and allows better interaction with your subject. It also helps control background, lighting, and focus for clean, professional-looking portraits.
Here are the steps to set up a tripod for portrait photography:
Step 1: Adjust Tripod Height
Set the tripod so the camera matches the subject’s eye level for a natural portrait perspective. Keep the center column as low as possible because full extension reduces stability. Lock all leg sections tightly to prevent small vibrations that can affect sharpness.
Step 2: Position the Tripod

Place the tripod at the correct distance based on your lens, usually between 50mm and 85mm for portraits. This helps avoid facial distortion and keeps proportions natural. Adjust distance to balance subject size, background blur, and scene depth.
Step 3: Level the Camera

Use the tripod bubble level or your camera’s electronic level to straighten the frame. A level setup ensures clean horizon lines and consistent composition. This is important when shooting multiple portraits that need matching alignment.
Step 4: Mount Camera Securely
Attach the camera firmly to the tripod head using the quick-release plate. Tighten all locks properly and double-check stability before letting go. This prevents movement or slipping, especially with heavier lenses or vertical portrait orientation.
Step 5: Fine-tune Composition

Adjust framing using the rule of thirds grid, placing the subject’s eyes in a strong visual position. Lock focus on the eyes for sharp detail, set the aperture between f/1.8 and f/4 for background separation, and remove any distracting elements before the final shot.
Pro Techniques: How to Use a Tripod for Sharp Landscape Photography

The Techniques for Using a Tripod for Sharp Landscape photography focus on keeping the camera fully stable, reducing vibration, and maintaining exact framing during long outdoor exposures. These techniques help photographers capture clean detail in mountains, skies, and water scenes, even in wind or low light. The main idea is simple: remove every possible source of shake and let the camera stay completely still for maximum sharpness.
Here are some techniques for using a tripod for sharp landscape shots
- Stable leg positioning: Spread the tripod legs wide and press them firmly into the ground. Adjust each leg independently on uneven terrain so the camera stays level and grounded.
- Lower center of gravity: Keep the center column as low as possible. A lower setup increases rigidity and reduces movement caused by wind or accidental bumps.
- Wind resistance control: Add weight to the tripod hook or position your body as a wind block. This helps prevent small vibrations that ruin sharp landscape details.
- Manual focus accuracy: Use manual focus with live view zoom to lock focus on key elements like rocks, trees, or horizon lines. This avoids autofocus hunting.
- Vibration control during exposure: Use a remote shutter or timer and turn off image stabilization. If using a DSLR, enable mirror lockup to stop internal shake during capture.
Expert Video Stability: How to Use a Camera on a Tripod for Video
The Techniques for Using a Camera on a Tripod for Video focus on achieving smooth, stable, and professional-looking footage by controlling movement, balance, and camera settings. A tripod removes unwanted shake and helps maintain consistent framing during recording. Proper setup and handling are key to avoiding jitter, drift, and uneven motion throughout the shot.
Here are the techniques for using a camera on a tripod for video:
- Balance the camera on the head: Adjust the position so the camera stays steady without drifting forward or backward, especially with heavy lenses.
- Lock down stability points: Secure all tripod legs, head knobs, and mounting plates tightly to prevent micro vibrations during recording.
- Use smooth pan and tilt control: If your tripod head allows movement, adjust tension so motions are slow and controlled, not jerky.
- Set manual exposure settings: Lock shutter speed, ISO, and white balance to avoid brightness or color shifts during the shot.
- Use an external trigger or timer: Start and stop recording using a remote or app to avoid shaking from touching the camera.
- Avoid extending the center column: Keep the tripod low and stable since raising the center column increases vibration risk.
- Enable stabilization carefully: Turn off lens stabilization on fully locked tripod shots, unless you are doing intentional motion work.
Strategic Tripod Positioning for Maximum Stability and Balance
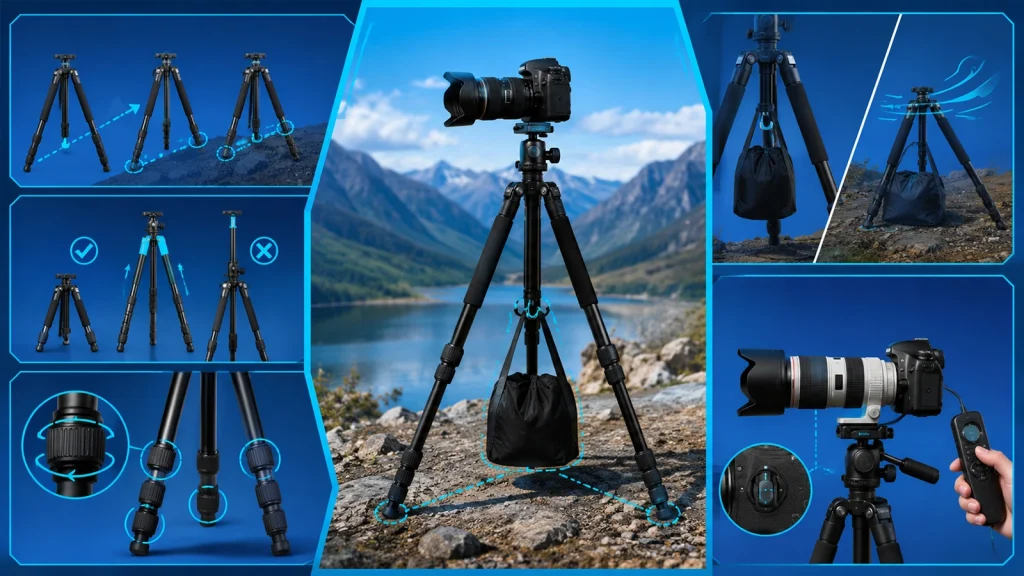
The best tripod positioning for maximum stability is placing it on firm ground with a wide stance, low height, and balanced weight distribution. This setup reduces shake, improves sharpness, and keeps the camera steady in wind, uneven terrain, or long exposure shots. Proper positioning also protects gear and supports heavier lenses with better control.
Here is how to position a tripod for maximum stability:
Step 1: Leg Positioning and Setup
Point one leg toward the subject to balance the lens weight. Spread legs wide to form a strong base. On slopes, place two legs downhill and one uphill, and adjust each leg so the camera stays level. Use spikes on soft ground for better grip.
Step 2: Height and Extension Strategy
Keep the tripod low to improve stability. Extend thicker leg sections first since they are stronger. Avoid raising the center column because it increases vibration and reduces overall stability.
Step 3: Locking and Balance
Lock all leg sections firmly before shooting. Make sure there is no movement in joints or head connections. Secure locking helps prevent vibration and keeps framing steady.
Step 4: Counterweight Use
Hang a camera bag or weight from the center hook to improve stability. Keep it still and avoid swinging. In windy conditions, rest it on the ground to reduce movement.
Step 5: Shooting Stability
Use a remote, timer, or cable release to avoid touching the camera. Turn off image stabilization when on a tripod. For heavy lenses, mount using the lens collar to keep the balance centered.
8 Essential Pro Tips for Photographers Using a Tripod
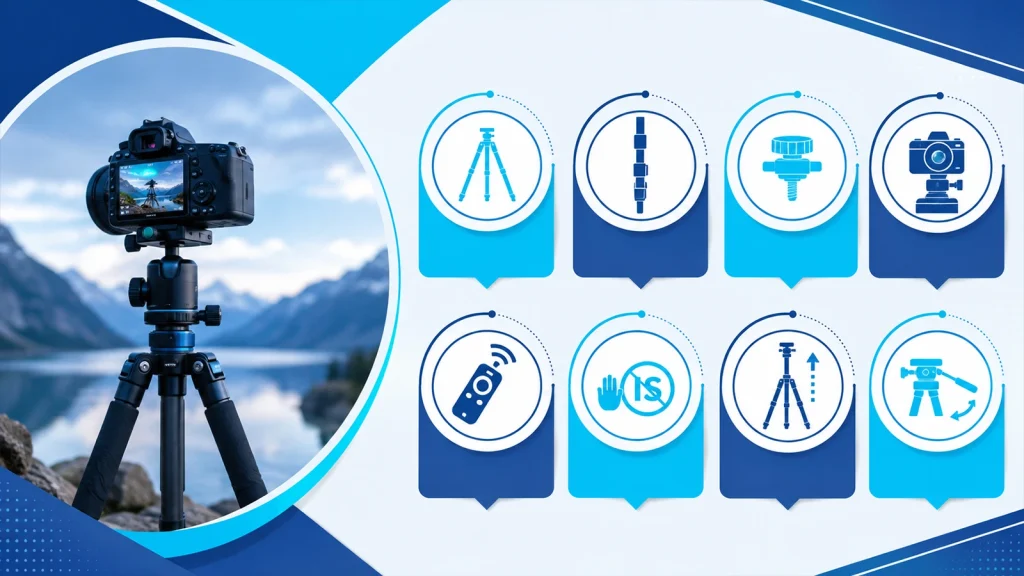
The essential tips for photographers using a tripod are ensuring stability, maintaining proper balance, reducing vibration, and using the right shooting techniques. A tripod is not just for holding the camera still; it helps improve sharpness, composition, and consistency. When used correctly, it allows better control in low light, long exposures, and precise framing situations.
Here are some practical tips to follow when using a tripod:
- Choose a stable surface: Place the tripod on firm ground and avoid soft or uneven surfaces that can cause shifting during shooting.
- Extend legs correctly: Use thicker leg sections first and keep the center column low to maintain maximum stability.
- Check all locks and knobs: Tighten every joint, clamp, and head control to prevent unwanted movement or sudden slips.
- Balance your camera setup: Align the camera’s weight over the tripod head to avoid tilt and ensure smooth adjustments.
- Use a remote or timer: Avoid pressing the shutter directly to reduce vibration and keep images sharp.
- Turn off image stabilization: Disable lens or in-body stabilization when on a tripod to prevent internal corrections causing blur.
- Avoid raising the center column: Keep it down whenever possible since raising it reduces stability and increases vibration risk.
- Use proper head adjustments: Make slow and controlled movements when framing to maintain precision and avoid jerks.
Critical Mistakes to Avoid When Using a Tripod for Photography
The common mistakes to avoid when using a tripod for Photography include unstable setup habits, poor balance, and ignoring vibration control. These mistakes often lead to soft images, framing errors, and unwanted camera movement. Fixing them improves sharpness, stability, and overall shooting accuracy in both indoor and outdoor conditions.
Here are the key mistakes to avoid:
- Not tightening all knobs: Loose leg locks or head clamps create micro-movements that slowly shift framing during exposure or video capture.
- Raising the center column too high: This reduces structural stability because the load moves above the tripod’s strongest support point, increasing vibration risk.
- Wrong leg extension order: Extending thinner lower sections first weakens rigidity and makes the setup more flexible than needed.
- Poor balance of camera and lens: If the center of gravity is off, the tripod head must compensate, which leads to drift and uneven pressure.
- Ignoring vibration control methods: Not using remote shutter, timer, or mirror lockup allows small internal or external vibrations to affect sharpness, especially in long exposures.
- Neglecting the Centre Column Hook: The hook is designed for adding weight like a bag. Skipping it reduces stability in wind or uneven surfaces where extra downward force helps anchor the tripod.
- Using Too Weak a Tripod: Light or low load-rated tripods flex under heavier cameras or lenses, causing drift, vibration, and poor long exposure results.
- Ignoring Stability on Unstable Ground: Soft sand, loose soil, or uneven rocks reduce leg grip. Without proper adjustment, the tripod can slowly sink or shift during exposure.
- Not Using a Remote/Timer: Pressing the shutter by hand creates small vibrations that travel through the tripod, affecting sharpness in slow shutter photography.
- Leaving the Camera Strap Attached: A hanging strap can catch wind and create subtle oscillations that transfer directly to the camera body.
- Failing to Level the Base: An unlevel tripod forces the head to compensate, leading to uneven panning, tilted horizons, and framing errors.
- Skipping Maintenance: Dust, sand, and grit inside locks and joints reduce friction control and can cause slipping or uneven locking.
- Ignoring Mirror Slap (DSLRs): Internal mirror movement creates a small shock during exposure. Without mirror lockup, it can introduce blur in critical sharpness shots.
Tripod Care and Maintenance
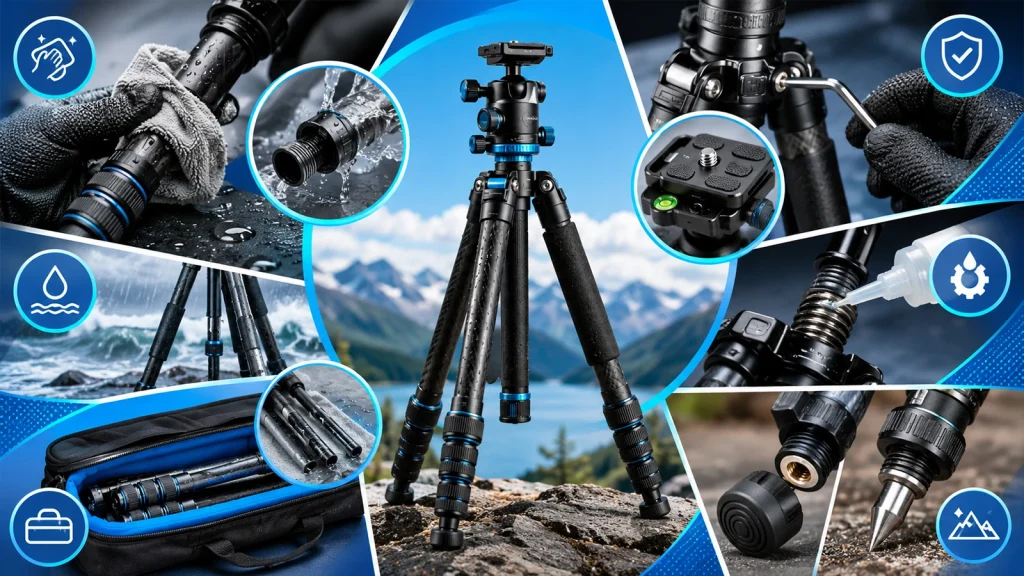
Tripod care and maintenance are essential for preserving stability, performance, and long-term reliability. Regular cleaning, proper storage, and routine checks prevent wear, corrosion, and mechanical failure.
A well-maintained tripod ensures consistent support for your camera, reduces vibration risks, and extends its lifespan, making it a dependable tool for both professional and everyday photography.
Taking care of your tripod is simple, but skipping it can lead to loose joints, instability, and costly damage.
Here are some tips for tripod care and maintenance:
- Clean after every use: Wipe legs with a dry or slightly damp cloth, especially around twist locks or flip locks where debris collects. For deeper cleaning, disassemble lower leg sections and rinse with clean water, then dry fully before reassembly.
- Check locks and joints: Test each leg lock for proper tension. Twist locks should tighten smoothly without slipping, while flip locks may need adjustment using a hex key. Check the head mounting plate and center column for play.
- Avoid water damage: After exposure to rain, saltwater, or humidity, dry all metal parts and extend legs fully to air dry internal sections. Salt residue should be rinsed off to prevent corrosion of aluminum or carbon fiber fittings.
- Lubricate moving parts: Use a small amount of silicone-based or manufacturer-recommended lubricant on threads and hinges. Avoid oil-based lubricants as they attract dust and can degrade internal components over time.
- Store properly: Collapse the tripod loosely, not overly tight, to reduce stress on threads and locks. Store in a padded bag or case in a low-humidity environment to prevent mold and material fatigue.
- Inspect rubber feet and spikes: Check that rubber feet are securely attached and not worn unevenly. For removable feet, ensure threads are clean and not stripped; metal spikes should be rust-free and tightened properly for outdoor use.
Frequently Asked Questions (FAQ)
Should I turn off Image Stabilization when using a tripod?
Yes, you should generally turn off Image Stabilization (IS) or Vibration Reduction (VR) when your camera is mounted on a tripod. Since there is no movement for the system to compensate for, the internal motor may create tiny vibrations while “searching” for shake, which can ironically lead to blurry images.
When is it better NOT to use a tripod?
A tripod isn’t always necessary if you have ample lighting and a fast shutter speed (e.g., 1/500s or faster). It can also be a hindrance in street photography or fast-paced events where mobility is key and setting up a tripod would cause you to miss the moment.
Ball Head vs. Pan-Tilt Head: Which is better?
It depends on your shooting style. A Ball Head is preferred for landscape and travel because it is compact and allows for rapid adjustments. A Pan-Tilt Head (3-way) is better for architecture or macro photography, where you need to control each axis (horizontal and vertical) independently for precision.
How can I keep my tripod stable in high winds?
In windy conditions, lower the center column as much as possible and hang a weighted object, like your camera bag, from the center column hook. This lowers the center of gravity and anchors the tripod to the ground, reducing wind-induced vibrations.
Carbon Fiber vs. Aluminum Tripod: Which should I choose?
If you travel frequently or hike long distances, Carbon Fiber is worth the investment because it is lighter and absorbs vibrations better. If you shoot mostly in a studio or near your vehicle and are on a budget, Aluminum is a durable and cost-effective alternative.
Got the Perfect Shots but Need That Professional Edge?
Even with a rock-steady tripod, raw photos need expert tuning to truly stand out on e-commerce sites or portfolios. Let our pro editors handle the tedious post-processing, background removal, and high-end retouching for you.