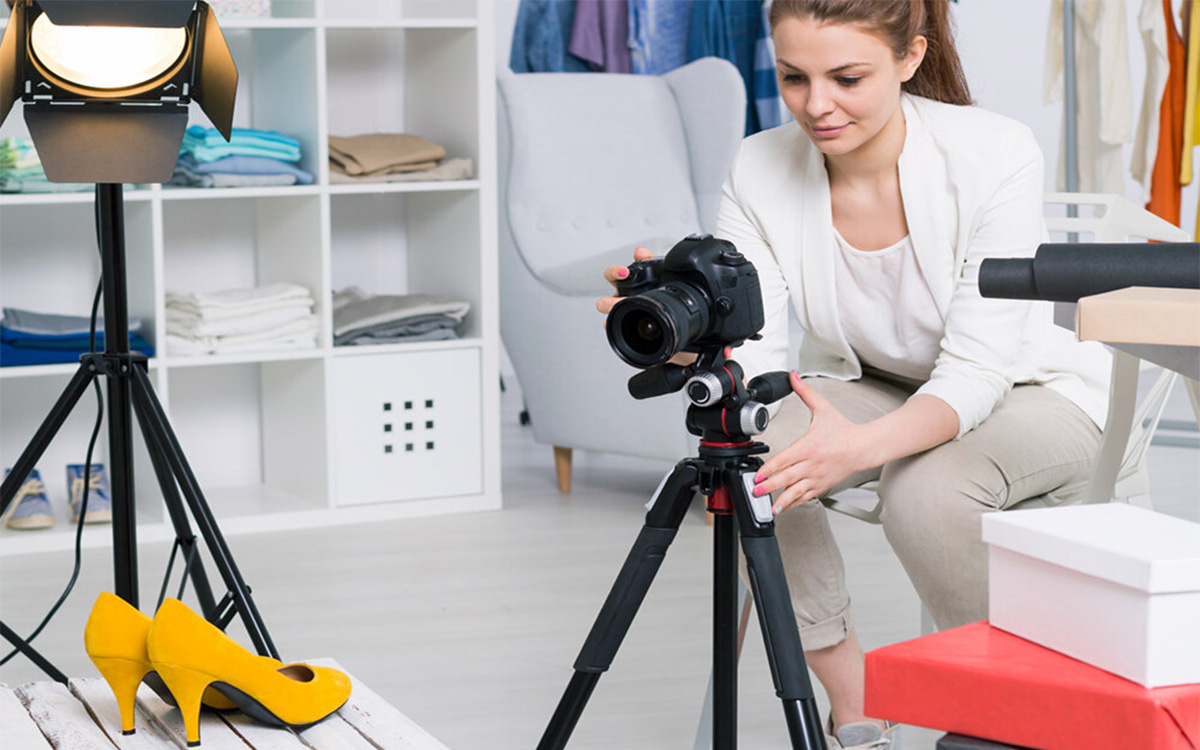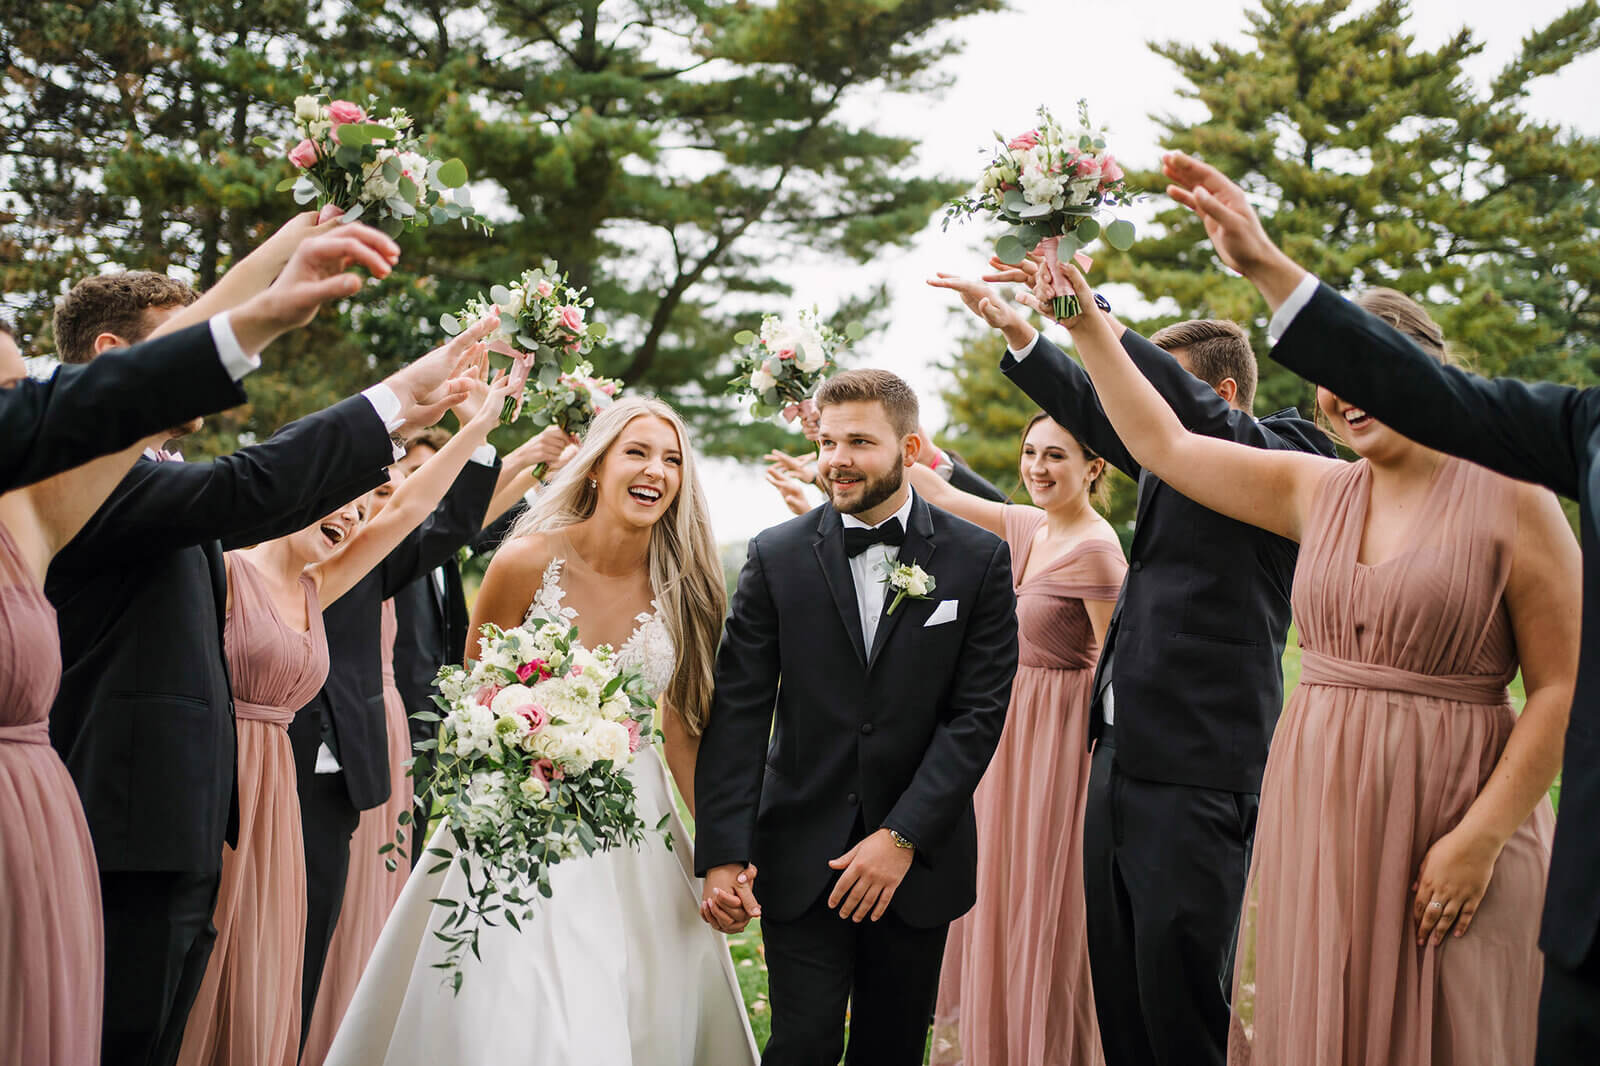
What does a watch on someone’s wrist reveal that the same watch on a white background cannot? Whether the case actually sits right, whether the strap looks bulky or sleek once worn, whether it reads formal enough for a boardroom or casual enough for a weekend.
This is the purpose of lifestyle product photography. It presents a product within a realistic activity, setting, or moment, giving shoppers useful context about its size, function, handling, and intended use. The scene may also express the mood and identity associated with the brand.
But every model, prop, and background must earn its place. If the setting distracts from the product or creates an unrealistic impression, the image loses its purpose. Successful results depend on thoughtful planning, suitable lighting and composition, accurate editing, and preparing each photograph for its intended ecommerce or marketing channel.
Inconsistent colour, skin tone, crops, and backgrounds can weaken an entire lifestyle image set, which is why post-production plays as big a role in the final result as the shoot itself.
Inconsistent colour, skin tone, crops, and backgrounds can weaken an entire lifestyle image set. Our Ecommerce Photo Editing Services deliver consistent, marketplace-ready results.
Key Takeaways
- Lifestyle product photography shows the product as part of a real-life activity, occasion, or environment rather than isolating it against a plain background.
- It helps shoppers understand the product’s scale, imagine using it, and connect it with a practical or emotional benefit.
- Catalogue photography remains essential for marketplace listings, product details, and quick comparison.
- The right format depends on what shoppers need at each stage, not simply on which image looks more creative.
- A successful shoot requires a clear visual message, channel-based shot list, styling direction, crop plan, and continuity control.
- Lifestyle images need more individual editing to balance colour, refine the scene, and preserve a natural, accurate result.
What Is Lifestyle Product Photography?
Think of lifestyle product photography as the visual bridge between a product’s features and its place in the customer’s daily-life routine. It builds a purposeful scene around the item to communicate a specific use, occasion, audience, or experience that a standard catalogue photo may not fully explain.
For example, a catalogue image clearly shows the specific model of a coffee maker. But did not explain how the appliance fits into the customer’s routine. A lifestyle image fills that gap by showing the coffee maker in use during a busy morning, making its size, function, and everyday value easier to understand.
The surrounding elements are therefore more than decoration. The model, location, props, lighting, and styling should work together to communicate the product’s intended role. Ideally, viewers should understand the use case or experience without depending on a caption for an explanation.
Explore our complete product photography guide to discover the right photography style for every product and purpose.
A good lifestyle image presents the product accurately, more than a still product image. Shape, colour, texture, logo placement, and functional details must remain clear. When styling or editing changes those facts, the image may look attractive but becomes less useful for ecommerce.
Why Lifestyle Product Photography Works
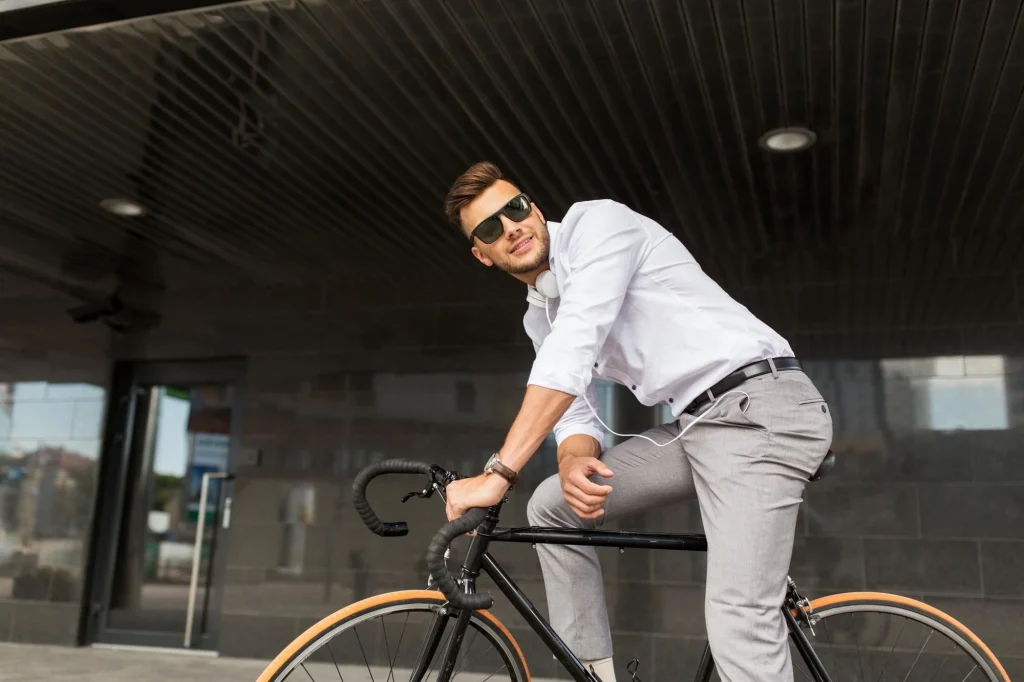
Lifestyle product photography works by providing the context that an isolated product image leaves out. It helps shoppers understand the product through five connected elements: imagined use, visual reference, functional proof, guided attention, and a realistic setting.
- Imagined use: Seeing someone wear, hold, open, or use a product helps shoppers picture themselves doing the same. This makes the item’s place in their daily routine easier to understand.
- Visual reference: Familiar people and objects make size, fit, and proportion clearer. A hand indicates the size of a bottle, a model demonstrates garment fit, and a furnished room shows how much space a chair occupies.
- Functional proof: Showing the product in action can explain features that are difficult to communicate through text. An open bag reveals compartment access, while apparel photographed in motion demonstrates fabric drape and flexibility.
- Guided attention: Lighting, contrast, depth of field, colour separation, and subject placement direct the viewer toward the most important details. The surrounding scene provides context, but the product must remain the main focus.
- Realistic context: The setting, model, and action should match the product’s intended use. Accurate scale and natural interaction make the scene convincing, while forced poses or unrealistic use can weaken trust.
In practical terms, lifestyle photography replaces buyer assumptions with clear visual information. Instead of asking shoppers to imagine how the product might look, fit, or function, it gives them useful evidence directly within the scene.
Lifestyle vs Product Photography
Lifestyle and traditional product photography use different production systems. Traditional product photography is designed for controlled capture and repeatable output. Lifestyle photography combines the product with people, props, movement, and environmental light, so each frame needs more individual control.
| Factor | Traditional Product Photography | Lifestyle Product Photography |
|---|---|---|
| Setting | Controlled studio background | Real or styled environment |
| Lighting | Fixed and repeatable | Adjusted to match the environment |
| Framing | Consistent across products | Changes with the scene and action |
| Colour | Focuses on exact product colour | Balances product accuracy with mood |
| Focus | Keeps most product details sharp | May soften the background for separation |
| Editing | Mainly uses batch corrections | Often requires detailed local adjustments |
Platform rules may also decide which format is acceptable. Amazon’s product image guide requires the main listing image to use a pure white background. Lifestyle images are therefore better suited to secondary gallery positions where scale, use, and interaction can be shown.
Where Each Image Type Belongs in the Customer Journey
The right image depends on what the shopper needs to understand at that moment. Catalogue images support quick recognition and product comparison, while lifestyle images add context, demonstrate use, and help the product remain memorable across marketing channels.
| Placement | Best image type | Why it works |
|---|---|---|
| Search results and thumbnails | Catalogue | A clean background and clear product outline remain easy to recognize at a small size. |
| Marketplace main image | Catalogue | Neutral framing shows the complete product clearly and supports marketplace requirements. |
| Product-page gallery | Both | Catalogue images confirm details and colour, while lifestyle images demonstrate scale, fit, and use. |
| Brand homepage | Lifestyle | A contextual scene introduces the product’s audience, purpose, and overall brand mood. |
| Social media | Lifestyle | Action and real-life context help communicate the message before users read the caption. |
| Email campaigns | Lifestyle | A simple scene with clear negative space leaves room for readable copy and calls to action. |
| Retargeting ads | Both | Catalogue images reinforce product recognition, while lifestyle images remind shoppers why the item matters. |
How to Plan a Lifestyle Product Photography Shoot
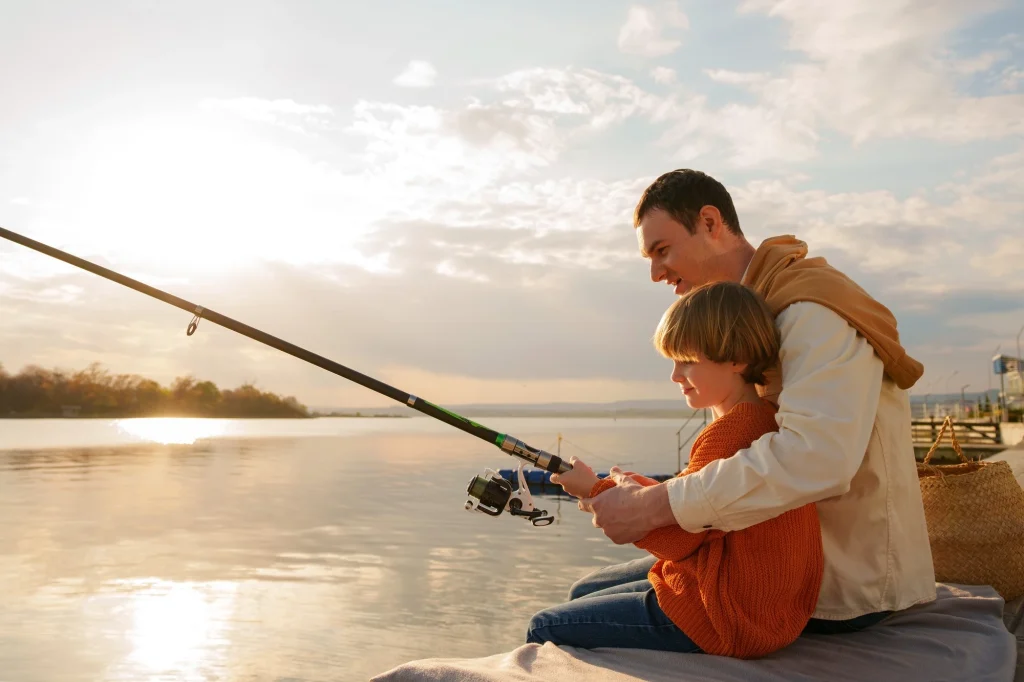
A successful lifestyle shoot begins long before the photographer positions the camera. Planning the intended use, product details, scene, and required deliverables in advance helps prevent missing angles, unusable crops, inconsistent colours, and expensive reshoots.
Define the Use Case and Visual Message
Begin with the specific buying question each image should answer. Broad directions such as “modern lifestyle” or “premium mood” may guide the visual style, but they do not tell the production team what the product needs to communicate.
For a backpack, one image might demonstrate strap fit, while another shows storage capacity or access to its compartments. Giving each frame a clear purpose keeps the scene focused and prevents one hero image from carrying too much information.
Build a Clear Creative Brief
Your creative brief should give the photographer, stylist, model, and editor the same understanding of the final result. Include:
- Product features that must remain visible
- Approved colours and reference images
- Intended customer and use case
- Model, wardrobe, and styling requirements
- Location, background, and lighting direction
- Approved and restricted props
- Required image ratios and output sizes
- Space needed for headlines, buttons, or logos
- Product details that must not be changed during editing
- Retouching preferences for skin, fabric, packaging, and surfaces
Provide a physical sample or verified colour reference when colour accuracy is important. Images viewed on different screens may not be reliable because brightness, display settings, and colour profiles can change how the product appears.
Check the Location Before Shoot Day
Visit the location at the same time of day as the planned shoot whenever possible. Check the direction of natural light, available power, reflective surfaces, ceiling height, background depth, and room to position cameras, lights, and models.
Pay attention to surfaces that may reflect unwanted colour. Green walls, wooden floors, coloured furniture, and nearby signs can cast colour onto skin, fabric, or product packaging.
You should also confirm:
- Whether commercial photography is permitted
- When the space is available
- Whether furniture can be moved
- How models and equipment will enter
- Whether ambient light can be controlled
- What backup options are available if conditions change
These checks help the photographer solve practical problems before the full production team arrives.
Plan Props, Models, and Product Interaction
Every element in the scene should help explain the product, establish scale, or support the intended occasion. Remove props that compete for attention, block important details, or suggest features and accessories that are not included.
Break model interaction into clear actions, such as opening, carrying, pouring, applying, wearing, or adjusting the product. Test hand placement before shooting so fingers do not cover labels, controls, logos, stitching, or other details customers need to see.
The model should also use the product correctly. An unnatural grip, incorrect strap position, excessive application amount, or incompatible accessory can make an otherwise polished image feel unreliable.
Build a Channel-Based Shot List
Plan each composition for its final placement instead of expecting one master image to fit every channel. Your shot list may include:
- A campaign hero image with space for copy
- A wide environmental scene
- A medium product-in-use frame
- A close-up of texture or interaction
- Front, side, and three-quarter views
- Vertical compositions for feeds and Stories
- A horizontal website or email banner
- Alternate crops with clear text-safe areas
Capture several variations before changing the set. Small differences in hand position, facial expression, reflections, fabric movement, or product angle can determine which image remains usable after cropping and editing.
Composition Principles for Lifestyle Product Photography
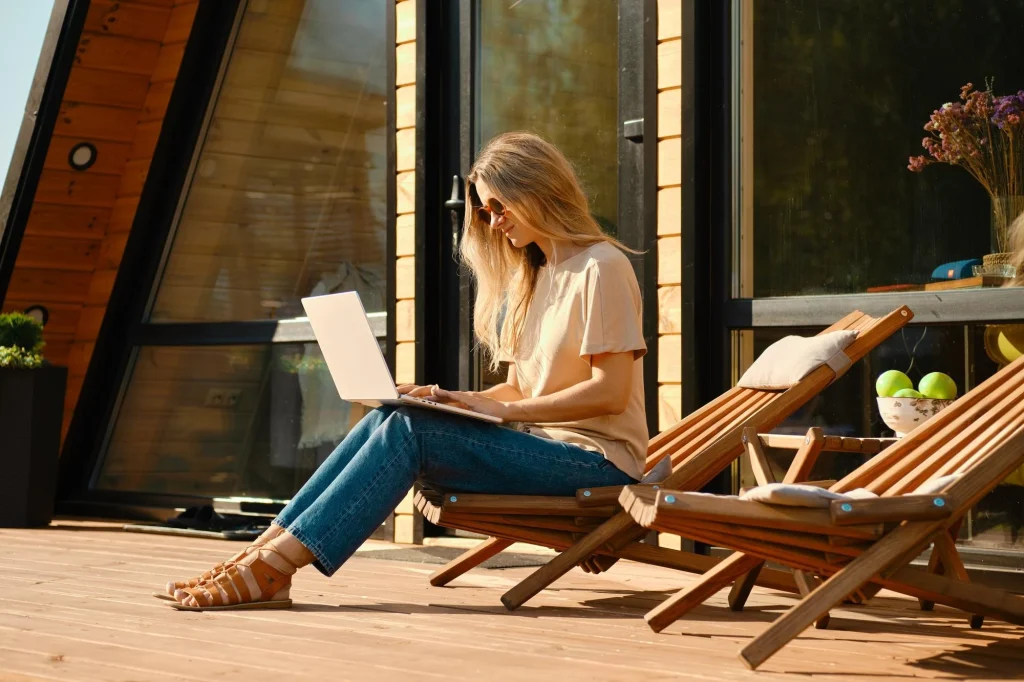
Lifestyle compositions contain more visual elements than catalogue images, but the product must still be easy to identify. Models, props, lighting, and surroundings should support the message without taking attention away from the item being sold.
Reserve Negative Space for the Final Format
Negative space should be planned around the final crop, not simply around the full camera frame. Keep headlines, prices, buttons, and interface elements away from faces, hands, logos, and important product details.
A website banner, vertical social post, and full-screen Story rarely use the same safe area. Capture separate compositions for priority formats because cropping one wide image can remove the product, cut through a model’s hands, or leave no readable space for copy.
Create Clear Product Separation
The product needs enough visual separation from its surroundings to remain noticeable. You can achieve this through:
- Contrast between the product and background
- Colour separation that preserves the true product colour
- Sharp product edges against softer surroundings
- Controlled depth of field
- Directional or edge lighting
- Clear spacing between the product, props, and model
View a preview in grayscale to check whether the product has enough tonal contrast. Then reduce the image to thumbnail size. If another element becomes more noticeable, reduce its brightness, sharpness, saturation, or size.
Use the Model to Guide Attention
The model’s gaze, body angle, and hand placement can direct attention toward the product. Someone looking at or interacting with the item naturally encourages viewers to follow the same visual path.
However, the interaction must remain practical. Hands should demonstrate use without covering controls, labels, logos, seams, or packaging information. Strong lines created by arms, furniture, shadows, or gaze should also lead toward the product rather than outside the frame.
Test the Visual Hierarchy
A strong lifestyle image usually guides attention in this order:
- The product
- The product interaction
- The supporting environment
Show the image briefly to someone who has not seen the creative brief and ask what they noticed first. If a prop, outfit, or background feature wins their attention, reduce its contrast, saturation, size, or sharpness.
For more inspiration, explore these creative product photography examples. They show how flat lays, group arrangements, movement, and environmental storytelling can support different creative goals.
Lifestyle Product Usage Photography Examples by Industry

A lifestyle setup that works for clothing may not work for skincare, furniture, or electronics. Each product category requires a different setting, angle, interaction, and editing approach to show customers what matters most.
Fashion and Apparel
Fashion lifestyle images should demonstrate how a garment fits, moves, and holds its shape during natural activity.
- Capture front, side, and three-quarter angles.
- Keep seams, pockets, closures, sleeves, and hemlines visible.
- Use natural movements to demonstrate drape and flexibility.
- Avoid poses that create misleading folds, pulling, or proportions.
During editing, preserve fabric texture, construction, and colour. Temporary wrinkles, lint, and distractions may be removed, but the garment should not be reshaped in a way that changes its actual fit.
Food and Beverage
Food and beverage images need consistency in freshness, portions, packaging, and presentation.
- Keep serving quantities and fill levels consistent.
- Maintain the same garnish and label position across related frames.
- Place steam, condensation, crumbs, or pouring motion where they remain visible.
- Avoid props that hide packaging or misrepresent serving size.
- Capture a reference before changing the arrangement.
Retouching can clean spills, balance colour, and improve the appearance of steam or condensation. However, the final image should still represent the product customers will receive.
Beauty and Skincare
Beauty images should help customers understand product texture, application amount, application area, and position within a routine.
- Show a realistic amount of product.
- Keep the logo, applicator, and container opening visible.
- Prevent hands from covering important packaging information.
- Capture textures before they absorb, melt, or lose their shape.
- Keep skin tones consistent across the image set.
Skin retouching should remove temporary distractions without erasing pores, natural texture, or normal tone variation. Excessive smoothing can make both the model and product experience appear artificial.
Home Decor and Furniture
Room-based images should communicate the product’s scale, proportions, materials, and relationship to the surrounding space.
- Measure the product and available area before styling.
- Keep vertical lines straight to avoid distorted proportions.
- Control colour casts from walls, windows, rugs, and floors.
- Use familiar objects to establish scale.
- Leave enough space around the product to preserve its shape.
Editors can correct perspective and mixed lighting, but they should not change the true colour or finish of wood, paint, metal, or fabric.
Technology and Gadgets
Technology lifestyle images should demonstrate correct operation while keeping ports, controls, screens, and accessories accurate.
- Position hands away from important buttons and connection points.
- Use cables and accessories that are compatible with the device.
- Keep branding and hardware details visible.
- Capture clean screen edges when screen replacement is planned.
- Control reflections without removing the material’s natural finish.
Any interface added during editing must match the real product, including its screen ratio, features, brightness, perspective, and viewing angle.
Fitness and Outdoor Gear
Fitness and outdoor images should demonstrate fit, movement, load position, and safe product use.
- Check straps, buckles, fasteners, and protective equipment.
- Keep branding visible during movement.
- Use actions that match the product’s intended performance.
- Confirm that the model’s grip and body alignment are safe.
- Capture movement without misrepresenting support or durability.
Editing may remove distractions and balance uneven light, but it should not create speed, grip, protection, or performance that the product did not demonstrate during the shoot.
Lifestyle Product Usage Photography Trends in 2026
Lifestyle photography in 2026 is moving toward natural-looking scenes that can be adapted for ecommerce, advertising, social media, and short-form content. The strongest workflows combine believable product use with careful technical planning.
Platform-Specific Compositions
Brands increasingly capture separate compositions for different placements instead of forcing one wide image into every format. Common requirements include:
- 4:5 for vertical feed posts and image ads
- 9:16 for Stories, Reels, and full-screen placements
- Horizontal formats for website banners and email headers
This approach protects faces, labels, hands, and copy space from poor cropping. Meta’s placement guidance recommends 4:5 for feed images and 9:16 for full-screen Stories and Reels placements.
Controlled but Natural-Looking Scenes
Brands are moving away from scenes that appear overly posed or perfectly arranged. Natural posture, realistic fabric movement, practical locations, and believable interaction can make the image feel more relatable.
However, natural styling still requires control. Product colour, labels, scale, and important features should remain consistent. Believability should not come at the cost of blocked branding, incorrect use, or distracting background details.
AI-Assisted Scene Expansion
Generative editing can extend backgrounds, remove distractions, and create additional crop space around an existing photograph. This may help brands adapt approved images for new placements without rebuilding the complete scene.
Any generated area still requires a careful review for:
- Incorrect perspective or horizon lines
- Mismatched light and contact shadows
- Repeated textures or objects
- Altered labels, logos, or packaging
- Distorted hands, reflections, and product edges
- Changes to the product’s scale or construction
AI can support the editing process, but it should not replace the final product-accuracy check.
Still and Motion Assets from One Shoot
Brands can improve production efficiency by planning still images and short video clips within the same shoot. A single setup may produce campaign photographs, vertical videos, detail shots, and short product demonstrations.
This requires careful continuity. Wardrobe, props, model actions, product position, lighting, and fill levels should remain consistent so the final assets feel like parts of one coordinated campaign.
How Editing Lifestyle Photos Differs From Editing Catalogue Shots
Editing lifestyle photos requires more frame-by-frame work than editing catalogue shots. Whereas catalog images usually share the same background, lighting, and camera position, making batch corrections practical.
Afterall, lifestyle scenes vary depending on the models, surfaces, shadows, reflections, and ambient light, so editors must adjust individual areas while keeping the product accurate and the full image set consistent.
- Masking Becomes More Detailed
Separate masks for the product, model, hair, props, and background allow precise edits without affecting nearby areas.
- Colour Correction Requires Balance
Editors correct the product, skin tones, and environment separately to protect colour accuracy while preserving the scene’s intended mood.
- Exposure Needs Local Control
Local adjustments balance bright windows, deep shadows, faces, and reflective packaging without making the image look flat.
- Cleanup Extends Beyond the Product
Editing may cover cables, loose threads, reflections, wall marks, and distracting props, while keeping the setting believable.
- Consistency Covers the Entire Scene
The final set should maintain consistent product colour, skin tone, contrast, saturation, and highlight treatment across different scenes.
Common Lifestyle Brand Photography Mistakes
Lifestyle images become less effective when the main scene distracts from the product, hides useful details, or presents the item inaccurately.
- Letting the Scene Overpower the Product
Bright props, bold backgrounds, or dramatic styling can draw attention away from the product being sold.
- Hiding Important Product Details
Hands, clothing, hair, or props may cover labels, controls, seams, closures, and other details buyers need to see.
- Allowing Unwanted Colour Casts
Reflections from walls, furniture, clothing, or nearby surfaces can make the product’s colour and finish appear inaccurate.
- Showing the Product Incorrectly
An unnatural grip, incorrect strap position, or improper use can make the product appear confusing, uncomfortable, or unsafe.
- Losing Continuity Between Images
Changes in props, product angles, liquid levels, styling, or model position can make a related image set feel inconsistent.
- Over-Retouching the Scene
Excessive skin smoothing, artificial shadows, repeated textures, or altered materials can make the product and setting look unrealistic.
- Ignoring the Final Crop
Resizing or cropping may cut off the product, hide important details, or reveal editing flaws that were not obvious in the original image.
Frequently Asked Questions
Why does lifestyle product photography work well for marketing?
It reduces the effort needed to imagine ownership, demonstrates use, adds natural scale, and connects product features with a relatable problem, routine, or aspiration.
When should I use lifestyle photography instead of catalogue shots?
Use it for brand storytelling, social content, campaign pages, ads, and secondary product images. Keep catalogue shots for clean comparison and rule-based marketplace slots.
Where should lifestyle and catalogue images appear across marketing?
Use catalogue images in search, primary listings, and early product galleries. Use lifestyle images on homepages, social feeds, emails, ads, and later gallery positions.
What products benefit most from lifestyle photography?
Fashion, beauty, food, furniture, technology, fitness, outdoor, and home products benefit strongly because use, fit, scale, environment, or interaction affects the buying decision.
How much does a lifestyle product photography shoot cost?
Cost depends on location, models, styling, props, rights, shot count, travel, and editing. Build a channel-based deliverable list before requesting comparable quotes.
What belongs on a lifestyle photography shot list?
Include a hero scene, environmental view, use shot, detail, interaction, scale reference, product variants, vertical frame, horizontal frame, and copy-safe composition.
What makes a strong lifestyle product photo composition?
The product wins the first glance, the action looks natural, the background supports the story, and enough crop-safe negative space remains for planned channels.
How is lifestyle photo editing different from catalogue editing?
Lifestyle editing uses local masks, scene cleanup, skin-tone work, colour grading, reflection control, and natural integration. Catalogue editing focuses more on isolation and batch consistency.
What are the main lifestyle photography trends in 2026?
Current practice favours authentic scenes, mobile-first framing, intentional vertical capture, varied casting, careful AI-assisted extensions, and short-form video captured with the still campaign.
How do I brief a photographer for a lifestyle product shoot?
Define the customer, product benefit, story, setting, actions, must-show details, crop list, variants, rights, continuity rules, colour reference, and post-production limits.
Conclusion
Lifestyle product photography earns its cost when the image must do more than prove appearance. It can show scale, use, mood, and customer identity in one frame. However, it works best as a planned complement to accurate catalogue photography, not as a replacement for every clean product view.
Build the image mix around the customer journey. Use catalogue shots where buyers compare facts quickly, then use lifestyle scenes where they need context, confidence, or desire. Strong results need a precise brief, channel-based crops, believable composition, product accuracy, and post-production that improves the scene without removing its real-life quality.
Lifestyle photos need frame-by-frame correction for consistent colour, light, and detail.
Explore our Professional Photo Editing Services for campaign-ready results.