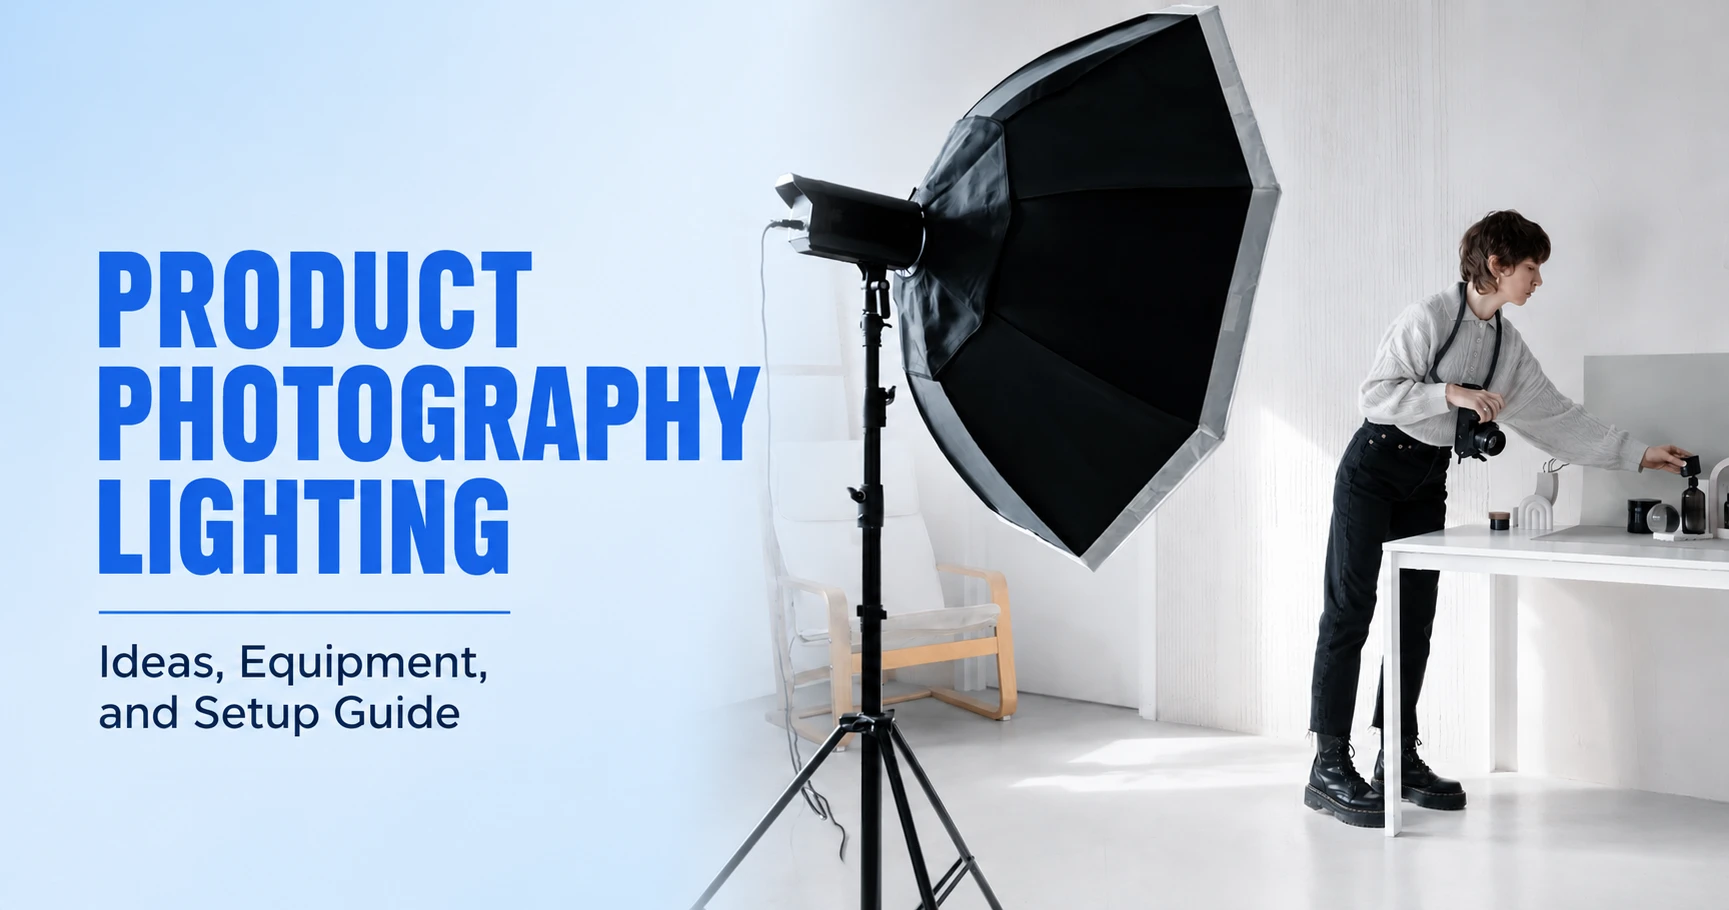
When a product photo falls short, photographers often blame the camera, lens, or exposure settings. In many cases, lighting is the real problem. Poor lighting can hide shape, flatten texture, shift color, or fill glossy surfaces with reflections of the camera and room.
The best product photography lighting depends on the product’s surface, shape, size, and final image style. A matte package may need one diffused light and a reflector. Glass, jewelry, polished metal, and glossy packaging require more precise control over highlights, edges, reflections, and background exposure.
This guide explains how to choose lights, modifiers, positions, and setups for different products, along with practical ways to identify common lighting problems.
Wrong lighting shifted your product colors? Get true-to-life, catalog-ready shades with our Photo Color Correction Services.
Choose Lighting Based on the Product and Final Image
Before picking a light or copying a setup you saw online, look at the product itself. The surface finish, shape, curvature, transparency, texture, color, and dimensions all change what “correct” lighting looks like. Label position and whether the shot is for a catalog, a lifestyle page, or a campaign matter just as much.
| Product or goal | Main lighting priority |
|---|---|
| Matte packaging | Soft shadows and readable text |
| Glossy cosmetics | Smooth reflection gradients |
| Transparent glass | Edge definition and transmission |
| Jewelry or polished metal | Precise highlight placement |
| Fabric, leather, or wood | Visible texture |
| Black products | Controlled edge highlights |
| White products | Separation from the background |
| Ecommerce catalog | Color and setup consistency |
| Campaign image | Mood, depth, and designed shadows |
Once the product’s lighting needs are clear, the number of lights matters less than the role of each one. A single light with a well-placed reflector can outperform an unfocused three-light setup.
Core Lighting Positions and How They Shape Products
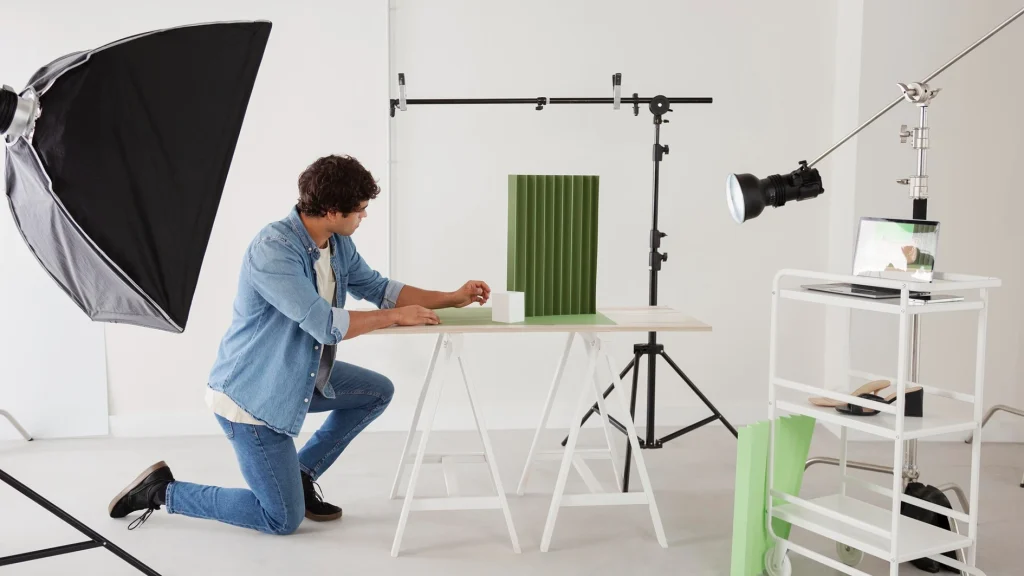
Indeed, the best product photography lighting position controls highlight placement, shadow direction, surface texture, and edge separation. Use camera-relative angles as starting points, then refine each source while monitoring highlight width, contrast, flare, label exposure, and reflections through tethered capture.
The following positions show how changing the light’s angle relative to the camera and product alters form, texture, transparency, and background separation.
Front Lighting
Place the source close to the camera axis so shadows fall behind the product. Shift it 10 to 20 degrees off-axis to restore slight dimensionality. Add black cards beside the product when frontal illumination weakens edge contrast or makes curved packaging appear flat.
Side Lighting
Position the source 60 to 90 degrees from the camera axis. This creates raking illumination and small directional shadows across stitching, grain, embossing, and raised details. Lowering the light toward product level strengthens texture but can also reveal scratches, dents, and uneven surfaces.
Top Lighting
Mount the source directly above or slightly forward of the product. A large overhead modifier produces even coverage, while a smaller source creates sharper downward shadows. Shift the light off-center to introduce direction and prevent flat lays or grouped products from appearing uniformly illuminated.
Backlighting
Position the source behind the product and direct it through the material or around its edges. Use a large diffusion panel for even transmitted light. Add black cards for darker outlines or white cards for brighter edge reflections on glass, liquids, and translucent packaging.
Rim and Edge Lighting
Place a stripbox or gridded source behind and beside the product, outside the lens’s direct field of view. Use flags to restrict spill. Adjust the angle until the highlight follows the edge without entering the lens, clipping detail, or creating flare.
Background Lighting
Light the background separately from the product. For white backgrounds, begin around 0.5 to 1 stop brighter than the subject, then check for clipping and edge contamination. Use grids, distance, and beam angle to create controlled gradients or prevent spill onto the product.
High-Key Versus Low-Key Lighting
High-key setups use broad sources, stronger fill, and a narrow brightness difference between illuminated and shadowed areas. Low-key setups use grids, flags, selective edge lights, and negative fill to deepen shadows while preserving controlled highlights on the product’s defining surfaces.
Compare & Choose the Best Lights
After selecting the lighting position, choose the best light for product photography that provides enough output, color stability, modifier compatibility, and exposure control for the product and shooting workflow.
The table below compares how each source performs in practical product-photography conditions.
| Light source | Main advantage | Main limitation | Best use |
|---|---|---|---|
| Natural window light | Broad source with no equipment cost | Intensity, direction, and color change | Lifestyle and simple home shoots |
| Continuous LED | Reflections and shadows remain visible while adjusting | Lower output with large modifiers | Small products, beginners, and photo-video work |
| Speedlight | Portable with short flash duration | Limited power and weak modeling light | Budget tabletop and location setups |
| Studio strobe | High output, fast recycling, broad power range | Requires triggering and test captures | Catalogs, reflective products, and motion |
| RGB or tube light | Precise accent and background color | Lower white-light output | Rim lights, gradients, and campaign effects |
Lighting flaws hurting your product photos? Turn them into polished, sales-ready visuals with Professional Photoshop Services.
Continuous Lighting Versus Strobe or Flash
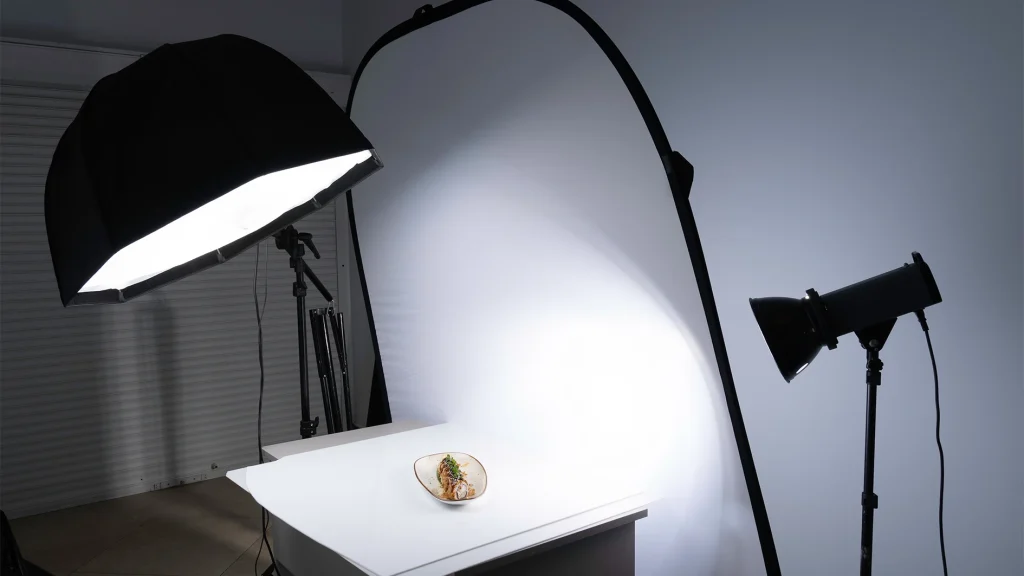
Continuous lights provide live feedback, while strobes deliver greater output, stronger ambient suppression, smaller working apertures, and shorter effective exposure.
| Factor | Continuous light | Strobe or flash |
|---|---|---|
| Reflection control | Visible before capture | Checked through modeling light or tethering |
| Exposure | May require slower shutter or higher ISO | Supports low ISO and smaller apertures |
| Motion | Controlled mainly by shutter speed | Frozen by flash duration |
| Ambient suppression | Limited at low output | Strong at normal sync speed |
| Color stability | Depends on dimming and temperature | Depends on power level and flash mode |
Continuous LEDs and strobes both provide better control than changing daylight. For a wider comparison, see our guide to natural light vs. artificial light.
Matching Lights to the Camera
The lighting system must synchronize reliably and retain enough output after modifiers, diffusion, and working-distance losses.
- X-sync and HSS: Stay at or below normal sync speed unless HSS is required. HSS reduces effective flash output.
- Flash duration: Check t0.1 when freezing splashes, powder, or falling products.
- Power range: Wide adjustment supports heavily diffused setups and narrow low-key highlights.
- Recycling time: Slow recycling can produce missed frames or inconsistent exposure.
- Shutter compatibility: Electronic shutters may block flash synchronization or produce banding under LEDs.
Color Accuracy That Matters
Kelvin describes whether light appears warm or cool, but not how accurately it reproduces product colors.
- CRI: Check extended values such as R9 for reds, cosmetics, food, and warm packaging.
- TLCI: Estimates how predictably a camera records the light.
- TM-30: Uses Rf for fidelity and Rg for gamut change.
- SSI: Compares one light’s spectrum with another source or reference.
- Duv: Identifies green or magenta tint deviation.
- Manual white balance: Corrects overall tint but cannot restore wavelengths missing from the source.
The Color Rendering Index, defined by the International Commission on Illumination, measures how faithfully a light source reveals color compared to a reference standard, and it’s a better spec to shop by than Kelvin alone.
Essential Lighting Equipment, Modifiers, and Tools
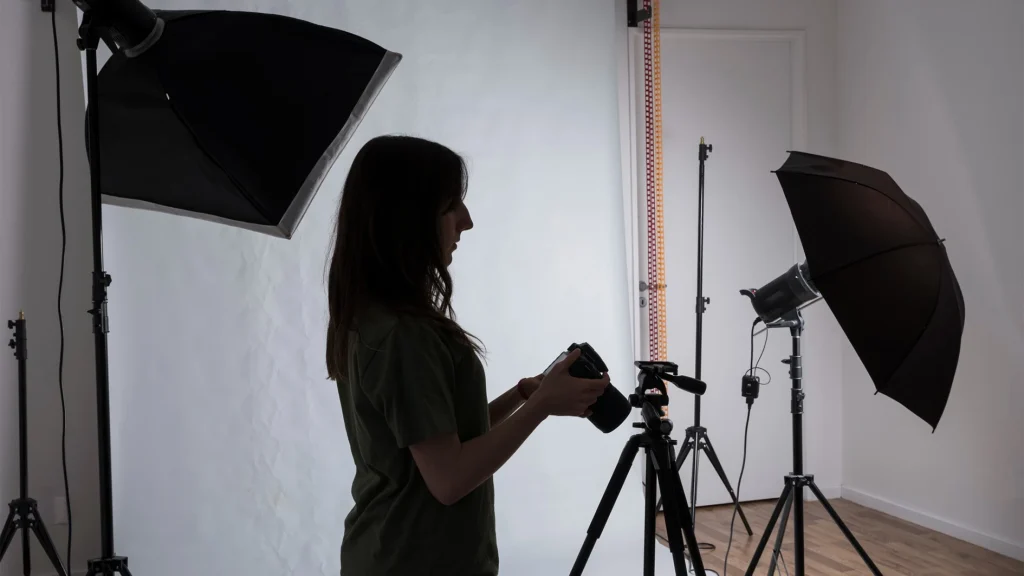
After choosing the source, the remaining equipment controls beam shape, reflections, spill, stability, exposure, and repeatability.
Primary Light Sources
Light sources determine output, flash duration, preview method, color stability, and compatibility with modifiers. Choose one according to the required aperture, working distance, product size, and shooting speed.
- Studio strobes or monolights: High output for low ISO, small apertures, large modifiers, and motion freezing.
- Speedlights: Portable flash for small products and location work.
- COB LEDs: Continuous point sources for softboxes, Fresnels, and projection attachments.
- LED panels: Broad continuous coverage for flat products and video.
- RGB fixtures: Colored background, rim, and accent lighting.
Essential Light Modifiers
Modifiers change apparent source size, beam spread, edge quality, and the shape of highlights reflected by glossy surfaces.
- Softboxes: Broad illumination and controlled rectangular reflections.
- Stripboxes: Narrow highlights on bottles, metal edges, and curved products.
- Octaboxes: Wider wrap with rounded reflections.
- Umbrellas: Wide coverage with more spill.
- Fresnels: Adjustable directional beams.
- Snoots, grids, and barn doors: Isolate details and restrict spill.
Diffusion and Reflection-Control Tools
These tools control the surfaces visible in the product’s reflection. They are essential for glass, metal, glossy plastic, cosmetics, and polished packaging.
- Scrims: Create smooth gradients on glossy surfaces.
- White and silver reflectors: Add soft or directional fill.
- Black cards and V-flats: Create negative fill and edge definition.
- Flags and cutters: Block spill, flare, and unwanted reflections.
- Mirrors: Redirect highlights into small details.
- Polarizers: Reduce glare on many non-metallic surfaces.
Support and Measurement Tools
Support equipment holds lights, cards, scrims, and modifiers at repeatable positions without introducing movement or instability.
- Stands, C-stands, booms, clamps, and sandbags: Hold and stabilize lights, scrims, and flags.
- Tripod and tethering cable: Maintain framing and support detailed review.
- Light meter: Measures incident or flash exposure.
- Gray card and ColorChecker: Support white balance and color matching.
- Floor markers: Preserve camera, product, and light positions.
Capture and Measurement Tools
These tools maintain framing, exposure, color, and lighting consistency across product variants and future reshoots.
- Tripod: Maintains framing and perspective.
- Flash trigger: Synchronizes and groups strobes.
- Tethering cable: Displays reflections, focus, and clipping on a larger screen.
- Light meter: Measures incident or flash exposure.
- Gray card: Sets neutral white balance.
- ColorChecker: Supports profile-based color matching.
- Floor markers: Preserve camera, light, and product positions.
Want to build your own space rather than a single kit? Our photography studio setup ideas guide assists you with the room-level planning.
Build a Safe and Repeatable Lighting Setup
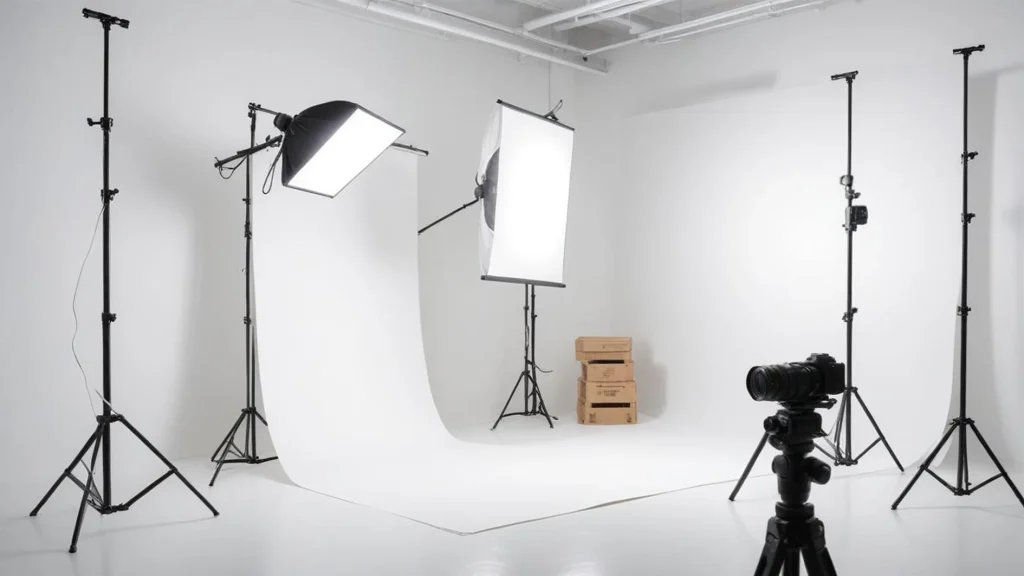
Once the equipment is ready, assemble it in a fixed order so framing, exposure, color, and reflections remain consistent across every SKU.
1. Prepare the Surface
Level and clean the tabletop. Use matte board to suppress reflections, seamless paper for a sweep, acrylic for controlled reflections, or glass for backlighting. Mark the product position and rotation.
2. Remove Uncontrolled Light
Turn off room lights and block windows when using artificial sources. Set manual exposure and white balance after the final lights are positioned.
3. Lock the Camera and Background
Fix the tripod, focal length, focus, product distance, and background position. Sandbag stands and counterweight boom arms.
4. Add One Light at a Time
Set the key first. Check highlight width, texture, shadow depth, label exposure, and spill before adding fill, rim, or background lights.
5. Test the System
Check trigger groups, X-sync, recycling time, LED flicker, and power consistency. Capture several identical frames.
6. Review and Record
Inspect RGB clipping, glare, focus, dust, and edge separation through tethering. Record power, modifier, height, angle, distance, exposure, white balance, and product position.
Get every product image clean, consistent, and marketplace-ready with our Ecommerce Image Editing Services.
Photography Lighting Setups That Work
The setups above establish the basic placement. The adjustments below show which modifier, reflection control, and exposure priority each product type requires.
Jewelry and Reflective Metals
Use large diffusion panels, white and black cards, and small mirrors to define metal, gemstones, and recessed details. Capture separate exposures when each surface requires a different highlight level.
Apparel and Flat Products
Use broad overhead or angled light for even coverage. Shift the source sideways when weave, stitching, folds, or embroidery need stronger definition.
Food and Beverages
Use side or backlighting to reveal moisture, steam, bubbles, translucency, and gloss. Control bottle edges with black cards and label exposure with white reflectors.
Electronics and Glossy Surfaces
Use scrims or stripboxes for controlled screen and plastic reflections. Add flags for unwanted room reflections and a separate exposure when the screen brightness conflicts with the product exposure.
Glass and Transparent Packaging
Use bright-field lighting for dark edges or dark-field lighting for bright outlines. Treat the label, cap, liquid, and glass boundaries as separate lighting zones.
Large Products and Furniture
Use larger modifiers at greater working distances for even coverage. Measure exposure at the closest and farthest surfaces and control window spill, floor reflections, and mixed ambient light.
Photography Lighting Ideas for Different Product Types

The setups above establish the basic light placement. The adjustments below explain which modifiers, reflection controls, and exposure priorities work best for each product type. After all, product photography lighting ideas for different products can help photographers to understand which product demands which lighting setting.
Jewelry and Reflective Metals
Place large diffusion panels close to the product so polished surfaces reflect smooth gradients instead of bare lights. Use white cards to build bright edges and black cards to define shape. Small mirrors can target gemstones, bezels, or recessed details. Capture separate exposures when the metal, stones, and watch face require different highlight levels.
Apparel and Flat Products
Use a broad overhead or angled source for even color across the garment. Shift the light 45 to 90 degrees from the camera when weaving, stitching, folds, or embroidery need stronger definition. Raise the source to reduce exposure falloff across large layouts, then use white cards to balance darker fabric sections.
Food and Beverages
Position the key light from the side or rear to reveal moisture, steam, bubbles, translucency, and surface gloss. Use black cards to deepen bottle edges and white reflectors to control label exposure. For drinks, backlight the liquid separately while preventing direct light from washing out the front label.
Electronics and Glossy Surfaces
Use large scrims or stripboxes to create controlled highlights across screens, polished plastic, and metal edges. Black flags remove unwanted room reflections, while a separate low-powered source can expose ports, buttons, or logos. Capture the screen independently when its brightness or refresh behavior conflicts with the main exposure.
Glass, Liquids, and Transparent Packaging
Use bright-field lighting for dark edge definition or dark-field lighting for bright outlines. Position the label, cap, liquid, and glass edges as separate lighting zones. Black cards strengthen transparent boundaries, while a small frontal reflector or additional exposure restores label detail lost through backlighting.
Large Products and Furniture
Use modifiers large enough to cover the visible surface without creating localized hotspots. Increase working distance for more even illumination across depth, then raise output to compensate. Control mixed ambient light, floor reflections, and window spill. Measure exposure at the nearest and farthest points to identify uneven falloff.
Creative Product Photography Lighting Ideas
Once the functional lighting is controlled, the same equipment can create more distinctive campaign images without changing the product’s true color or form.
Hard-Light Shadow Patterns
Place blinds, mesh, leaves, or a cut-card gobo between a small hard source and the background. Increase the source-to-gobo distance for softer pattern edges.
Colored Rim Lighting
Aim a gelled or RGB light at the product’s rear edge. Use flags to keep colored spill away from labels and color-critical surfaces.
Gradient Background Lighting
Place a gridded light close to the background and angle it across the surface. Adjust distance and beam spread to control the gradient width.
Caustic Light Patterns
Project a focused light through water, textured glass, or clear acrylic to create refracted highlights on the background.
Selective Low-Key Highlights
Use stripboxes, grids, and black flags to illuminate only selected edges while keeping the remaining surfaces dark.
Creative lighting adds visual impact, but tighter beams, colored sources, and reflective materials also make setup errors easier to notice. The next section covers the most common problems that appear in the final image.
Troubleshooting Common Photography Lighting Errors
Even with the right setup, small changes in light angle, power, spill, color, or synchronization can produce visible defects. The following problems are the most common signs that the lighting needs adjustment.
- Harsh shadows: Shadow edges appear too sharp and distract from the product.
- Flat-looking products: Shape, depth, texture, and surface contours become difficult to distinguish.
- Hotspots on glossy packaging: Bright reflections hide color, texture, logos, or label details.
- Gray-looking white backgrounds: The backdrop appears dull or uneven instead of clean white.
- Lost edges on white products: Pale outlines blend into the background and weaken product separation.
- Poor definition on black products: Curves, edges, and material details disappear into one dark area.
- Dark or unreadable labels: The product is visible, but printed information lacks sufficient exposure or contrast.
- Inconsistent product colors: The same product or variant appears different across multiple images.
- LED banding: Horizontal or vertical brightness bands appear across the frame.
- Partially dark flash frames: A dark strip covers part of the image after flash exposure.
- Inconsistent catalog images: Framing, brightness, shadow position, and reflections vary between SKUs.
Where AI and Post-Production Fit Into the Workflow
AI can support lighting diagrams, exposure comparison, dust detection, background cleanup, and batch alignment. It should not alter the product’s true color, label, proportions, texture, or construction.
Even strong captures may still need focus-stack blending, reflection cleanup, background correction, crop alignment, and color matching. Ecommerce image editing, retouching, and color correction can standardize these details across large catalogs.
Frequently Asked Questions
What Is the Best Lighting for Product Photography?
The best lighting depends on the product’s surface, size, reflectivity, and final use. Matte products often need one diffused source, while glass, metal, and glossy packaging require more controlled reflections.
Are Continuous Lights or Strobes Better?
Continuous lights provide live reflection and shadow previews. Strobes offer greater output, stronger ambient control, smaller apertures, and shorter effective exposures for motion.
How Many Lights Do I Need?
One light and a reflector can handle simple products. Separate background, rim, or reflection lights may be needed for transparent, dark, glossy, or high-key images.
Can I Use Natural Light?
Yes, especially for simple lifestyle shoots. However, changing direction, intensity, and color make natural light difficult to repeat across a large catalog.
What Is the Difference Between a Softbox and an Umbrella?
A softbox controls spill and creates a defined reflection shape. An umbrella spreads light more widely but provides less control around glossy products and backgrounds.
How Far Should a Softbox Be From the Product?
Moving it closer makes it appear larger and softens shadow transitions, but increases falloff across depth. Moving it farther away creates more even coverage but makes shadows more defined.
Conclusion
Product photography lighting works best when every light has a clear job. Start by reading the product’s surface, shape, color, and level of reflectivity. Then choose the source, modifier, angle, and distance that control highlights, shadows, texture, and edge separation. Build the setup one light at a time, review the result through tethered capture, and record every position for future shoots.
Good lighting reduces glare, color shifts, flat texture, and inconsistent catalog images before editing begins. When capture limits remain, careful retouching can refine dust, minor reflections, background defects, and exposure differences without changing the product’s true appearance or design.