A product can look perfect in front of you yet completely different in the final image. The background turns grey, the label loses detail, reflections appear on the packaging, or one item suddenly looks larger than the next. So, what went wrong?
These problems rarely come from one bad camera setting. They usually begin when the light, product position, framing, or editing changes during the shoot.
The most useful product photography tips help you control those variables before they spread across an entire e-commerce catalogue. Start with a clean product and a repeatable setup, soften and lock the light, capture angles that answer buyer questions, review every file before dismantling the scene, and edit the full batch to one standard.
This guide follows the practical order of a product shoot, taking you from preparation and lighting to camera technique, quality checks, and post-production.
Need consistent, marketplace-ready images after the shoot? Explore our product photo editing services for professional batch cleanup, color correction, and finishing.
Key Takeaways
- Controlled, repeatable lighting has a greater effect on colour and shadow consistency than buying a more expensive camera.
- A planned shot list and buyer-focused angles reduce uncertainty and prevent important views from being missed.
- A tripod, fixed camera position, and consistent framing keep similar products from jumping in size across the catalogue.
- RAW files, a histogram, and a neutral colour reference give you more reliable exposure and colour decisions during editing.
- Batch editing works best when the products were photographed under the same light and camera setup.
- The strongest result comes from one repeatable workflow, not from one isolated trick.
18 Product Photography Tips for Better Ecommerce Images
The tips below follow the order of a real product shoot. Each one focuses on a decision that affects how accurately the product is shown, how easily a buyer can understand it, and how much correction the final files will need. So let’s begin:
Tip 1: Clean Every Surface Before It Captured on the Camera
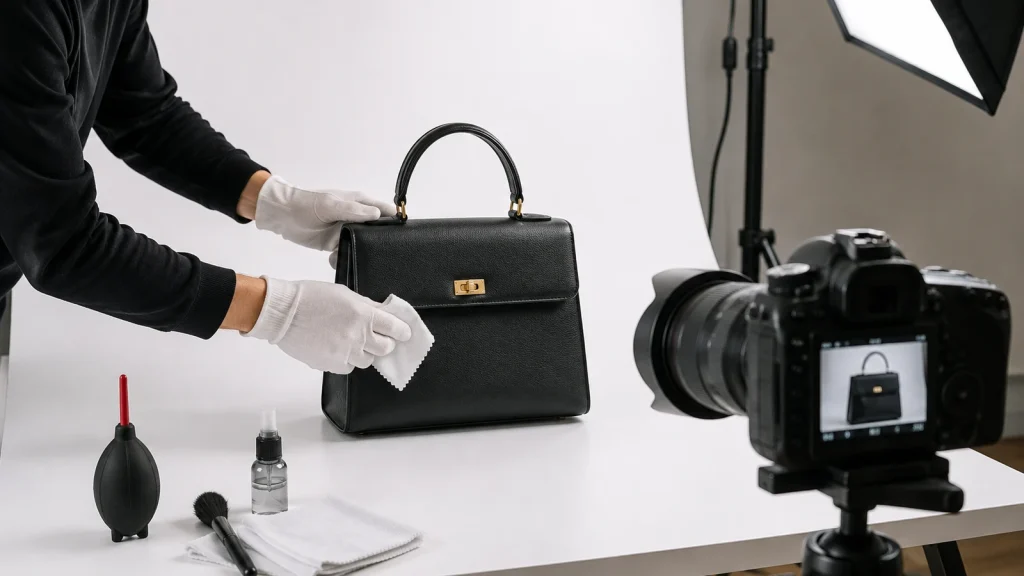
Small flaws become large distractions when a product fills the frame. Before you position the camera, remove dust, fingerprints, loose threads, adhesive marks, unwanted labels, and debris around the edges.
Pay extra attention to glossy packaging, dark products, glass, polished metal, and textured fabric because each one reveals imperfections differently.
Inspect the product under the same directional light you plan to use for the shoot. Side light often reveals scratches, lint, dents, and uneven surfaces that normal room light hides. Fixing them physically is faster and more accurate than repairing the same problem across dozens of images later.
Tip 2: Make a Shot List Around Buyer Questions
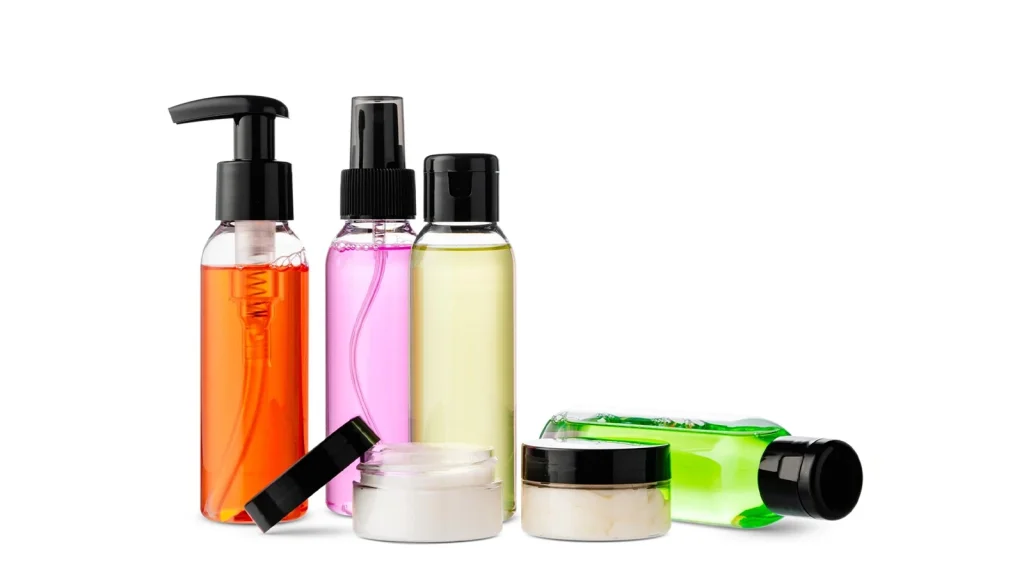
Do not begin product shoot with random angles and decide what to keep later. Write a short shot list before the first frame so every image has a clear job.
A useful ecommerce set normally includes a clean hero image, front and back views, side or 45-degree views, close-up details, packaging, and one scale or context image when size is difficult to judge.
First understand what the buyer needs to verify; then decide the number of photos to click. For instance; a backpack may need views of the straps, pockets, interior, and closures. Capture enough information to answer practical questions, not dozens of nearly identical frames.
- Hero image for the primary listing position
- Front, side, back, and 45-degree views where relevant
- Close-ups of labels, texture, stitching, controls, ports, or finishes
- Packaging and included accessories
- Scale, fit, or in-use context when the product size is not obvious
Tip 3: Choose a Shooting Area You Can Rebuild
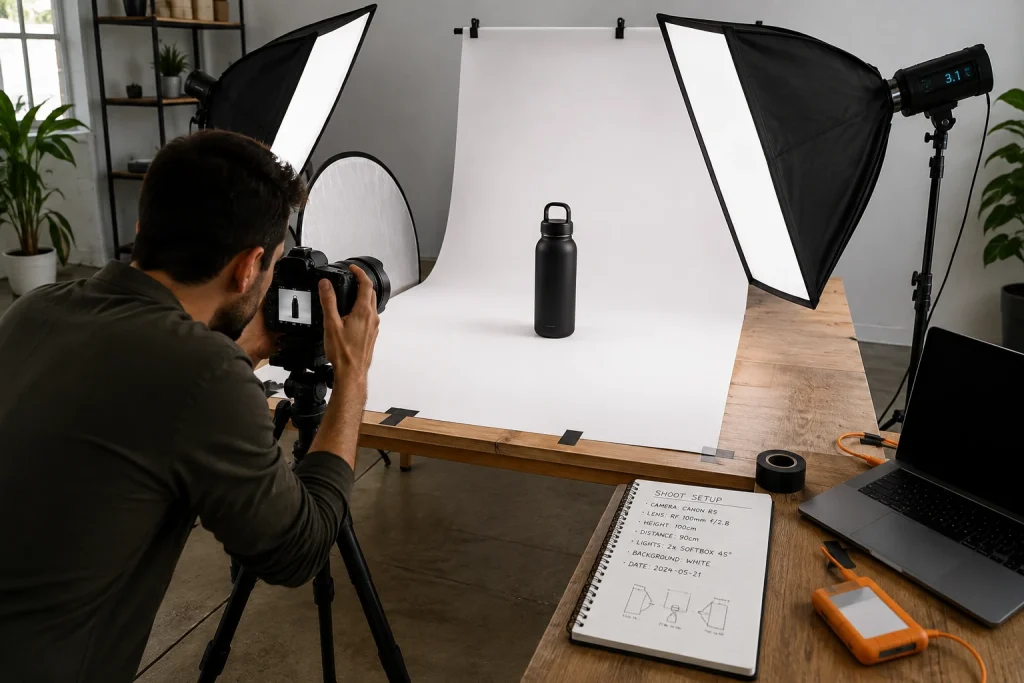
A repeatable area is more valuable than a complicated one. Use a fixed zone where you can keep the camera height, distance, product position, light direction, and background stable.
Mark the tripod legs and product placement with removable tape, then record the camera height, lens or smartphone camera, and distance to the subject.
This prevents perspective and scale changes when you move from one SKU to the next or rebuild the setup on another day.
When using a smartphone, use the same physical lens, usually the 1x camera. And avoid digital zoom because it crops and interpolates the file rather than changing true optical perspective.
Tip 4: Clear More Than the Background
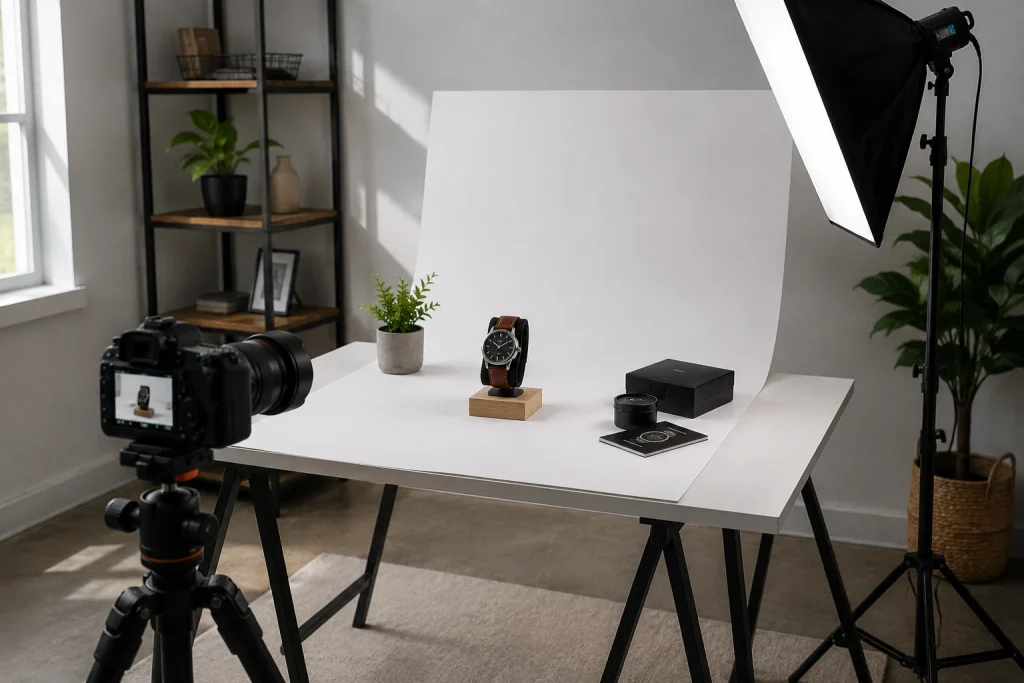
A clean backdrop is not enough if the rest of the room is influencing the product. Remove clutter from the edges of the frame and from the area around the set. Nearby furniture, coloured walls, windows, clothing, and ceiling lights can create unwanted shadows, colour casts, or reflections even when they never appear directly in the image.
This checklist matters the most when shooting with glass, glossy plastic, polished metal, screens, and dark shiny surfaces.
These products act like mirrors. Before you begin the final product shoot, look at what the surface is reflecting and simplify the environment around it.
Tip 5: Soften the Light Before It Hits the Product

Bright light doesn’t mean good light. A small, direct source creates hard shadow edges, sharp hotspots, and clipped highlights that hide texture or label detail.
So, place the diffusion between the source and the product so the light appears larger relative to the subject. A softbox, diffusion frame, sheer white curtain, or clean tracing material can all soften the transition between highlight and shadow.
Move the diffusion closer to the product when you need broader, smoother reflections. Move it farther away when you need more contrast.
The goal is not to remove every shadow. It is to keep enough shape and texture while avoiding highlights that contain no recoverable detail.
Tip 6: Keep Every Light Source at One Colour Temperature

Mixed lighting is one of the fastest ways to create colour problems that are difficult to correct. Daylight may be close to 5500K, while warm household bulbs can sit near 3200K.
When both reach the product, one area may look blue while another looks orange. A single white-balance adjustment cannot fully neutralise both casts.
Use one type of light during a shoot. If you work with window light, switch off room lamps and control other sources. If you use LEDs or flash, block or overpower changing daylight. Once the light is stable, lock the white balance and keep it unchanged until the setup changes.
Tip 7: Choose the Light Direction Based on the Product Detail
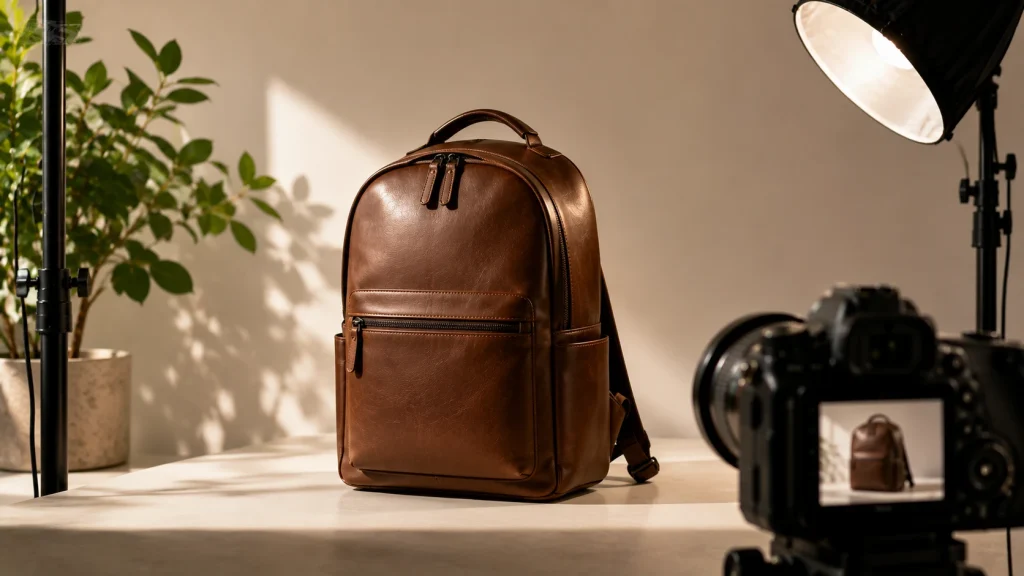
Moving the light changes how the product’s shape, texture, and surface appear. Test the direction before locking the setup, as the most even lighting is not always the most useful.
Front Light: Keep the Exposure Clean and Even
Position the light close to the camera axis when you need a clear catalogue image with minimal visible shadows. This works well for accurate colour and simple product shapes. However, front light can flatten engraving, texture, and surface relief. Move the source 15–30 degrees off-axis when the product needs more definition.
Side Light: Reveal Texture and Shape
Place the light 45–90 degrees from the camera to create a visible transition between highlights and shadows. Side light works especially well for fabric, stitching, folds, curves, food, and textured materials. Keep the contrast controlled, as strong side lighting can exaggerate scratches, wrinkles, dents, and uneven surfaces.
Back Light: Define Edges and Transparent Materials
Position the source behind the product when photographing glass, liquids, translucent packaging, or products that need stronger edge separation. Expose for the brightest edge to avoid clipped highlights. If the front becomes too dark, add a weaker white reflector or fill light near the camera.
Top Light: Improve Flat Lays and Overhead Shots
Place the light above the product for flat lays and overhead arrangements. Since vertical surfaces may receive less light, shift the source slightly toward the camera. Add a white fill card in front when labels or lower edges appear too dark.
Tip 8: Check the Reflection, Not Just the Product
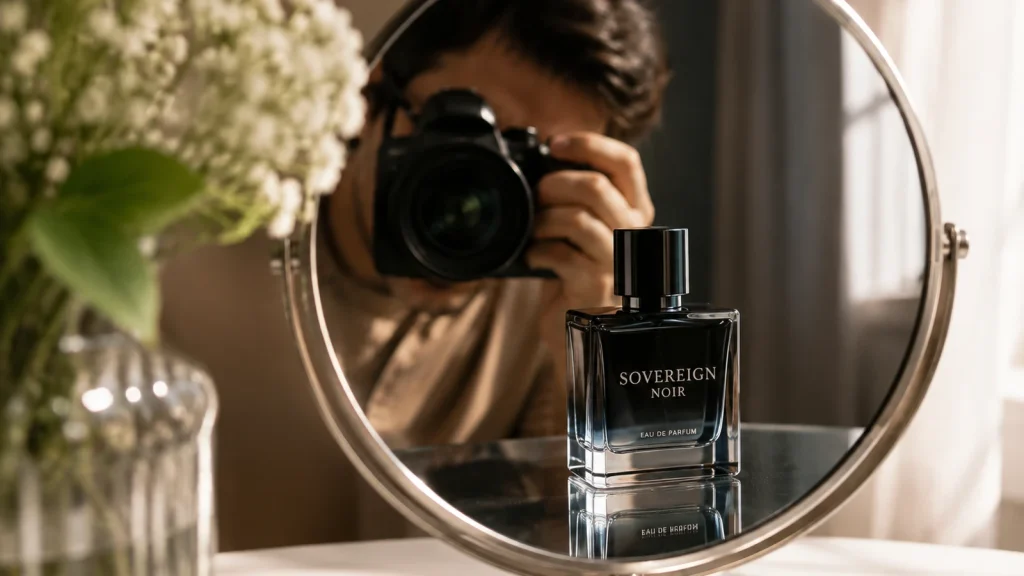
Another product photography setup for reflective products starts with showing the shooting environment as part of their appearance.
Glass, glossy plastic, polished metal, screens, and coated packaging can pick up windows, furniture, ceiling fixtures, the camera, and the photographer. A composition may look clean at first glance while the product surface contains broken highlight lines or distracting room shapes.
Zoom in and inspect the reflection itself. Change the product, camera, light, or reflection panel in small steps until the shapes become clean and intentional.
White cards create soft bright bands, while black cards add edge definition through negative fill. Wear neutral clothing around highly reflective products to avoid unwanted colour contamination.
When product colors look different across images, you lose customers. Use our Photo Color Correction Services to keep every image true to the real product.
Tip 9: Use a Background That Separates the Product Clearly

Choose the background for the product, not only for the brand style. A white or pale product may lose its outline on pure white, while a dark object can disappear into black.
Use enough tonal contrast to keep the edges readable, and avoid highly saturated surfaces that can reflect colour back onto pale or glossy products.
For a clean catalogue image, a matte poster board or PVC sweep gives you a low-reflection surface without a visible horizon line.
Keep the product roughly 30 to 60 centimetres away from the background when space allows. This softens background shadows, reduces visible texture, and makes later masking or cleanup easier.
Tip 10: Compose the Image Around What the Buyer Needs to Understand

Before choosing an angle, decide what you want to explain in the image. A hero shot should communicate the product quickly. Supporting images should reveal information the hero image cannot, such as depth, controls, construction, texture, fit, or scale. A visually dramatic angle has little value when it hides the feature the buyer is trying to inspect.
Use centred composition when clarity and comparison are the priority. And use the rule of thirds or intentional negative space when the image needs room for advertising copy or a different crop. Props can add context, but keep them quieter in size, colour, contrast, and sharpness. If your eye reaches the prop before the product, simplify the scene.
Tip 11: Leave Enough Space for Cropping and Shadow Cleanup

Another product photography technique is not to keep frames too tight. As it leaves no scope for the editor to straighten the product, align similar images, preserve a natural shadow, or create alternate aspect ratios. So it’s better to leave visible space around handles, raised details, soft shadows, and the outer product edge.
Keep a practical space; for instance 8% to 12%. A clear padding around the subject, adjusted for the product shape and final platform. Do not leave so much empty space that texture and label detail disappear at listing-page zoom. Keep similar products at a comparable scale so the catalogue does not jump while customers scroll.
Tip 12: Lock the Camera Before You Start the Batch
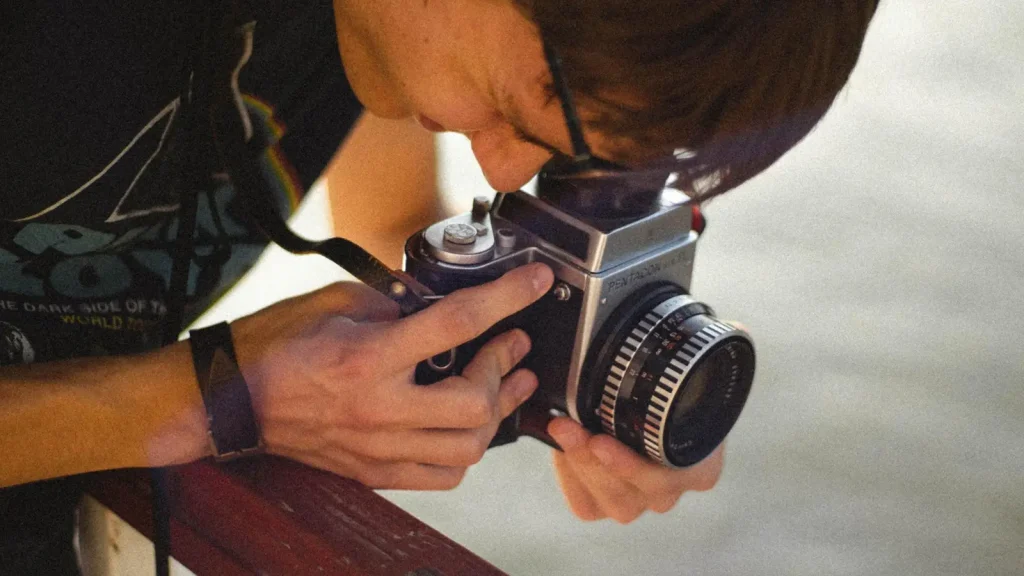
Another product photography setup includes fixating the camera in one place. For that tripod plays a major role in preventing blur. It keeps the camera height, tilt, distance, and framing stable from one product to the next. That consistency protects perspective and makes later alignment, cropping, and batch editing much faster.
Use grid overlays or a bubble level to keep vertical and horizontal lines straight, especially with boxes, bottles, furniture, and electronics. Record how much of the frame the product occupies, such as roughly 70% of the image height, and use a placement marker or reference object when products must appear at a consistent visual scale.
Tip 13: Use Camera Settings That Protect Detail
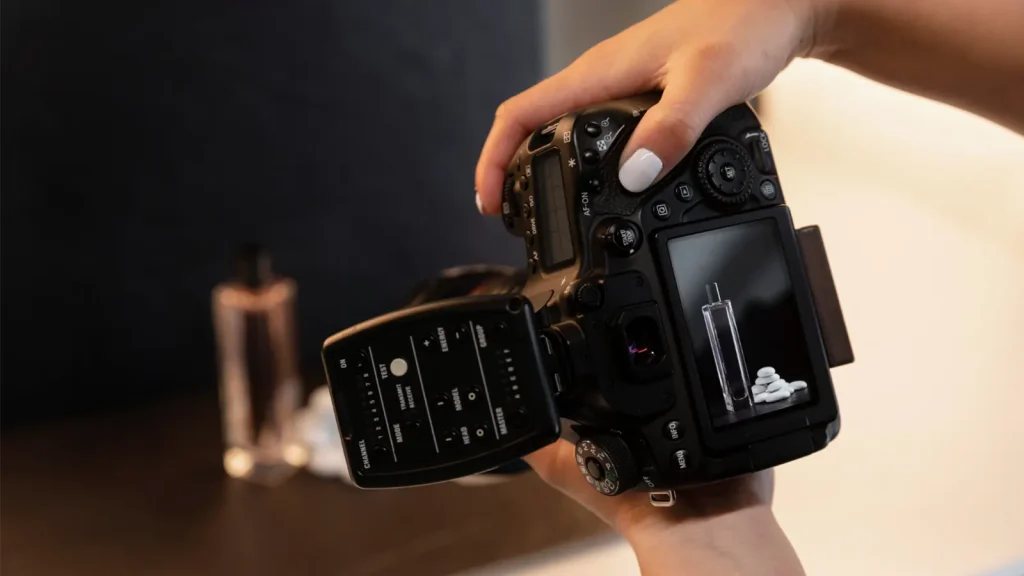
The best camera settings for product photography depend on the product size, lens, sensor, light, and final image. Start with the outcome you need; such as clean detail, enough depth of field, and an exposure that preserves bright and dark surfaces. On a supported camera, manual exposure prevents the camera from changing brightness every time the product colour changes.
- ISO: Keep it as low as the lighting allows, commonly ISO 100 to 200, to reduce visible noise in shadows and smooth surfaces.
- Aperture: Use enough depth of field to keep the important front and rear details sharp. f/8 to f/11 is a useful starting range on many cameras, but diffraction and product depth may require adjustment.
- Shutter speed: Set it for correct exposure when the camera is on a tripod. With flash, stay within the camera and trigger system’s supported sync range unless high-speed sync is required.
- White balance: Set a fixed value or use a neutral reference instead of allowing Auto White Balance to shift from one product to the next.
Check the histogram rather than relying only on the rear-screen preview. Bright white, metallic, glossy, and saturated products can clip in one red, green, or blue channel even when the overall histogram appears acceptable.
Flaws and inconsistent edits reduce buyer trust. Try our Professional Photoshop Services for polished images.
Tip 14: Shoot RAW and Capture a Color Reference

RAW files preserve more brightness and colour information than an in-camera JPEG, which gives you more room to recover highlights, open shadows, and correct colour during post-production.
This does not replace careful exposure, but it gives the editor better data when the product contains white packaging, glossy highlights, subtle shades, or dark surface detail.
Include a grey card or colour checker in a test frame whenever colour accuracy matters. Use it to set a neutral white balance, then apply the same base correction to files photographed under unchanged light.
A calibrated monitor also improves judgement, although no calibration can make every customer screen display the product identically.
Tip 15: Use Focus Stacking Only When One Frame Cannot Hold the Detail

Small products, macro views, jewellery, watches, and intricate components may extend beyond the depth of field available in one exposure. Focus stacking; a smart product photography setup which solves this problem by combining several aligned frames. And each focusing at a different distance, so the front, middle, and rear details can appear sharp together.
Keep the camera and product completely fixed and change only the focus point between frames. Use the technique when the listing genuinely needs edge-to-edge detail. It is not a requirement for every beginner or every product, and unnecessary stacking can add time and blending problems without improving the buyer’s view.
Tip 16: Take Extra Frames and Review Them Before You Pack Away

Capture more than one usable frame of each required view. Small changes in focus, product position, reflection shape, or shadow direction can make one version noticeably stronger. Deleting an extra file takes seconds. Rebuilding the entire setup because the only hero image is soft or clipped takes far longer.
Before moving the product or lights, review the files on a larger screen when possible. Use four quick checks:
- Check the histogram and RGB channels for clipped highlights or blocked shadows.
- Inspect the label, logo, texture, front edge, or other priority detail at 100% magnification.
- Scan the full outline for clipped edges, dust, loose threads, background gaps, and unwanted reflections.
- Compare the first and latest frames side by side for changes in scale, camera height, exposure, white balance, and shadow direction.
Correct any drift while the set is still intact. A two-minute review at this stage can prevent a complete reshoot.
Tip 17: Turn the Setup Into a Repeatable Production System

Professional-looking ecommerce catalogues are built through repeatable decisions. Record the setup once, then reuse the same setup whenever you photograph additional products. Save the camera height, tilt, distance, focal length, product position, light power, modifier position, background placement, and intended product size within the frame.
Follow the same shot sequence for every SKU and use clear filename codes such as SKU123_HERO, SKU123_BACK, or SKU123_DETAIL01. Save one reference frame that shows the grey card, framing, product markers, and shadow direction. A quick phone photo of the full set can also help you rebuild reflector and light positions later.
Batch products with similar surfaces whenever possible. Matte, glossy, dark, white, transparent, and metallic products react differently to the same light. Grouping similar items reduces unnecessary changes to diffusion, exposure, fill, and reflection panels.
Tip 18: Edit One Approved Image, Then Match the Batch
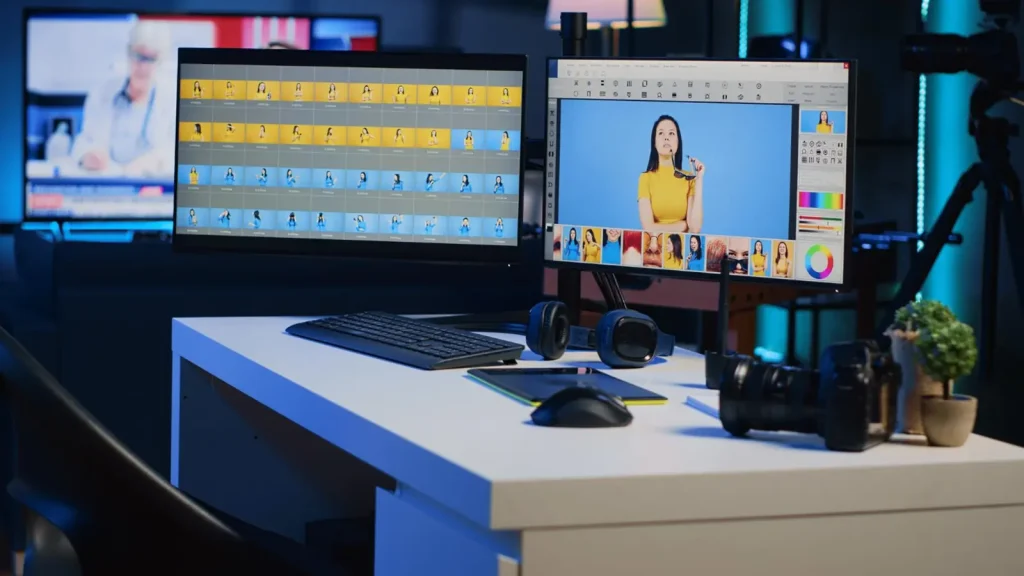
Do not retouch every product photo separately from the beginning. Choose one representative image and use it to set the approved colour, exposure, crop, product position, background, shadow, and retouching level. Once it looks correct, apply the same base adjustments to images captured under the same lighting setup.
Match colour and exposure first
Synchronise white balance only across photos taken under unchanged light. Set the white and black points, recover bright surface details, and adjust tonal contrast before increasing saturation. Too much saturation can change the real product colour.
Keep placement consistent
Use the same canvas ratio, product height, baseline or centre position, side spacing, and shadow clearance throughout the batch. Guides and crop presets are more reliable than aligning each image by eye.
Retouch without changing the product
Remove dust, sensor spots, temporary supports, and unwanted reflections. Preserve real seams, grain, texture, wrinkles, edges, and surface finish so the product remains accurate.
Sharpen after resizing
Resize the image for its final use before sharpening. For web images, a radius of around 0.5–1 pixel is a useful starting point. Check labels, stitching, and edges at 100%, and reduce sharpening if halos, rough texture, or noise appear.
Export the final ecommerce images in sRGB for more consistent display across browsers and selling platforms.
Product Photography Tips at Home: Build a Repeatable Setup
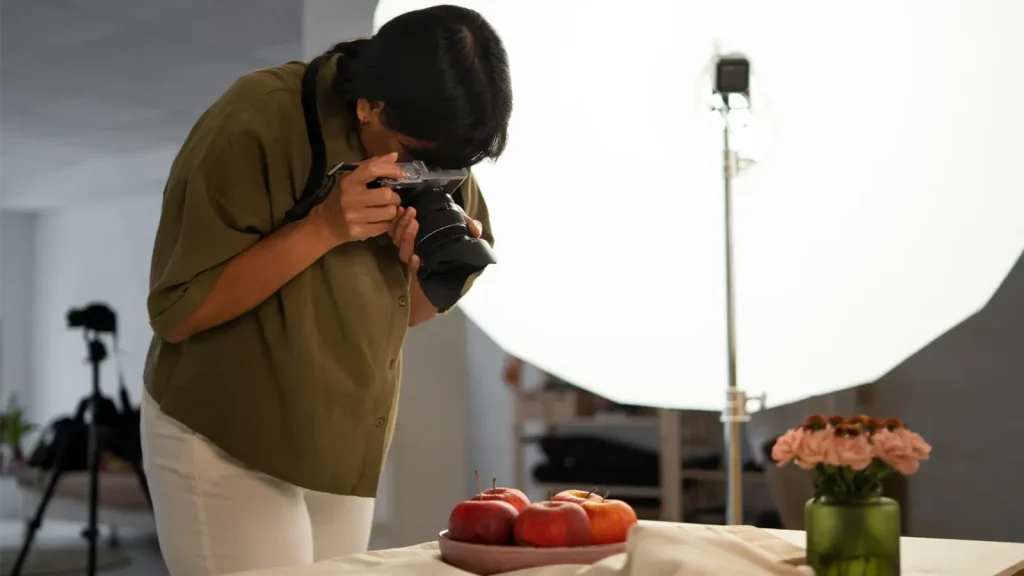
You do not need a commercial studio to take consistent product photos at home. You need a setup where the light, camera position, exposure, and background remain predictable. Use these tips to create a shooting area you can rebuild for every product batch.
Tip 1: Mark the Camera and Product Positions
Place removable tape under each tripod leg and beneath the product. Record the camera height, camera-to-product distance, focal length, and tilt angle. Use the same lens or the 1x smartphone camera for every shot. Changing the distance or lens can alter product proportions and perspective.
Tip 2: Position the Product Beside Indirect Window Light
Place the product at roughly 45 degrees to the window. Avoid direct sunlight because its intensity and direction can change quickly. Hang a sheer curtain or diffusion sheet when the light becomes harsh. This creates smoother shadow transitions and reduces clipped highlights.
Tip 3: Control Shadow Depth With a Reflector
Position white foam board opposite the window. Move it closer to brighten the shadow side or farther away to create more shape. Avoid using another household bulb as fill light because mixed colour temperatures can create blue highlights and orange shadows.
Tip 4: Lock Exposure and White Balance
Use manual exposure when available. Start with ISO 100–200 and an aperture around f/8–f/11, then adjust shutter speed while the camera remains on a tripod. Set a fixed white balance or photograph a grey card before the session. This prevents brightness and colour from shifting between products.
Tip 5: Keep the Product Away From the Background
Use a matte white, neutral grey, or low-reflection PVC sweep. Leave 30–60 cm between the product and background when space allows. This softens background shadows and reduces visible texture.
Tip 6: Shape Reflections Before Taking the Shot
For glass, metal, and glossy packaging, place white cards outside the frame to create clean highlights and black cards to define edges. Check the live view carefully because the product may reflect the camera, window, furniture, or your clothing.
Quick Product Photography Tips by Product Type
Different products react differently to light, camera angles, and backgrounds. Adjust your setup around the material, shape, and details buyers need to inspect.
Jewellery

Place a large diffuser close to the piece to create smooth reflections across metal and stones. Use a macro lens and check sharpness at 100%. For deeper designs, capture several focus points for stacking. Remove dust and inspect for clipped stones or broken highlight lines.
Food and Beverages

Prepare the lighting and composition before bringing the product onto the set. Side or back lighting helps reveal texture, moisture, and shape. Work quickly because melting, drying, fading garnishes, and changing condensation can make the final images look inconsistent.
Clothing

Steam the garment and remove lint or loose threads before shooting. Arrange collars, sleeves, folds, and hems consistently across similar items. Lock the white balance when photographing several colours so the fabric shades remain accurate throughout the collection.
Furniture

Level the camera and avoid very wide lenses that stretch edges or distort proportions. Capture clean views of the material, joints, and surface texture. Add one room-context image to communicate scale, but check for colour casts from surrounding walls and furnishings.
Beauty and Cosmetics

Use soft, diffused light to control hotspots on glossy bottles and packaging. Keep the exposure and white balance fixed across the full product line. Check label clarity, shade accuracy, cap position, and bottle alignment before moving to the next product.
Electronics
Clean fingerprints from screens and dark surfaces before every frame. Use large white cards to create controlled reflections along edges and black cards to add definition. Check ports, buttons, screen glare, crushed shadows, and tilted vertical lines.
Glass and Liquids

Light transparent products from behind to preserve clarity and reveal the contents. Place black cards outside the frame to strengthen weak edges. Adjust the background and camera angle until labels remain readable without losing transparency or clipping bright highlights.
Common Product Photography Mistakes to Avoid
The most expensive mistakes often begin as small setup changes that repeat across a full catalogue. Correcting them before capture improves every later frame. Trying to repair them image by image increases editing time and may still leave the batch inconsistent.
- Leaving exposure and white balance on auto: Auto exposure reacts to product colour, while Auto White Balance can shift between warm and cool values.
- Mixing different light temperatures: Daylight and warm indoor bulbs can create blue highlights and orange shadows in the same image.
- Clipping bright product details: White, metallic, glossy, and saturated products can lose texture when one RGB channel clips.
- Changing camera distance or focal length: Moving the camera changes perspective, and changing focal length alters the relationship between near and far surfaces.
- Using an aperture that does not cover the product: A wide aperture may leave rear details soft, while an extremely narrow aperture can introduce diffraction.
- Ignoring reflection geometry: Glossy surfaces reflect the source, camera, room, and photographer. Small bright lights create harsh hotspots, while uncontrolled room reflections create broken bands and false colour.
- Framing without crop safety: Tight framing leaves no room for straightening, alignment, natural shadows, or alternate square, vertical, and horizontal crops.
- Over-retouching the real surface: Heavy smoothing, sharpening, saturation, or shape correction can change material texture and product proportions.
Frequently Asked Questions
What are the most important product photography tips for beginners?
Start with controlled light, a clean background, a stable camera, useful buyer-focused angles, and consistent editing. These fundamentals improve clarity and catalogue consistency without requiring a complicated studio.
What are the best lighting tips for product photography?
Use one light colour, diffuse harsh sources, choose a direction that reveals the product’s useful detail, and inspect reflective surfaces for unwanted room shapes before taking the final frame.
How can I do product photography at home without a studio?
Use one repeatable area near indirect window light, add a simple matte backdrop, mark the tripod and product positions, lock exposure and white balance, and photograph each batch under similar conditions.
Should I shoot product photos in RAW or JPEG?
Choose RAW when your camera and workflow support it because the file preserves more exposure and colour information. Use the highest-quality JPEG setting when RAW storage or processing is impractical.
What are the best product photography editing tips?
Correct white balance and exposure first, approve one representative image, synchronise files shot under the same setup, standardise crop and placement, and retouch temporary flaws without changing the real product.
What is focus stacking, and when is it needed?
Focus stacking blends several aligned frames focused at different distances. Use it for macro or deep products when one exposure cannot keep all important front, middle, and rear details sharp.
How many angles should I photograph a product from?
Capture enough angles to answer the buyer’s practical questions. Most sets include a hero view, front, side, back, key details, packaging, and one scale or context image where needed.
What is the most common product photography mistake?
Inconsistency is the most common problem. Changes in lighting, scale, framing, background, white balance, or editing become obvious when customers compare multiple products in the same catalogue.
Should product photos be edited individually or in batches?
Apply shared base corrections to files photographed under the same light and camera setup, then refine individual images only when a product-specific issue needs separate treatment.
How do I keep a product catalogue looking consistent?
Use a fixed shot list, marked positions, saved setup notes, manual settings, one approved reference image, side-by-side review, and consistent crop, colour, background, shadow, and retouching standards.
Conclusion
The best product photography tips work together as one repeatable process. Clean and inspect the product, plan the buyer-focused views, lock the camera and lighting, control the background and reflections, review the files before dismantling the setup, and finish every image to the same standard.
One attractive hero shot is not enough when the rest of the catalogue changes in colour, scale, angle, or editing. Consistency helps shoppers compare products, understand what they are buying, and trust that the images represent the real item.