Cosmetic products are small, reflective, and color sensitive. A single fingerprint, dust speck, or stray reflection can ruin an otherwise good shot. Cosmetic brands lose sales every day because of one thing: photos that don’t do the product justice.
High-resolution, well-lit images convert far better than grainy or poorly lit shots, and shoppers notice the difference in seconds.
The goal is to make the product attractive while preserving its true shade, texture, packaging, and finish.
This guide walks through the full process: what to capture, the equipment you need, a step-by-step shooting method, styling by product type, common mistakes, and a checklist you can use on every shoot. Whether you’re building an in-house workflow or outsourcing to a studio, you’ll know exactly what a strong setup requires.
What Is Cosmetic Product Photography?
Cosmetic product photography focuses on capturing makeup, skincare, fragrance, and other beauty products for e-commerce, advertising, and brand campaigns. It presents the packaging, shade, texture, finish, and key details in a way that is visually appealing and true to the actual product.
Color accuracy is critical because shoppers use images to judge shades and finishes before buying. If a red lipstick appears orange or a foundation looks warmer than it is, the image can create false expectations and reduce buyer confidence.
E-commerce cosmetic photography uses clean, informative images to show packaging, applicators, shades, and textures. Cosmetic commercial photography is more concept-led, using lighting, styling, mood, and approved product attributes to communicate brand identity in campaigns and advertisements.
Inconsistent crops, backgrounds, and colors hurting your product listings? Get clean, marketplace-ready visuals with our Ecommerce Image Editing Services.
What Cosmetic Product Photos Should You Capture?
A complete beauty listing or campaign usually needs more than one image type. Each one answers a different question a buyer has before they commit to a purchase.
- Clean hero packshot: A front-facing shot showing the product, branding, shape, and packaging clearly. This is the core image for ecommerce beauty product photography and marketplace listings.
- Front, side, back, and packaging views: Cover labels, applicators, ingredients, size, and instructions.
- Close-up detail image: Show embossed logos, brush heads, pumps, closures, and packaging texture, where cosmetic packaging photography earns its keep.
- Product texture or swatch image: Show color, consistency, coverage, shimmer, or finish for creams, powders, lip products, and foundations, sometimes called cosmetic swatch photography.
- Application or model image: Demonstrate shade, scale, and finish on real skin, useful for skincare product photography and makeup lines alike.
- Group or collection image: Show shade ranges, product families, gift sets, or routines together.
Baymard Institute’s product page usability research found that 56% of users’ first action on a new product page is exploring the images, before they read titles or descriptions.
Human-model images add context an isolated packshot cannot provide, which matters even more for cosmetics, where fit, shade, and finish drive the decision.
Essential Equipment Setup for Cosmetic Photography
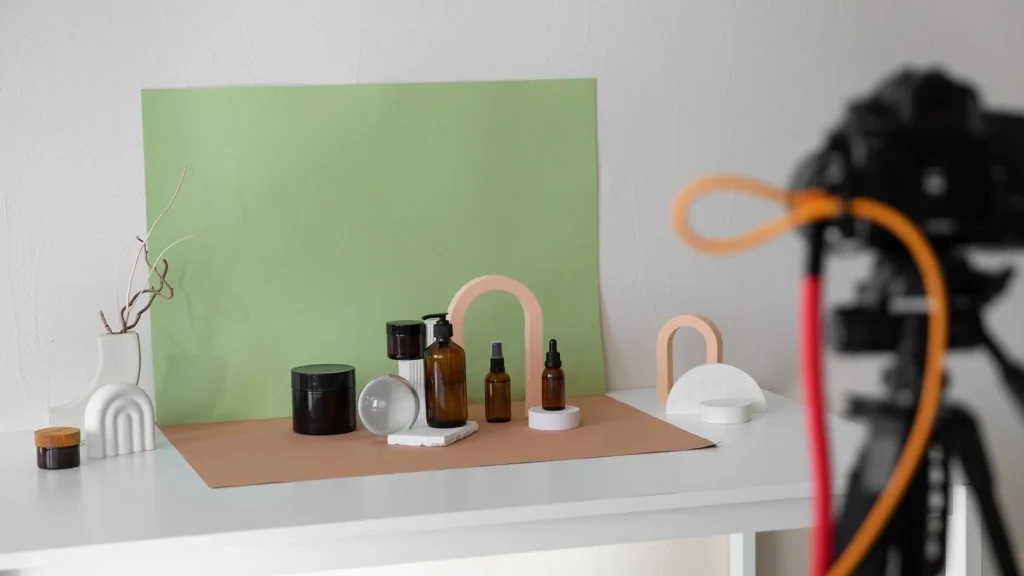
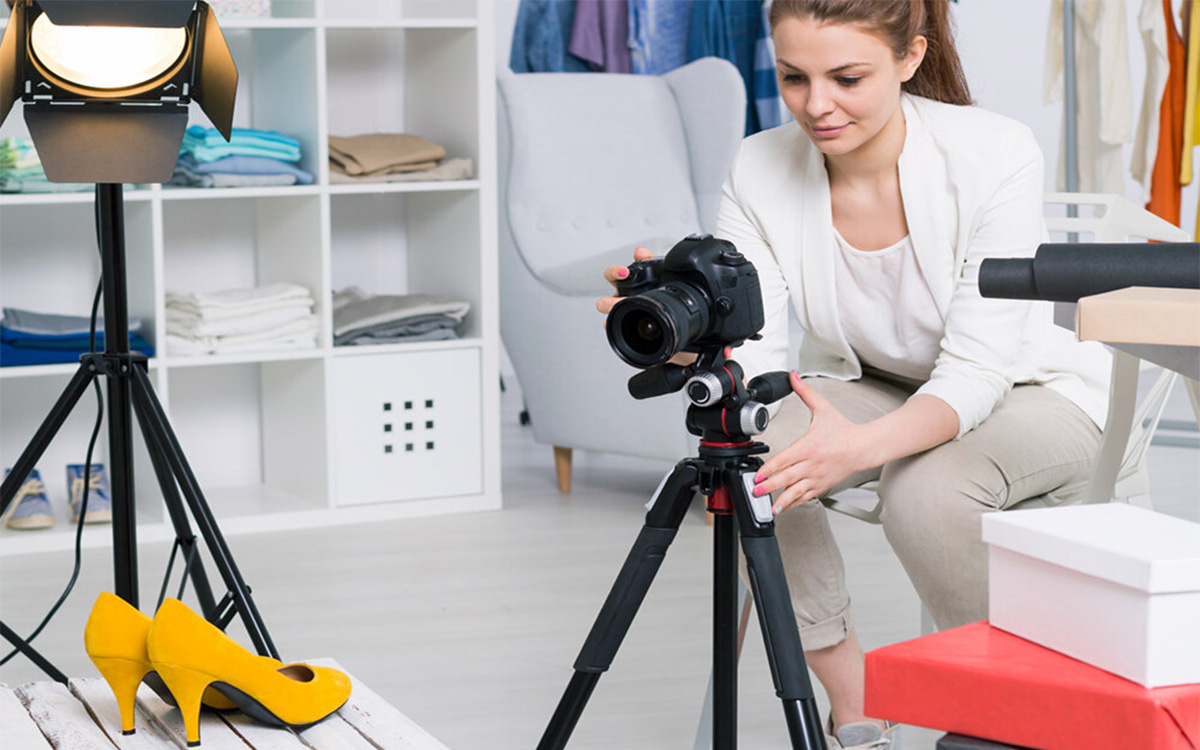
You do not need a large studio to start. However, the right cosmetic photography equipment helps you maintain accurate focus, color, lighting, and framing across complete product ranges.
Cameras
Choose a mirrorless or DSLR camera with manual exposure, RAW capture, live-view magnification, and tethering support. A modern smartphone can handle simple listings, but disable beauty filters, digital zoom, and automatic color enhancements.
Recommended Lenses
A 50mm lens suits flat lays and group compositions, while an 85mm lens provides a natural perspective for bottles and jars. Use a 90mm–105mm macro lens for lipstick tips, applicators, labels, powders, and swatches.
Tripod
A stable tripod keeps framing, distance, and perspective consistent. A geared head provides more precise adjustments than a standard ball head, especially for catalog photography and overhead arrangements.
Remote Shutter Release
Use a wired remote, camera app, tethered software, or two-second timer to prevent vibration during slow exposures. Remote capture also avoids small framing changes between products.
Focus Rail
A focus rail moves the camera forward or backward in precise steps. It is useful for macro focus stacking when one frame cannot keep the complete applicator, lipstick tip, or product surface sharp.
Memory Cards
Use reliable 64GB or 128GB UHS-I or UHS-II cards. Record to two cards when possible, particularly during paid shoots or large product batches.
Cleaning Tools
Keep microfiber cloths, cotton swabs, powder-free gloves, soft brushes, tweezers, and an air blower nearby. Clean glossy packaging carefully, since fingerprints and dust become highly visible under macro lenses and diffused lighting.
Large Diffused Light Source
A large softbox, scrim, light tent, or diffused LED panel creates smooth highlight transitions and softer shadows. Strip softboxes work well for long reflections on bottles, tubes, and metallic caps.
Reflectors, Flags, and Diffusion
White cards brighten shadows, while black cards define the edges of glass and reflective packaging. Flags block unwanted glare, and diffusion panels soften hotspots without hiding labels.
Wrong shades making your cosmetic photos look unreliable? Get true-to-life, consistent results with our Photo Color Correction Services.
Background and Styling Kit
Prepare seamless paper, matte vinyl, acrylic surfaces, risers, clamps, putty, tape, fishing line, pipettes, and swatch tools. Choose surfaces according to the listing or campaign style.
Color Reference and Tethering
Photograph a gray card or color chart under every finalized setup. Tether the camera to a calibrated monitor when possible so you can check color, focus, dust, reflections, and highlight clipping before changing the set.
How to Photograph Cosmetic Products: Step by Step
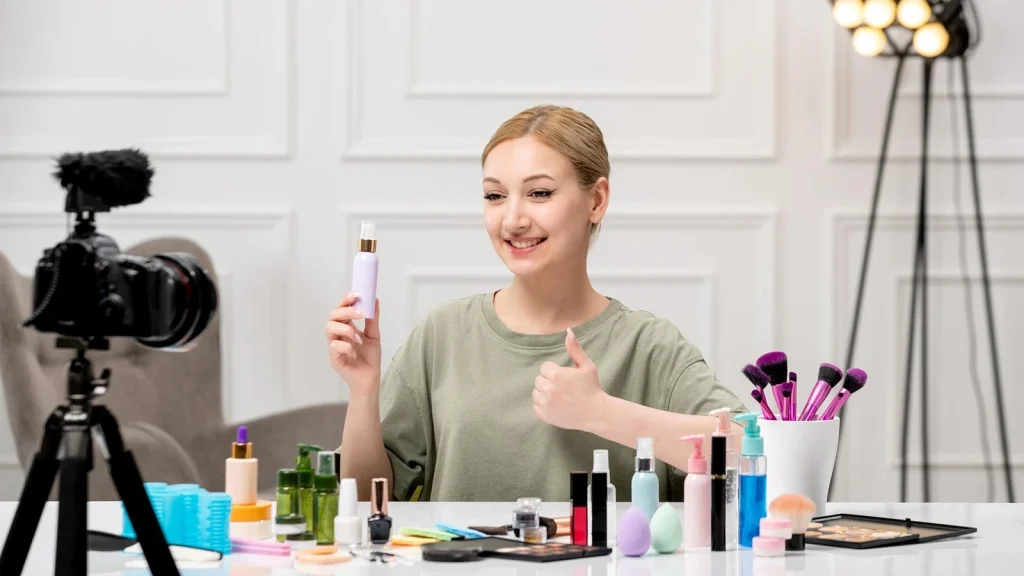
This step-by-step workflow takes you from planning the shoot to reviewing final files, helping you create polished, consistent images that support both product listings and beauty campaigns.
1. Define the Image’s Purpose
Decide whether the photo is for an online listing, marketplace gallery, website banner, paid ad, social post, or full campaign. Each use case has different resolution, crop, and format requirements, so nailing this down first avoids a reshoot later.
Build a shot list before setting anything up. A written list keeps the session moving and makes sure you don’t wrap a shoot only to realize you skipped a detail shot or a required angle.
2. Prepare and Clean the Product
Remove dust, fingerprints, glue residue, protective film, loose caps, crooked labels, dents, and smears. Small imperfections that are invisible to the eye often show up clearly once the product is lit and magnified.
Align labels straight and check liquid or cream levels before you shoot a single frame. Keep a fresh microfiber cloth and air blower within reach so you can clean between angle changes without breaking your setup.
3. Choose a Background and Color Palette
Use white or neutral backgrounds for clean listings, and brand colors, complementary tones, gradients, or textured surfaces for campaign images. Good background ideas support the product instead of competing with it.
4. Build the Lighting Around the Product Surface
Different materials need different lighting for cosmetic photography:
- Matte tubes and jars: Start with a large, soft light around 45 degrees from the product.
- Glossy plastic and metallic packaging: Use broad diffusion with black cards to shape clean edge reflections.
- Clear glass and translucent bottles: Use backlighting or side-backlighting to reveal liquid, shape, and transparency, a technique that works especially well for fragrance product photography.
- Powders, creams, and swatches: Use controlled side lighting to reveal texture without harsh, distracting shadows.
5. Set the Camera for Clean, Detailed Files
Use these as practical starting points, not universal rules:
- Shoot in RAW when possible
- Use the lowest practical ISO
- Start around f/8 to f/11 for packshots
- Use a tripod when shutter speeds drop
- Set a fixed white balance or shoot a gray reference card
- Focus on the brand name or most important detail
- Use focus stacking when close-up depth is too shallow
Check reflective highlights before moving on. A clipped highlight on a white cap, metallic edge, or glass bottle may have no recoverable detail left to fix later.
6. Compose and Style the Product
Keep the product the strongest visual element in the frame. Control product angle, label visibility, prop size, negative space, color hierarchy, surface reflections, and crop orientation as you shoot, and remove anything that pulls the eye away from the packaging.
If you’re using props, place them last, after the lighting and background are locked in. Adjusting props around a finished setup is far faster than rebuilding the whole scene around a prop that isn’t working.
7. Capture Useful Variations
Shoot horizontal, square, and vertical options when the campaign needs several formats across a website, marketplace, and social channels. Capture minor lighting or prop variations while the set stays intact, since breaking down and rebuilding a set rarely reproduces the same result twice.
8. Review Before Breaking Down the Set
Zoom in and check focus, label readability, dust, color casts, reflections, damaged edges, crop space, consistency, and highlight clipping before you move to the next product. Catching an issue now takes seconds. Catching it after the set is broken down means rebuilding lighting from scratch.
Why Cosmetic Product Photography Is Important
Good photos do more than look nice. They directly affect your bottom line, and the numbers make the case better than any opinion could:
- Conversions jump: Products with high-resolution, well-lit photos convert at rates up to 94% higher than those with low-quality images, according to a conversion-rate analysis by SellHound. That gap runs even wider in beauty and skincare, where shoppers lean hard on texture and color cues.
- Returns drop: Roughly 22% of online returns happen because the product looked different in person than it did in the listing photo. For cosmetics, where shade and finish are everything, that number tends to run even higher.
- The stakes keep rising: Statista tracks steady growth in US beauty and personal care ecommerce, with more shoppers buying makeup and skincare sight unseen every year. Your photos are doing more of the selling than ever.
Beyond the numbers, strong cosmetic photography builds brand trust, keeps your visual identity consistent across a catalog, and gives you assets that work everywhere: your website, marketplace listings, and social feeds.
Static cosmetic shots limiting your campaign ideas? Create polished, high-impact visuals with our Image Manipulation Services.
Creative Cosmetic and Makeup Product Photography Ideas
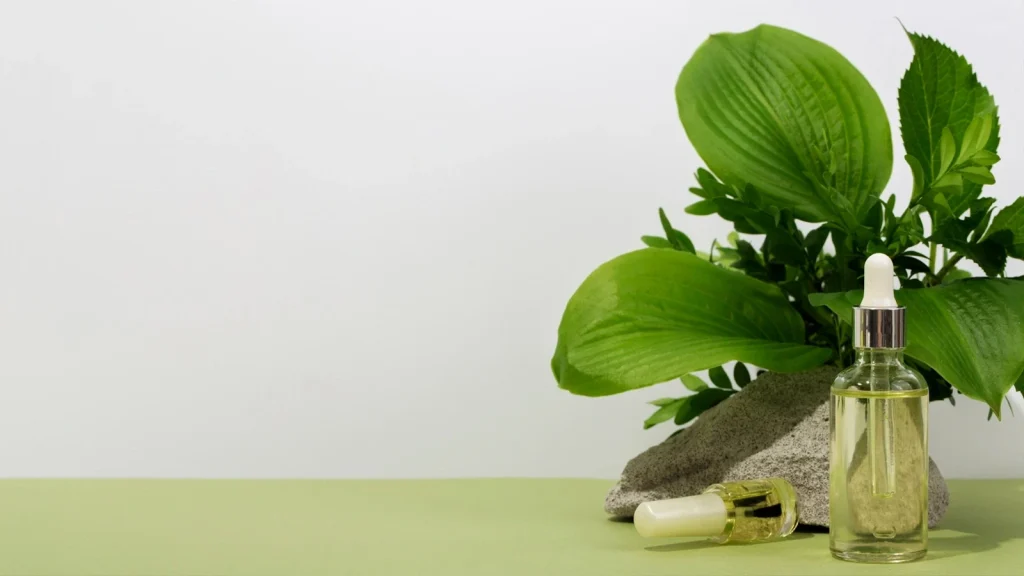
Strong cosmetic product photography ideas should do more than look attractive. Each setup should reveal packaging shape, formula texture, product benefit, or brand position while keeping labels, shades, and reflections under control.
Floating Products
Suspend lightweight packaging with a clear fishing line or support it on a removable acrylic rod. Lock the camera on a tripod, photograph a clean background plate, and remove the supports during compositing. Match the shadow direction to the original lighting.
Water Splash Photography
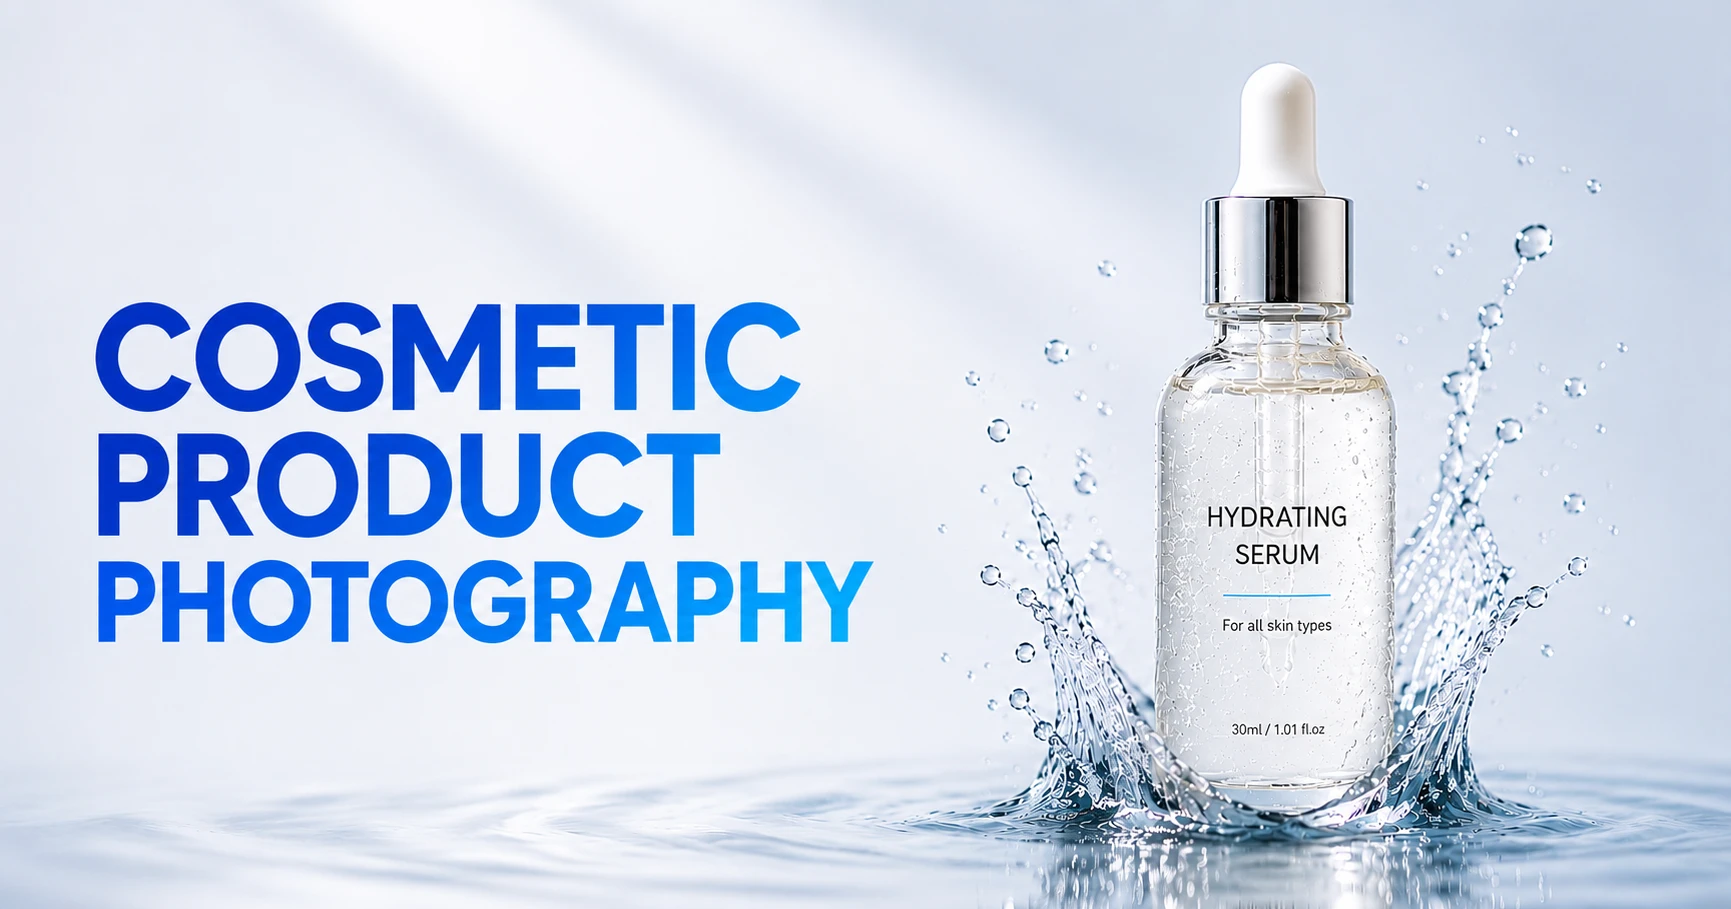
Use a fast flash duration to freeze splashes around waterproof makeup, cleansers, or hydration products. Protect packaging seams and paper labels. Capture the product and splash separately when combining them in one exposure creates uncontrolled reflections.
Ice Effects
Real ice suits freshness or cooling concepts but melts quickly and creates inconsistent water trails. Clear acrylic ice offers better control. Backlight transparent pieces to reveal edges without making the product label too dark.
Smoke and Mist
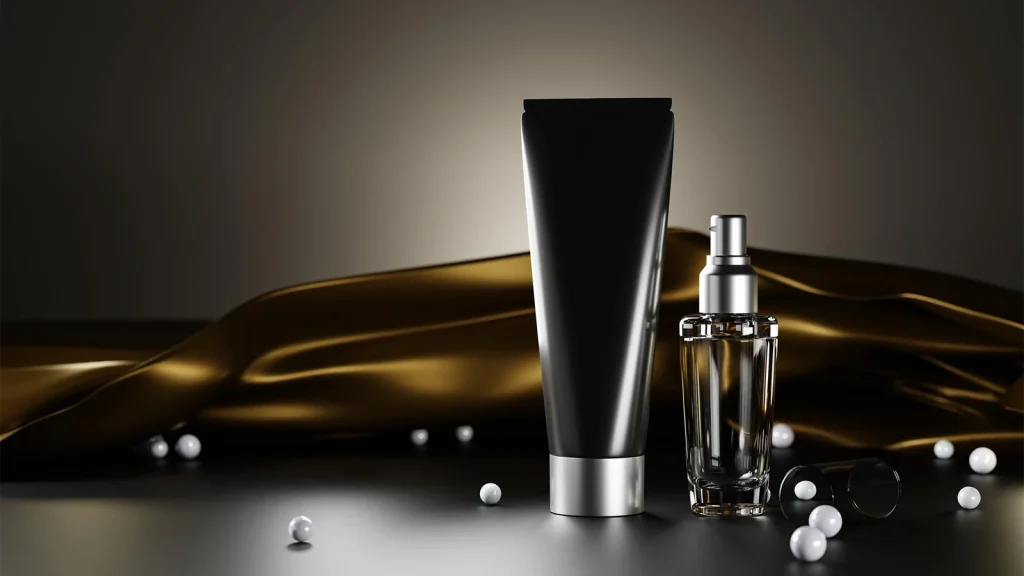
Use cosmetic-safe atmospheric spray, a humidifier, or composited mist. Place backlighting behind the vapor so it remains visible. Keep smoke away from the front label, as dense mist can reduce contrast and product clarity.
Mirror Reflections
Mirrored acrylic creates symmetry and a premium finish. Adjust the camera angle to prevent lens and studio reflections. Use black cards to define glass edges and clean the surface before every frame.
Seasonal Campaigns
Build seasonal scenes through controlled color, lighting, and texture rather than excessive props. Warm highlights suit holiday campaigns, while pale backgrounds and directional sunlight can support spring or summer launches.
Luxury Beauty Setups
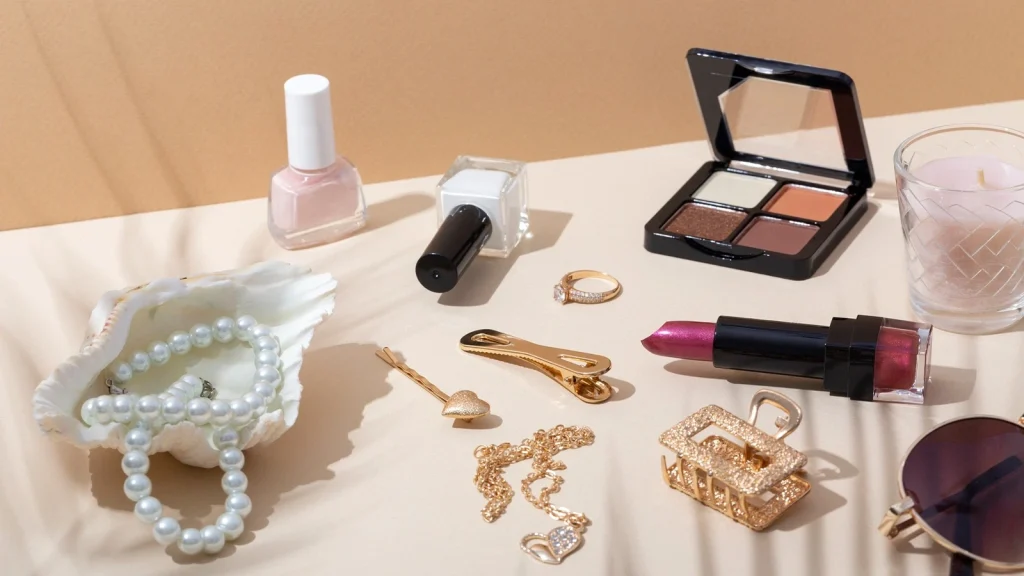
Use stone, glass, satin, metal, or polished acrylic with precise edge lighting. Limit the palette and leave negative space. Luxury images depend more on clean reflections and material contrast than decorative objects.
Minimalist Photography
Use one background, one product, and carefully shaped light. Control spacing, shadow length, and label alignment. Minimal scenes expose every technical flaw, so packaging cleanup must be precise.
Flat Lays
Mount the camera parallel to the surface and use a spirit level to prevent perspective distortion. Arrange products by shape, scale, or routine order while maintaining consistent spacing.
Lifestyle Scenes
Place cosmetics in believable settings such as vanities, travel bags, or skincare routines. Props should establish context without hiding product details or creating false ingredient claims.
Instagram Content
Capture vertical, square, and close-detail variations during the same shoot. Leave safe space for captions, stickers, or campaign copy without placing essential details near crop zones.
Color-Themed Campaigns
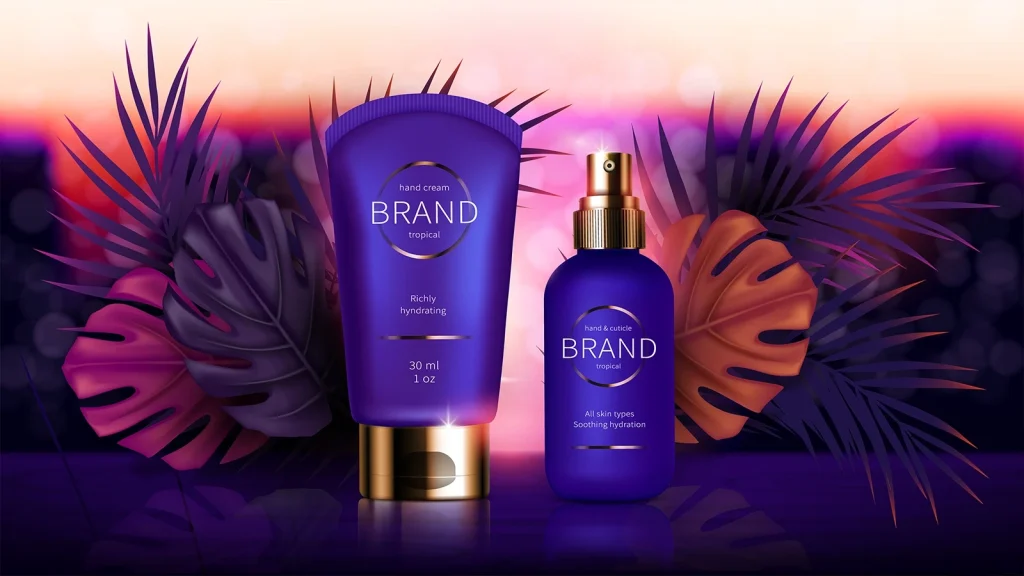
Build the scene around complementary, analogous, or monochromatic colors. Check that the background does not contaminate reflective packaging or make the cosmetic shade appear inaccurate.
Glare, dust, or uneven color hurting your cosmetic product photos? Get clean, true-to-life results with our Photo Retouching Service.
Cosmetic Product Photography Styling by Product Type
Cosmetic product photography styling changes depending on what you’re shooting. Perfume needs different handling than a powder palette, and a mascara wand hides detail a lipstick swatch never will.
| Product | Styling Priority | Main Technical Risk |
|---|---|---|
| Lipstick | Bullet shape, shade, swatch, and embossed detail | Smears, damaged tips, and inaccurate red tones |
| Lip gloss | Gloss level, applicator, texture, and transparency | Uncontrolled highlights, bubbles, and sticky residue |
| Foundation bottles | Shade, consistency, pump, and application | Incorrect product color and blown highlights |
| Serum bottles | Dropper, liquid clarity, ingredients, and bottle shape | Fingerprints, glare, and distorted transparency |
| Perfume bottles | Glass shape, liquid color, cap, and label | Reflections, glare, and distorted transparency |
| Moisturizers | Cream texture, jar opening, lid, and ingredient styling | Uneven product surfaces and over-smoothed texture |
| Cleansers | Packaging, foam, gel texture, and freshness | Plastic glare, bubbles, and unclear product consistency |
| Toners | Liquid clarity, bottle shape, cap, and label | Flat-looking liquid, glare, and color casts |
| Sunscreens | Tube shape, cream texture, finish, and application | Blown white packaging and misleading texture |
| Mascara | Brush head, bristles, product texture, and tube | Black details disappearing into shadow |
| Eyeliner | Applicator tip, line precision, finish, and packaging | Fine details going out of focus and uneven swatches |
| Eyeshadow palettes | Pan arrangement, shade range, shimmer, and texture | Broken powder, glare, and inaccurate pigment colors |
| Nail polish | Bottle shape, polish color, brush, and finish | Glass glare, cap reflections, and inaccurate shades |
| Cosmetic jars | Lid, label, container depth, and product texture | Fingerprints, curved-label distortion, and harsh reflections |
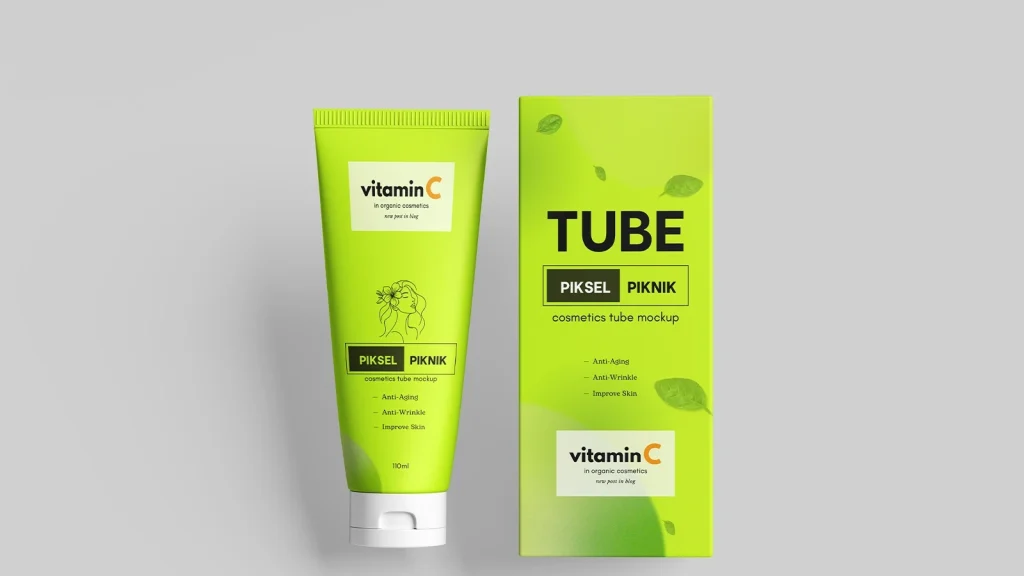
| Cosmetic tubes | Tube shape, cap, label alignment, and product squeeze | Creases, distorted packaging, and blown highlights |
Most guides hand out generic ideas without explaining these product-specific tradeoffs, which is exactly where a lot of catalogs lose consistency between one product type and the next.
Cosmetic Photography Tips for Better Results
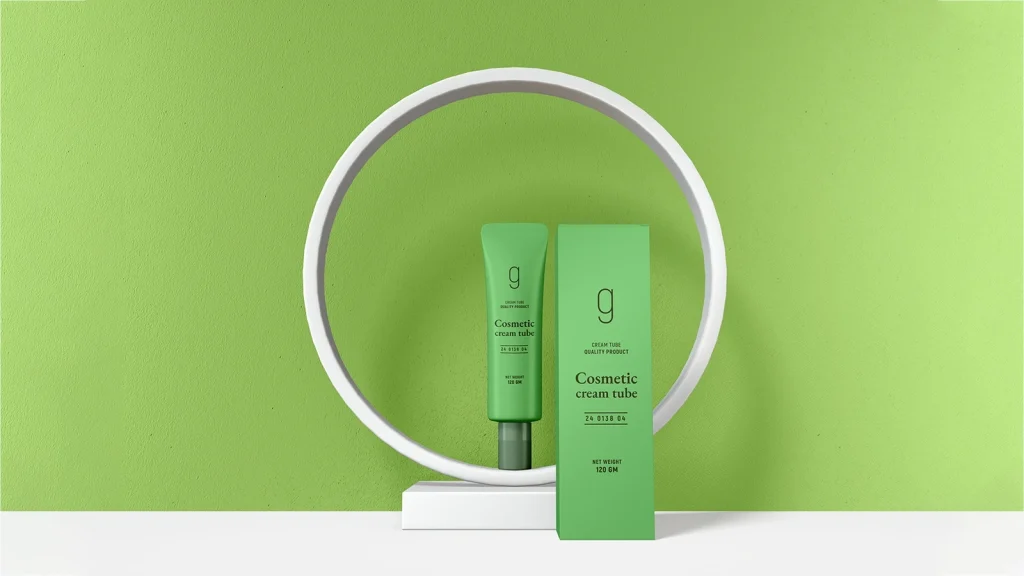
Small technical habits often make the biggest difference during a full cosmetic catalog shoot. These cosmetic product photography tips help improve color accuracy, sharpness, reflection control, and consistency while reducing unnecessary correction in post-production.
Shoot in RAW
RAW files preserve more highlight, shadow, and color information than JPEGs. This gives you greater control when correcting white balance, reflective packaging, and shade-sensitive products such as foundation, lipstick, blush, and nail polish.
Clean Every Product
Remove fingerprints, dust, powder, glue residue, and smears before the first shot and after every angle change. Use gloves, microfiber cloths, cotton swabs, and an air blower to avoid creating new marks.
Keep Labels Perfectly Aligned
Use a grid, spirit level, or tethered live view to keep labels straight and centered. Mark the product position so each SKU maintains the same angle, baseline, and distance from the camera.
Match Brand Colors Accurately
Photograph a gray card or color reference under the final lighting setup. Compare edited files with an approved product sample, especially when shooting complete shade ranges or packaging that uses strict brand colors.
Capture Multiple Angles
Photograph the front, side, back, top, applicator, texture, and scale where relevant. Capture square, horizontal, and vertical framing during the same session so the files work across websites, marketplaces, ads, and social media.
Test Different Lighting Ratios
Adjust the balance between the main light and fill rather than using equal illumination on every side. A lower fill level adds shape, while stronger fill reveals packaging detail. Fix glare and reflections during the shoot instead of depending entirely on editing.
Use Focus Stacking for Macro Shots
Macro images of lipstick tips, mascara brushes, powder textures, and small labels often have limited depth of field. Capture several frames focused at different points, then combine them to produce one fully detailed image.
Keep Compositions Simple
Use props that support the formula, ingredient, or campaign idea without competing with the product. Photograph shades and textures separately from the main hero shot when combining both would make the composition crowded.
Maintain Consistency Across Product Lines
Keep the camera, tripod, lighting, backdrop, crop, and product position fixed throughout the batch. Compare all images side by side before finishing to identify changes in color, scale, reflections, spacing, or shadow direction.
Edit Cosmetic Product Photos Without Misrepresenting Them
Edit in a fixed sequence: RAW correction, isolation, cleanup, color matching, reflection control, shadow refinement, sharpening, and export. Keep the RAW file as a Smart Object and place major corrections on separate layers so product color, texture, labels, and transparency remain reversible.
RAW Processing and Exposure
Apply the correct camera profile, lens correction, chromatic-aberration removal, and distortion correction before retouching. Work in 16-bit to reduce banding in glass, pale backgrounds, and smooth gradients.
Use the histogram and individual RGB channel warnings to protect white packaging and metallic highlights. Recover local areas with Curves or masks instead of reducing the exposure of the entire image.
White Balance and Color Correction
Set white balance from a gray-card frame captured under the final lighting. Correct Temperature first, then Tint. Mixed color casts may require separate masks for the product, background, skin, and reflective surfaces.
Match cosmetic shades against the physical sample, approved artwork, or color chart. Isolate foundation, lipstick, nail polish, and packaging colors before using HSL, Curves, or Selective Color. Professional photo color correction services can help standardize large shade ranges.
Background Removal and Clipping Paths
Use the Pen Tool for opaque jars, tubes, palettes, boxes, and hard-edged bottles. Place anchor points only where the contour changes and keep the path slightly inside contaminated edge pixels.
Glass, transparent caps, soft shadows, brush fibers, smoke, and splashes require masking. Check the extraction against white, black, and gray layers to reveal halos, missing transparency, or edge contamination. E-commerce image editing services are useful for matching background, scale, crop, and spacing across large catalogs.
Dust, Scratches, and Reflection Cleanup
Retouch temporary defects on an empty layer using Healing Brush or Clone Stamp with Sample All Layers enabled. Preserve packaging seams, embossed branding, molded details, and real product texture.
Remove reflections only when they hide labels, distort color, or reveal the studio. Use masked Curves for glare, Clone Stamp for interrupted text, and exposure blending when several reflection-controlled frames are available.
Shadows and Color Grading
Build shadows from contact and cast components. The contact area should remain darkest and sharpest, while the cast shadow softens with distance. Match direction, density, product height, and surface perspective across the batch.
Apply creative color grading only after the product shade is approved. Protect cosmetic colors, skin tones, brand colors, and white labels with masks.
Beauty Retouching and Frequency Separation
For model images, separate the skin, product, applicator, hair, and background into adjustment groups. Use healing and dodge and burn to correct temporary blemishes without removing pores or changing the visible cosmetic finish.
Use frequency separation only when tone and texture need independent repair. Keep labels and hard packaging edges outside broad low-frequency corrections. Complex campaigns may benefit from high-end photo retouching services.
Sharpening and Export
Apply light capture sharpening, selective sharpening to labels and product details, then output sharpening after resizing. Mask glass gradients, skin, shadows, and plain backgrounds.
Keep a layered 16-bit PSD or TIFF master. Export online images in sRGB, use JPEG for opaque backgrounds and PNG for transparency, embed the ICC profile, and inspect the final file for halos, banding, compression, and color shifts.
Cosmetic retouching must not change the true shade, distort packaging, exaggerate skin results, or imply unsupported benefits. The FDA requires cosmetic labeling and marketing claims to be truthful and not misleading.
Common Cosmetic Photography Mistakes
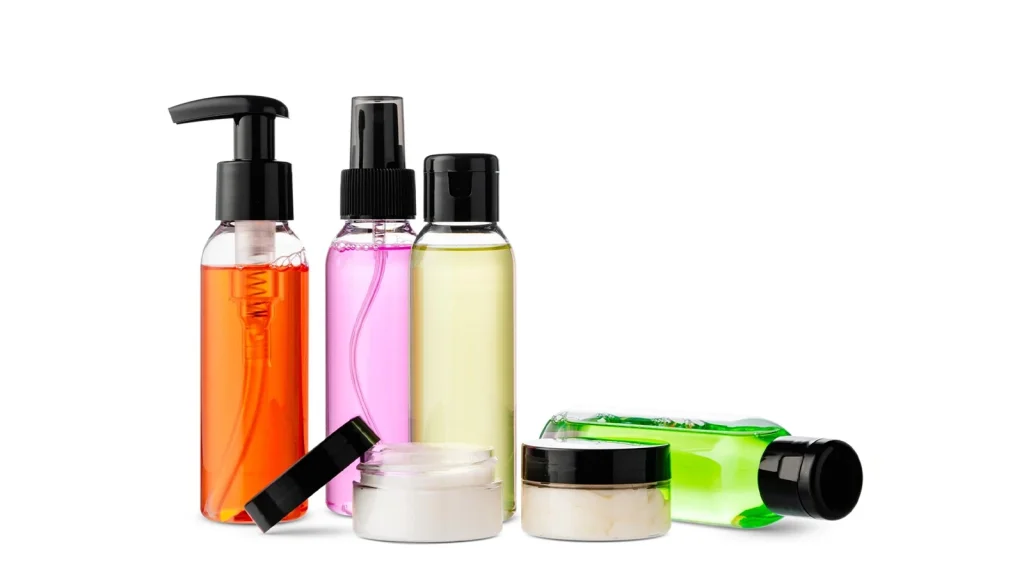
Cosmetic products expose technical flaws quickly because glossy surfaces, small labels, transparent packaging, and color-sensitive formulas respond strongly to minor lighting or editing errors. Check these issues during capture, tethered review, and final export rather than relying on post-production to repair everything.
Harsh Lighting
Small, direct lights create clipped highlights, hard shadows, and uneven reflections. Move a larger softbox or diffusion panel closer to the product, then use flags to control spill. Check individual RGB channels because metallic caps or white packaging may clip before the overall histogram shows a warning.
Dirty Packaging
Macro lenses reveal fingerprints, lint, loose powder, glue residue, and dried liquid. Clean with an air blower, microfiber cloth, cotton swabs, and powder-free gloves. Reinspect the product under the final lighting after every angle change.
Incorrect White Balance
Auto white balance can shift between frames, making shade ranges inconsistent. Capture a gray card under each lighting setup and apply a fixed Kelvin and tint value. Mixed lighting may require separate masked corrections for the product, background, and skin.
Poor Styling
Styling fails when product angles, prop scale, and spacing do not support the campaign message. Keep the label readable, maintain a clear visual hierarchy, and choose surfaces that complement the packaging finish.
Distracting Props
Large, saturated, or highly reflective props compete with small cosmetic products. Reduce their scale, contrast, and saturation. Ingredient-based props should also match the actual formulation or approved marketing claim.
Over-Editing
Excessive smoothing, saturation, sharpening, or reshaping can alter real texture, shade, and packaging structure. Compare edited files with the original product and approved color reference throughout the workflow.
Low-Resolution Exports
Upscaling a small file does not restore missing detail. Export from the full-resolution master, resize once, convert to sRGB, apply output sharpening, and inspect text, edges, and compression at 100%.
Ignoring Reflections
Reflections should define shape, not hide branding. Use diffusion, black cards, and camera-angle adjustments during capture. Preserve controlled highlight bands while removing reflections that obscure labels or distort color.
Uneven Shadows
Inconsistent shadow direction or softness makes catalog images look assembled from different shoots. Match contact density, cast direction, edge softness, and light height across the entire product line.
Frequently Asked Questions
Can I do cosmetic product photography with a smartphone?
Yes, for social content and quick listings. A recent smartphone under controlled, diffused lighting can produce usable images, though a dedicated camera and macro lens still capture texture and color more accurately for hero shots.
What lighting is best for cosmetic product photography?
A large, diffused light source works best. It softens reflections on glossy or metallic packaging and creates smoother gradients than a small, direct light, which is critical for accurate color and finish.
What camera settings should I use for cosmetic products?
Start around f/8 to f/11 with the lowest practical ISO, shoot in RAW, and use a fixed white balance or gray reference card so colors stay accurate across the whole catalog.
How do I photograph reflective cosmetic packaging?
Use broad diffusion with black cards to shape clean edge reflections instead of eliminating them entirely. A light tent works well for small, highly reflective items like compacts and tubes.
What background works best for makeup photography?
White or neutral backgrounds work best for ecommerce listings. Brand colors, gradients, or textured surfaces suit campaign and social content better, as long as the background supports rather than competes with the product.
How many photos should a cosmetic product listing include?
Most listings need a hero packshot, one or two detail views, a texture or swatch image, and ideally an application shot. Five to six images cover most buyer questions.
Do cosmetic product photos need professional editing?
Yes, in most cases. Even a well-shot photo usually needs color correction and cleanup to match the product’s true shade and stay consistent with the rest of the catalog.
Conclusion
Professional cosmetic product photography comes down to controlling preparation, lighting, reflections, color, styling, and editing as one repeatable workflow, not a series of separate fixes. Get the process right once, and every future shoot gets faster.
If inconsistent colors, reflections, dust, or batch-editing pressure are slowing your catalog down, our team handles cosmetic product photo editing at scale so your images stay accurate and consistent across every listing.