A hat is a wearing accessory that brings a positive change to anybody’s look. Eventually, it protects people from heavy sunbeams or cold. From celebrities and film directors to cowboys, we all like wearing hats for special or regular moments.
That’s why hat photography became more crucial for its huge demands in online and offline shopping. If you are a product photographer and want to make creative photos for hat products, this content will thrill you.
In this article, you will get the best hat photography ideas and tips with examples that will make you professional and expert in it. Even, you won’t need to go anywhere else for any hat photography information after following this content.
What you’ll learn in this article
- 1 What is hat product photography?
- 2 Best Hat Photography Tips for Photographers
- 2.1 Preparation For Hat Photoshoot
- 2.2 Use Natural and Artificial Lighting for hat product photography
- 2.3 Capture Different Angles
- 2.4 Capture in a Different Style
- 2.5 Use the Ghost Mannequin Technique
- 2.6 Hat photography with models
- 2.7 Use Different Backgrounds & Backdrop for hat product photography
- 2.8 Enhance Hat Images by Post-Production
- 3 How to photograph hats? Hat photoshoot ideas with example
- 4 How to Photograph a Cap? Get DIY Product Photography Ideas
- 5 FAQs
- 6 Final Word
What is hat product photography?
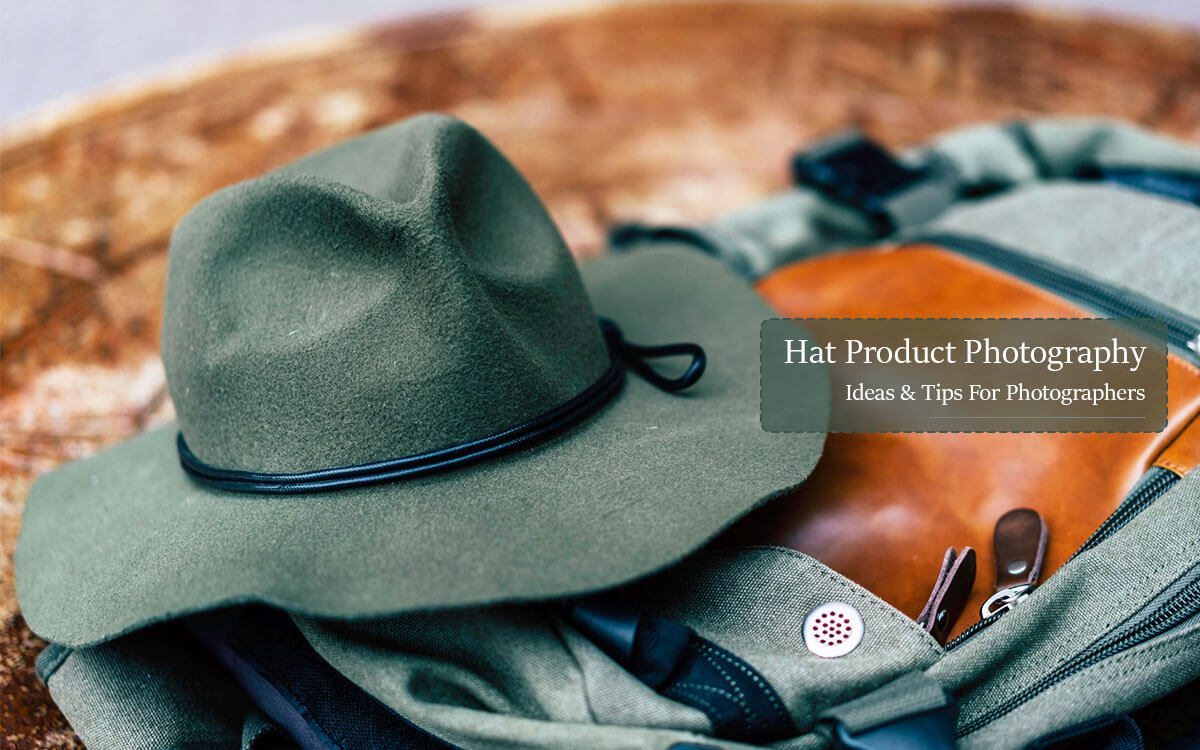
Hat product photography is a type of product photoshoot that captures shots of curtain hats/caps for the aims of marketing online and increasing hat/cap sales. This type of product photography gives the hats/caps stylish looks and grabs people’s attention more attractively.
Photographers capture the hats from different angles and styles using perfect background, studio, ghost mannequins, fashion models, and so on. In this photography, they utilize their creative ideas to present the headwear perfectly.
Don’t forget to read: Top 15 Ecommerce product photo editing trends to follow
How popular is hat photography?
“And all your future lies beneath your hat.” —John Oldham
Hats are among the top products that help to create charming and stylish looks for people. It’s the reason hats, and hat photography gained more popularity.
From actors, celebrities, and fashion models to the common people, everybody uses hats for numerous purposes. Even babies are the fondest of hats, and they look more cutesy in this wear.
Apart from offline shopping, nowadays, people are highly encouraged to buy products from e-commerce platforms. That’s why hat-sellers who own ecommerce stores need lots of hat photography to advertise their hats.
Best Hat Photography Tips for Photographers
Now you know about this photography and its vast popularity. Also, you understood its importance for your online hat product marketing.
For that purpose, I am providing here the best tips for hat photography. So, let’s get it.
Preparation For Hat Photoshoot
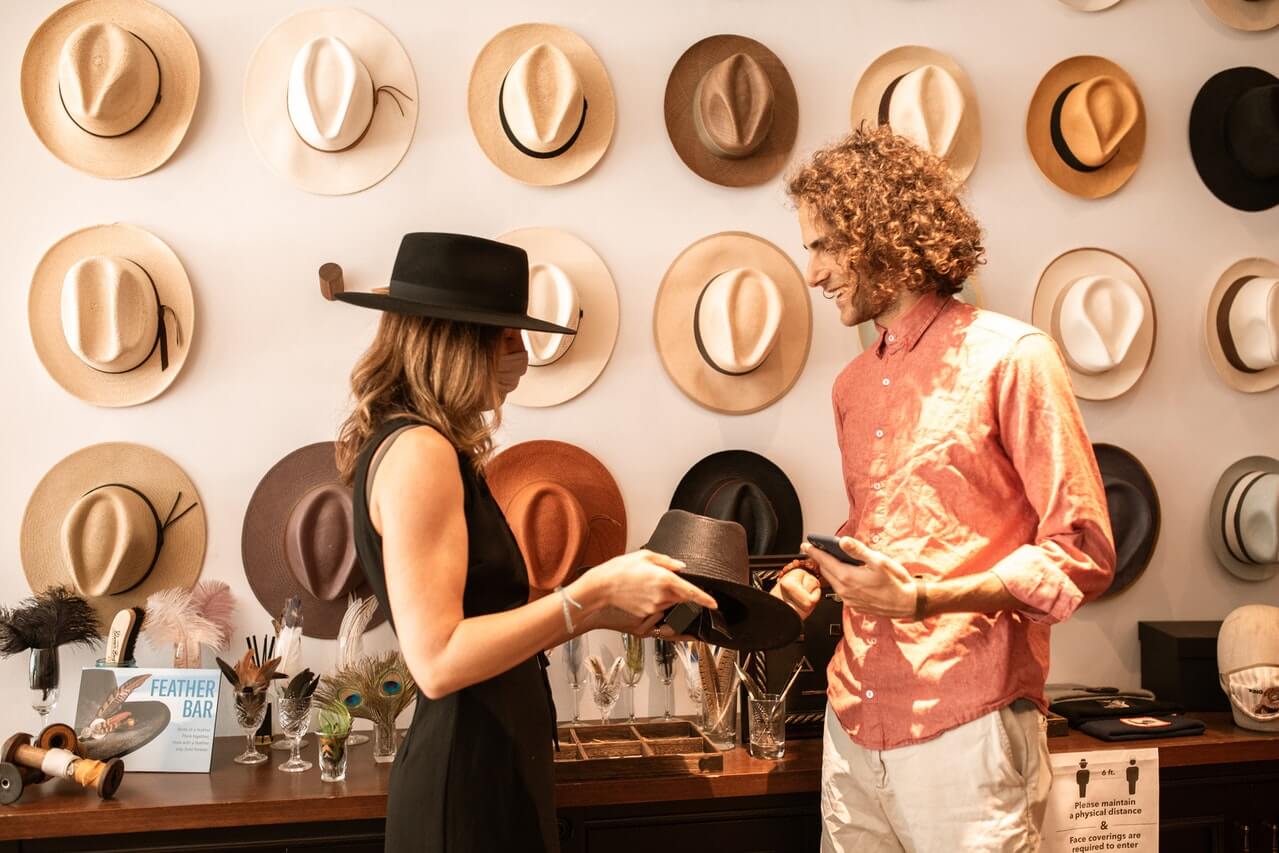
Good preparation is crucial for every hat product photoshoot. It can make your hat photos creative and persuading. Preparation for this type of shoot contains mainly of preparing your product, setting your camera, and studio.
Here you get some helpful steps for perfect hat photography preparation.
Prepare The Hat
Firstly, you have to prepare your hat because to make a perfect photo shoot, the object must be fresh and astonishing. You can prepare your hat following the given tips:
- Make sure your hat is clean, and there is no trace of dust.
- Try to remove any unusual bends, wrinkles, etc., because it indicates low quality.
- Use a roller or iron to eliminate lint and particles from the surface of the hat to look stunning.
- Abolish any tag or sticker like the price tag from the hat. But if you cannot remove it, you can try to hide it in post-production.
Prepare Your Photography Studio
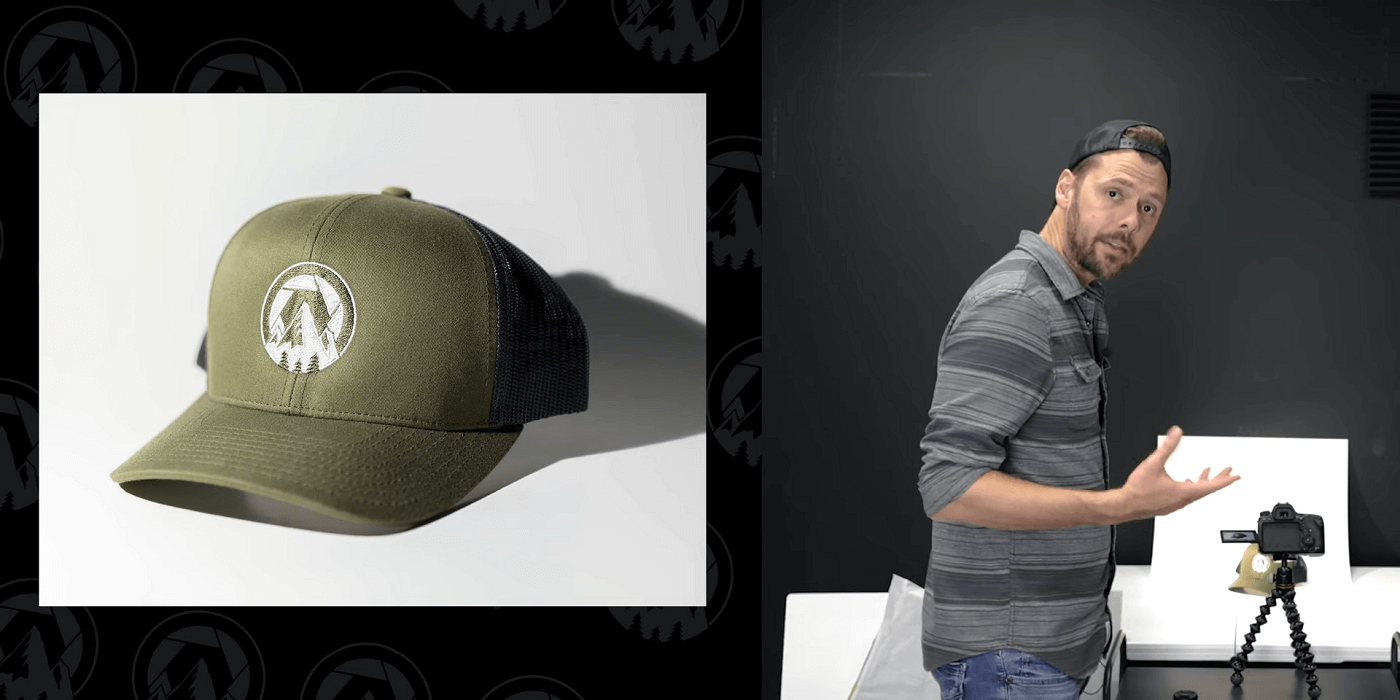
The second step is to prepare your photography studio. It’s very important to highlight the product attractively. Here are some lucrative tips that you must follow:
- Set a stable table or an elevated surface to position your hat products perfectly.
- Try to use a simple and plain background that doesn’t grasp attraction.
- Prefer soft lighting to get rid of hard shadows.
- Lighten the hat from all the sides, and don’t try to make it seem artificial.
Prepare Your Camera & Equipment
Finally, you have to prepare your camera and equipment. For that reason, you can choose a perfect camera such as a Sony a6400, Panasonic Lumix FZ80K, Canon 90D, etc. But whatever camera or equipment you select, you must follow the given steps below.
- Firstly, make your camera lens clean and flawless before capturing the shoot.
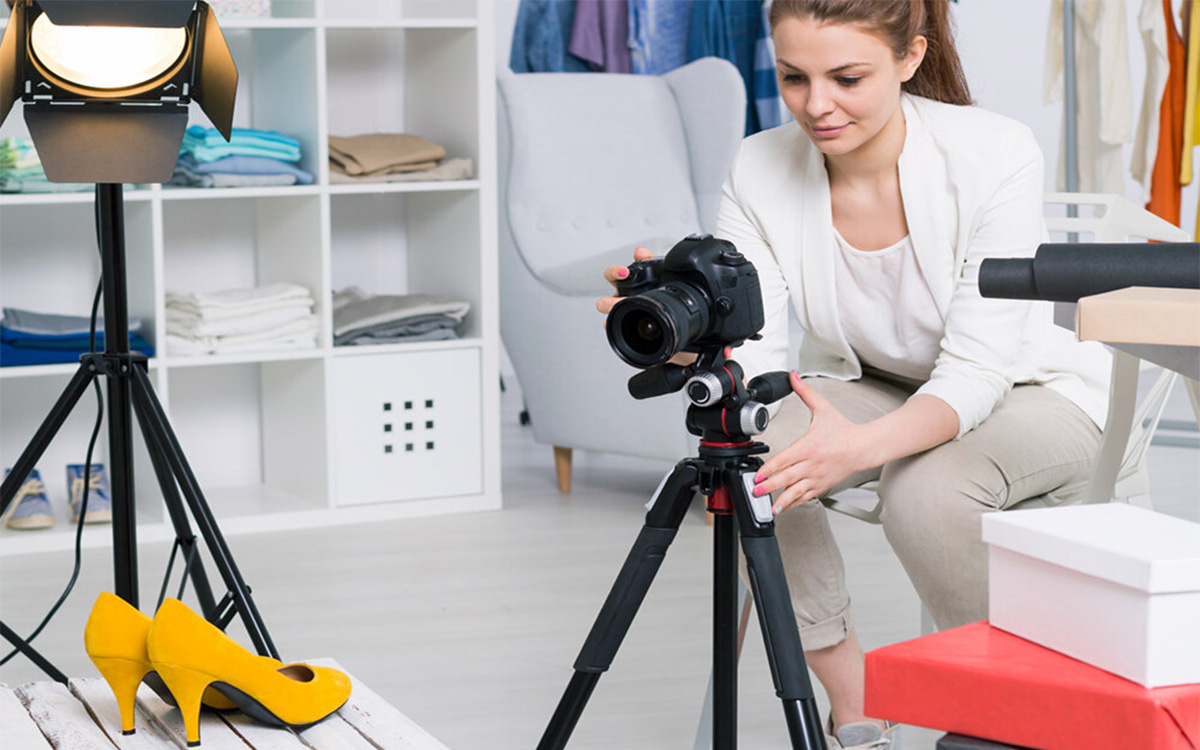
- Use a tripod to make the image steady and fix it in one place to ensure consistency.
- Try to maintain ISO between 200 to 800 and shutter speed at 1/125 to make a clear, crisp shot.
- You can make use of a pinboard and hang a hat on it to display the hat’s dimensions and shapes.
Use Natural and Artificial Lighting for hat product photography
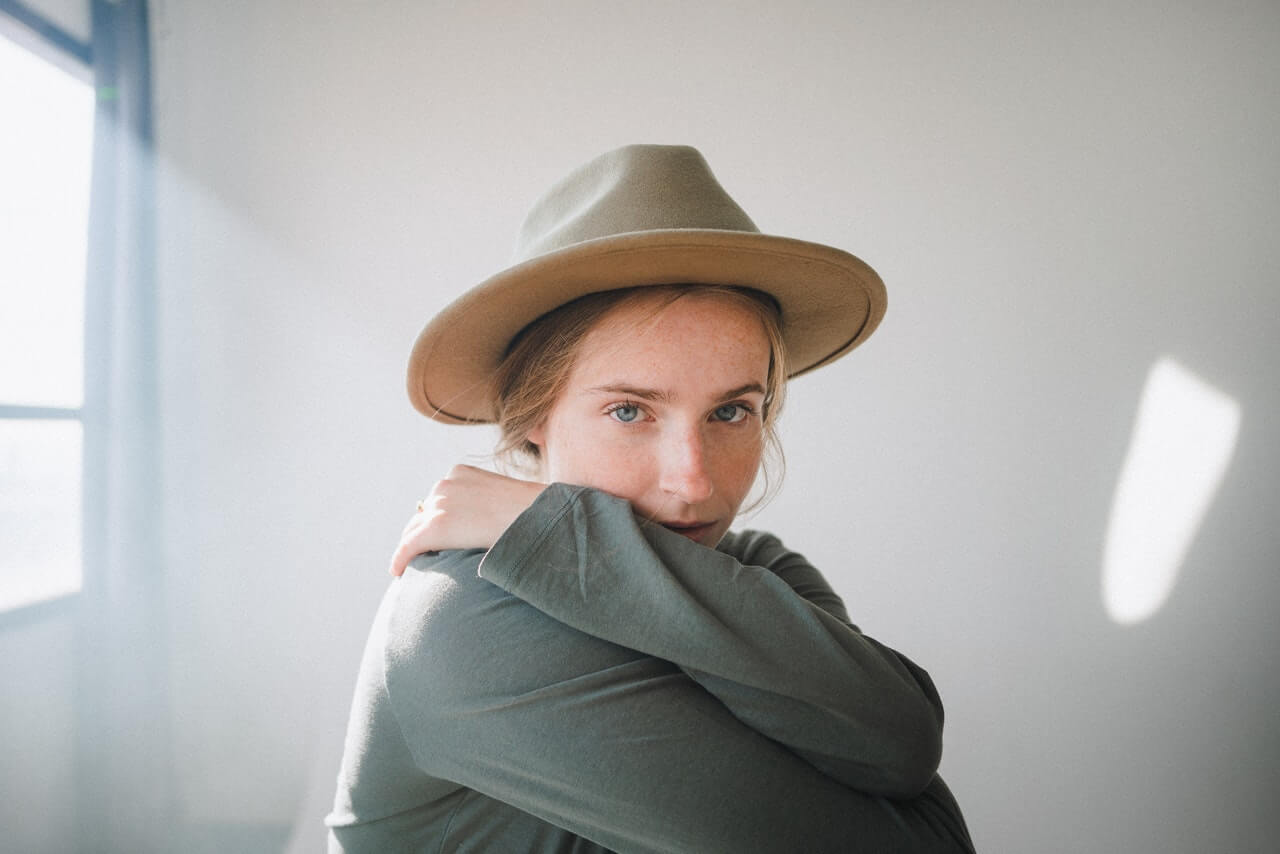
Proper lighting can give your photography great success. There exist two types of lighting in photography: Natural Light and Artificial Light. You can utilize both of them for cap photography.
Natural light is beneficial when you take shots outdoors because no artificial light can compete with sunlight. However, if you want to use artificial lighting, select high-quality strobe lights. It helps to highlight the product properly.
Moreover, try to place your light source on the left side of the hat. Don’t place it too high because it casts harsh shadows on the hat which brings trouble during post-production.
Capture Different Angles
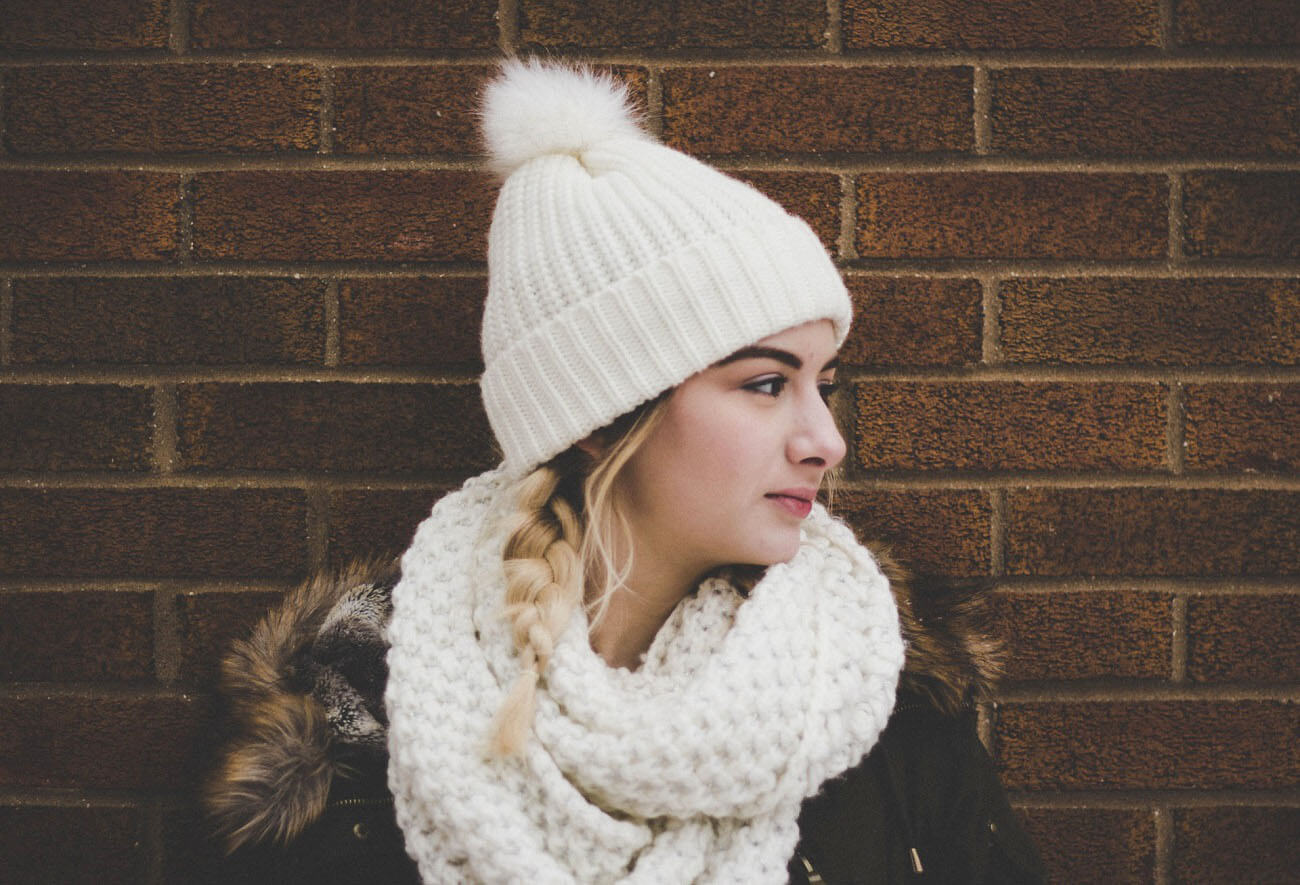
Many hat photographers tend to concentrate on one angle and take shots straightly. But taking different shots from different angles can help to highlight the crucial parts and features of a product.
Remember that people always try to view details of a product which means you have to focus on different parts of your hat product. For that reason, you should change your position and capture photos from numerous angles.
However, if you use the best camera lens for your hat photos but capture from only one angle, it can’t highlight all the necessary features. In addition, different hats contain different details like sizes, shapes, colors, etc., that you have to show in the photos.
Capture in a Different Style
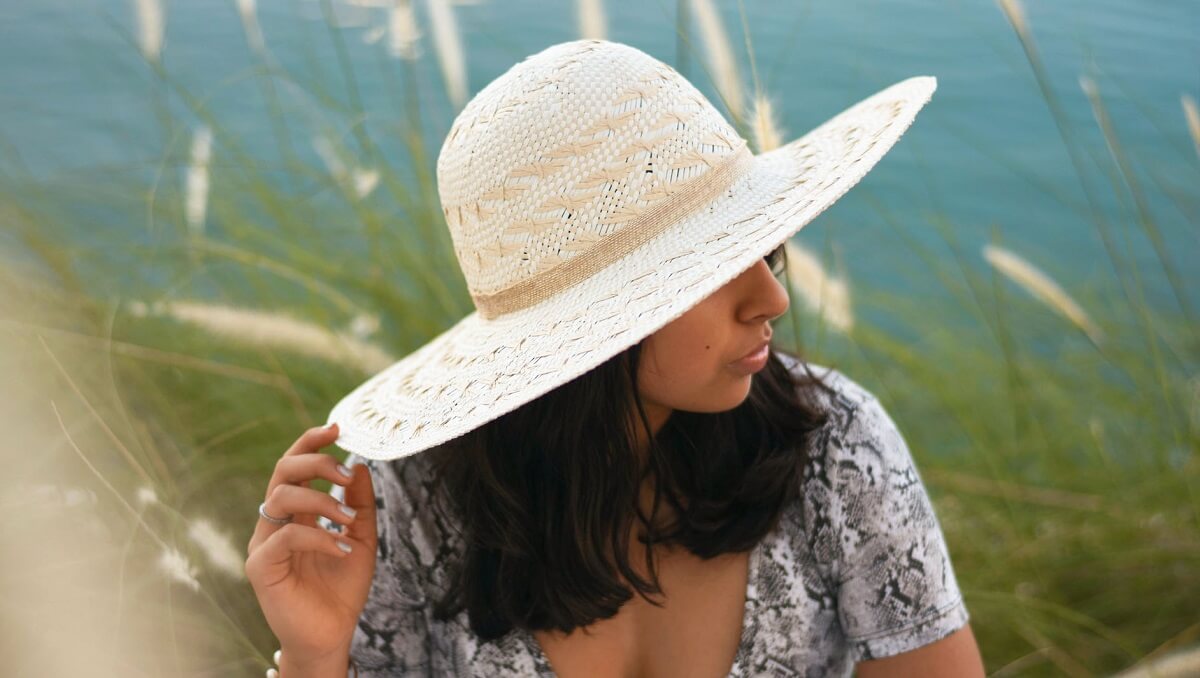
When you have a proper idea of the camera lens, lighting, and angles, you can try different styles such as floating or hanging hat photography and more. Here are some latest hat photography styles for you.
Floating hat photography
Floating hat photography is a technique where a hat looks floating or levitating over the surface. It provides 3 dimensions to the hat photo that creates a dramatic look to the hat.
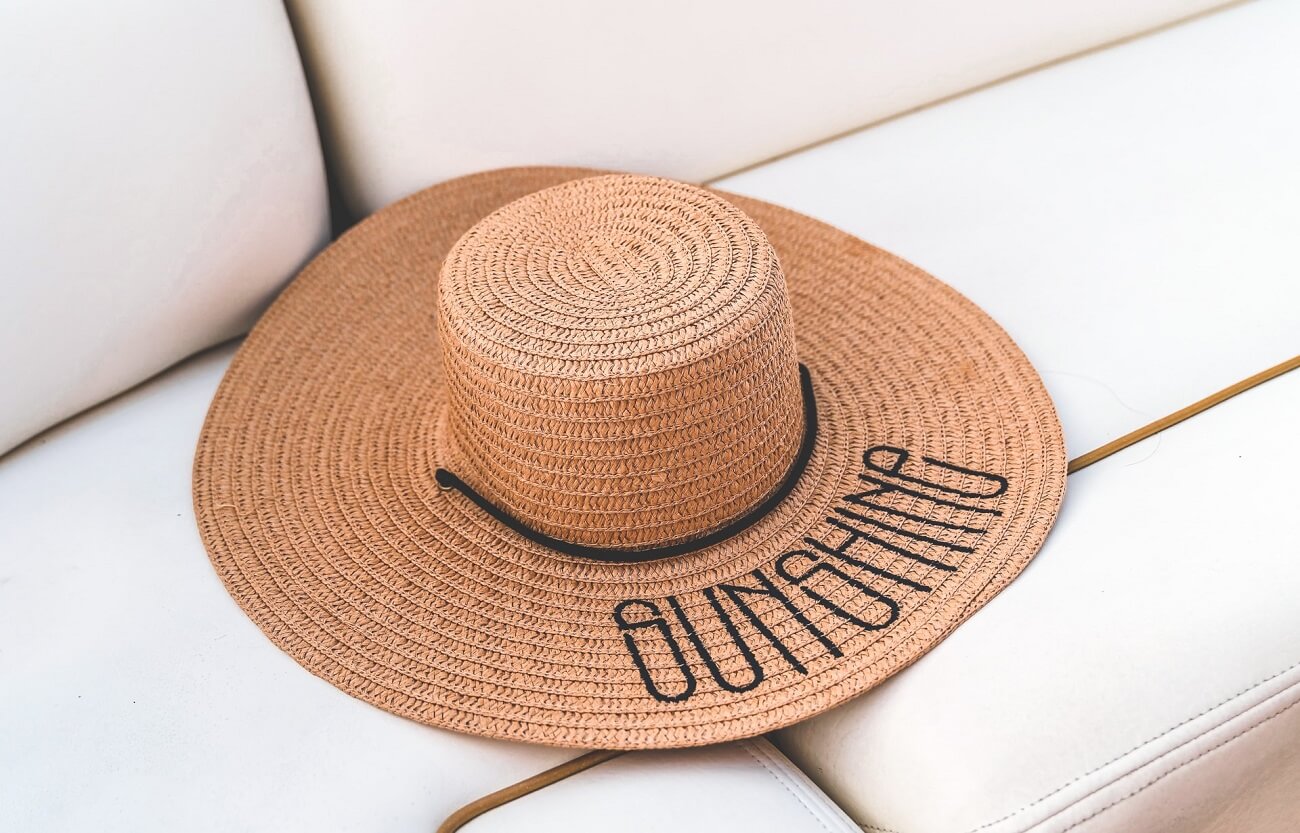
You can create floating hat photography utilizing some steps:
- Use rope or wire to get the hat floating.
- Operate the shutter speed to stop the motion in time.
- After taking shots, eliminate the rope or wire from the image.
Hanging hat photography
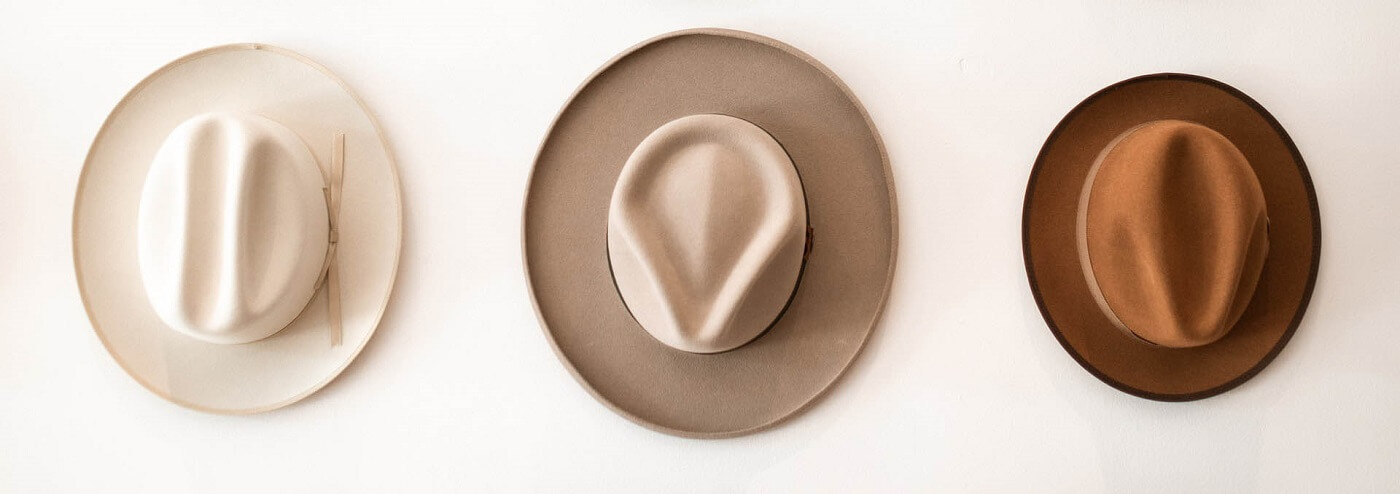
Hanging hat creates an alluring look of the hats that can create more appeal among the hat-lovers. You can make a hanging hat photoshoot using some equipment and ideas:
- Pull a rope and hold the hat on it using a clip or hook.
- Put the hat on the wall hook or door hanger, etc.
- After that, you can take the shot utilizing your creativity.
Use the Ghost Mannequin Technique
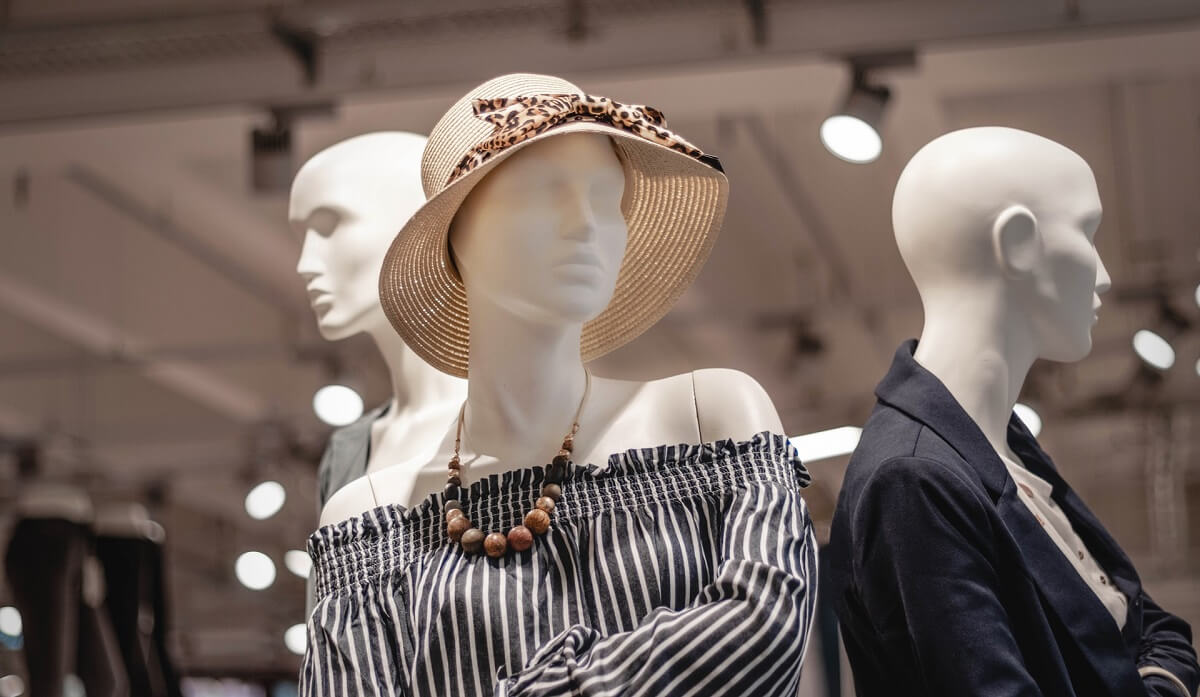
Using the ghost mannequin technique for hat photography has a useful impact on creating a stylish look for your hat products. It’s more helpful to grab the customers’ attention and display your product in seductive mode.
Here are some latest tips to utilize the ghost mannequin technique.
- Position your mannequin in the middle place of the frame and maintain proper negative space around it.
- After that, position the hat on it slightly angled as people normally wear it.
- Use a tripod, and then take the shot of your hat with a mannequin.
- Now, remove the mannequin from the frame and make the hat suspend in the air.
- Finally, you can send it for post-production to remove the mannequin.
Hat photography with models

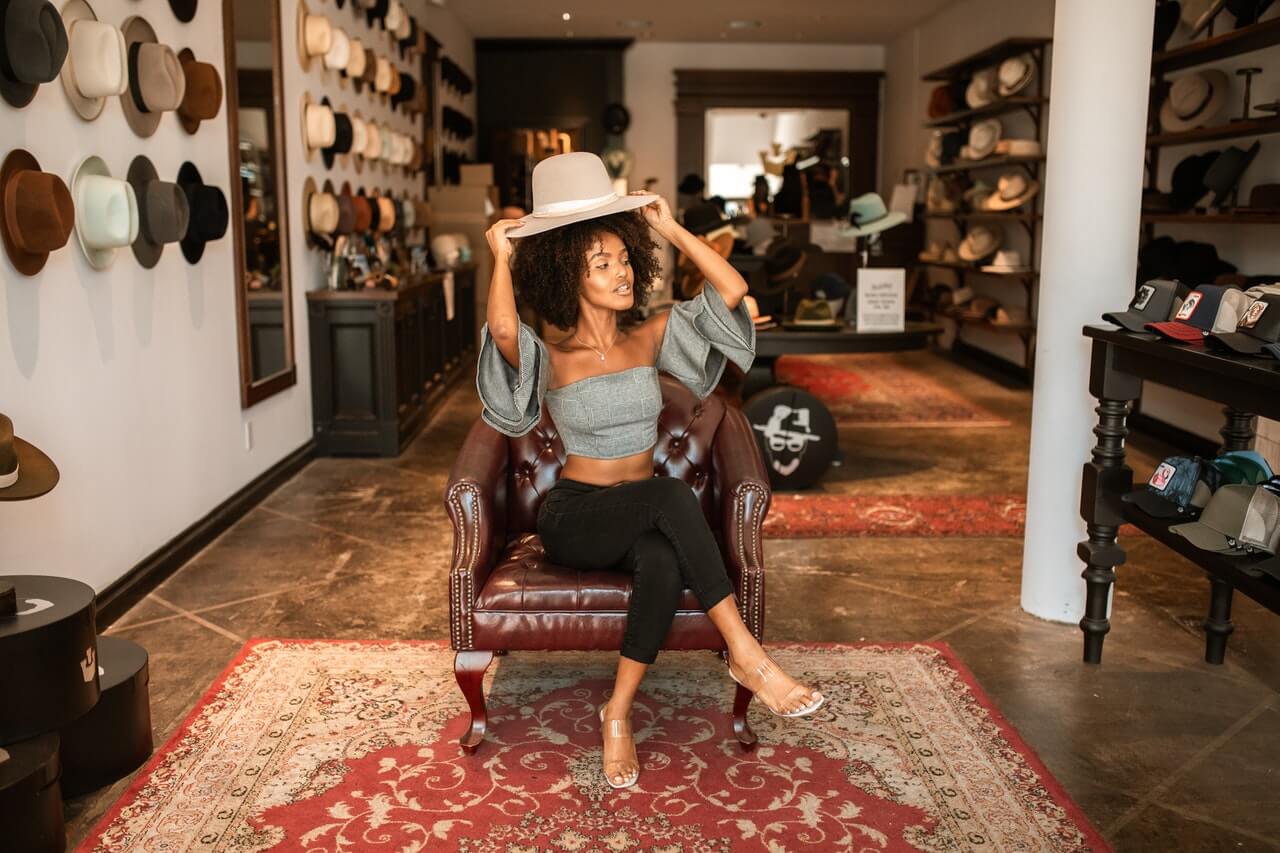
If you convey a good budget like hiring a model, it would be great to use a model for your hat photography. It provides heavy context to the product and makes the customers feel how the hat looks on them.
You can use some tricks that are useful for model hat photography.
- At first, get a model aligned with your hat product. For instance, if you want to capture a street-style hat photo, you should hire a model whose face is more matching with street fashion.
- Then, make the model ready for the shot with proper make-up and dressing. Also, you can share with him/her the exact concept of the shoot, like the expressions and poses you want and what could be great for the shot.
- When makeup and dressing are complete, now it’s time to take sample shots. You can do it by making your model stand in various positions and adjusting the lighting. When it’s done, you can start with the final shots.
- Don’t forget that the ultimate goal is to represent the hat charmingly. So, ensure that the hat is highlighted and grabs the main attention in the frame.
- Finally, capture multiple shots with the model from multiple angles and sides. Then, send the images for post-production.
Use Different Backgrounds & Backdrop for hat product photography
Using different backgrounds can provide perfect and seducing looks to your hat product. It’s more helpful to choose the backdrops depending on the environment, product colors, and model dress-up.
For instance, if you want to make a simple studio photograph without using a model, mannequin, etc. the white background will be the best for you. Also, you can choose a colored plain backdrop contrasting your hat color.
However, if you want to make an outdoor photograph using a model, you should maintain the background with the context of the hat and model.
For instance, you are going to a photoshoot for cowboy hats. Then, you must choose a relevant background that matches the hat and the model with the neat environment, such as a cow eating grass in the field and the cowboy moving it having a cowboy hat on his head.
Enhance Hat Images by Post-Production

When completing capturing the images, now it’s the right time to enhance them by post-production. Because just capturing the shots cannot make your product photos complete and presentable. You must focus both on the hat and the model’s face.
For that reason, you need lots of editing and retouching to do with them, such as removing clothing wrinkles, shadows, minor defects, etc., and adjusting the color contrast. Most of all, you have to abolish all the visible distractions and imperfections from the images.
Editing usually takes several hours that could be harmful to you if you don’t have expertise in it. Moreover, you can take a photo editing service for post-production at an affordable price. It can help you present your hat product more precisely.
E-commerce Product Photo Editing Services - From $1 Per Image
How to photograph hats? Hat photoshoot ideas with example
You already knew about the hat photoshoot, its popularity, and the best tips for making hat photography. Now, you can get the best ideas of how to photograph hats with stylish poses with examples.
Hat Photoshoot poses for girl
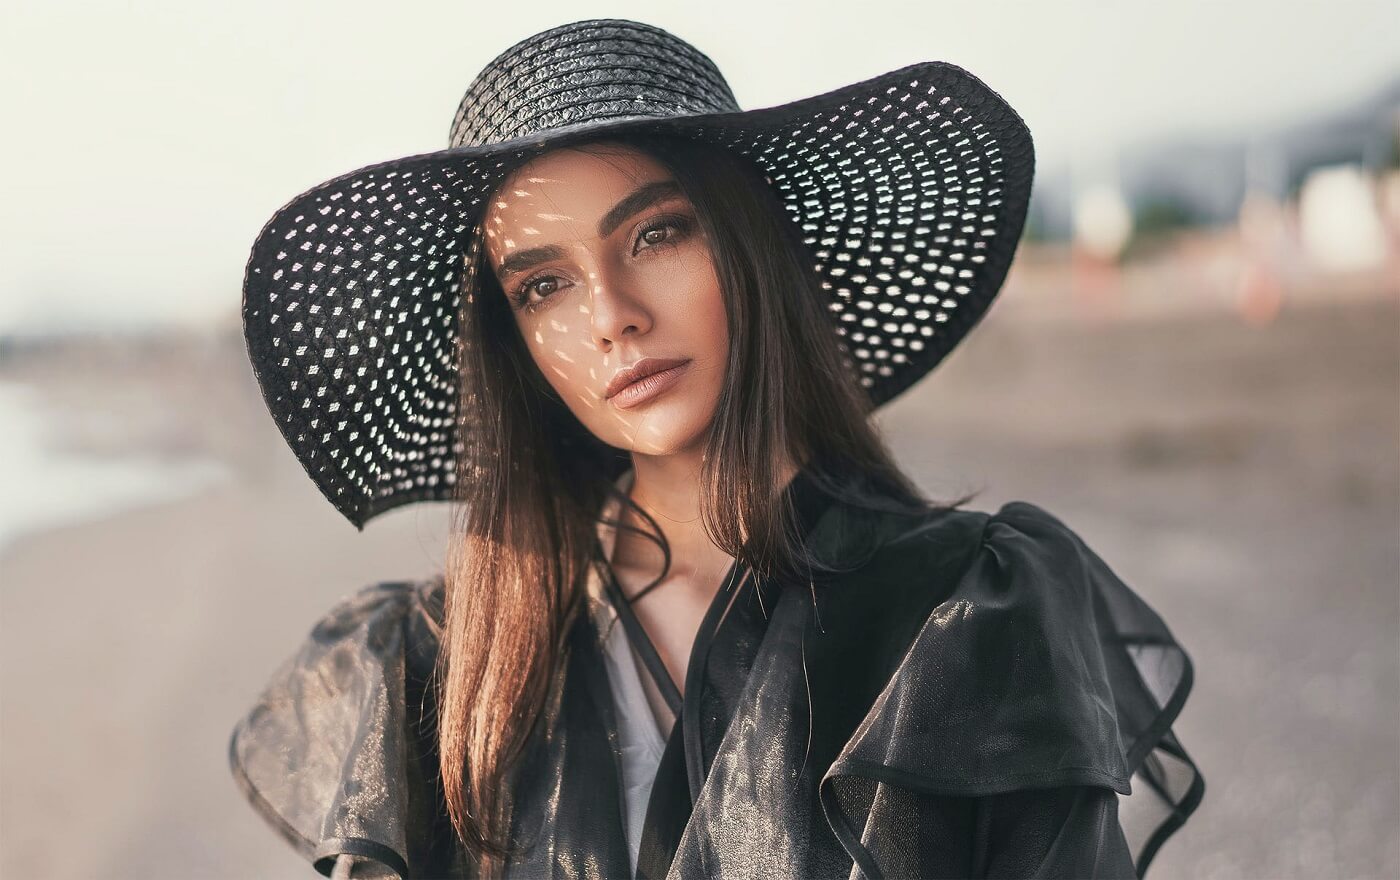
When capturing photos of women’s hats, you can find lots of poses that can make your product photos lively and amazing. You can choose the poses depending on the cap types.
There are lots of hats for girls, such as Sun Hats, Beanies, Bucket Hats, Fascinators, Visor Hats, Boater Hats, Cloches, Berets, Half Hats, Baseball Caps, etc. For all the cap types, you can select different poses matching the environment and the model’s body shape.
Here I am mentioning some poses that can help you so:
- Over-the-shoulder pose with a hat on the head.
- Sitting with elbows on knees with a stylish cap
- A woman wearing a hat from ahead and a cap covering her face.
- Sitting with hands around ankles with a cap on the head.
- Leaning back against a wall and the stylish hat covering her half-face.
Hat photoshoot poses for men
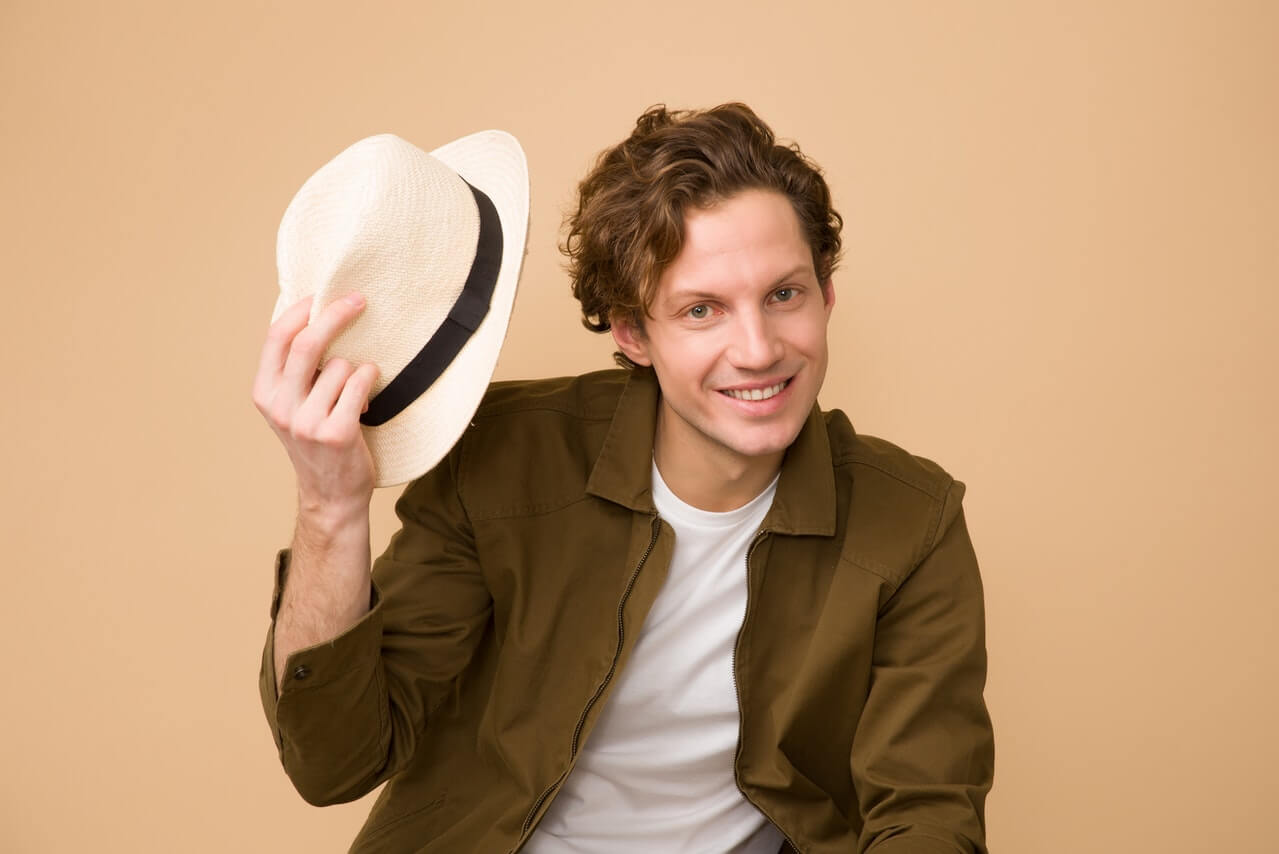
Hat is becoming the daily accessory for men day by day. It creates a stylish look for them. There are different types of hats for men, such as Fedora, Triby, Panama Hat, Bowler, Snapback, Dad Hat, Newsboy, Flat Cap, Top Hat, Porkie Pie, Boater, Baseball Cap, Bucket Hat, and Beanie, and more.
You can choose any pose for capturing a photoshoot of any caps. Here are some poses for you:
- Classic Standing Poses with a cap on the head
- Standing with a jacket over the shoulder and a cap on the head.
- Hands in pockets and the hat on the head.
- Crossed legs sitting pose with the cap on the head.
Baby hat photoshoot
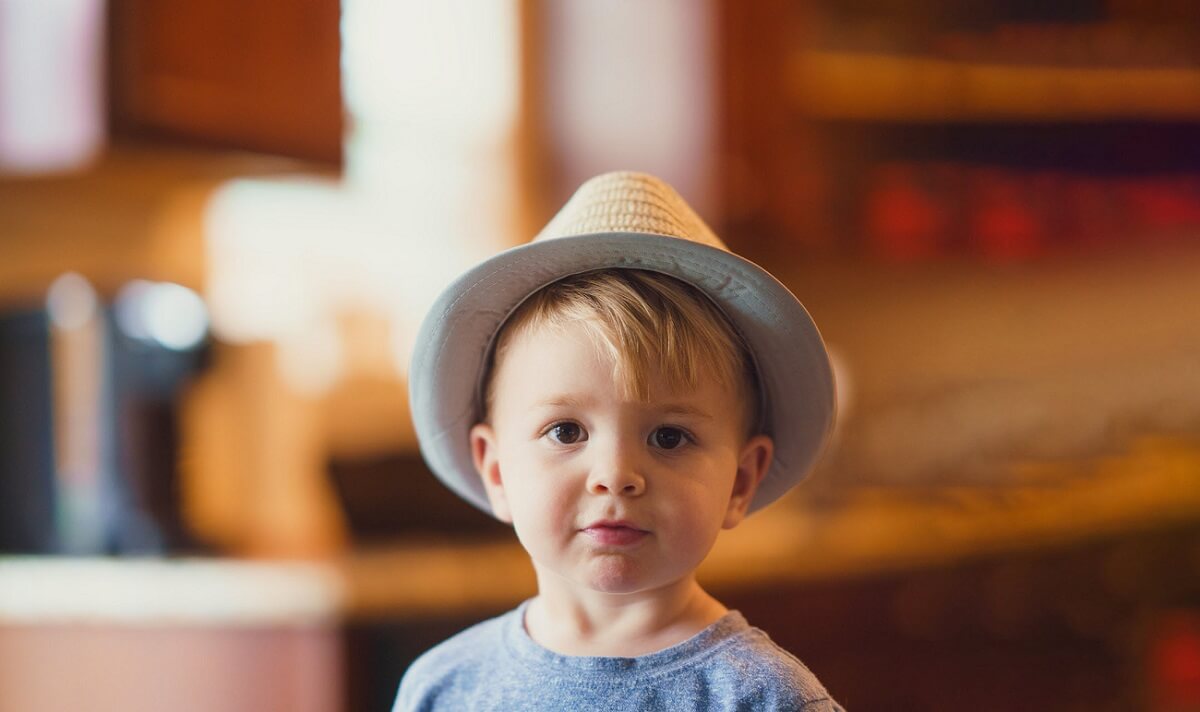
Hats are always perfect for making a baby look cutesy. All the parents like to make their babies wear colorful hats, especially during winter and summer. You can find lots of caps for babies that you can utilize for hat photography.
And, there are no fixed poses for the baby hat photoshoot. Every position you will choose will create a stunning look, such as standing, sitting, or lying.
Moreover, I am mentioning some unique and popular baby hat photoshoot poses for you:
- Frog Pose with Baby Beanie cap.
- Taco Pose with Gerber Baby Caps.
- Chin on Hands Pose with top knot hat
- Wrapped Pose with Baby Beanie Hat.
How to Photograph a Cap? Get DIY Product Photography Ideas
FAQs
What do you need for hat product photography?
To make hat photography, you need a camera, lighting source, props, and some equipment like a tripod, mannequin, table, etc. Also, you can use a model for a high-quality photo shoot.
What are the most trendy Caps & Hats for photographing?
You can find many caps and hats that are the most trendy around the world. They are:
- Baseball Cap
- Bucket Hat
- Jersey Beanie
- Knit Cap With Cuff Print
- Organic Baseball Cap
- Organic Cadet Cap
- Snapback Baseball Cap
- Trucker Cap
What style of hat is most popular?
Several styles of hats gained the most popularity, like Fedora, Fascinators, baseball hats, Snapback, etc.
What hats do photographers wear?
Photographers usually wear different types of hats such as narrow brim fedora, baseball caps, bucket caps, floppy sun hats, etc.
How do I sell my hat pictures?
Firstly, capture proper shots of hats and edit them accurately. Then, contact the e-commerce owners who sell different types of hats. Your perfect hat photographs will make them show curiosity to purchase your pictures.
Final Word
Hat photography is crucial for advertising hat products on e-commerce platforms. It creates an alluring look of a hat that persuades people to buy. In this article, you get the best hat photography ideas and tips ever.
I hope, no more queries you have on this topic. So, go forth and make successful photography.
