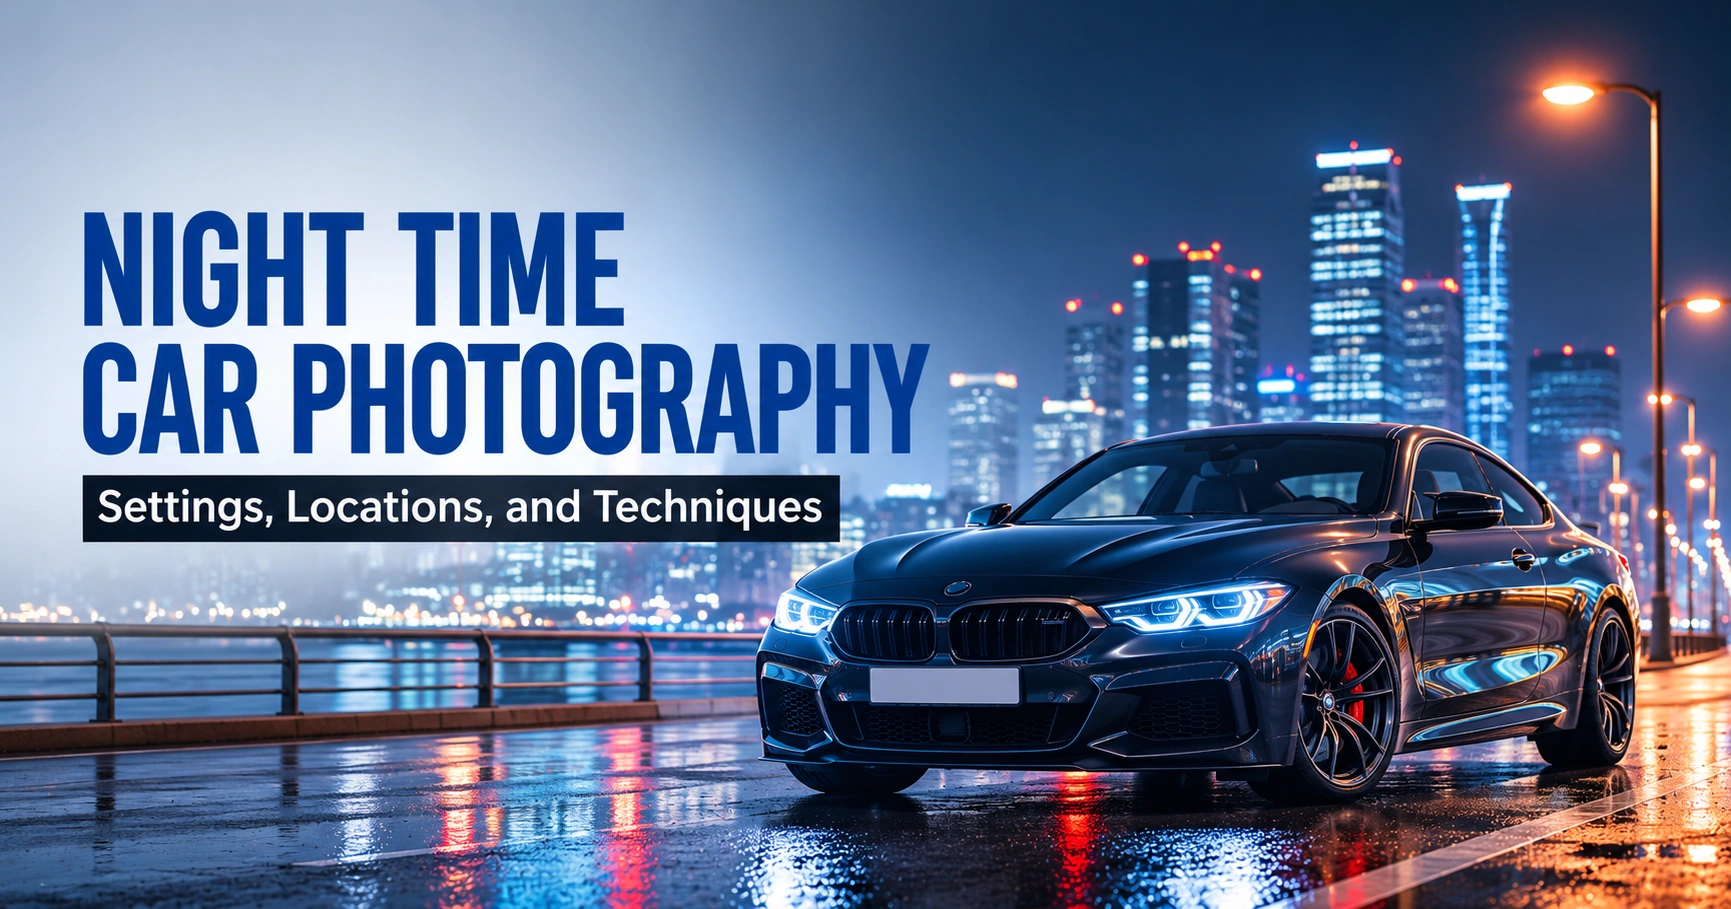
Nighttime car photography works best when you use manual mode, place the camera on a stable tripod, choose a slow shutter speed, keep ISO low, and control focus yourself.
A useful starting point is 2 to 6 seconds, f/5.6 to f/8, and ISO 100 to 400, but the right combination depends on the location, lighting, and style.
This guide goes further than settings alone.
Below, you’ll find real settings ranges, real locations, and the composition and safety details that turn a night shoot into finished photos worth keeping, not just another dark, blurry attempt.
Key Takeaways
- Manual mode, a tripod, and manual focus are the non-negotiable foundation for every technique in this guide.
- Settings genuinely differ by style. Light trails, a static hero shot, and panning each need different shutter and aperture numbers.
- Shoot RAW whenever your camera supports it, since night photos need more correction room than daylight shots.
- Location changes the whole shot. A rooftop, a parking garage, and a city street each suit a different look and carry different risks.
- Blue hour, the 20 to 30 minutes after sunset, is often easier to shoot than full dark.
- A smartphone with night mode and a small tripod can produce genuinely usable results, with real limits worth knowing upfront.
If you want the full-service version of this process, from color balancing to blown-highlight recovery, our team offers dedicated car photo editing services built around exactly these files.
Essential Equipment and Lens Choice
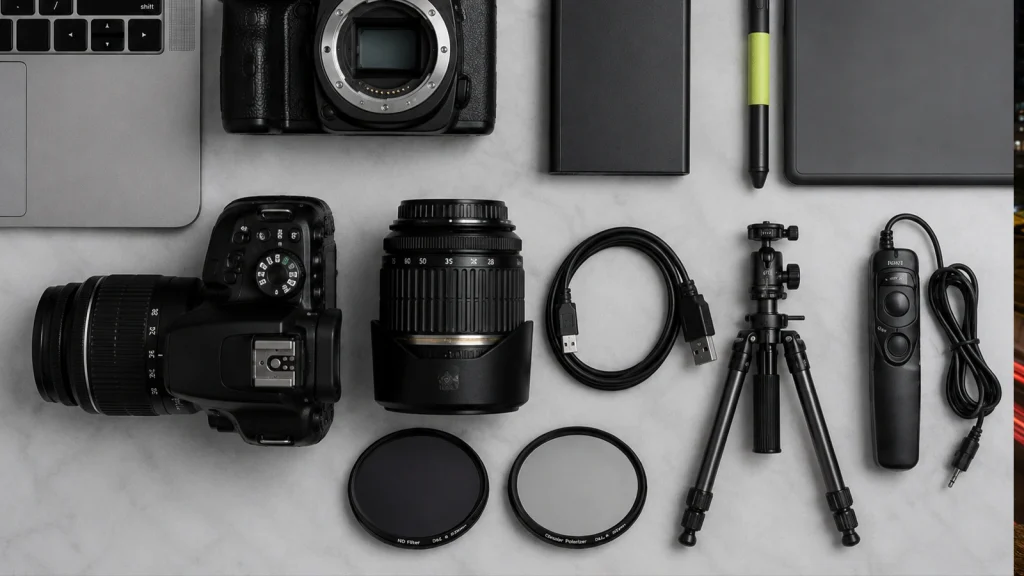
You don’t need a full studio setup for this. A small, affordable kit is enough to get the job done. Get these four items right, and the rest of the night becomes a matter of settings and patience, not fighting your gear.
- Tripod: This one is required, not optional, for nearly every shot in this guide. Any tripod that holds steady in light wind will work fine. A solid aluminum model runs roughly $40 to $120. Carbon fiber options are lighter and start around $150.
- Remote shutter release or intervalometer: This tool stops you from touching the camera during a long exposure, which avoids blur from your own hand. Basic wired remotes cost $10 to $25. And the camera’s built-in 2-second timer works as a free substitute.
- ND filter: This filter extends the exposure time at dusk without overexposing the frame. That’s useful for stretching light trails before it gets fully dark. Expect to pay $30 to $80 for a decent screw-on filter.
- Polarizing filter: A circular polarizer cuts glare and reflections off glossy paint and wet pavement. Prices usually run $25 to $70, depending on the filter size and your lens diameter.
Dark shadows and harsh reflections hiding the car’s most important features? Our Image Manipulation Services restore visual balance and make every detail stand out naturally.
Lens Choice for Night Car Photography
The right lens depends on the shot you’re planning, not whichever one happens to be on the camera. Each focal length below suits a different night car photography style, and a different budget tier for buyers building out a kit.
- Wide-angle (roughly 16-35mm). This lens suits full-scene shots that include architecture, sky, or trails sweeping through the frame. Budget zooms in this range run $300 to $600. Faster professional versions cost $1,200 and up.
- 35mm or 50mm prime. This lens gives a natural, low-distortion perspective for a straightforward hero shot. It’s often the cheapest option too, typically $150 to $500.
- 70-200mm. This lens compresses the background, isolating the car against distant city lights. Expect to pay $600 to $2,000, depending on aperture and brand.
Best Camera xs Settings for Nighttime Car Photography
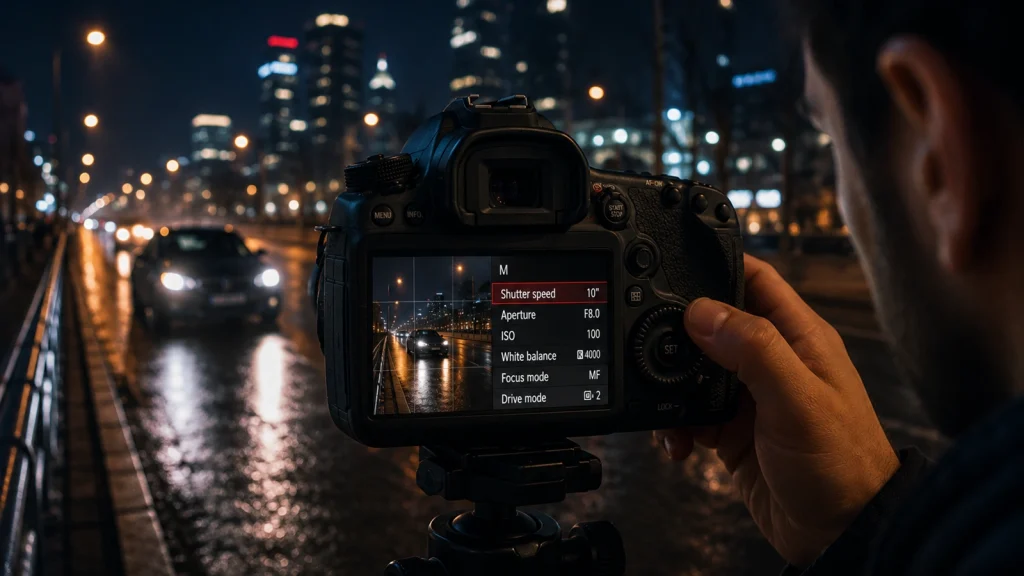
Night car photography settings start from a shared baseline, then split by shooting style. Use the general table first to set up the camera, then move to the style table below for the specific shutter and aperture combination you need.
| Setting | Starting Point |
|---|---|
| Mode | Manual (M). Auto modes can’t judge exposure reliably once it’s dark. |
| File format | RAW whenever your camera supports it. |
| ISO | 100 to 400. Keep it as low as your shutter speed allows to control noise. |
| Focus | Manual focus, set on the car before autofocus loses its ability to lock on. |
| White balance | Auto is a safe default. A custom Kelvin setting gives more accurate color under mixed lighting. |
| Drive mode | 2-second timer or remote trigger. Never press the shutter directly during a long exposure. |
Recommended Settings by Shooting Style
| Style | Shutter Speed | Aperture | Notes |
|---|---|---|---|
| Static hero shot | 2 to 6 seconds | f/5.6 to f/8 | Watch headlight exposure closely. |
| Light trails | 5 to 30 seconds | f/8 to f/11 | Adjust to traffic density. |
| Panning | 1/15 to 1/60 sec | f/8 to f/16 | Track the car smoothly through the frame. |
| Light painting | 10 to 30 seconds | f/8 to f/11 | Longer exposure gives more time to paint. |
Treat every number above as a starting point, not a fixed answer. Ambient light, traffic, and how bright the car’s own headlights and taillights are will all push your final settings slightly in one direction or another.
Shoot in RAW Whenever Possible
RAW format matters more at night than in daylight. Night scenes push exposure and color much closer to their limits, so the extra file size pays off in three specific ways.
- Better highlight recovery: Helps recover borderline-exposed headlights and taillights that would otherwise be unrecoverable in a JPEG.
- Easier white balance correction: RAW makes it far easier to fix color later, which matters given how often a night scene mixes several light sources at once.
- Cleaner noise reduction: RAW files retain more shadow detail than a compressed JPEG, which discards that data during compression.
For night car photography, that extra detail is often the difference between a usable shadow area and a muddy one.
Mixed streetlights creating unnatural colors across your night car photos? Our Photo Retouching Service corrects color casts and delivers consistent, true-to-life results.
Why the Car Doesn’t Blur During a Long Exposure?
A moving car during a multi-second exposure often looks sharp, or vanishes entirely, while its lights streak across the frame. This confuses a lot of first-time night shooters, so it’s worth a quick, plain explanation.
The car itself isn’t in any one spot long enough to leave a strong impression on the dark sensor. Its headlights and taillights, though, are bright enough to register the whole time they’re moving, which is why the lights trail while the car’s body fades or disappears.
Best Locations for Night Car Photography
The location you choose shapes the entire shot as much as your settings do. Each spot below suits a different look, and each comes with its own access rules or safety considerations worth checking before you commit an evening to it.
| Location | Best For | Watch Out For |
|---|---|---|
| Rooftop parking | Skyline backdrops, elevated angles | Wind affecting the tripod, access restrictions |
| Parking garage | Controlled, consistent artificial light | Needing permission, flat repetitive backgrounds |
| Industrial areas | Gritty, textured backdrops | Trespassing risk, poor light for focusing |
| Bridges and overpasses | Light trails, elevated traffic views | Traffic safety, vibration from passing vehicles |
| Tunnels | Dramatic reflections, contained light | Exhaust haze, traffic noise masking approach |
| City streets | Neon and signage reflections | Traffic and pedestrian safety |
| Empty parking lots | Full creative control, safest for beginners | Can look flat without added light sources |
| Gas stations | Strong, even artificial light, easy access | Permission needed, other customers in frame |
| Mountain or rural roads | Star-inclusive shots, minimal light pollution | Low ambient light for focusing, remote safety |
If you’re new to shooting cars in general, our broader guide to car product photography covers daytime setup, angles, and lighting fundamentals that still apply once the sun goes down.
How to Photograph Car Lights and Light Trails
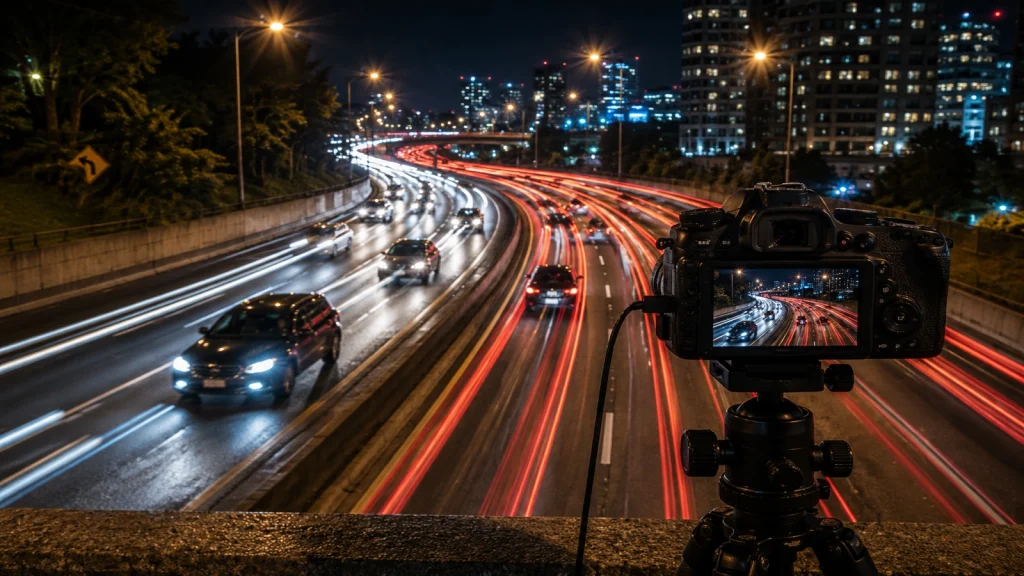
Light trail photography is all about using a slow shutter speed to capture movement. As cars pass through your frame, their headlights and taillights turn into smooth, glowing lines instead of sharp points. Because the car body reflects less light, it may appear faint or even disappear completely.
Choose the Right Location
Pick a spot where traffic moves in a clear and predictable path.
- Curved roads create flowing, dynamic trails.
- Straight roads produce strong, clean lines.
- Overpasses can show multiple lanes at once, but make sure your shooting position is stable for long exposures.
Set Up Before Traffic Arrives
Prepare your shot in advance so you’re ready when cars pass by. Frame your composition first, then focus manually on a fixed point near the road and turn off autofocus to prevent it from hunting in low light. A good starting point is a shutter speed of 10 seconds, an aperture of f/8, and ISO 100. Press the shutter just before vehicles enter your frame.
Adjust for Traffic Flow
Your shutter speed should match how busy the road is:
- Light traffic: Use 15–30 seconds to capture enough trails.
- Heavy traffic: Use 5–10 seconds to avoid overly bright, cluttered lines.
Pay Attention to Light Direction
Headlights and taillights create different visual effects:
- White headlights look bright and energetic.
- Red taillights appear smoother and more controlled.
If possible, choose a location where both directions are visible to add depth and interest.
Keep ISO Low for Cleaner Results
Avoid increasing ISO too quickly. A longer shutter speed usually gives cleaner, smoother trails when your camera is stable. Only raise ISO if important parts of the scene remain too dark and cannot be captured any other way.
How to Photograph Headlights Without Blowing Them Out
Headlights are the hardest part of night car photography to expose correctly, since they’re far brighter than everything around them.
Expose for the lights, not the scene, judging exposure by the brightest point in the frame rather than the surrounding darkness, which fools both your eyes and the LCD screen.
Bracketing, taking one exposure for the headlights and a second for the rest of the scene, then blending them later during editing, is the most reliable fix.
Pros of Bracketing Exposures
- Full creative control: You decide exactly how to blend the two exposures during editing.
- A safety net: Protects the shot even if you’re unsure of the right exposure in the field.
- Better dynamic range: Combining two exposures captures detail in both the bright headlights and the dark background that a single frame can’t hold.
Cons of Bracketing Exposures
- Slower shooting: Takes more time per shot, which matters in fast-changing traffic or light.
- More editing work: Blending frames takes time, and camera movement between shots can cause misalignment.
For a closer look at how that kind of layered compositing works, see our guide on how to make an image transparent in Photoshop.
Step-by-Step Night Shoot Workflow
Knowing individual settings is only half the job. This workflow strings everything above into an order you can actually follow on location, from scouting the spot to reviewing your final frame once it’s fully dark.
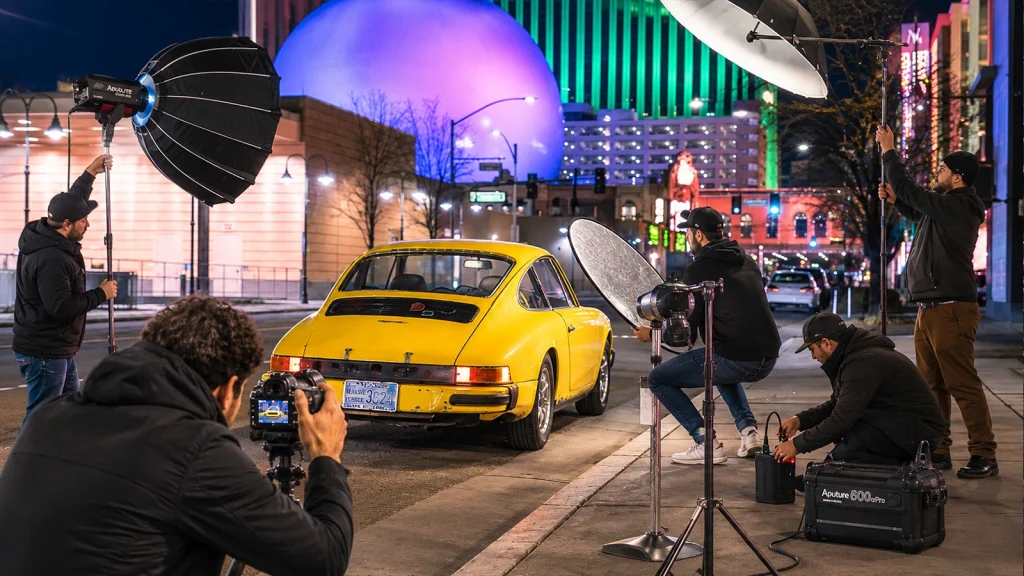
Scout the Location Beforehand
Visit your chosen spot in daylight if possible, using the locations guide above to check access, lighting, and safety. Knowing the layout ahead of time saves valuable shooting time once it’s dark.
Arrive at Blue Hour, Not Full Dark
Show up during blue hour, the window right after sunset, then shift into full manual settings as the sky darkens. This gives you time to dial in focus and framing while there’s still some ambient light to work with.
Set Up the Tripod and Dial In Settings
Set the tripod on stable, level ground and choose your starting settings from the style table above, based on whether you’re shooting a static hero shot, trails, or a pan.
Take a Test Exposure and Check the Histogram
Check the histogram after your first shot rather than trusting the LCD preview alone. A bright screen in a dark environment fools the eye far more easily than the histogram does.
Adjust and Repeat
Expect to take considerably more frames than a daylight shoot before you land on the right exposure. Small adjustments to shutter speed, ISO, or aperture between attempts are completely normal at night.
Struggling to balance headlights, streetlights, and neon colors in one image? Our Photo Color Correction Services create accurate tones while preserving the night atmosphere.
Best Weather Conditions for Night Car Photography
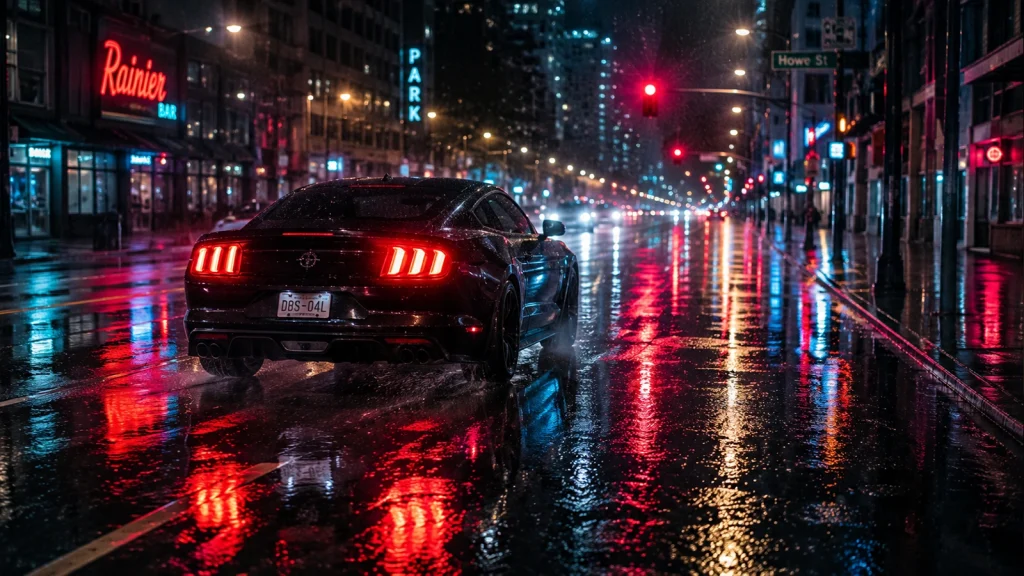
Weather changes the character of a night shot as much as location does. Rain, fog, and clear skies each create a distinct look, so it helps to know what to expect before you commit to a specific night.
| Condition | Effect |
|---|---|
| Rain | Wet pavement creates strong, elongated reflections of lights and signage. |
| Fog or mist | Diffuses headlights and streetlights into a soft glow, adding atmosphere. |
| Dry, clear | Sharper, more defined reflections and light trails with no diffusion. |
| Wind | Complicates light painting and any shot needing a completely still frame. |
Pros of Shooting in Rain
- Sought-after reflections: Wet pavement reflections are one of the most requested looks in this style of photography.
- Fewer distractions: Rain tends to clear out other traffic and pedestrians, giving you more control over the scene.
- More dramatic light: Diffused streaks and softened neon colors add mood that dry pavement can’t match.
Cons of Shooting in Rain
- Gear and footing risk: Rain adds real risk to your camera gear and footing, especially on elevated or uneven surfaces.
- Distracting glare: Reflections can become distracting if too much standing water is scattered across the frame.
Composition Tips for Night Car Photography
Strong night shots depend on composition as much as exposure. These seven tips cover framing, leading lines, negative space, reflections, depth, angle, and background checks, so nothing distracting sneaks into the final image.
Each one works across nearly every location and style already covered, and costs nothing extra beyond a little attention before you press the shutter.
Tip 1: Rule of Thirds
Use it as a starting point, not a strict formula. Place the car off-center when the background, road, or light trails need room to lead the eye. A centered shot works when architecture or tunnel lights create strong symmetry.
Tip 2: Leading Lines
Road markings, barriers, building edges, garage lights, and light trails can all act as leading lines. Position the camera so those lines guide attention toward the car, and avoid lines that cut awkwardly through the roof, wheels, or windshield.
Tip 3: Negative Space
Negative space helps the car stand out against a dark scene. Leave clean sky, shadow, or road around the vehicle when the background already has bright signs and lights, since crowding every edge can weaken the main subject.
Tip 4: Reflections
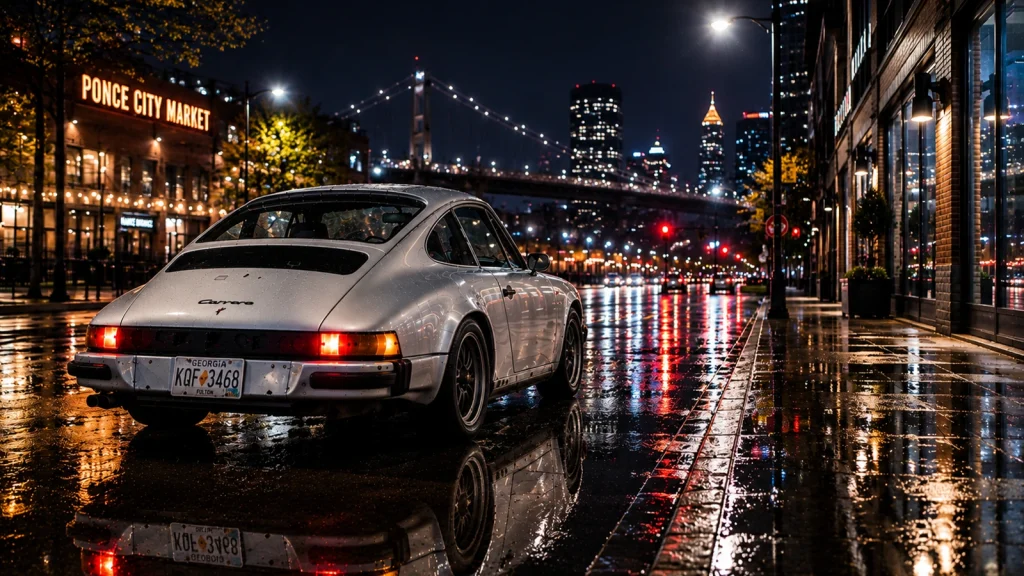
Use reflections as part of the composition, not as an accident. Wet pavement can mirror the car and nearby lights, and glass buildings can repeat its shape. Watch for uncontrolled reflections that hide the car’s body lines.
Tip 5: Foreground Framing
Add depth by shooting through a railing, under an archway, past a wall edge, or behind a soft, out-of-focus element. Keep the foreground subtle so it supports the scene instead of looking like an obstruction.
Tip 6: Three-Quarter Angle
This angle usually shows the front, side, wheels, and stance more clearly than a flat side view. Turn the front wheels slightly outward so the wheel face stays visible, and keep vertical building lines straight unless a tilt is a deliberate choice.
Tip 7: Background Check
Check the background behind mirrors, roof lines, antennas, and spoilers before you shoot. A lamp post appearing to grow from the roof is hard to fix later, and moving the camera slightly often solves the problem right in the field.
Creative Techniques Worth Trying
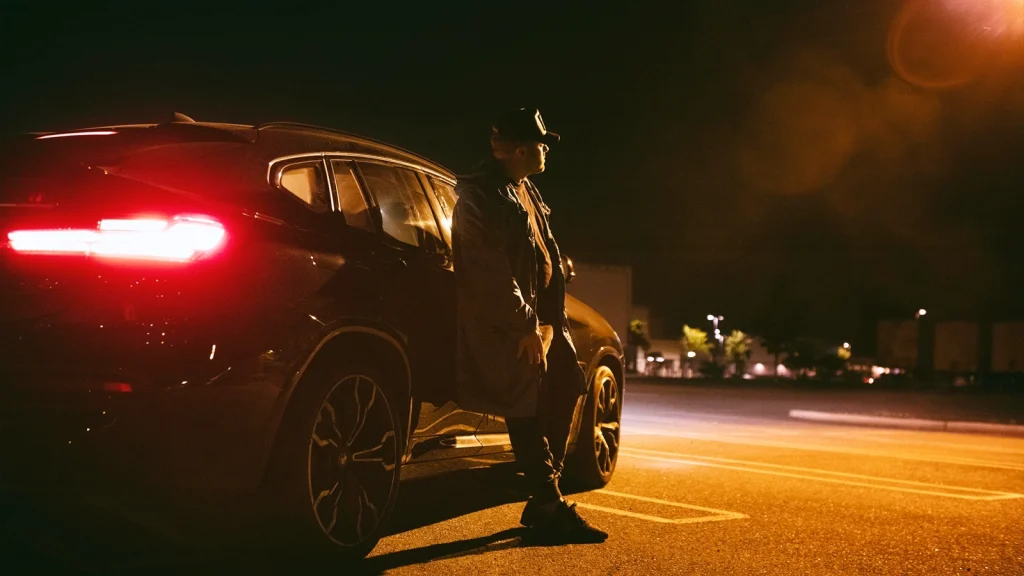
Once the basics feel comfortable, these techniques push night car photography further. Each one builds on the settings, headlight handling, and composition principles already covered above, so try them once your basic exposure feels reliable.
Light Painting
Walk around the car with a handheld light source during a long exposure to selectively illuminate its curves. Wear dark clothing so you don’t appear as a ghostly shape in the finished frame.
Panning Shots
Track a moving car with the camera at a slower shutter speed to blur the background while keeping the car relatively sharp. This takes practice, so expect several attempts before one lands cleanly.
Neon and Signage Reflections
Position the car near neon signs or colorful storefronts to pick up reflected color across its paint and glass. This works especially well in the city street locations covered earlier.
Wet Pavement Reflections
Shoot deliberately after rain, or wet the ground yourself where permitted, to create the elongated reflection look described in the weather section above. A small hose or spray bottle works for a contained area.
City Bokeh Backgrounds
Use a wider aperture and distant background lights to create soft, blurred circles of light behind the car. This works best with a longer lens, like the 70-200mm option covered in the equipment section.
Night Sky and Star Compositing
For dark rural locations, shoot the car and the night sky as separate exposures and blend them during editing. This is an advanced technique worth knowing about as a ceiling of what’s possible, not a beginner starting point.
Drone Long Exposure
Drone-based night trail shots are possible, but check local drone regulations for night flight before attempting one. Rules vary widely by region and by time of day, and some areas ban it outright.
Can You Shoot Night Car Photos With a Smartphone?
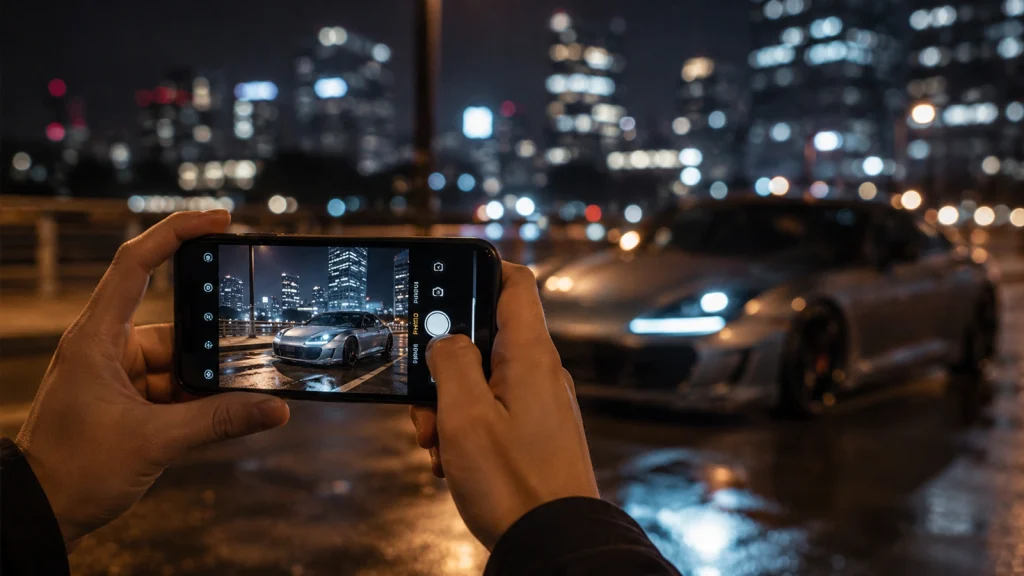
Yes, a current smartphone can create useful night car photos, especially static shots, when you support it the right way. According to industry photo-market data, around 94 percent of all photos taken today come from a smartphone rather than a dedicated camera.
Night mode combines several short exposures to reduce noise and boost brightness, and it works best when the car is parked and both the phone and subject stay still.
What makes it work:
- A small tripod or clamp: Handheld night mode can correct minor movement, but stable support sharpens detail around wheels, badges, and body edges.
- A clean lens: Fingerprints turn bright headlights into haze or glowing halos, so wipe the lens before you shoot.
- Locked focus and exposure: Tap the car to set focus, then lower exposure until the headlights hold their shape, and lock both settings once you’re happy with them.
- A manual camera app: This unlocks true light trails, since the standard app often stacks a short exposure instead of holding one continuous multi-second shot.
- RAW capture: Some phones support it, adding editing room for shadows and mixed lighting later.
Where it falls short:
- Noise: Smaller sensors struggle as ISO climbs, even with night mode smoothing things over.
- Narrower dynamic range: Blown headlights happen more easily than on a dedicated camera.
- Digital zoom: Quality drops fast, so move closer or reposition instead of zooming in.
FAQs
What are the best camera settings for night car photography?
Start in manual mode with a low ISO around 100 to 400, an aperture of f/5.6 to f/11, and a shutter speed of several seconds on a tripod.
How do I photograph car lights at night?
Use a slow shutter speed, several seconds or longer, on a tripod so moving headlights and taillights streak into continuous light trails across the frame.
How do I photograph headlights without blowing them out?
Expose for the brightest point in the frame, the headlights themselves, and consider bracketing or a dual exposure blend for full control.
Is blue hour or full dark better for car photography?
Blue hour is generally easier to shoot and needs less editing correction, since ambient light helps balance the scene automatically.
What is the best weather for night car photography?
Rain often produces the strongest results, thanks to elongated reflections off wet pavement, though clear and foggy conditions each offer a distinct look too.
Final Thoughts
Good nighttime car photography comes down to a short list of fundamentals: manual mode, a steady tripod, the right location for the style you’re after, and getting exposure right in-camera rather than hoping to fix it later. Settings matter, but judgment matters more.
Every technique here, from headlight bracketing to blue hour timing, helps you get that judgment right before you open an editing program. When your files still need color and correction work, our photo editing team is built specifically for shots like these.