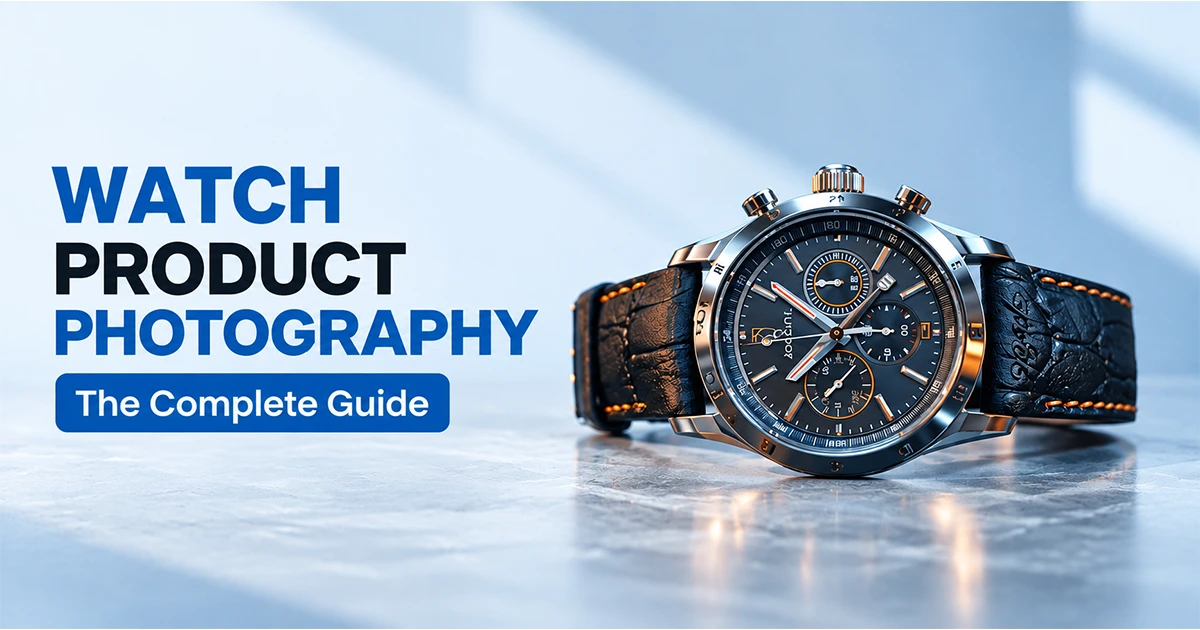
When someone shops for a watch online, they cannot hold it, turn the crown, inspect the dial, or see how the case catches light on the wrist. Your photographs have to do that job for them and make the watch feel clear, desirable, and trustworthy.
That is why watch product photography is more than simply taking a sharp picture. A good set should show the metal finish, dial details, crystal, strap texture, case depth, and overall character, while keeping the product accurate to what the customer will actually receive.
In this guide, I’ll walk you through the complete process, from understanding the watch and preparing the setup to controlling reflections, choosing settings and angles, focus stacking, shooting with an iPhone, planning different concepts, and finishing the images in post-production.
Still removing fingerprints and reflections? Try our professional photo retouching service for cleaner details with a luxurious finish.
Start With the Watch and the Purpose of the Photoshoot
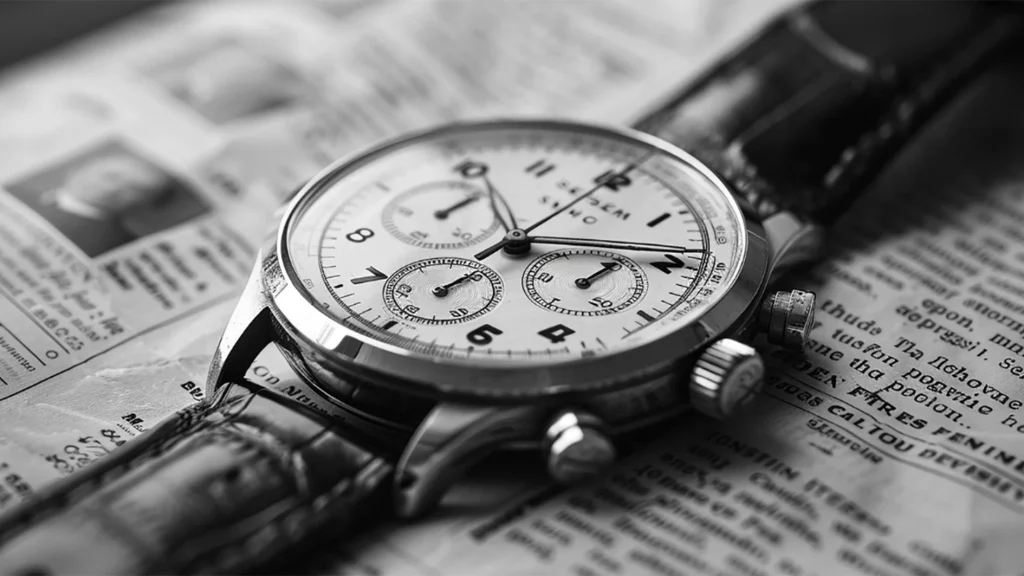
Before I photograph a watch, I first try to understand what kind of product I am looking at and what the image needs to communicate. A dress watch, a dive watch, a chronograph, and a smartwatch should not all look the same in front of the camera.
Match the Visual Direction to the Watch Type
For a dress or a luxury watch, I usually look for a refined, restrained visual direction that highlights the finishing and small details. A dive or sports watch can carry a stronger, more rugged character, while a smartwatch often needs a cleaner, more modern presentation that keeps the screen relevant.
The goal is not to force a style onto the product. The watch itself should tell you whether the image needs to feel elegant, technical, adventurous, minimal, or lifestyle-focused.
Study the Materials
I also study the materials closely. Polished metal behaves very differently from brushed steel, while crystal, textured dials, leather straps, rubber, ceramic, and digital displays each respond to light in their own way.
Understanding those surfaces early helps you decide what deserves emphasis and what needs more control, so the final image still feels true to the watch rather than over-styled.
Prepare Your Watch Photography Setup
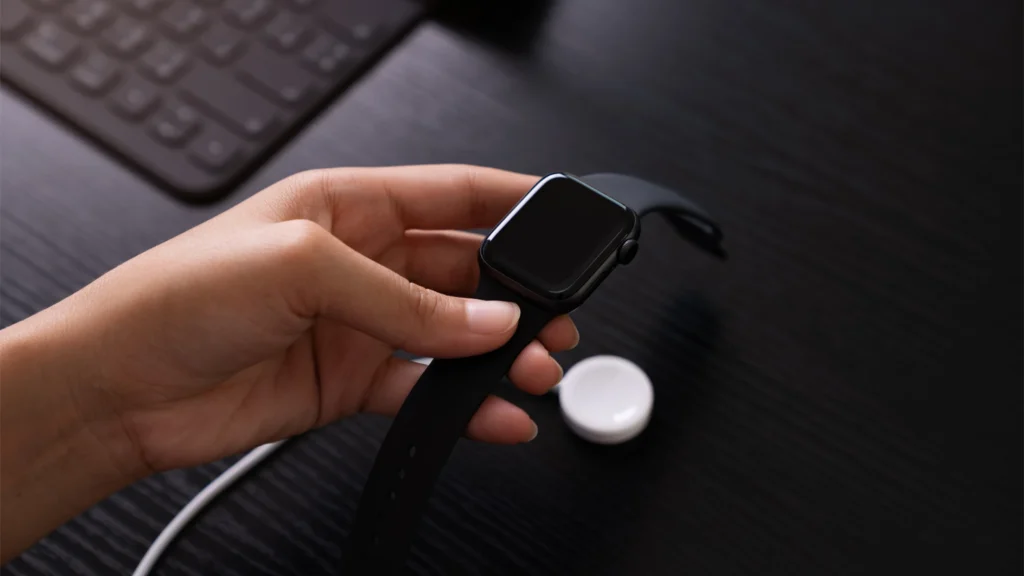
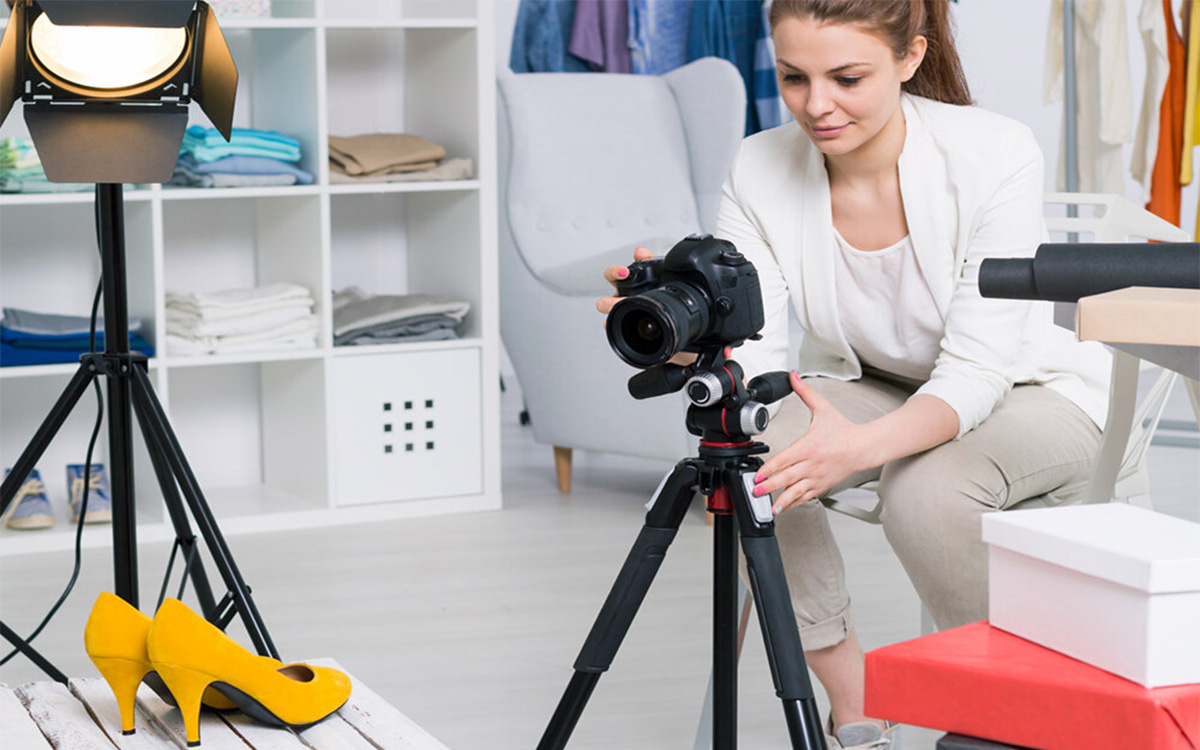
You do not need a large studio for watch photography, but a planned setup can give you enough control over the camera, the watch’s position, the background, and reflections. Build the set first, then place the watch and start adjusting the light.
- Stable shooting surface: Use a solid table or product table that will not move when you adjust the watch, cards, or lights.
- Camera and tripod: Mount a DSLR or mirrorless camera on a sturdy tripod. Keep the camera fixed once you finalize the angle, especially if you plan to focus stack or shoot several watches consistently.
- Macro or close-focusing lens: A 90 to 105 mm macro lens is a practical studio choice. Extension tubes or shorter macro lenses can also work when space or budget is limited.
- Watch stand or support: Use a watch stand, clear acrylic support, removable putty, or small wedges to hold the case and bracelet exactly where you want them.
- Large diffusion panel: Position diffusion material between the watch and your main light. Leave enough room to move the light behind the diffuser without disturbing the product.
- White cards and black flags: Keep several small cards close to the set. White cards create brighter reflections, while black flags add darker edges and separation to polished metal.
- Background surface: Start with white or light gray for catalog images. For styled shoots, stone, wood, acrylic, fabric, or metal can work depending on the watch. These product photo background ideas can help when choosing suitable surfaces.
- Cleaning tools: Keep a microfiber cloth, blower, soft brush, and lint-free gloves beside the set so you can clean the watch without repeatedly leaving the shooting area.
- Tethering or remote release: Connect the camera to a larger screen when possible, or at least use a timer or remote shutter. This makes it easier to check focus, dust, and reflections without touching the camera.
Once everything is in place, lock the camera and background first. After that, adjust only the watch, diffuser, cards, and lights as you build the final shot.
Watch Photography Lighting Setup: Control the Reflections
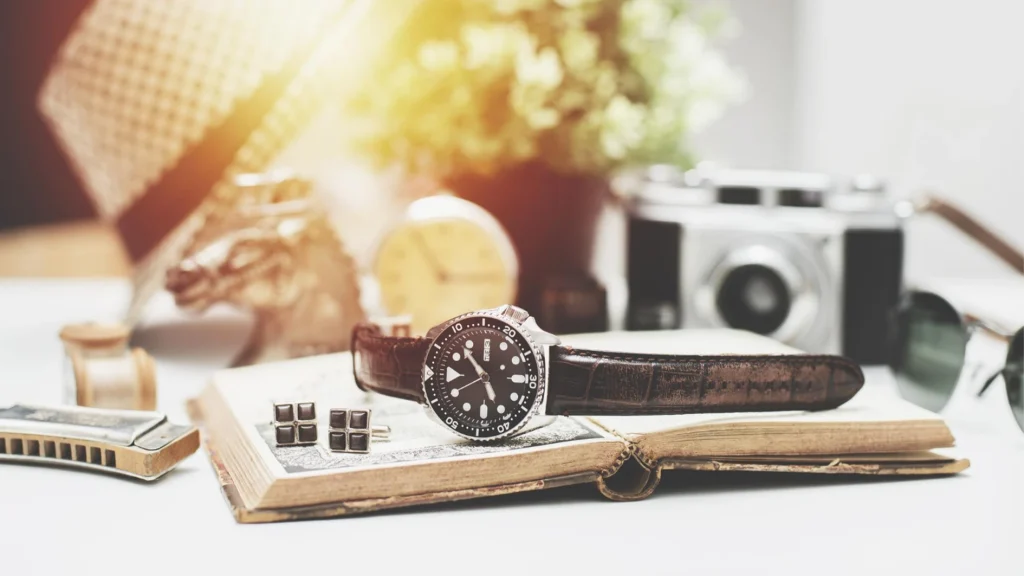
A watch can reflect light from its crystal, dial, polished case, bezel, and bracelet simultaneously. Instead of trying to remove every reflection, build the setup so each surface reflects something clean and controlled.
Build the Setup Around a Large Diffuser
Start with one large diffusion panel near the watch, and place the light behind it. The diffuser becomes a broad, smooth reflection across polished metal instead of a hard hotspot. Move the light behind the diffuser to change the brightness and gradient without moving the watch.
Use Cards and Flags to Shape the Metal
If one side of the case disappears, place a white card nearby to create a brighter edge. If the metal looks too flat, add a black flag to introduce contrast and define the case shape.
Control Crystal and Dial Reflections Separately
Tilt the watch, camera, or diffuser slightly until the crystal reflection moves away from the logo and important dial details. Keep a small controlled reflection if it helps show the crystal’s curvature.
If the dial still looks too dark, add a small separate reflector or light for the face rather than changing the main case lighting.
Camera Settings, Angles, and Composition for Watches
Once the lighting is under control, the camera choices become much easier. Settings determine how much detail you retain, angles decide what parts of the watch you reveal, and composition controls how the viewer reads the product inside the frame.
Practical Camera Settings
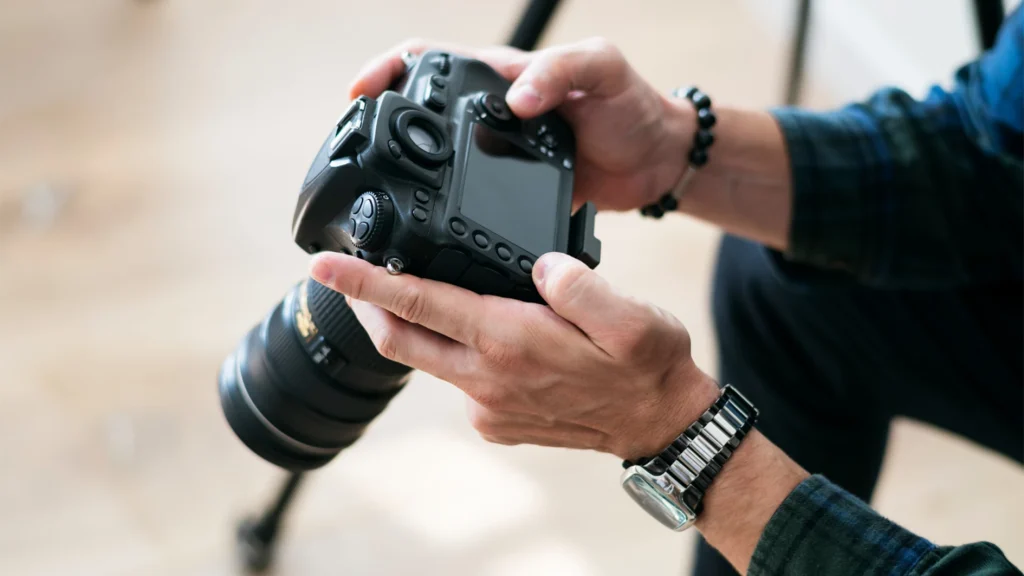
There is no single camera setting that works for every watch photo. A straight catalog image, a close macro detail, a smartwatch screen, and a wrist shot all create different exposure and focus demands. The better approach is to adjust the settings around what you are photographing.
Here is a practical starting point for the most common situations:
- Clean catalog shot: Start around ISO 100, f/8 to f/11, RAW, manual exposure, and a fixed white balance for consistent color across multiple SKUs.
- Macro detail shot: Stay around f/8 to f/11 and focus manually. If the depth of field is still too shallow, use focus stacking instead of automatically stopping down to f/22.
- Highly polished watch: Keep ISO low and expose carefully for the brightest metal highlights, so polished areas retain detail rather than clipping to pure white.
- Watch on a tripod: Shutter speed can be slower under continuous light because camera movement is controlled. Use a timer, remote release, or tethered capture to avoid vibration.
- Flash or strobe setup: Keep the shutter within the camera’s usable flash-sync range and control exposure primarily through flash power, aperture, or distance to the light.
- Smartwatch or digital display: If the screen flickers or shows dark bands, adjust the shutter speed; then balance the display brightness so the interface stays readable.
- Lifestyle wrist shot: Use a faster shutter speed when the model or wrist is moving. Raise ISO when necessary rather than risking motion blur.
- Color-critical catalog work: Lock the white balance rather than leaving it on Auto, especially when the same watch collection is photographed across multiple setups.
Choose Product Angles Based on What You Need to Show
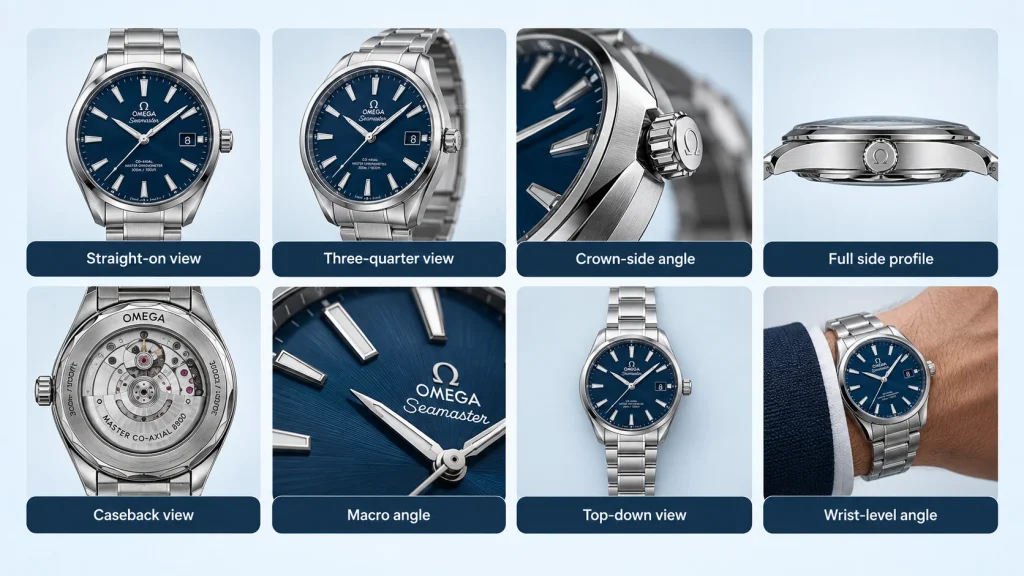
Watch angles should do more than give the gallery variety. Each viewpoint reveals different design information, from dial layout and case thickness to crown construction, bracelet shape, or movement finishing. Choose the angle based on what the customer needs to see.
These are the most useful angles and where they work best:
- Straight-on view: Best for showing the dial, indices, hands, logo, complications, and overall symmetry clearly.
- Three-quarter view: Use when you want the dial and case depth visible together. It works especially well for hero and ecommerce images.
- Crown-side angle: Useful for highlighting crown design, pushers, bezel thickness, case finishing, and side profiles.
- Full side profile: Choose this when case thickness, crystal height, lug shape, or bracelet connection is an important selling point.
- Caseback view: Essential for exhibition movements, engravings, sensors, charging areas, serial details, or decorative caseback designs.
- Macro angle: Use for dial texture, movement finishing, crown engraving, bezel teeth, lume, clasp construction, or strap stitching.
- Top-down view: Works well for flat lays, symmetrical catalog layouts, and scenes where props need to surround the watch.
- Wrist-level angle: Best for showing realistic scale, fit, thickness, and how the watch actually looks when worn.
Choose a Composition That Fits the Image Purpose
Composition decides where the viewer looks first and how much visual attention the watch receives. A catalog image needs clarity and consistency, while a campaign image can use more space, asymmetry, props, or environmental context to create a stronger mood.
Depending on the image you are creating, you can work with these compositions:
- Centered catalog composition: Place the watch at the center with equal spacing around it. Best for product pages, marketplaces, and consistent multi-SKU catalogs.
- Three-quarter hero composition: Position the watch slightly off-center and use light, shadow, or reflections to create depth around the case.
- Negative-space composition: Leave clean space beside the watch for campaign copy, banners, ads, or website layouts.
- Flat lay composition: Arrange the watch and a few supporting props from directly above. Our flat lay product photography guide covers broader overhead styling when you need more complex arrangements.
- Diagonal composition: Place the watch or bracelet across the frame at an angle to create movement and make static product shots feel more dynamic.
- Macro crop: Fill most of the frame with one meaningful detail such as the dial, movement, crown, or finishing instead of simply enlarging the whole watch.
- Wrist composition: Keep the watch as the visual priority while using the sleeve, hand position, and background only to provide scale and lifestyle context.
- Environmental composition: Place the watch within a setting connected to its use, such as stone and water for a dive watch or a clean desk for a smartwatch.
Watch Product Photography Ideas for Different Styles
Plan your watch product photography ideas around the character of the watch, not around random props. A luxury dress watch, a rugged diver, a smartwatch, and an everyday timepiece each need a different visual language to make the product feel believable and relevant.
Luxury Watch Photography Concepts
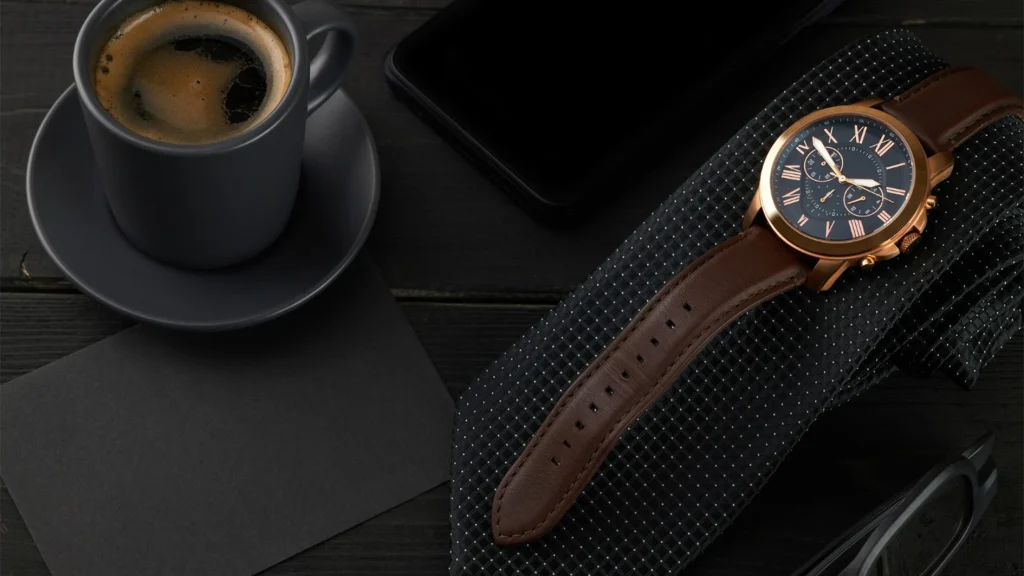
Keep the setup refined and minimal. Try black acrylic, brushed metal, stone, velvet, dark gradients, or controlled reflections that emphasize the case, dial, and finishing.
Sport and Outdoor Watch Photography Concepts
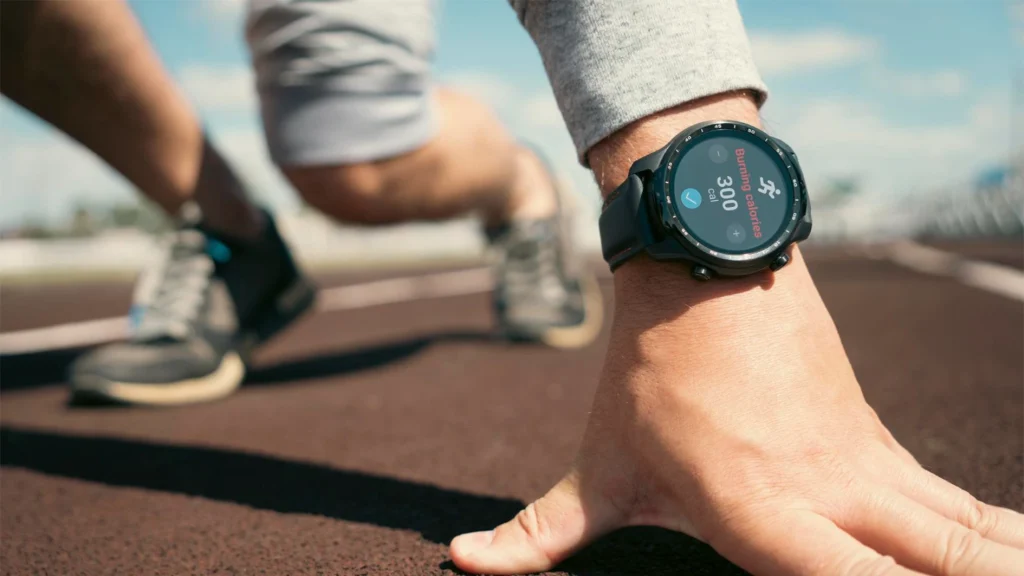
Use materials connected to movement and outdoor use. Water, rock, sand, rope, neoprene, or rugged textures work well when they support the watch instead of overpowering it.
Smartwatch Watch Concepts
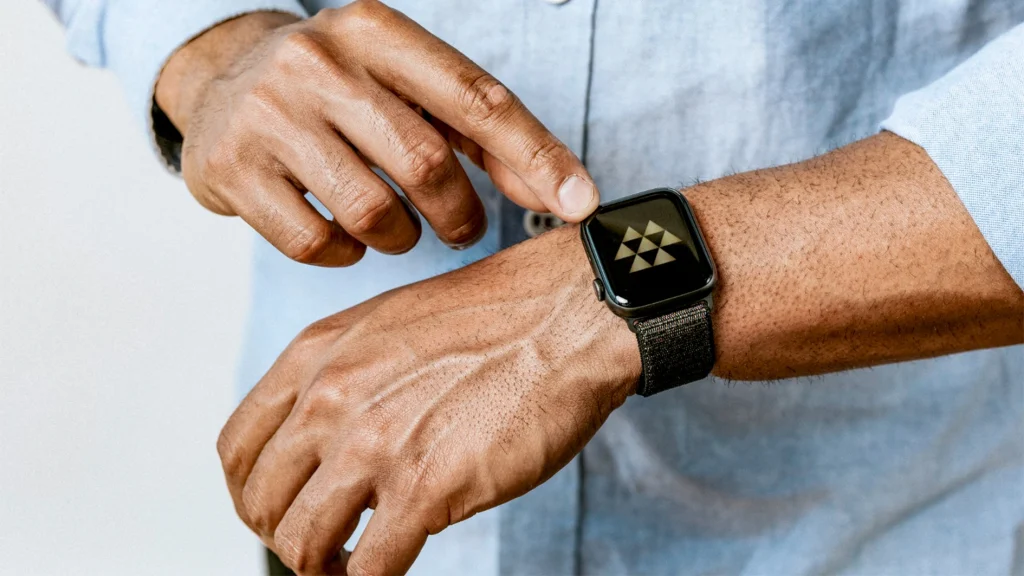
Smartwatch product photography has two subjects: the hardware and the screen. Keep the setup clean and balance display brightness so black levels stay believable and UI colors do not clip.
Lifestyle Watch Photography Ideas
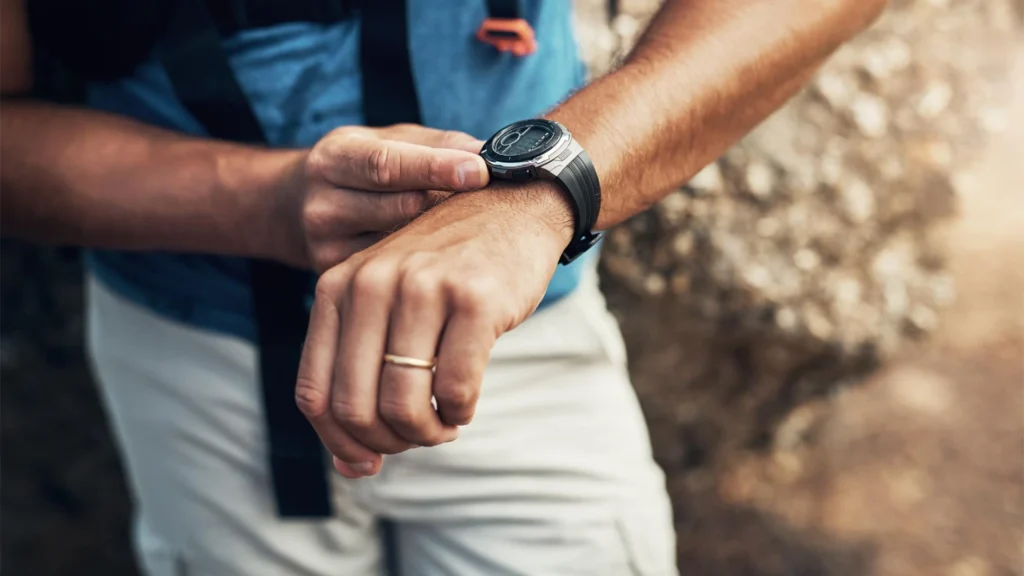
Lifestyle images should show how the watch looks and feels when worn. Keep clothing, hand position, and surroundings simple so the watch remains the main subject.
Watch Photography Ideas at Home
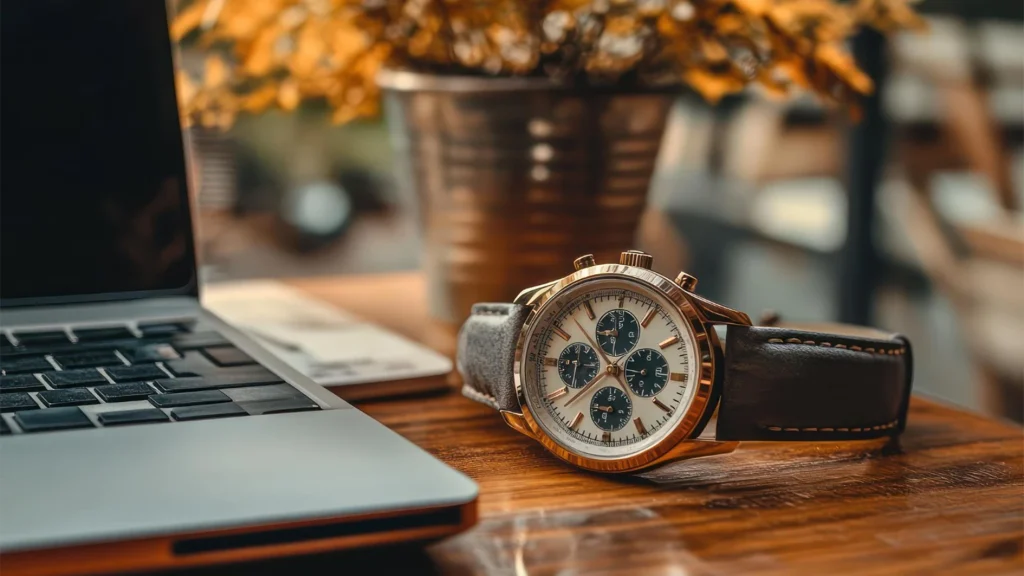
You do not need expensive props for a convincing home setup. Books, folded fabric, ceramic trays, textured paper, acrylic sheets, and simple household surfaces can create clean compositions.
Post-Production for Watch Product Photography
Post-production is where you clean the image, refine reflections, correct color, and bring the full set into one consistent standard without changing how the watch actually looks.
Once the shoot is finished, I would normally work through the image in this order:
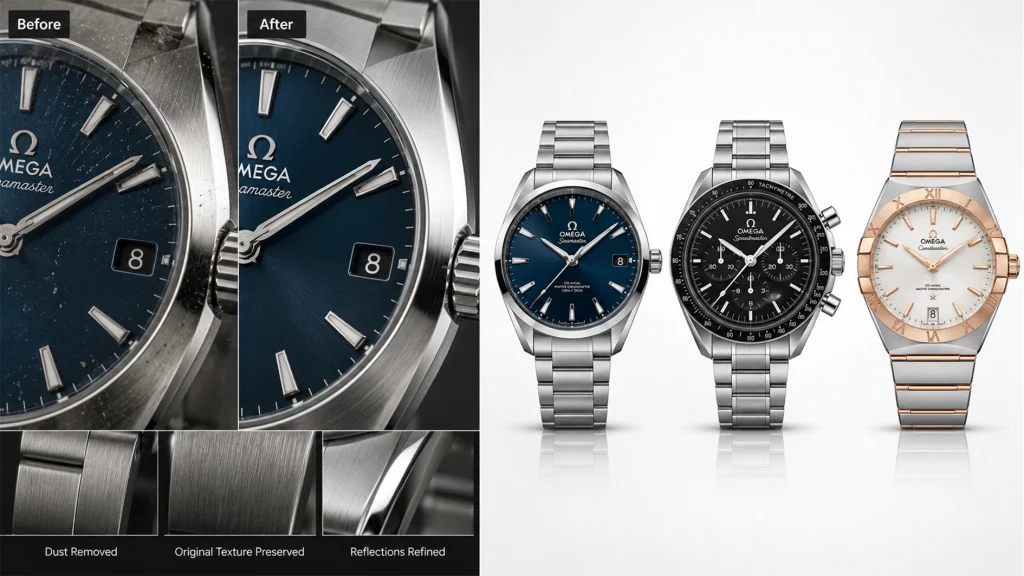
- Clean dust, fingerprints, and small distractions: Start with lint, sensor spots, temporary scuffs, support marks, and fingerprints. Work closely, but do not erase brushed grain, engraving, lume texture, or natural machining details.
- Fix focus-stacking errors: Check the hands, indices, crown, bracelet links, and crystal edges for halos, duplicated texture, or misaligned seams. These issues are much easier to spot at high magnification.
- Refine reflections and highlight gradients: Remove accidental room reflections and smooth broken highlights, but keep enough tonal variation to show the shape of the case. Polished metal should still look reflective, not flat.
- Correct the watch colors: Use color correction to keep the dial, strap, metal finish, and display close to the real product. Match a neutral reference first, then fix local color casts where needed.
- Isolate the watch when required: Clean, hard edges usually work well with a precise clipping path. Crystal transparency, soft shadows, or reflected background detail may need masking or selective blending instead.
- Prepare clean catalog backgrounds: For white or transparent product images, a background removal service can keep isolation, edge quality, and background treatment consistent across a larger watch collection.
- Match the full catalog: Compare crop, watch size, baseline, angle, background value, shadow density, and color from one SKU to the next. This is where ecommerce image editing services become useful when dozens or hundreds of files need the same standard.
- Export for the final use: Prepare separate versions for the website, marketplaces, campaign graphics, or print so each file keeps the right crop, resolution, background, and color treatment for its destination.
Frequently Asked Questions
What is the best lighting for watch product photography?
Use a large diffused light close to the watch, then control reflections with white cards and black flags for smoother, cleaner highlights.
What camera and lens are best for watch photography?
A camera with manual controls and a 90 to 105 mm macro lens works well, but stable support, lighting, and accurate focus matter more.
Do I need a macro lens for watch photography?
No. A standard lens can handle full-watch shots, while a macro lens is better for close details such as dials, crowns, engravings, and movements.
How do I remove reflections from watch photos?
Use large diffusion panels, then control what the case and crystal reflect with white cards, black flags, and small angle changes. Avoid trying to eliminate every reflection.
Why are watches usually set to 10:10 in product photos?
Well, this is the industry-standard time for a watch photoshoot. This position creates visual balance and keeps logos, date windows, and subdials visible. Some brands adjust it slightly to match their dial layout.
What is focus stacking, and why is it used for watches?
Focus stacking combines several images focused at different distances into one sharper final image. It is useful when a close watch shot exceeds the lens’s available depth of field.
How do I photograph a watch at home?
Use a stable camera or phone, a clean watch, window light through diffusion, white and black cards, and a simple matte background. Start by controlling reflections.
How do you photograph a watch without glare?
Adjust the relationship among the watch, camera, and light until the crystal no longer reflects the source directly. Then use diffusion or flags to refine the remaining highlight.
Conclusion
A technically strong watch image is built through small, controlled decisions. Clean the watch, set the time deliberately, choose the right view, create reflections that describe the materials, and use focus stacking only when depth of field demands it. The same workflow applies whether you are shooting at home or in a commercial studio.
Above all, strong timepiece photography should remain honest to the product. A polished frame should make the watch easier to understand, not hide its dial, flatten its metal, invent texture, or change its color. When capture and retouching follow the same standard, the final set feels consistent, premium, and believable.