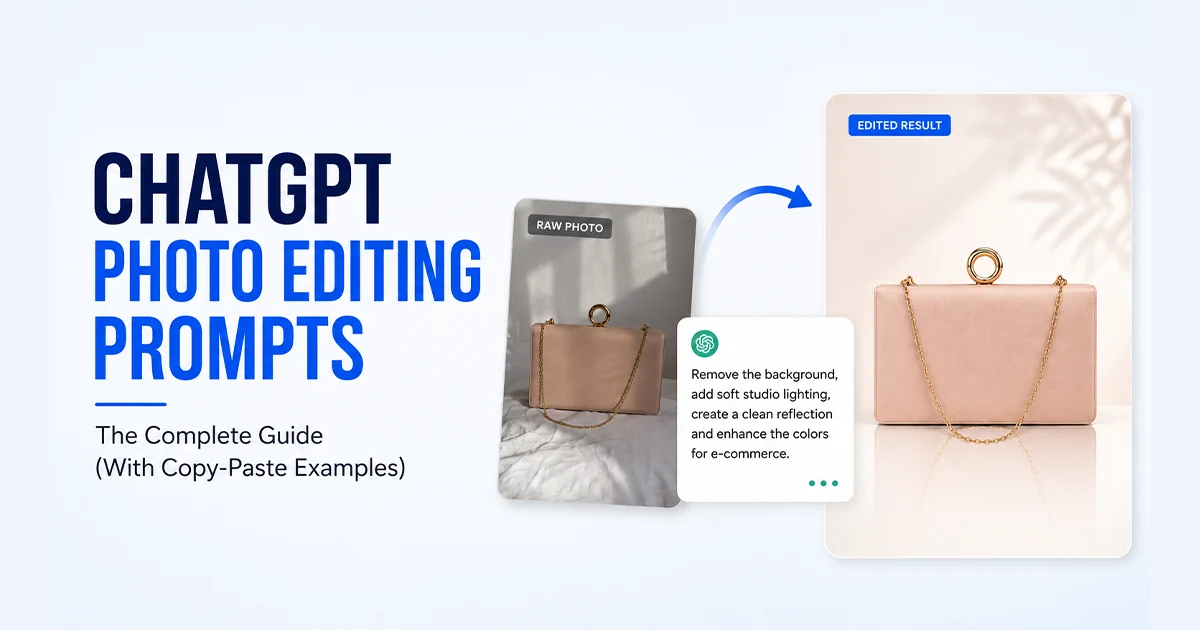
A ChatGPT photo editing prompt is just a plain-English instruction that tells ChatGPT how to change your photo. No sliders, no layers, no Photoshop. You upload an image, describe what you want, and the model does the editing for you. That is the whole idea, and in 2026 it works far better than most people expect.
Here’s the honest truth I have learned after running thousands of these edits: the tool is only half the job. The prompt is the other half. A vague prompt gives you a vague, plasticky, generic result. A precise prompt gives you something that looks like it was taken with a real camera. This guide hands you both the ready-to-paste prompts and the thinking behind them, so you stop guessing and start getting the image you actually pictured.
You will get a repeatable prompt formula, a library of 30-plus copy-paste prompts sorted by task, style, and industry, plus the small fixes that separate a scroll-stopping edit from AI slop. Whether you want a viral trend edit or a clean professional headshot, the best ChatGPT photo editing prompts follow the same handful of rules. Let us walk through them together.
New to editing with AI and want the bigger picture first? Start with our plain-language breakdown of what AI photography actually is and how it works.
How ChatGPT Actually Edits Your Photos
Before you paste a single prompt, it helps to know what is happening under the hood. ChatGPT does not edit your photo the way Photoshop does. It does not move pixels around in your original file. Instead, its GPT Image model looks at your upload, understands the subject, lighting, and background, then generates a fresh version built to match your instructions.
This matters for one big reason. Because the model rebuilds the image, it can drift. Ask for too much at once, and it may quietly change a face, a color, or a background you wanted to leave alone. That single fact explains almost every frustration beginners run into, and almost every fix in this guide traces back to it.
The upside is huge. You can prompt ChatGPT to edit a photo using ordinary words, and it handles the four operations most people care about: adding, removing, combining, and blending elements. For the official view on prompting these models, OpenAI publishes a clear image generation guide worth bookmarking.
Before You Upload Your Images: How to Get Better Results

Most failed edits are not caused by a weak prompt. They are caused by a weak source of light. The AI can only work with the detail you feed it, so a blurry, dark, or heavily filtered image sets you up to lose before you start. Get the input right and everything downstream improves.
Here is my pre-upload checklist. Run through it every time, and your hit rate climbs fast.
- Good lighting. A well-lit face gives the model something to preserve. Soft, even light beats harsh shadows every time.
- High resolution. Upload the sharpest version you have. A modern smartphone photo from 2022 or later works well.
- Full face visible. Front-facing or slightly turned. Avoid cropped, tilted, or half-hidden faces if identity matters.
- Minimal compression. Skip screenshots of screenshots. Every re-save throws away detail the AI needs.
- No heavy filters. Pre-applied beauty filters confuse the model. Start from something close to the raw photo.
- One clear subject. Busy group shots and cluttered scenes are harder to control than a single, clean subject.
If your lighting is the weak link, it is worth learning the basics of natural window light for portraits, since a soft window and a clean pose will do more for your final edit than any prompt trick.
The Anatomy of a Perfect ChatGPT Photo Editing Prompt
If you remember one thing from this whole guide, make it this formula. Almost every strong prompt I write, no matter the style, follows the same five parts. Learn the shape once, and you can build any edit you want without hunting for a template.
- Source context. Tell it what the photo is. “This portrait,” “this product shot,” “this landscape at sunset.”
- The specific edit. Say exactly what to change. “Replace the background with a white studio,” “remove the person on the left.”
- What to preserve. Lock down what must not move. “Keep the face identical, same eyes, nose, and mouth.”
- Mood and lighting. Set the feel. “Soft golden-hour light,” “moody cinematic color grade,” “natural skin texture.”
- Output format. Name the size. “9:16 vertical for Instagram Stories,” “1:1 square,” “high-resolution.”
That is the backbone of how to prompt ChatGPT to edit a photo well. Miss the “preserve” step and your face drifts. Miss “mood and lighting” and you get that flat, generic AI look. Stack all five and the difference is night and day, which the next section shows you in real examples.
30+ ChatGPT Photo Editing Prompts (Organized by Category)
This is the heart of the guide: a working library of ChatGPT photo editing prompts you can copy, paste, and tweak. They are sorted three ways so you can find what you need fast: by editing task, by aesthetic and trend, and by industry. Fill in any bracketed detail, then adjust the wording until the result matches your vision.
Prompts by Editing Task
These are the everyday fixes people search for most. Each one is built to change one thing while protecting the rest of the photo.
Remove background
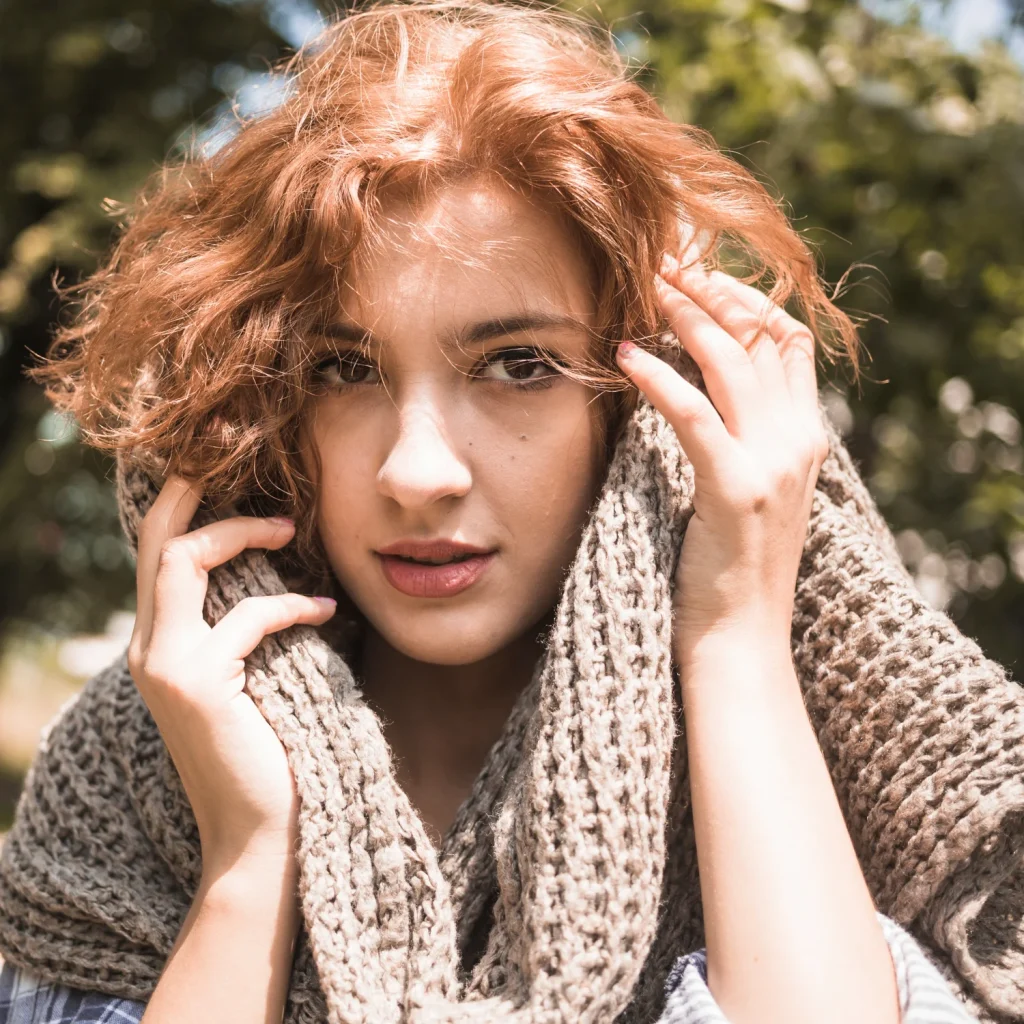
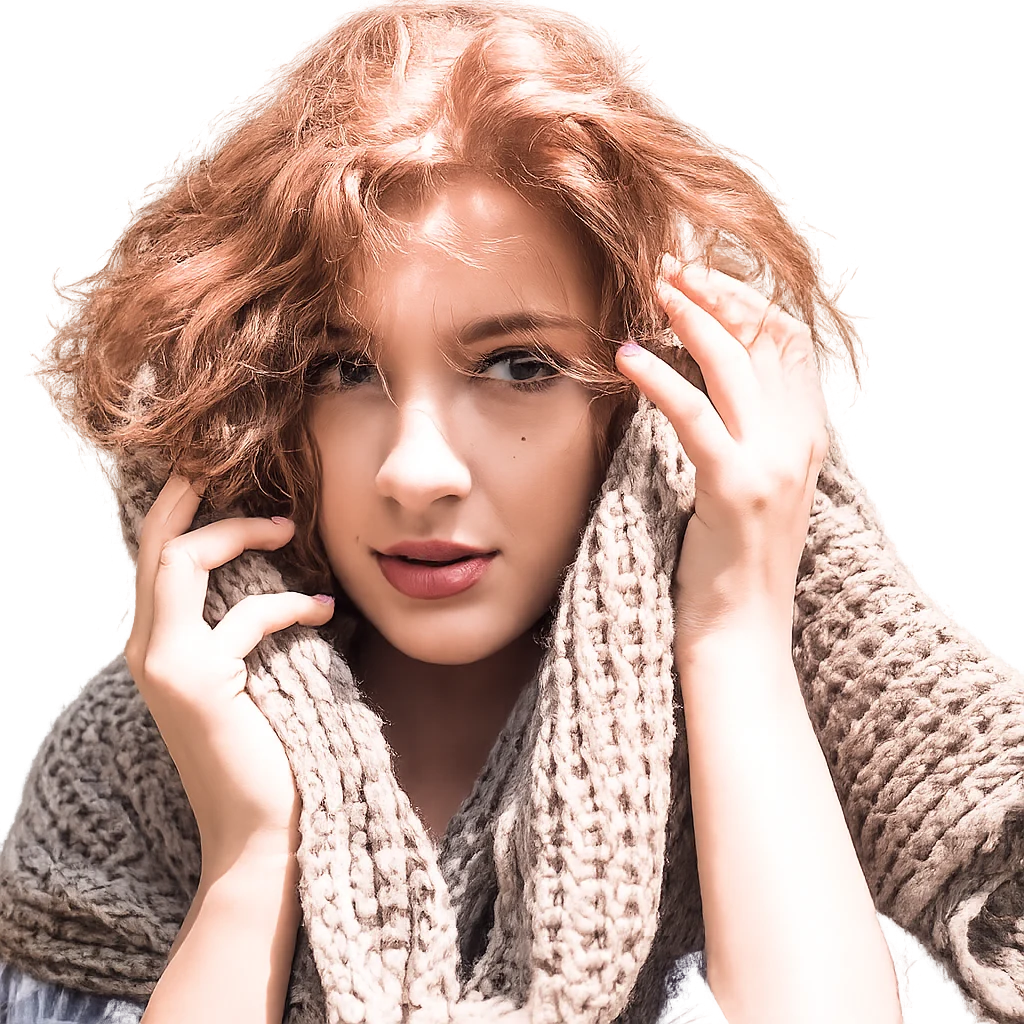
AI is great for a quick cutout, but for catalog-grade edges on hair or fur, you often want a human hand. See how professional background removal handles the tricky cases the AI fumbles.
Replace background
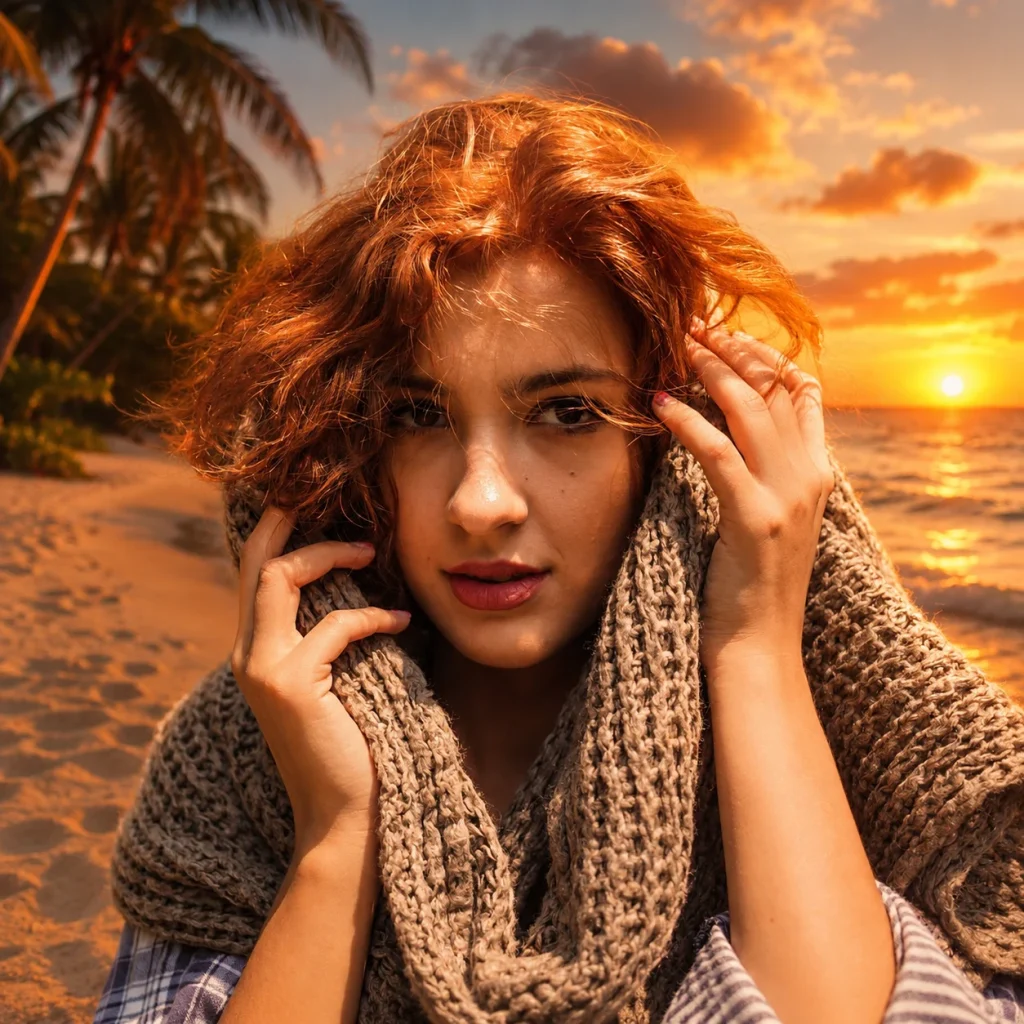
Remove an object
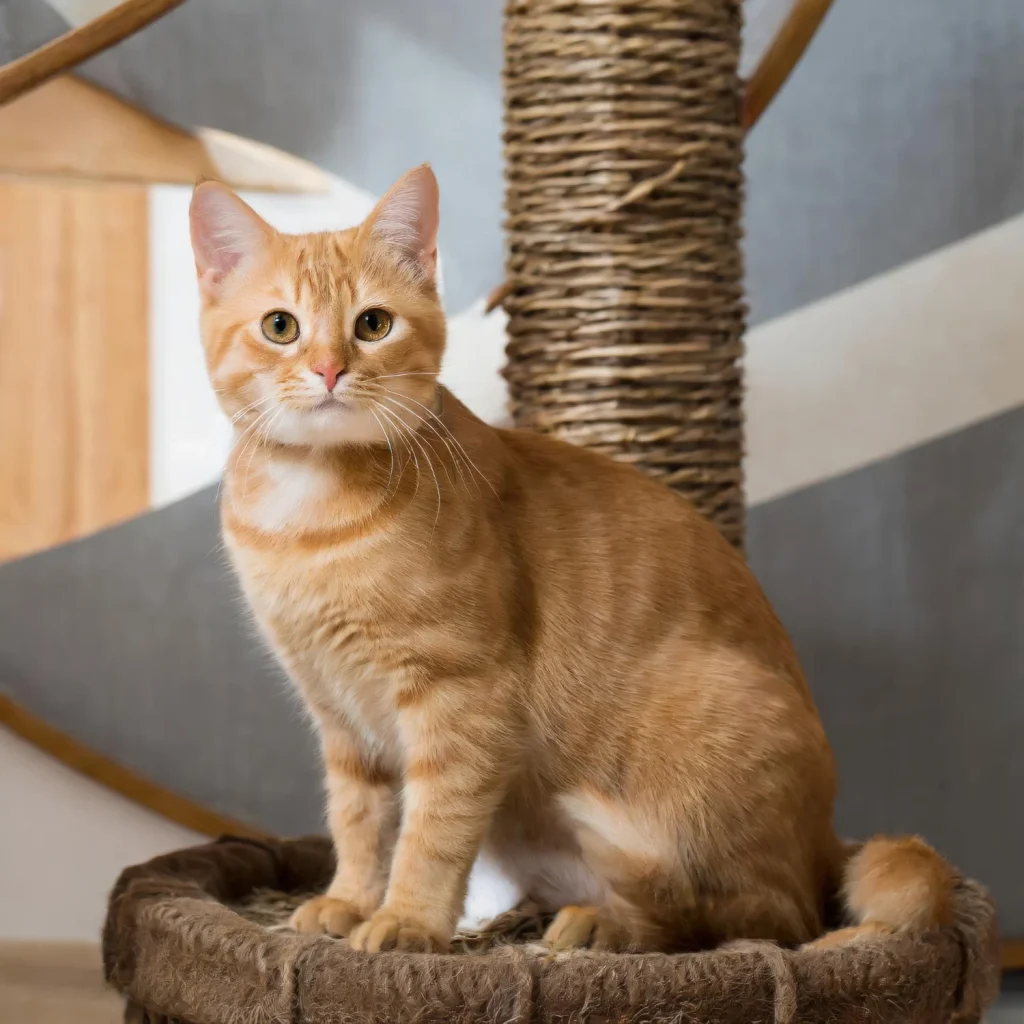
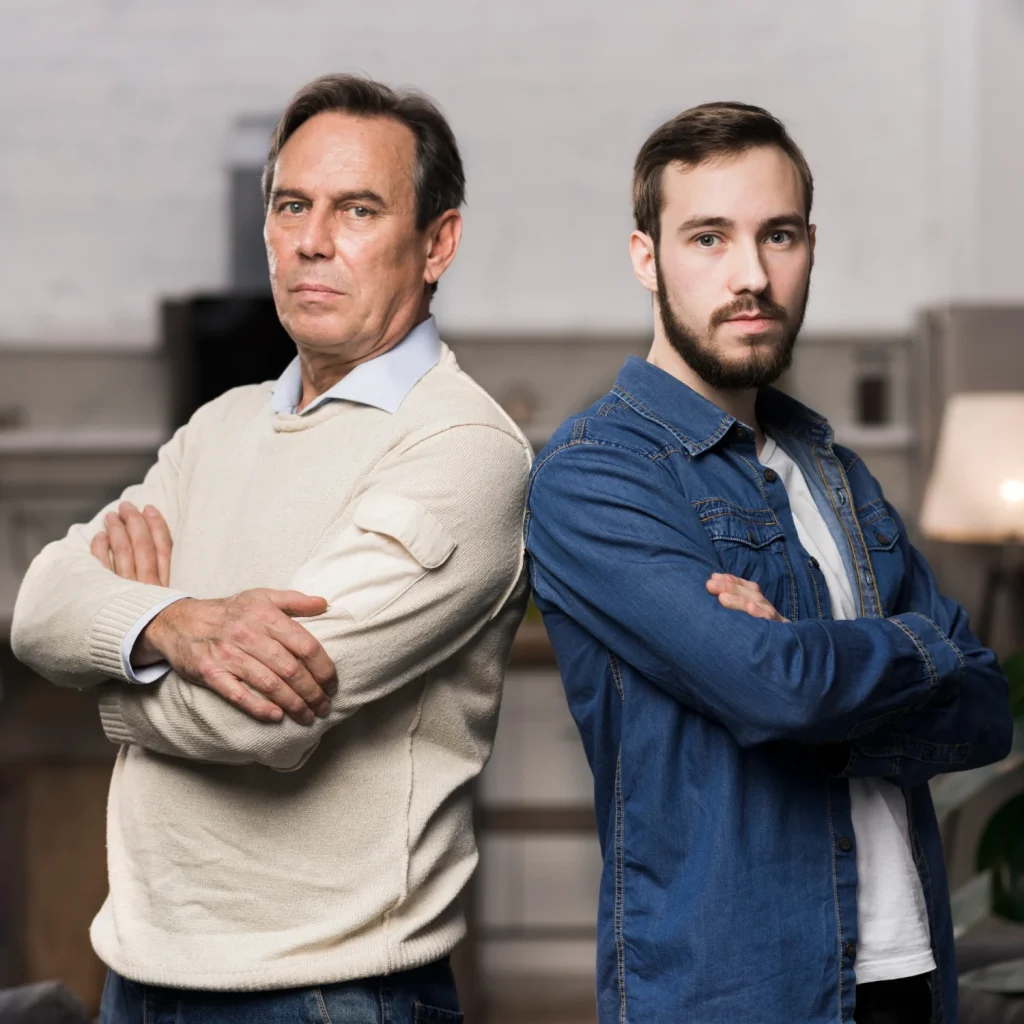
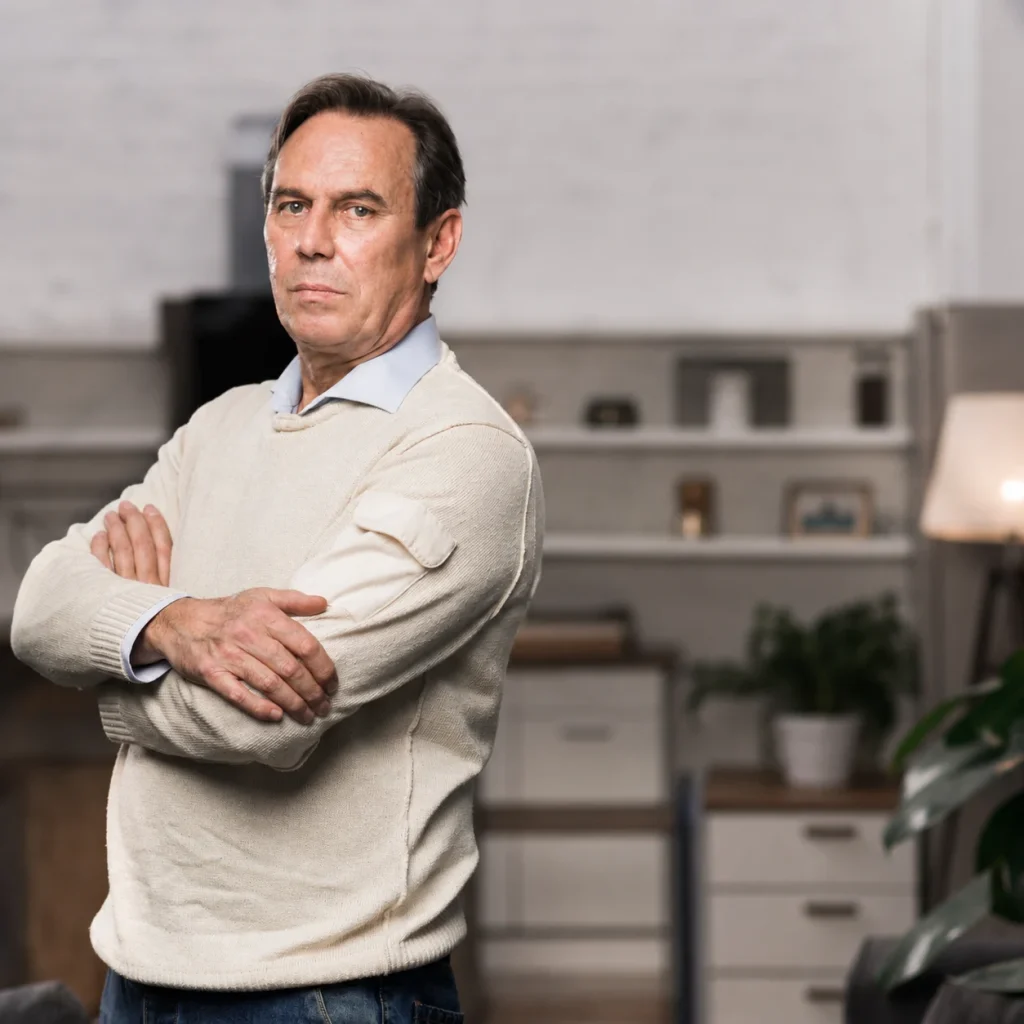
Remove a person
Restore an old photo
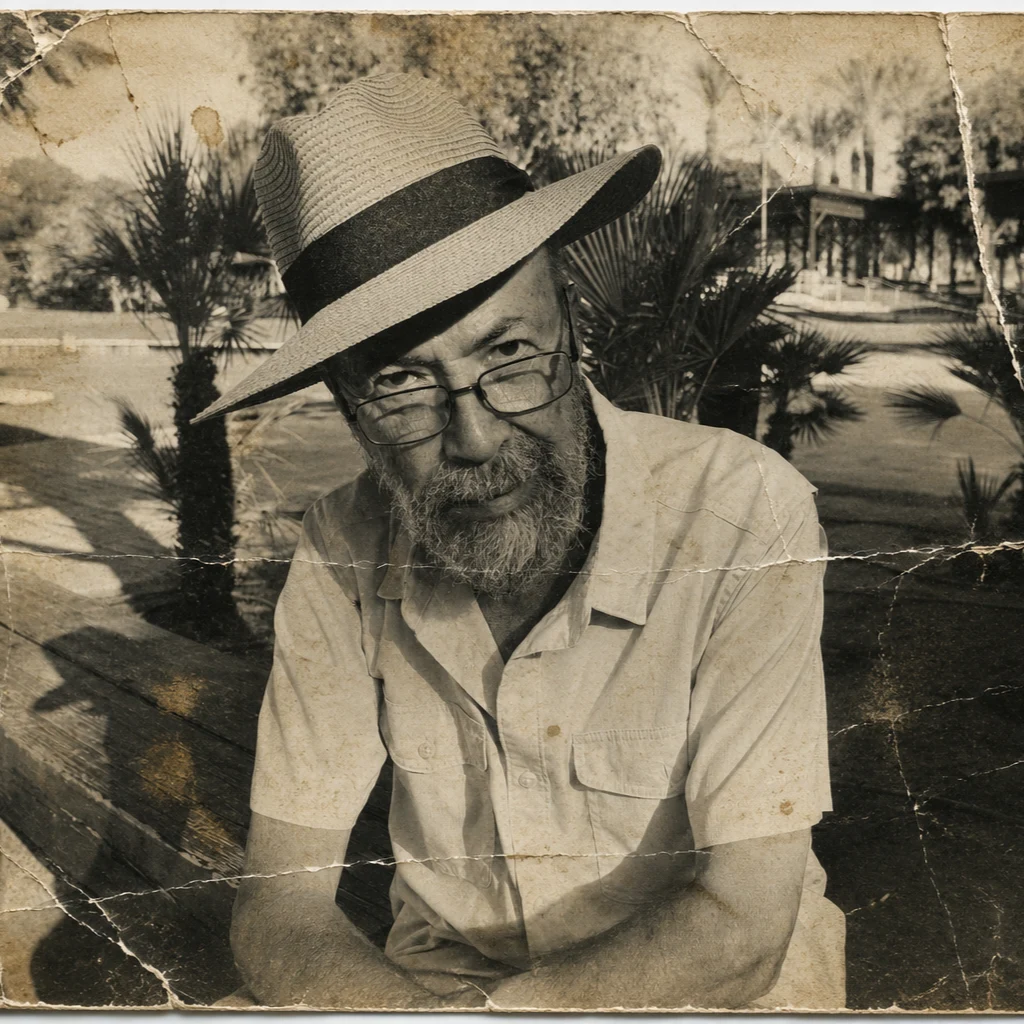
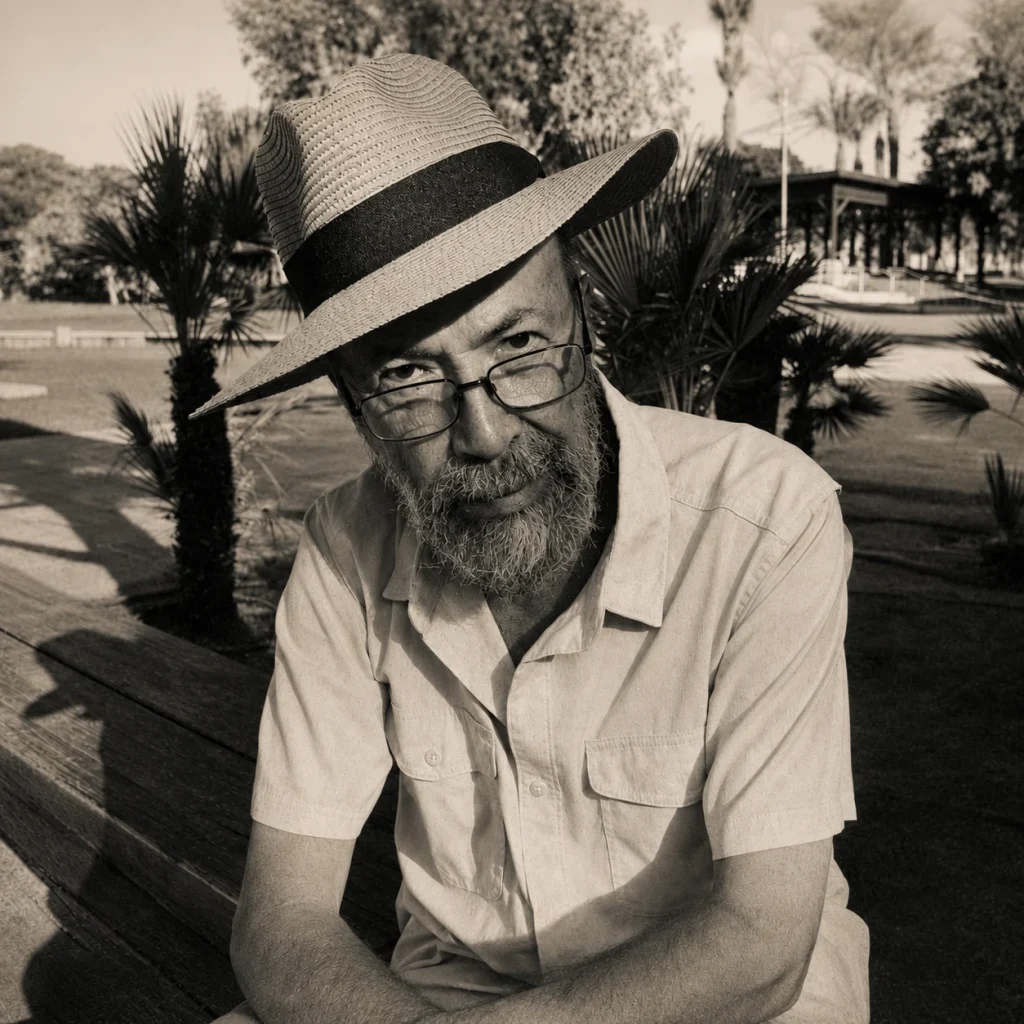
For a treasured print in rough shape, AI is a helpful first pass, but delicate, believable repair is exactly what our old photo restoration service exists for.
Colorize black-and-white photos
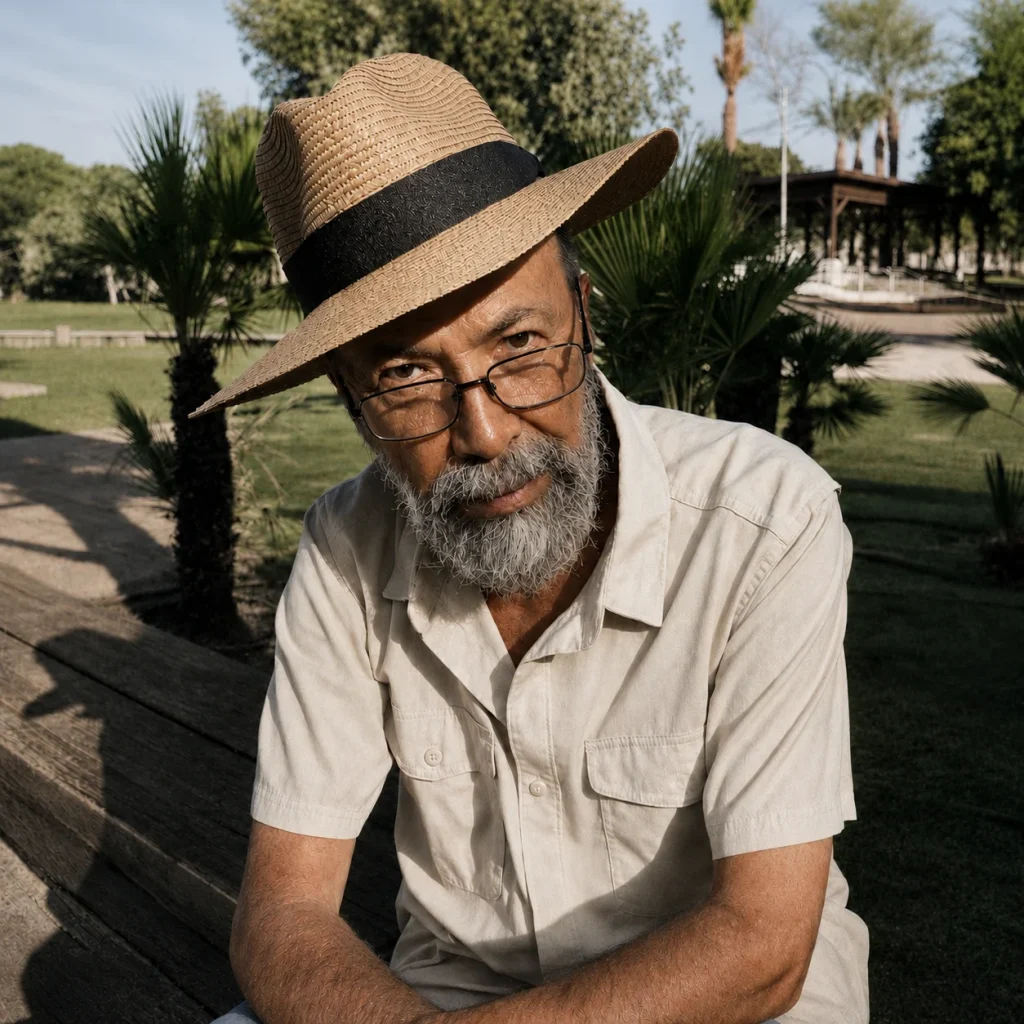
Upscale a low-resolution image
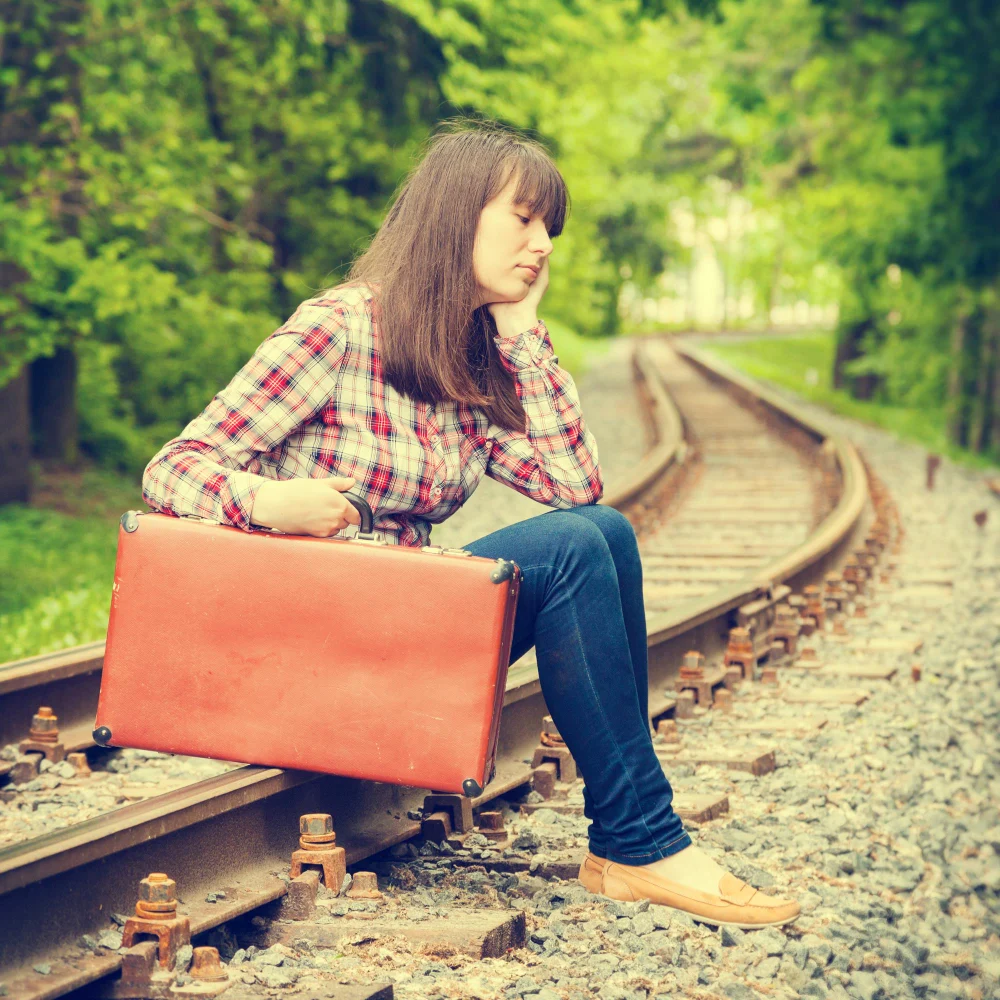
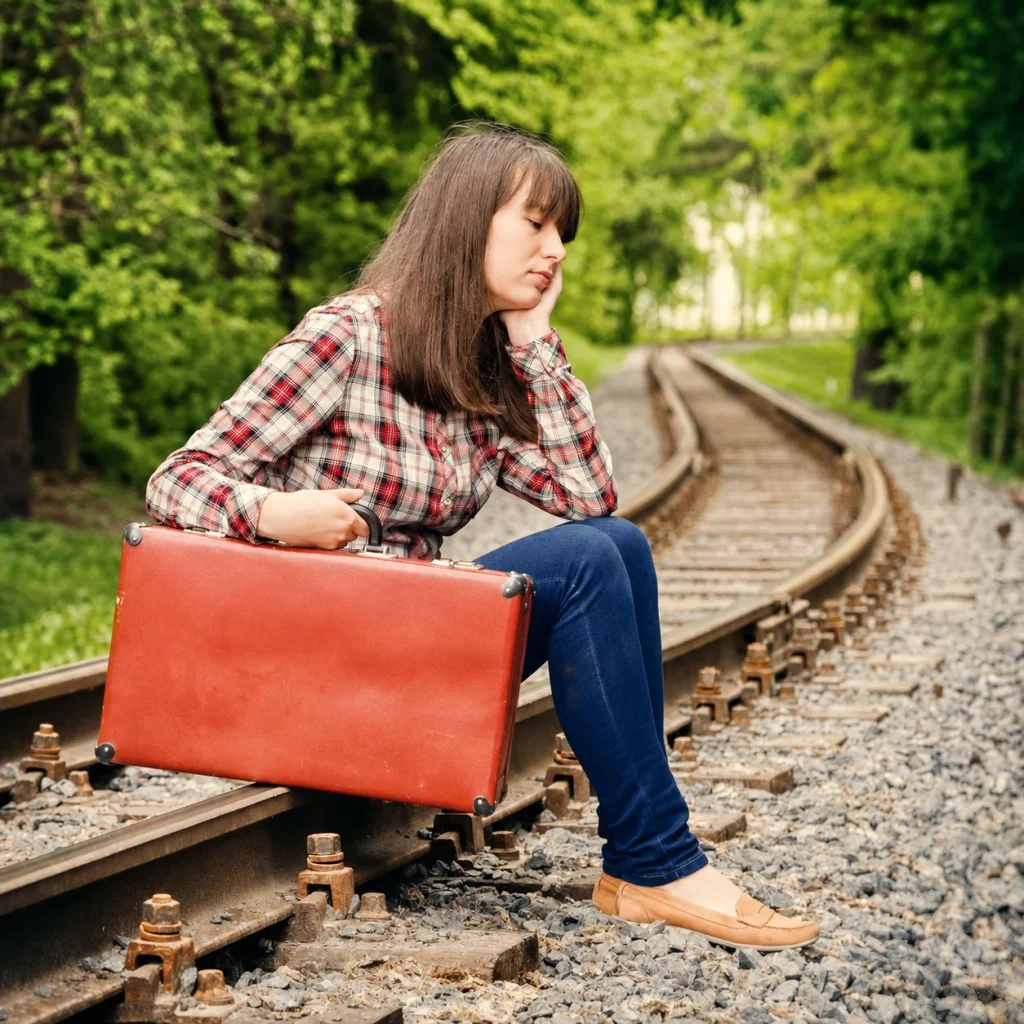
Fix a blurry photo
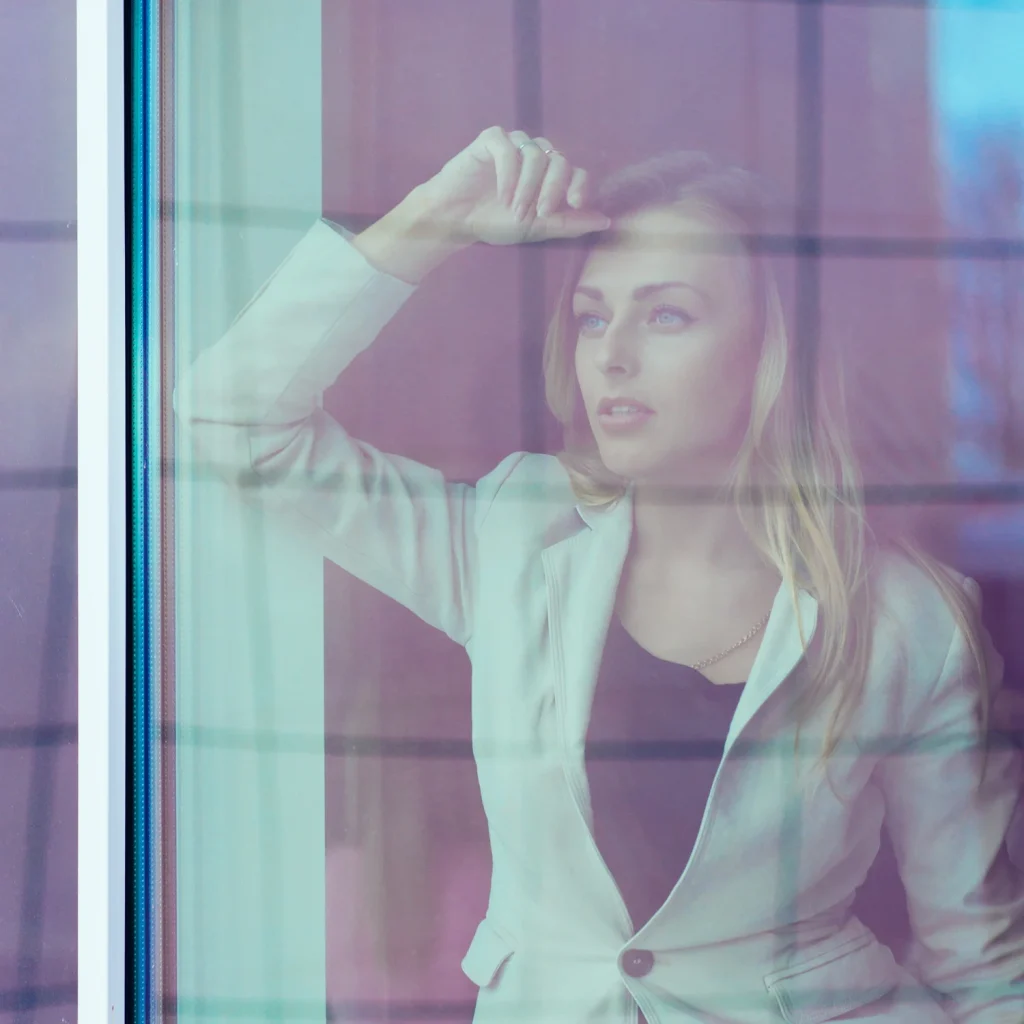
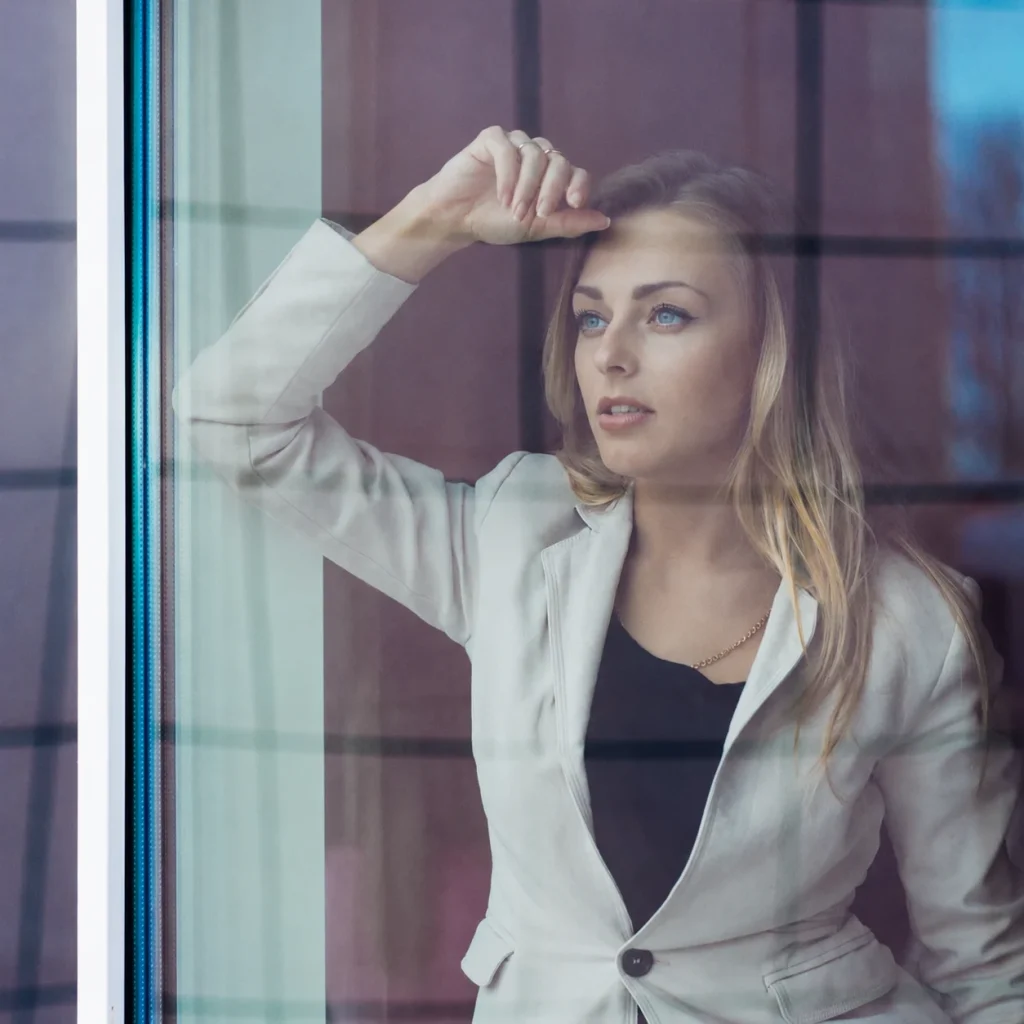
Improve lighting
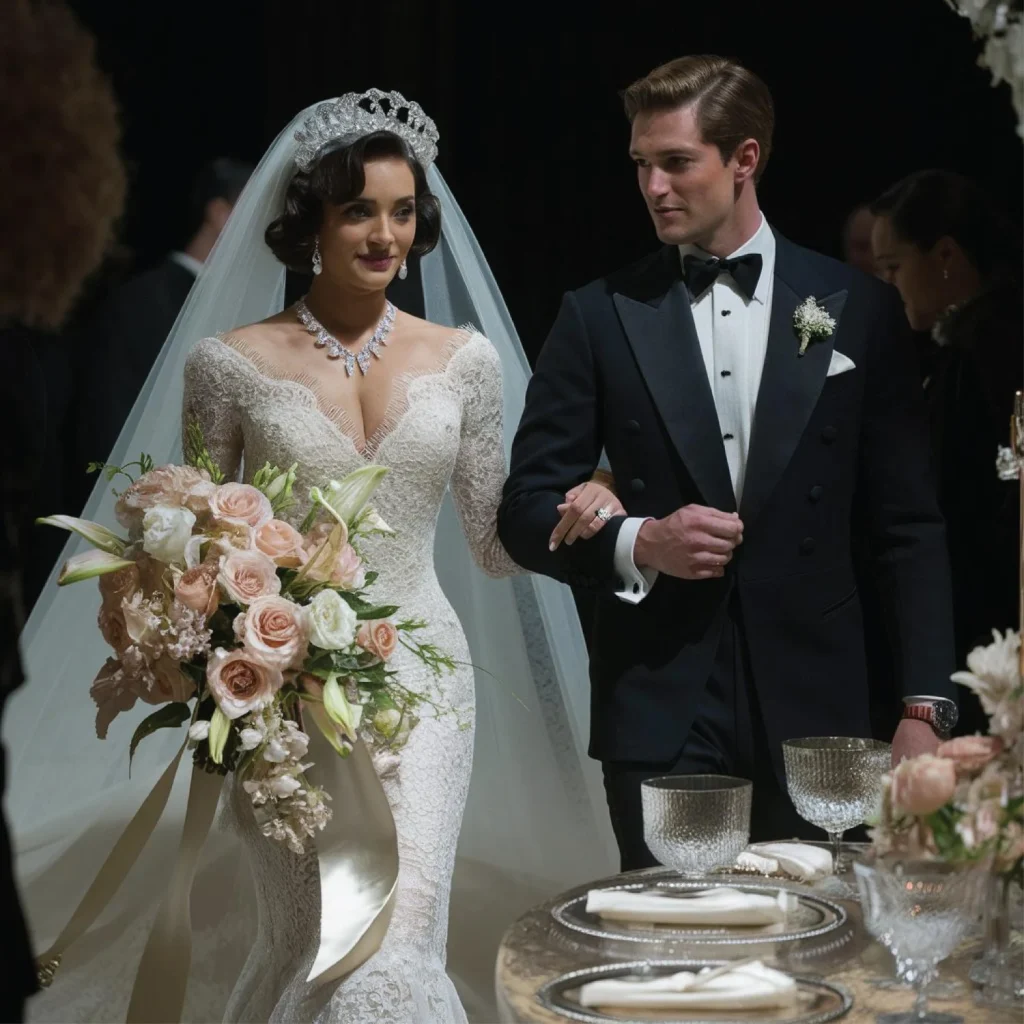
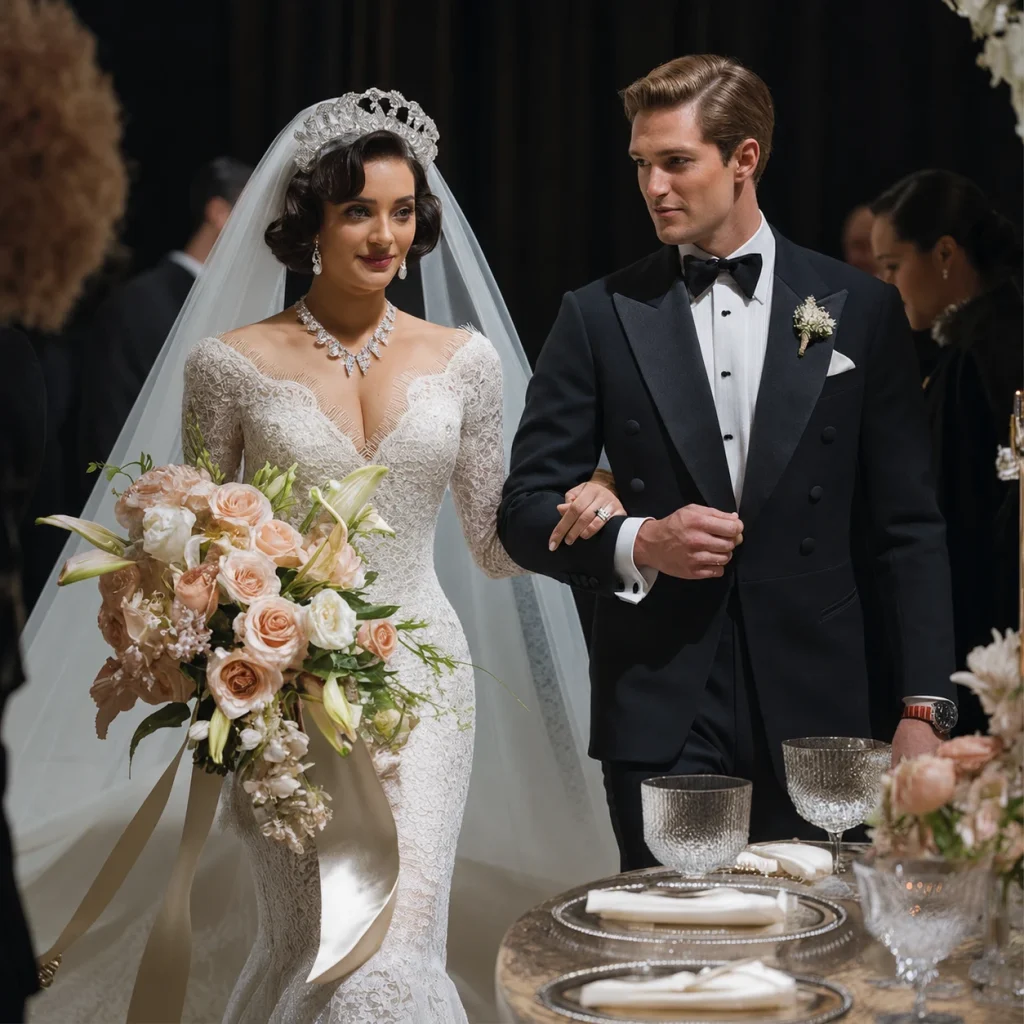
Replace the sky
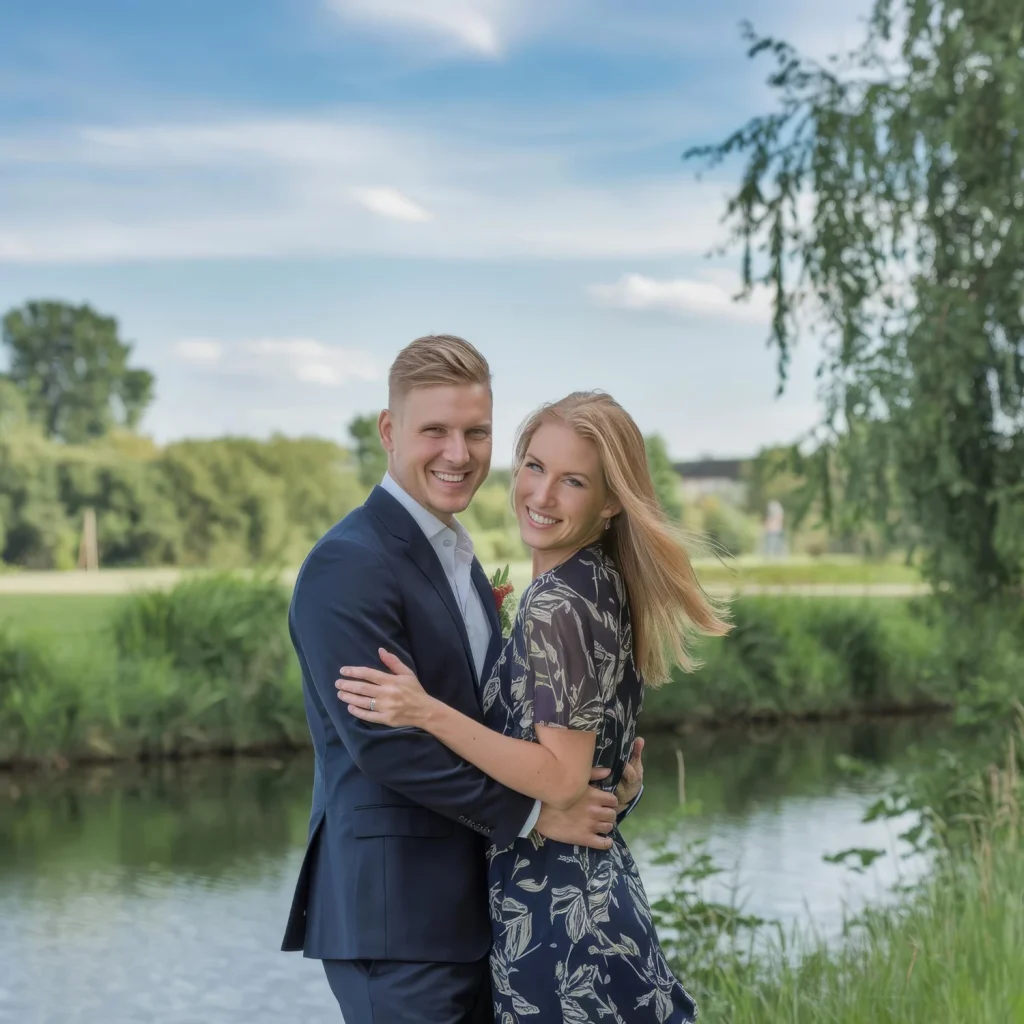
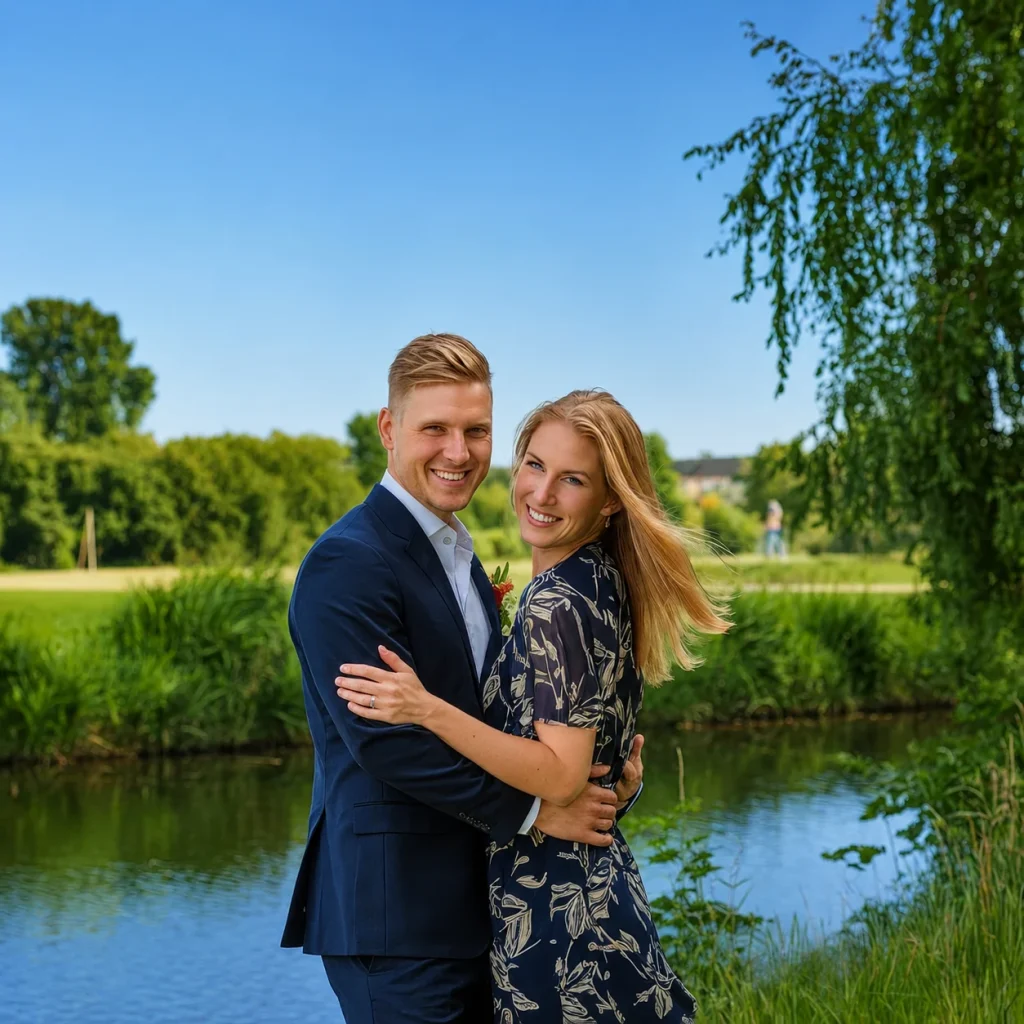
Sharpen faces
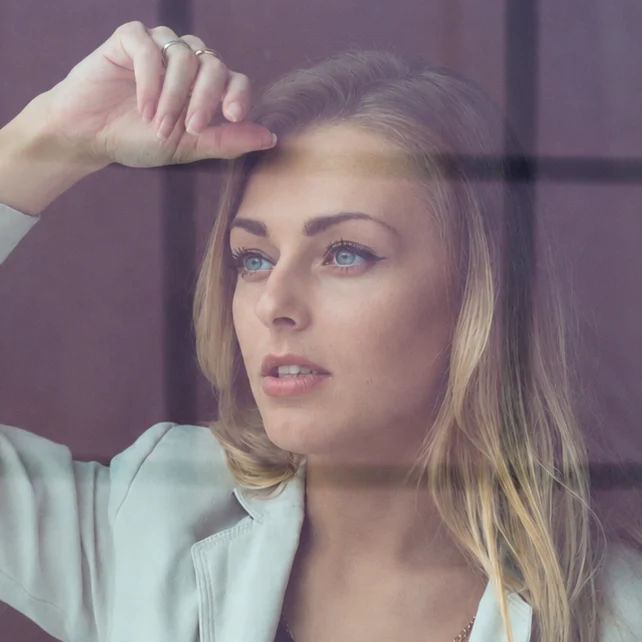
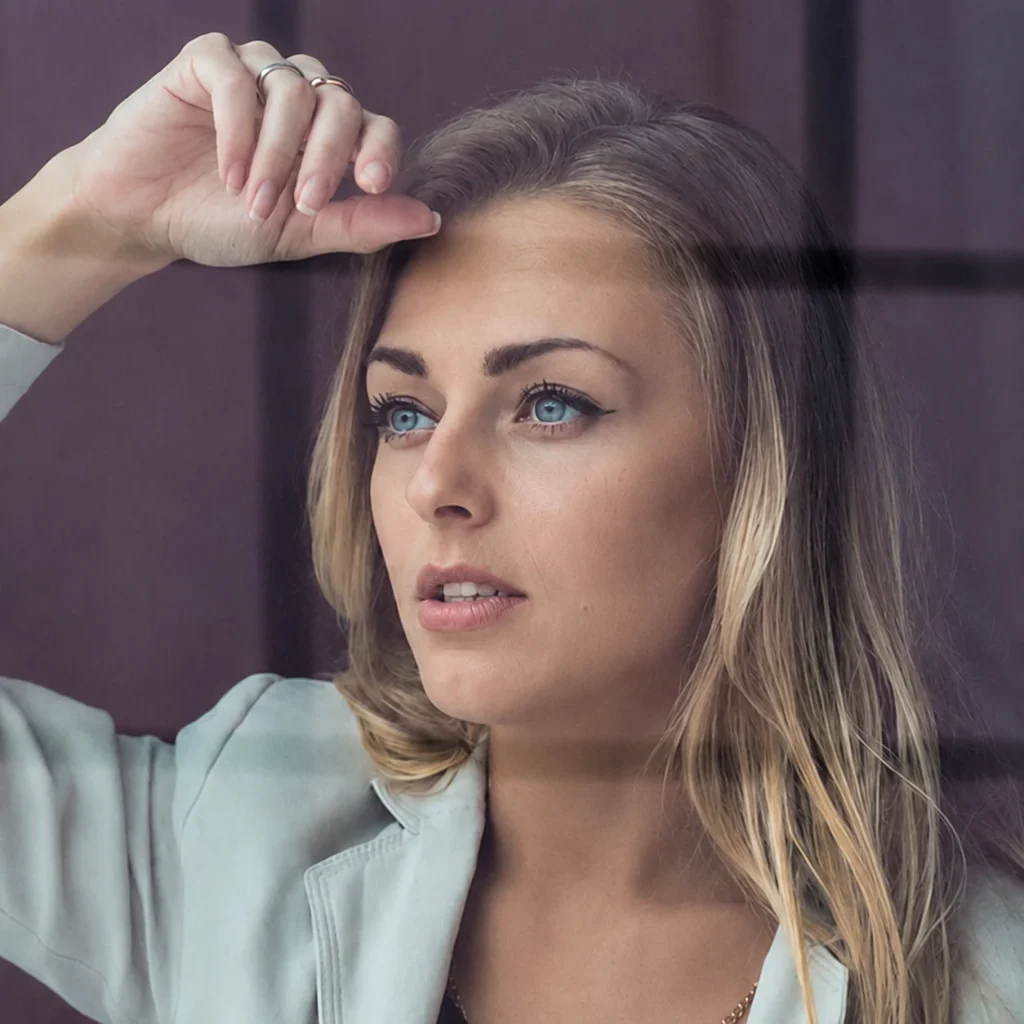
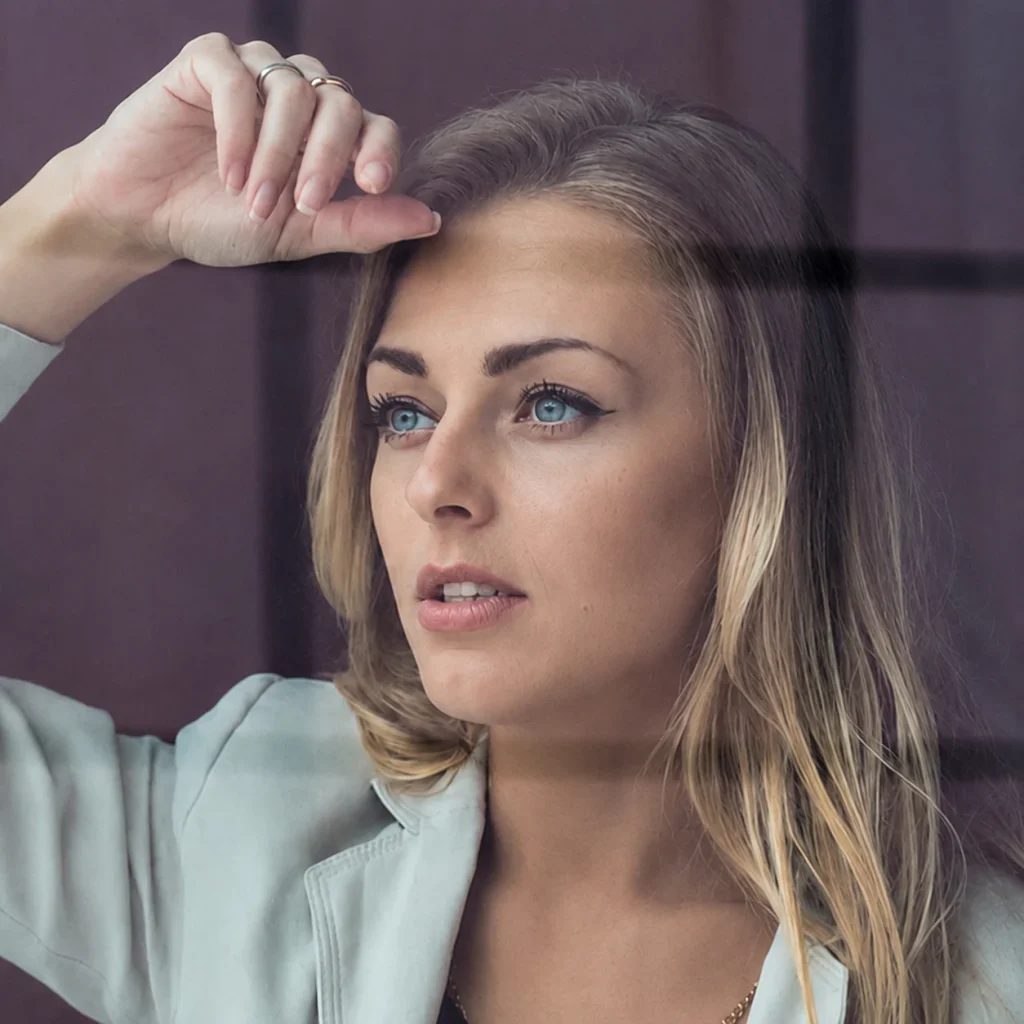
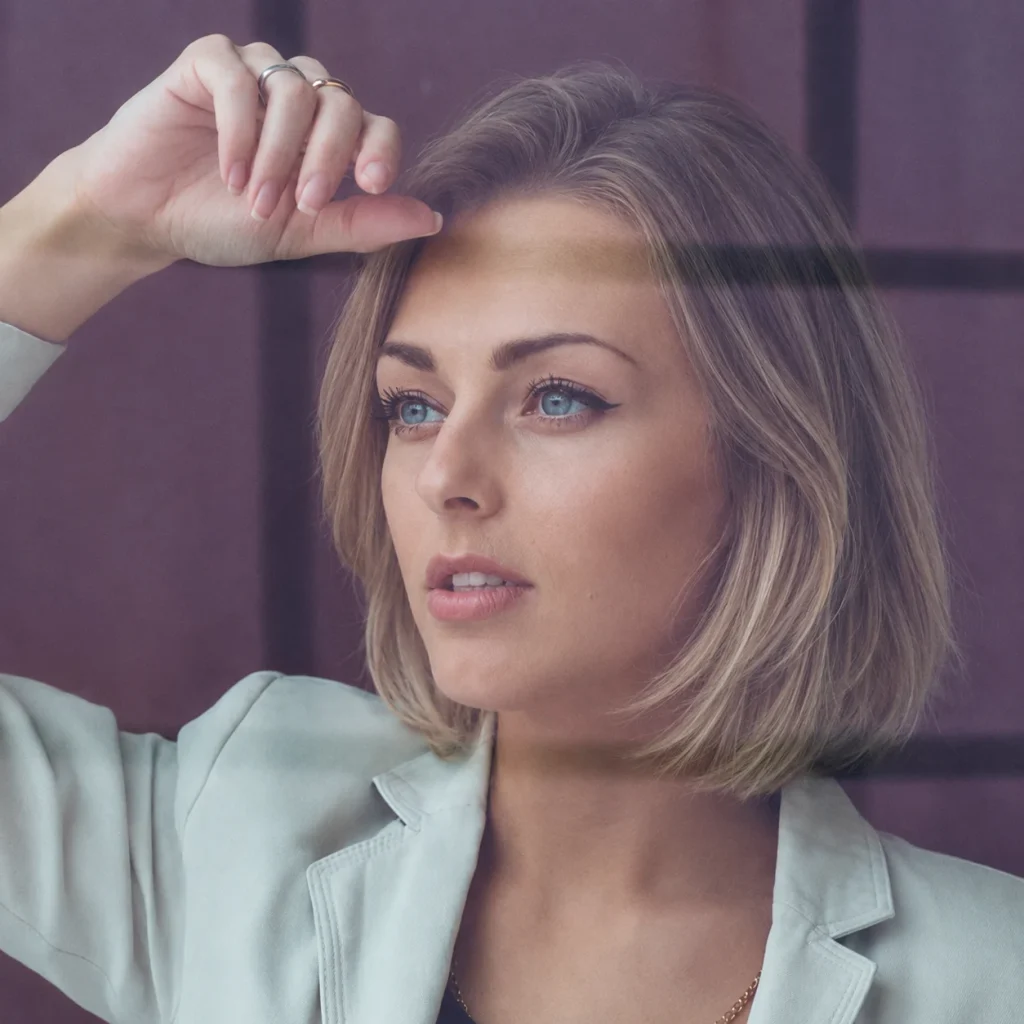
Change hairstyle
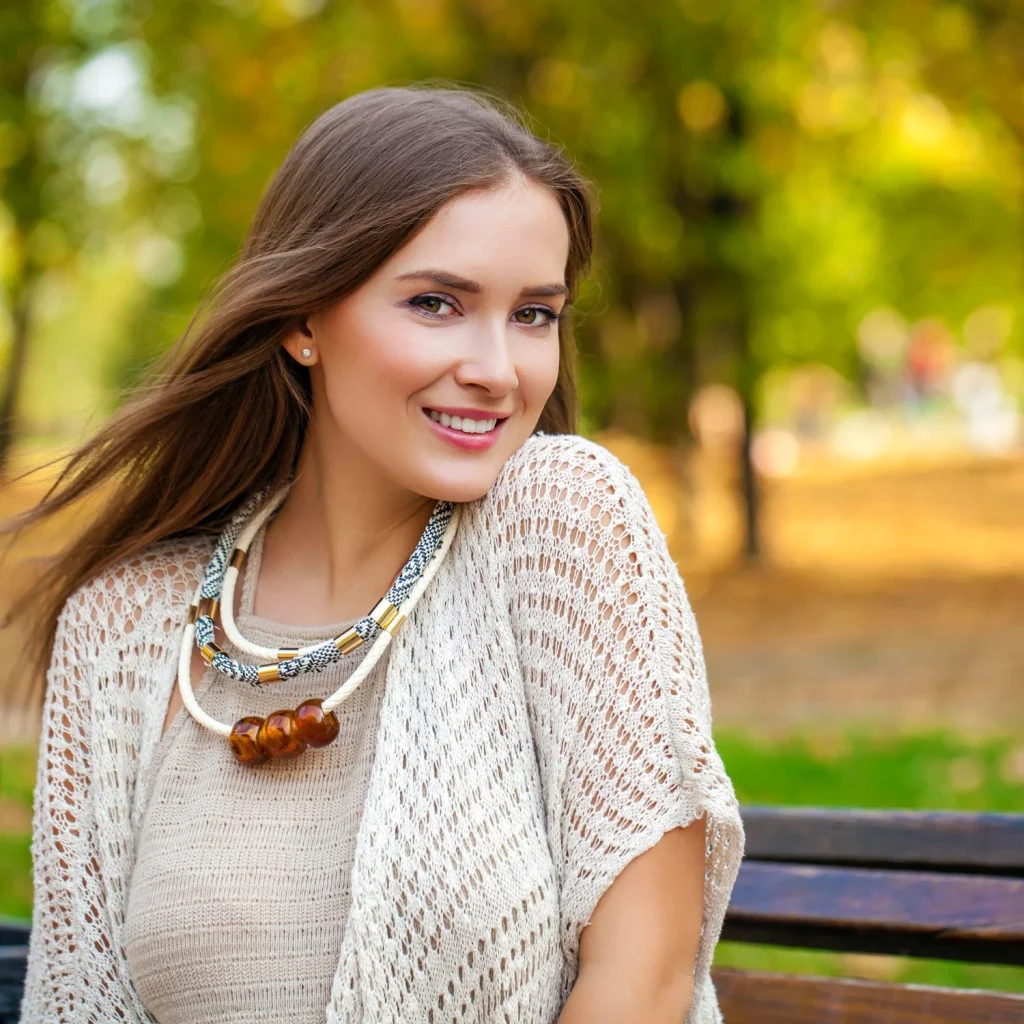
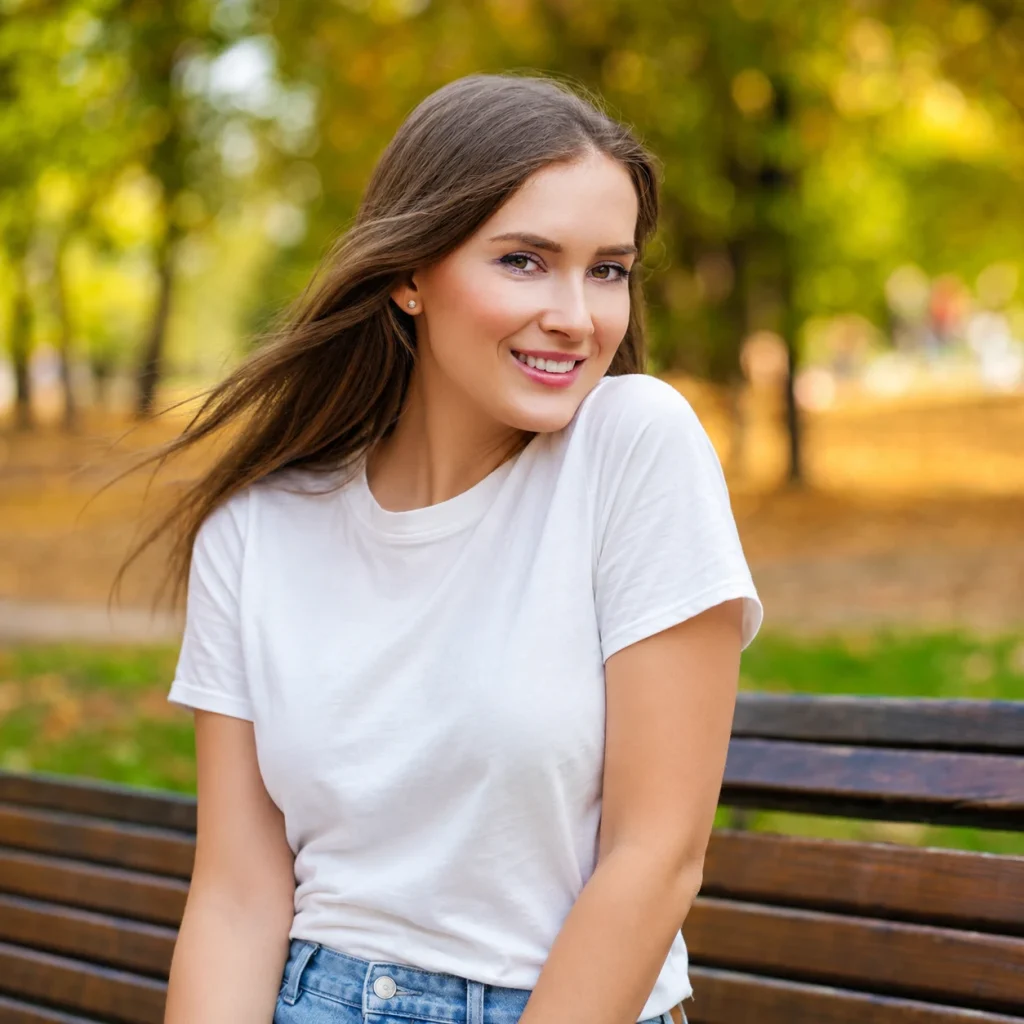
Change clothes
Prompts by Aesthetic and Trend
These are the viral ChatGPT photo editing prompts filling social feeds right now, ordered roughly by how often people reach for them. Each keeps your identity intact while swapping the whole vibe.
Cinematic portrait
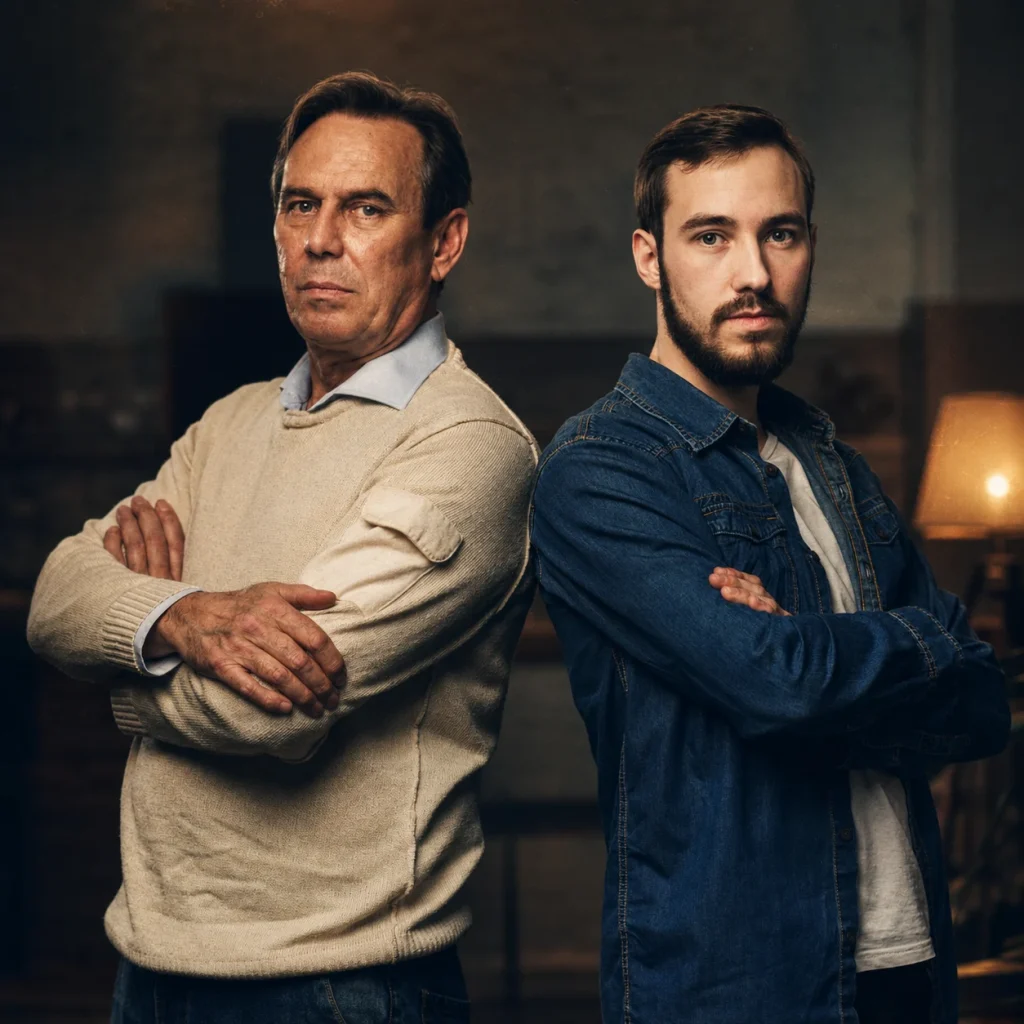
Professional / LinkedIn headshot
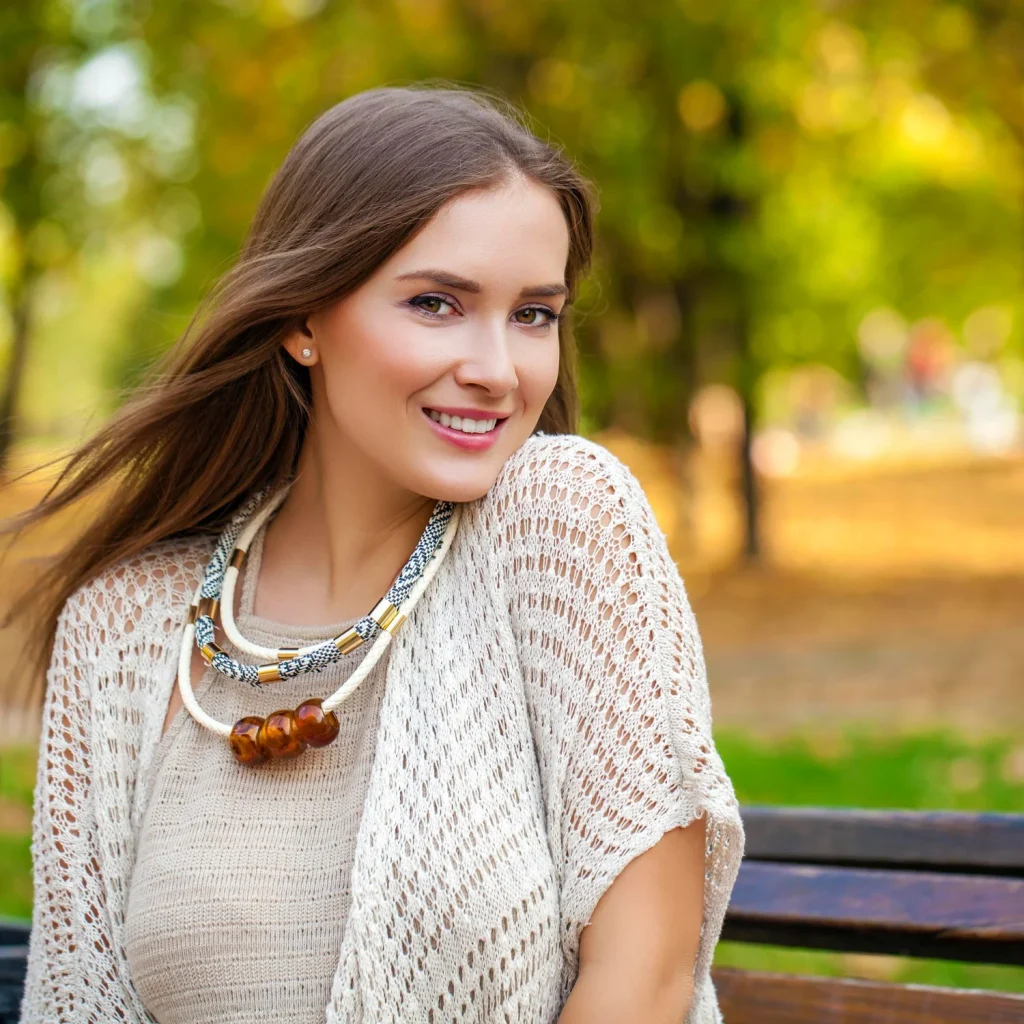
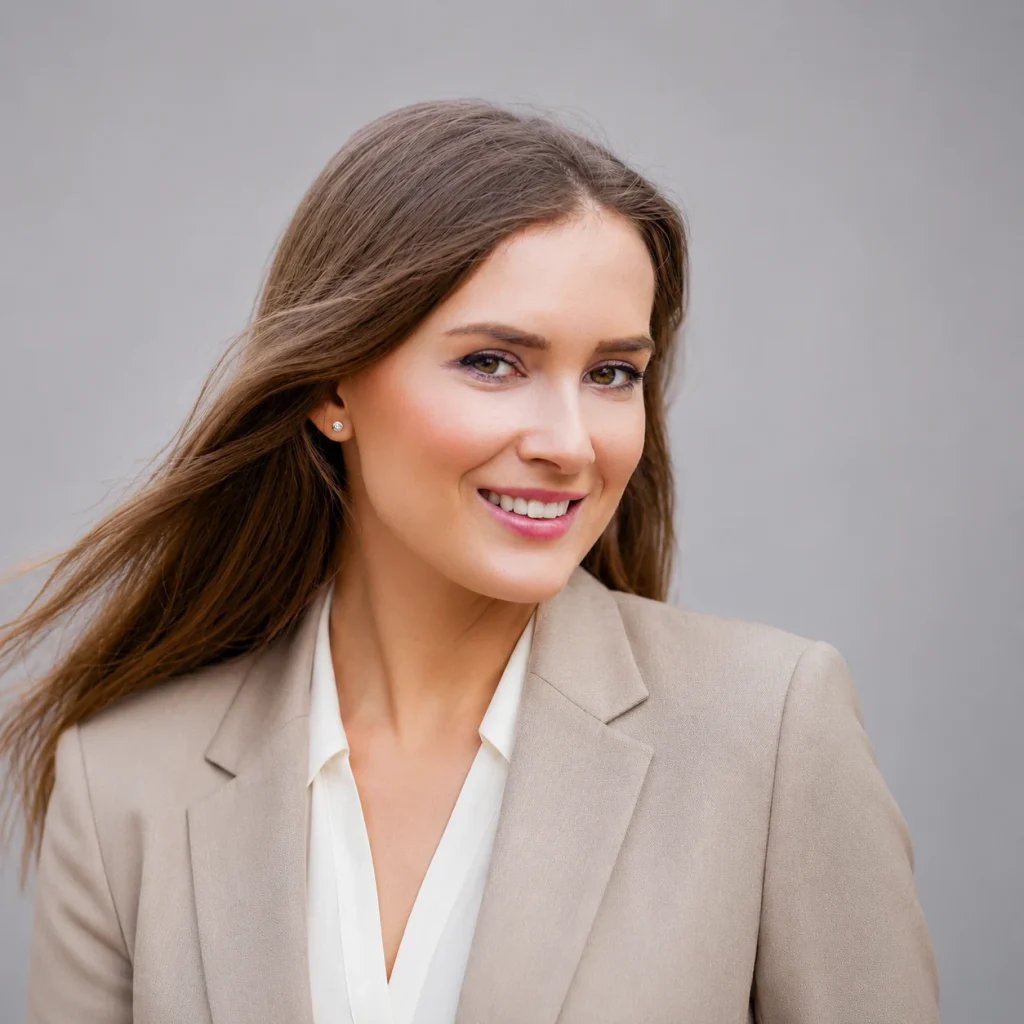
Studio portrait
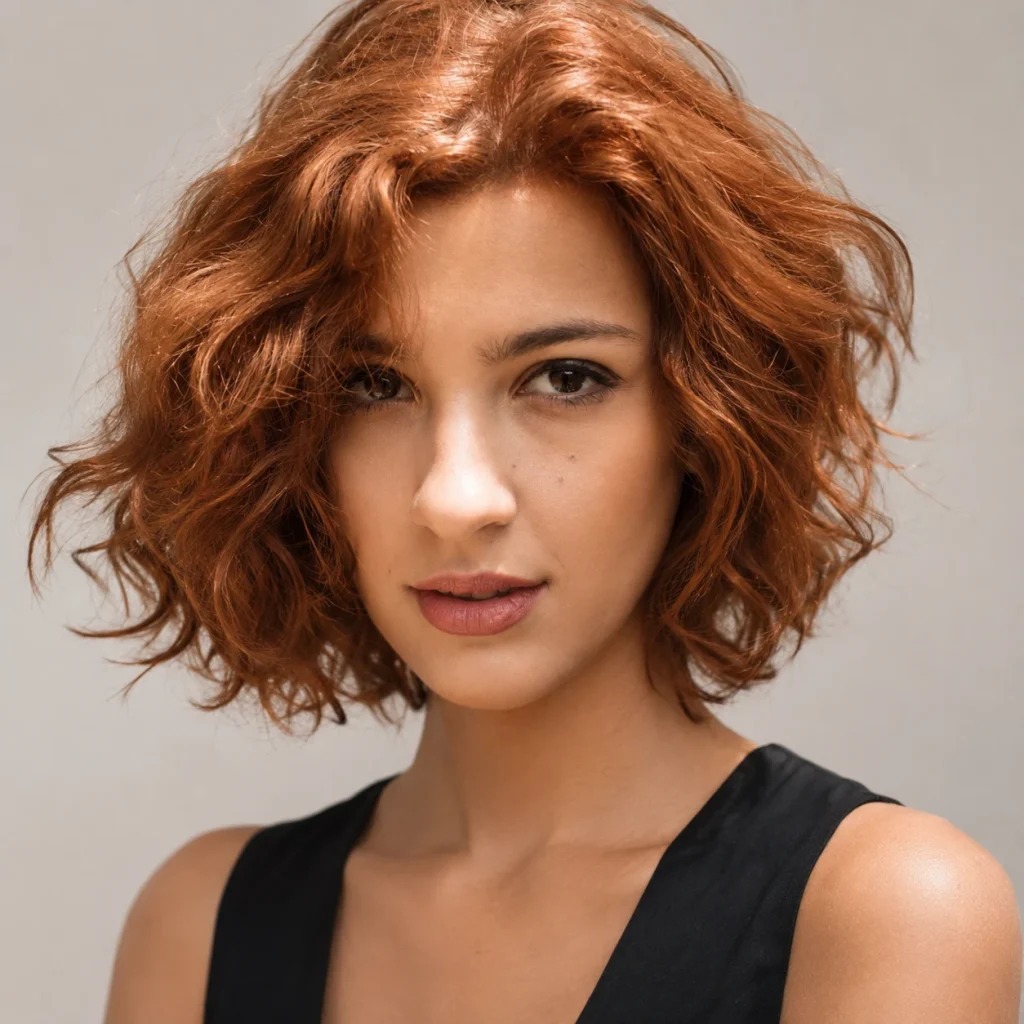
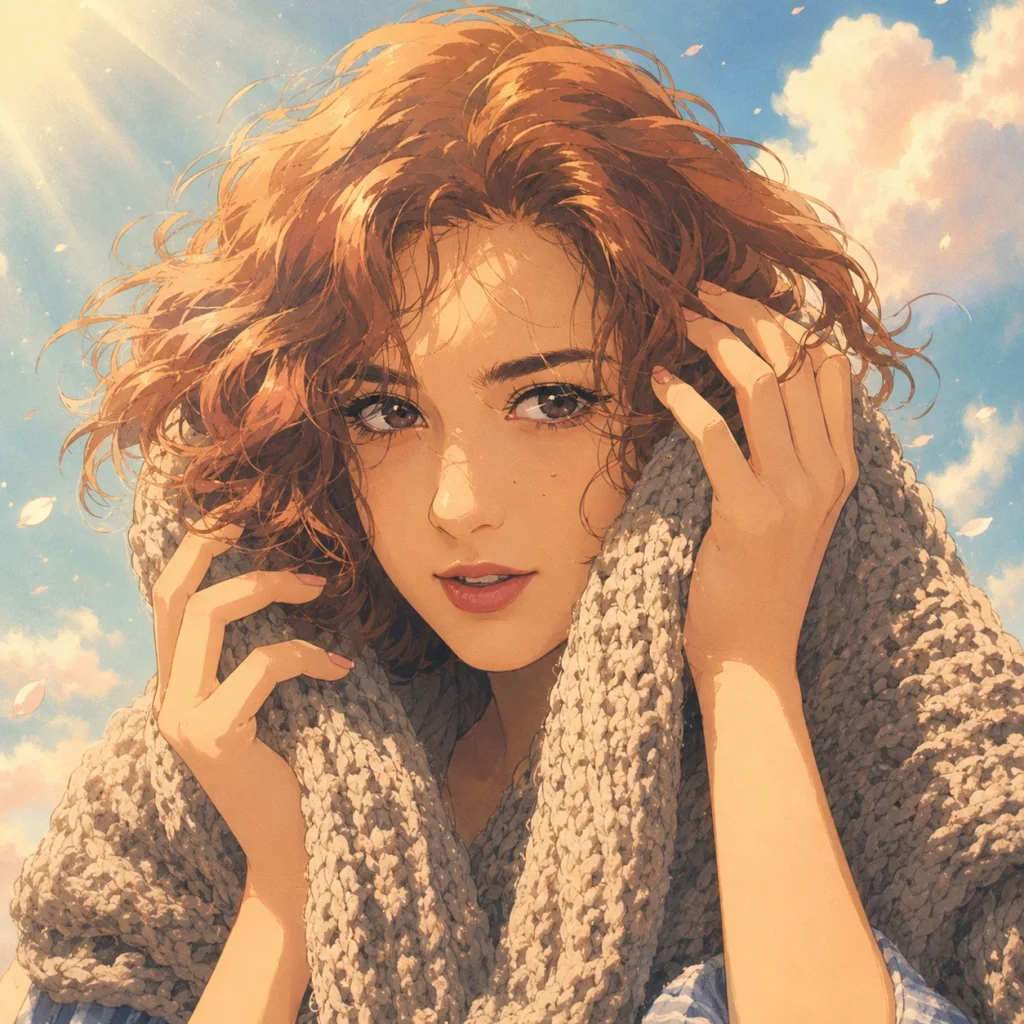
Anime / Studio Ghibli style
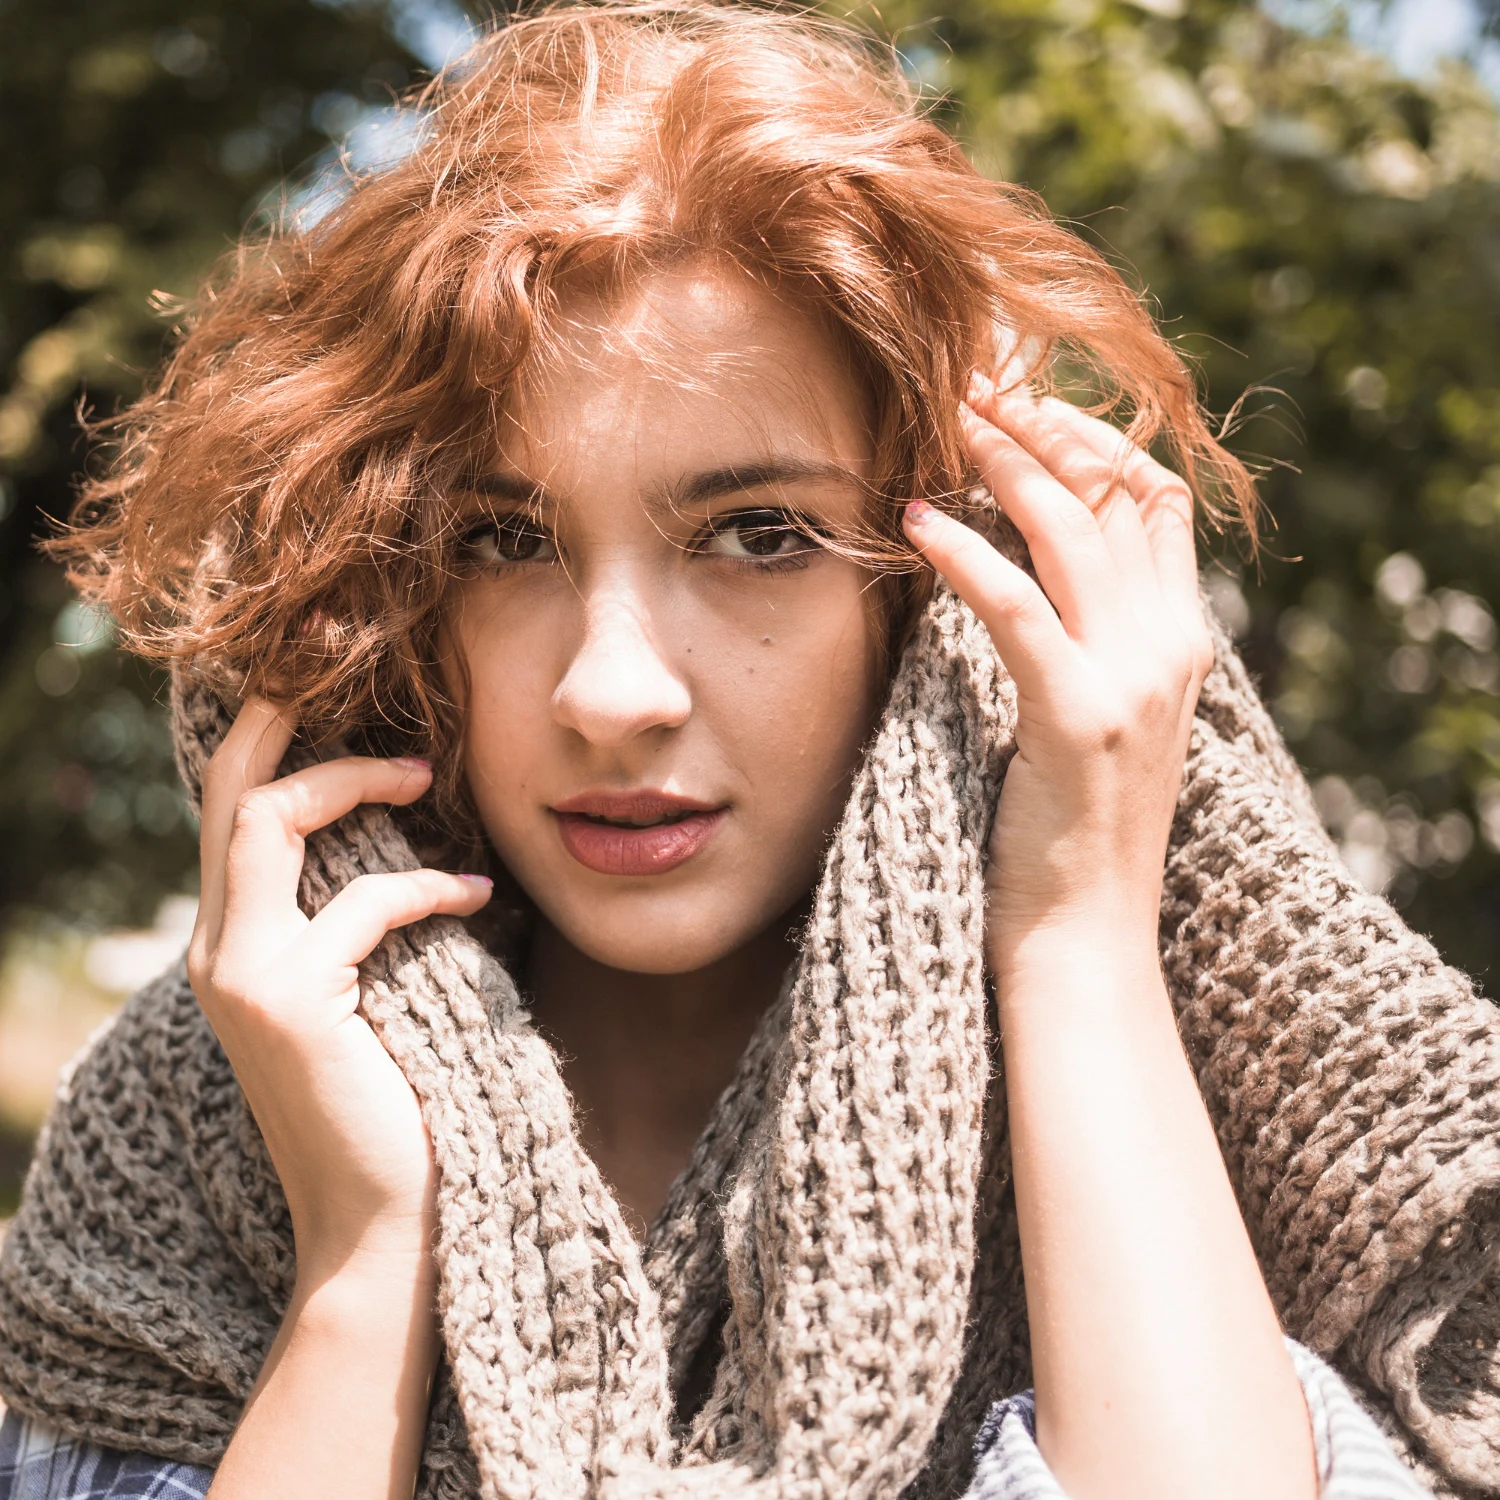
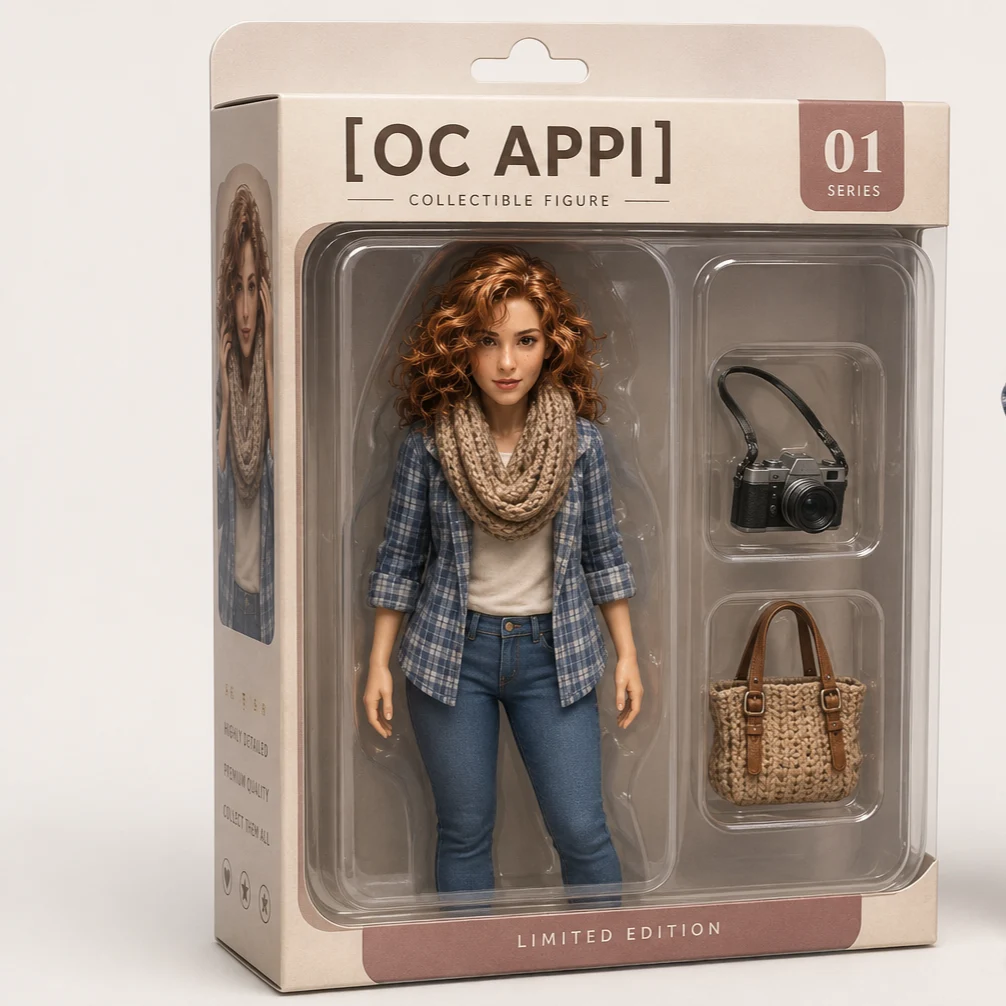
Action figure / toy-ification
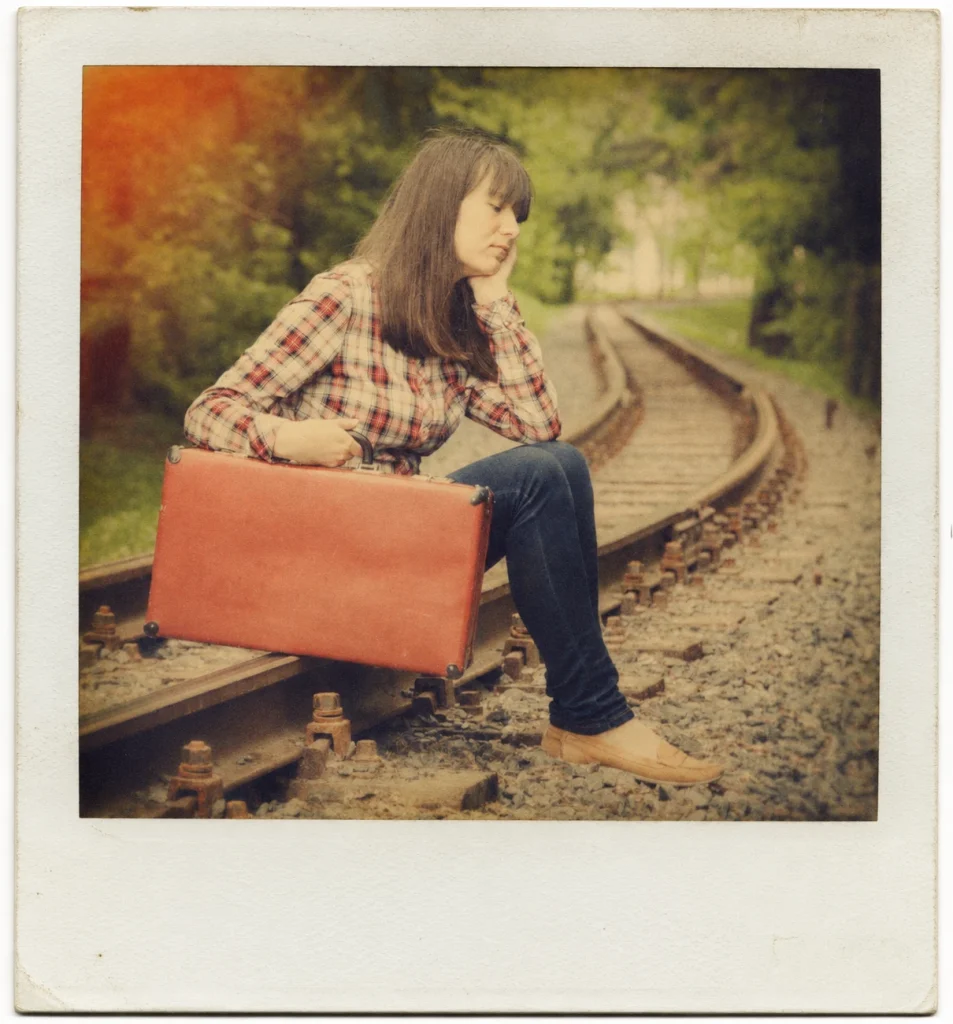
Polaroid / vintage
Y2K / Instagram flash
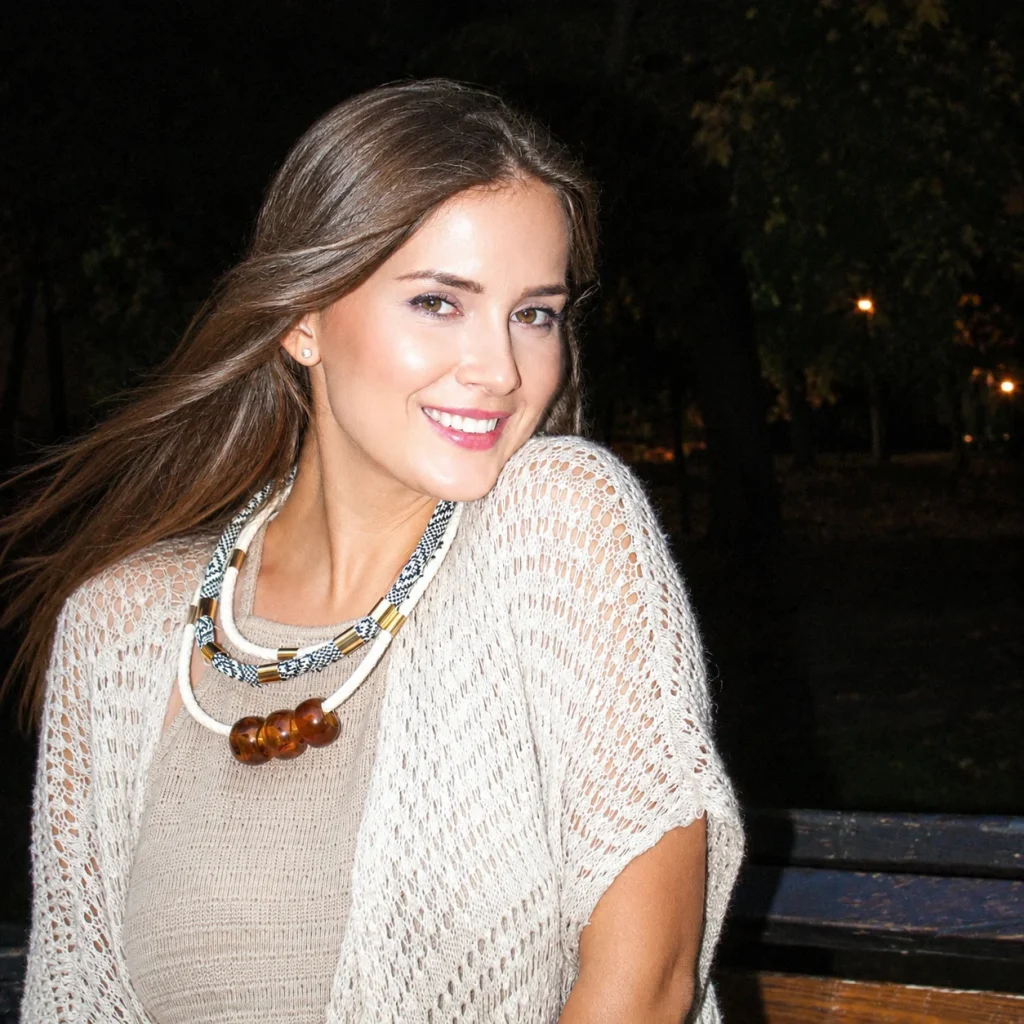
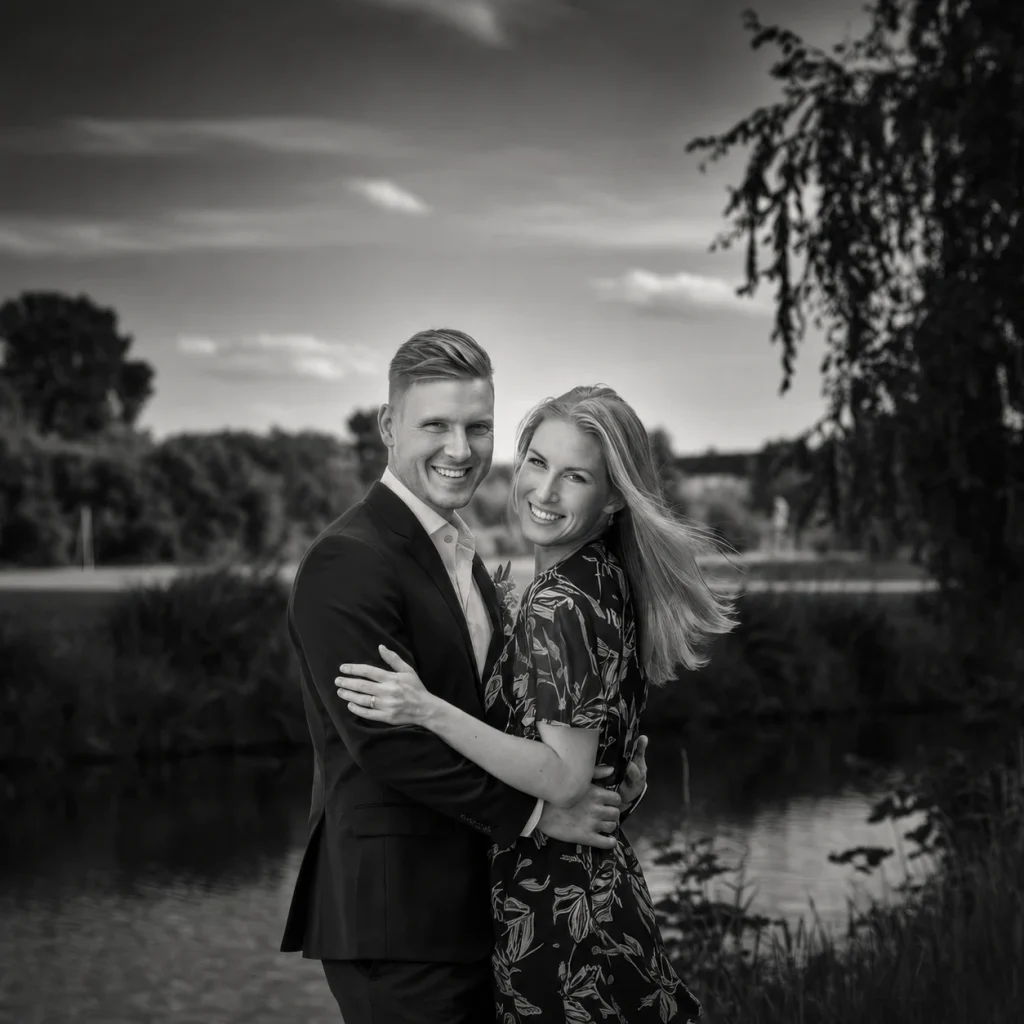
Black-and-white editorial
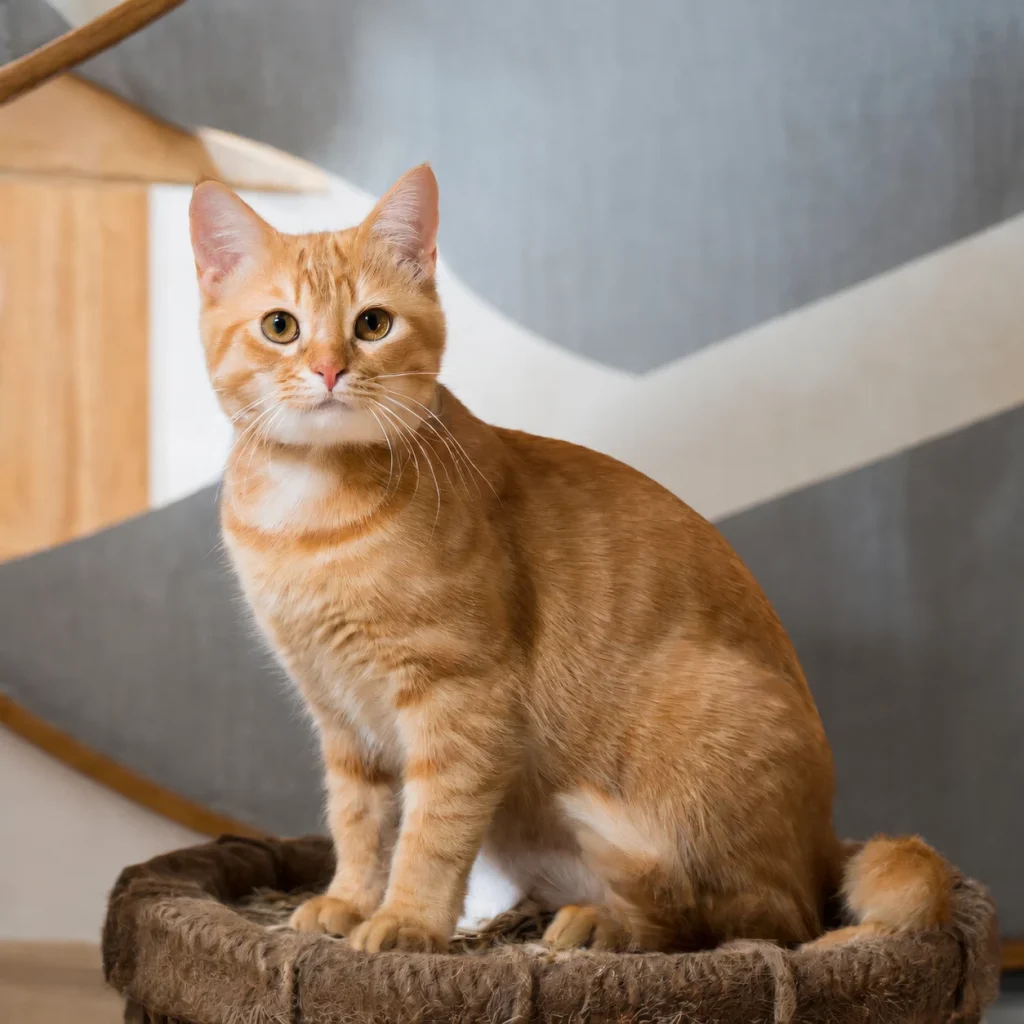
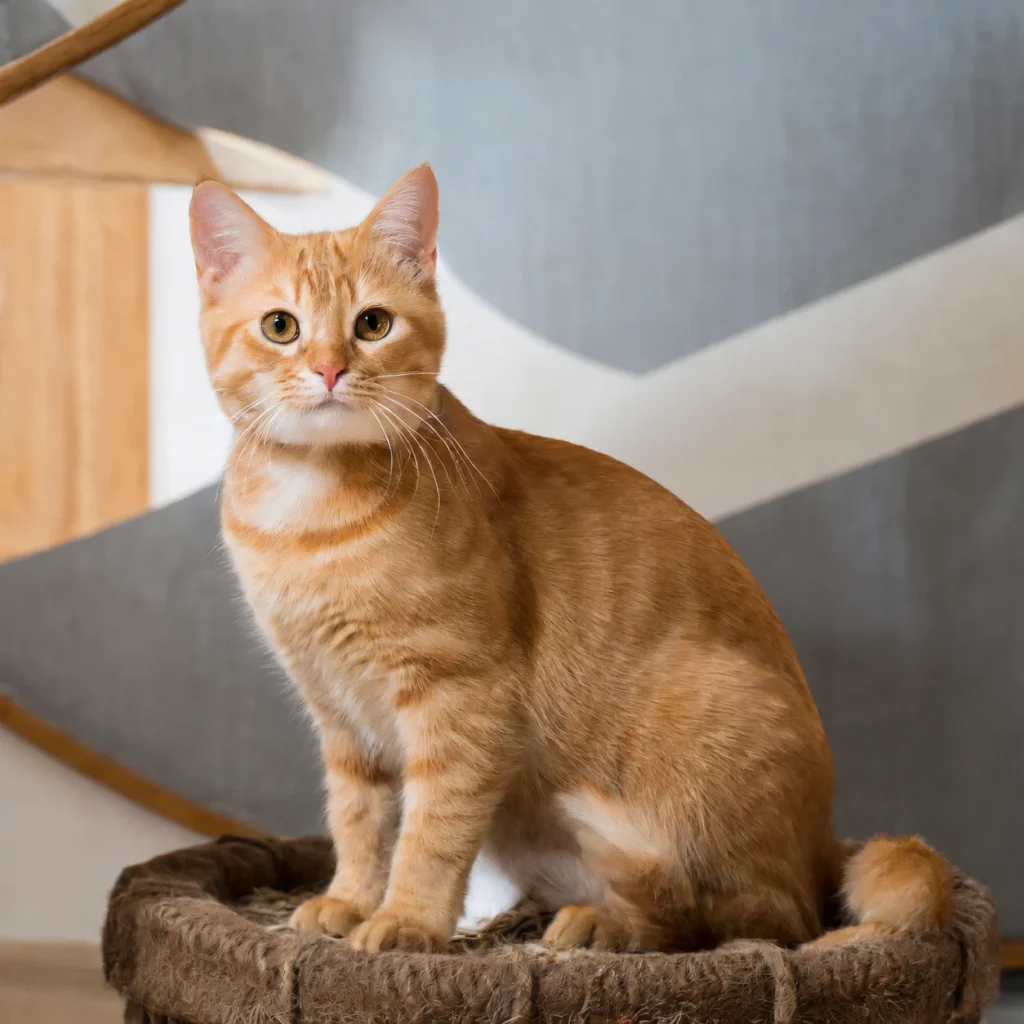
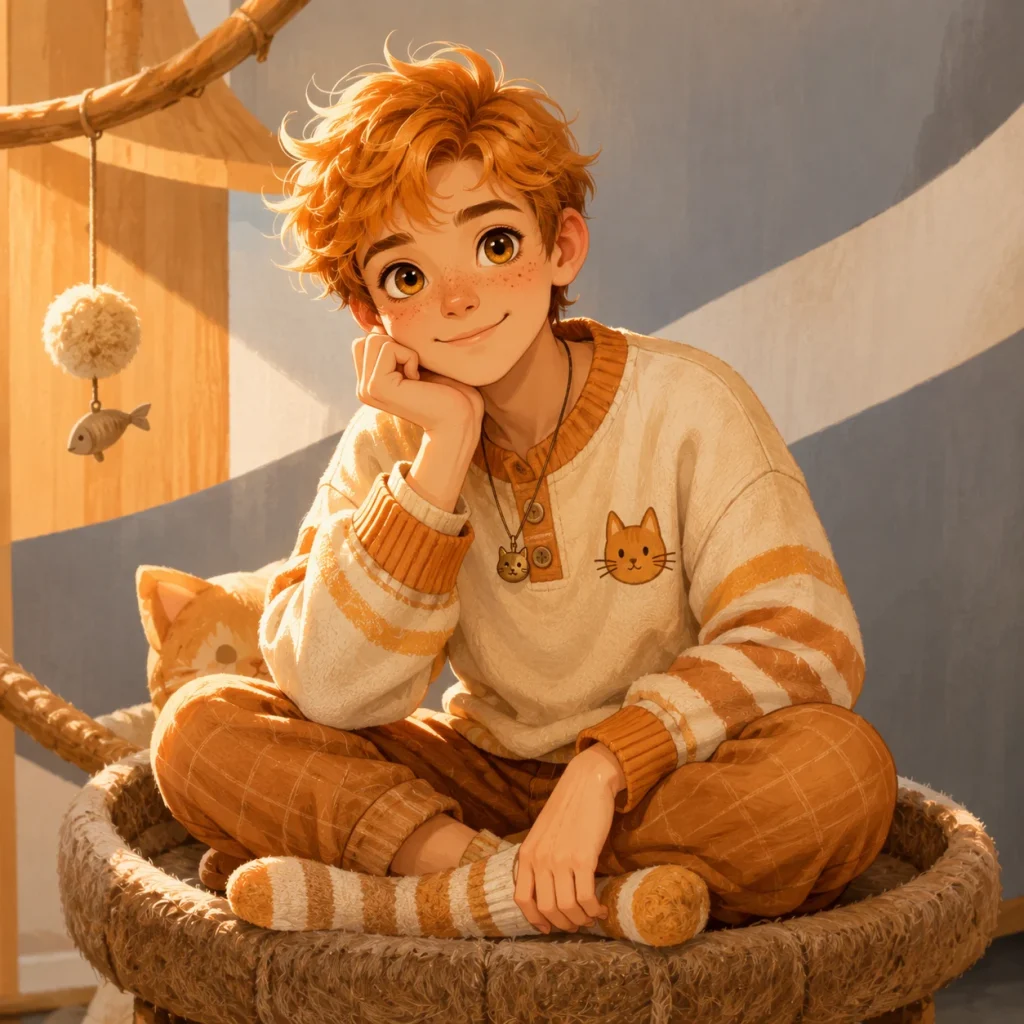
Pet-to-human
Prompts by Industry and Professional Use
These lean commercials. If you run a store, a listing, or a client shoot, these ChatGPT prompts for professional photo editing get you close to a usable frame fast.
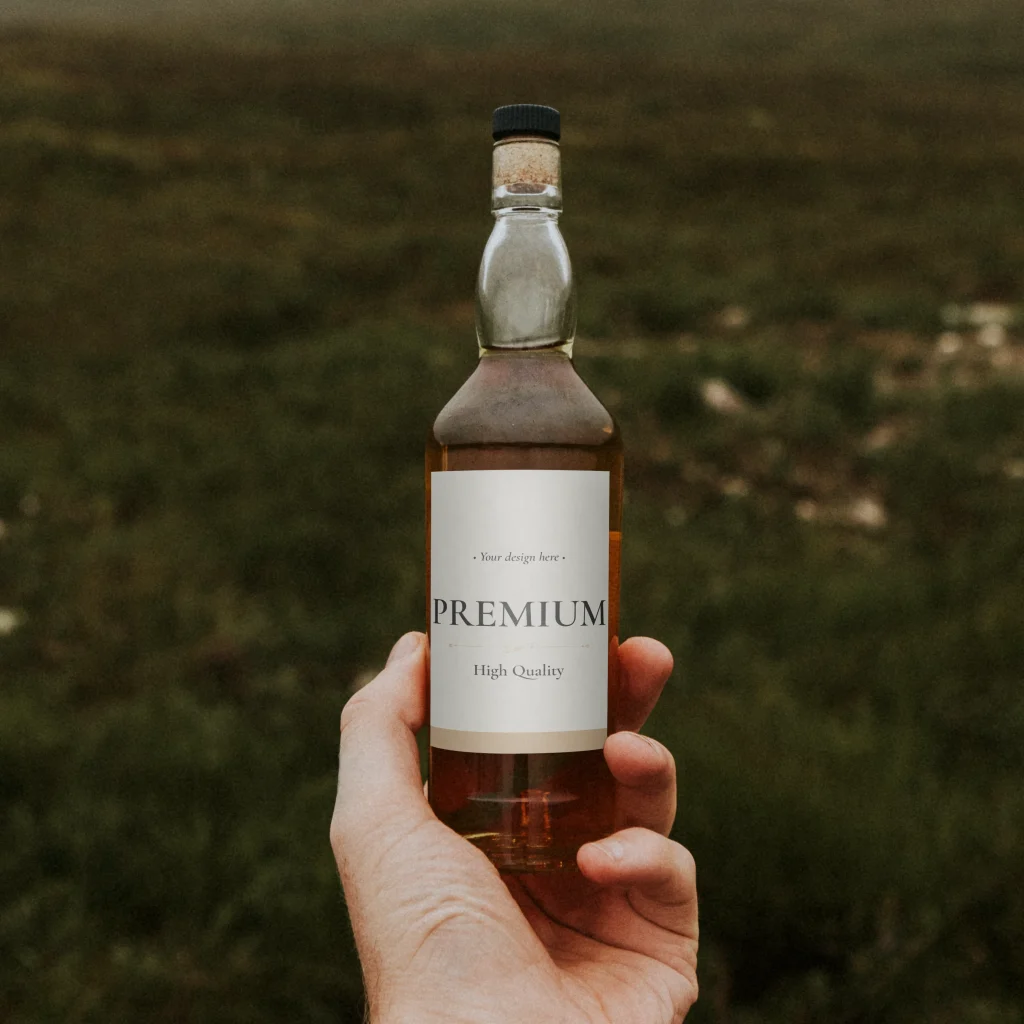
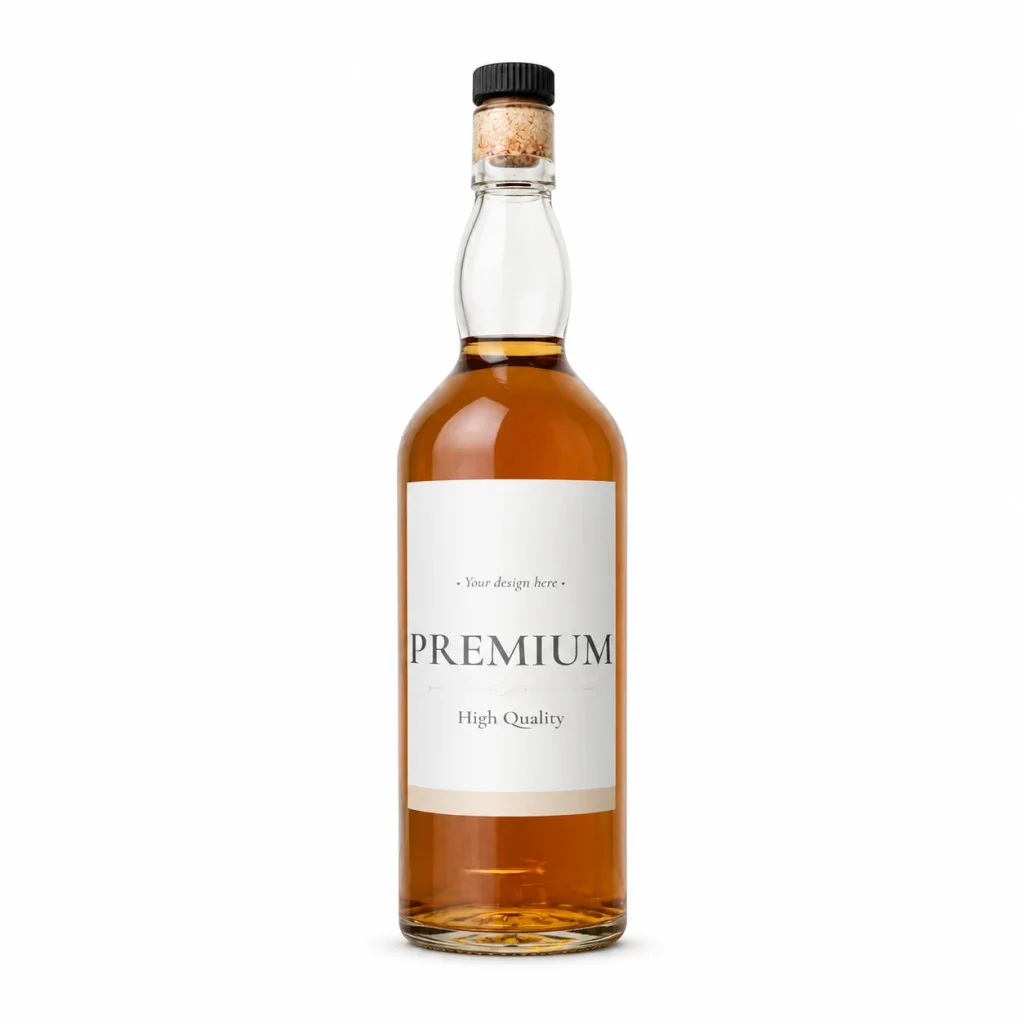
Product and ecommerce
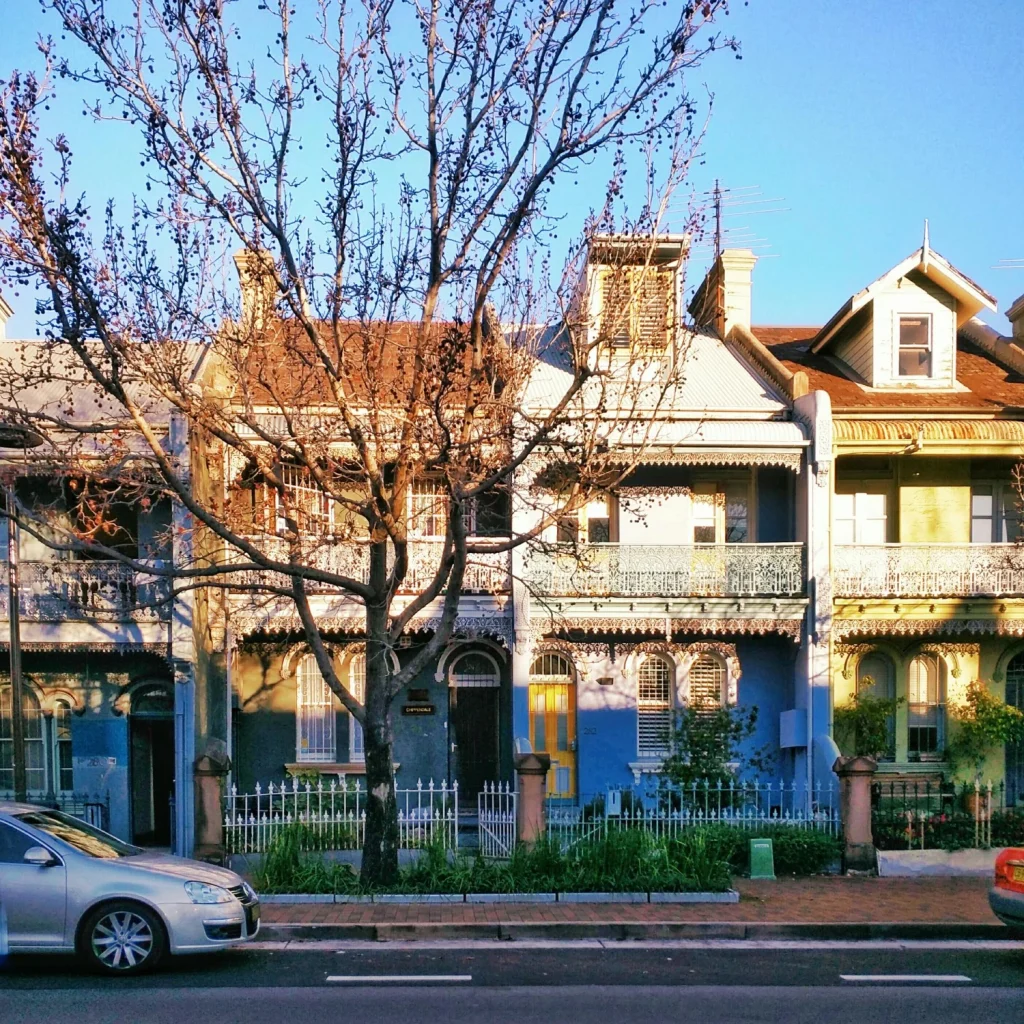
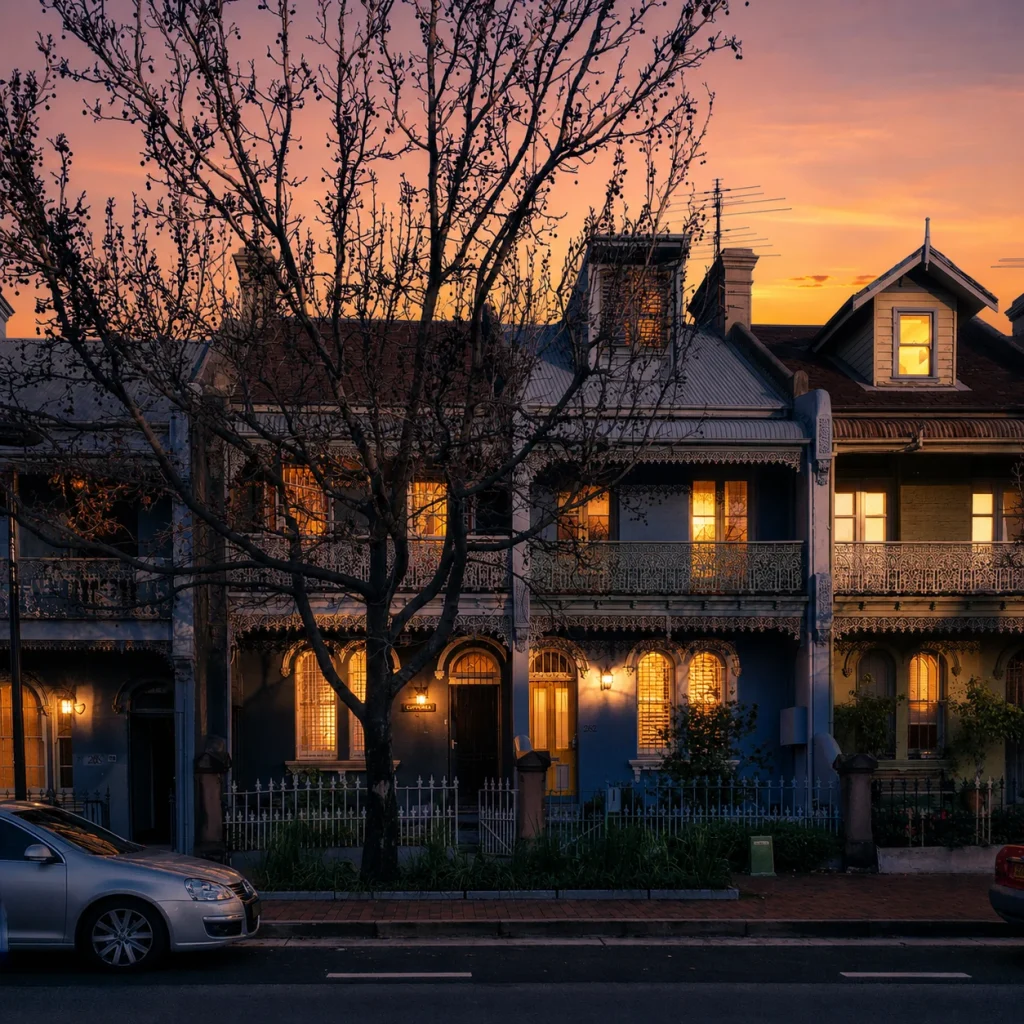
Real estate (day-to-dusk)
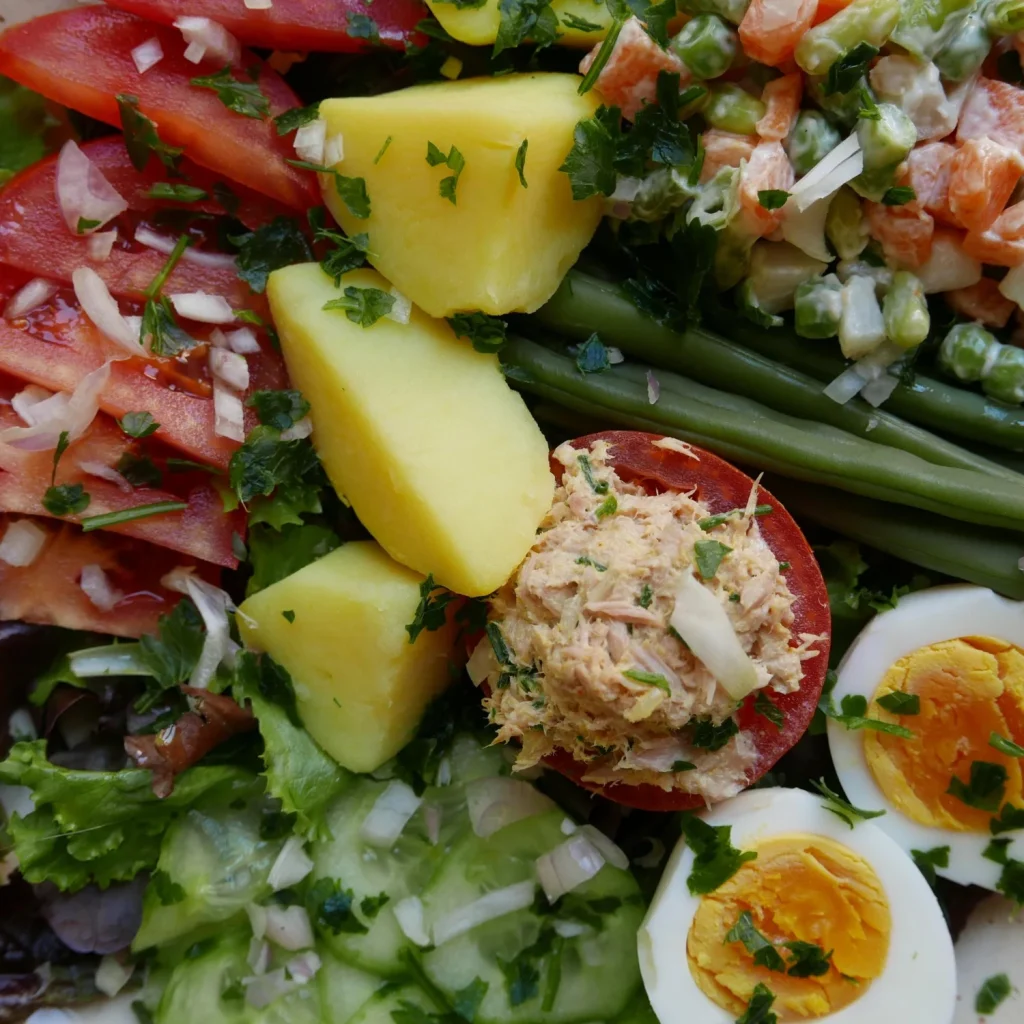
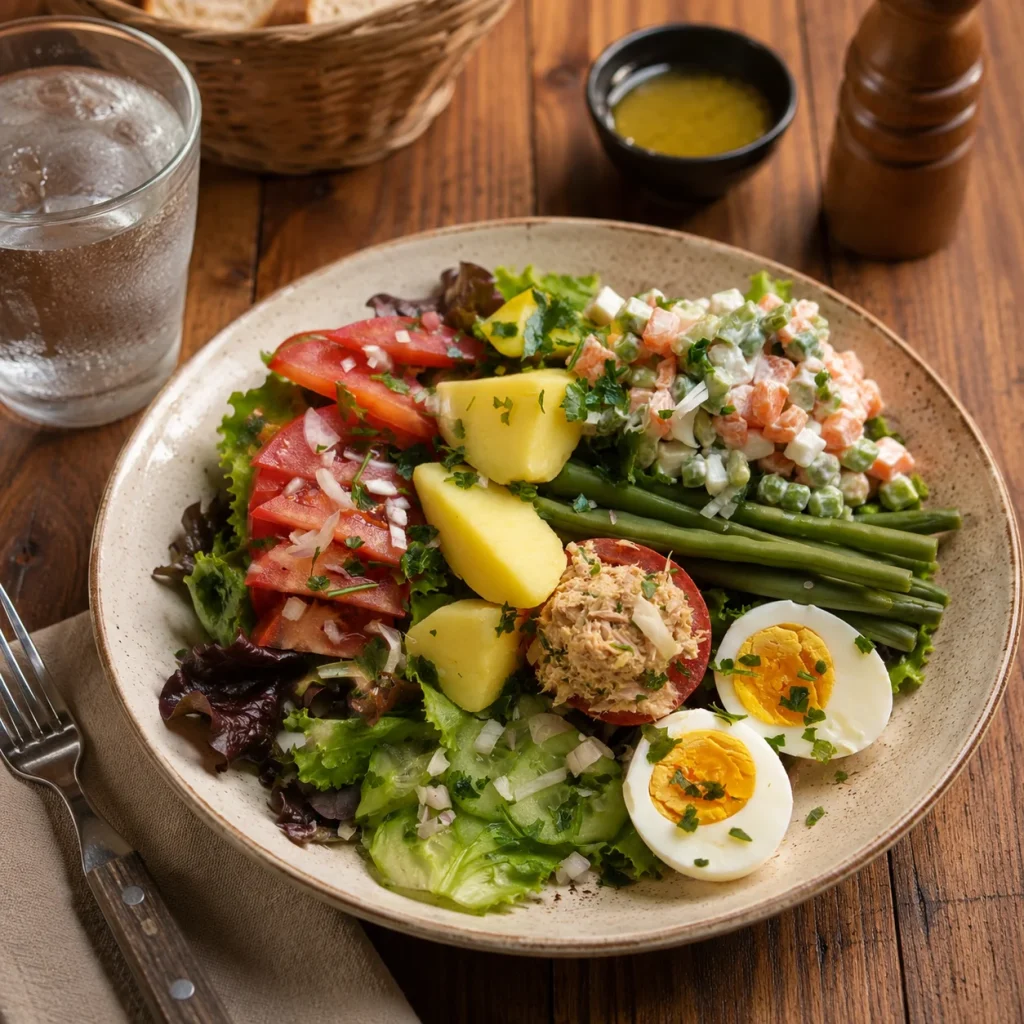
Food photography
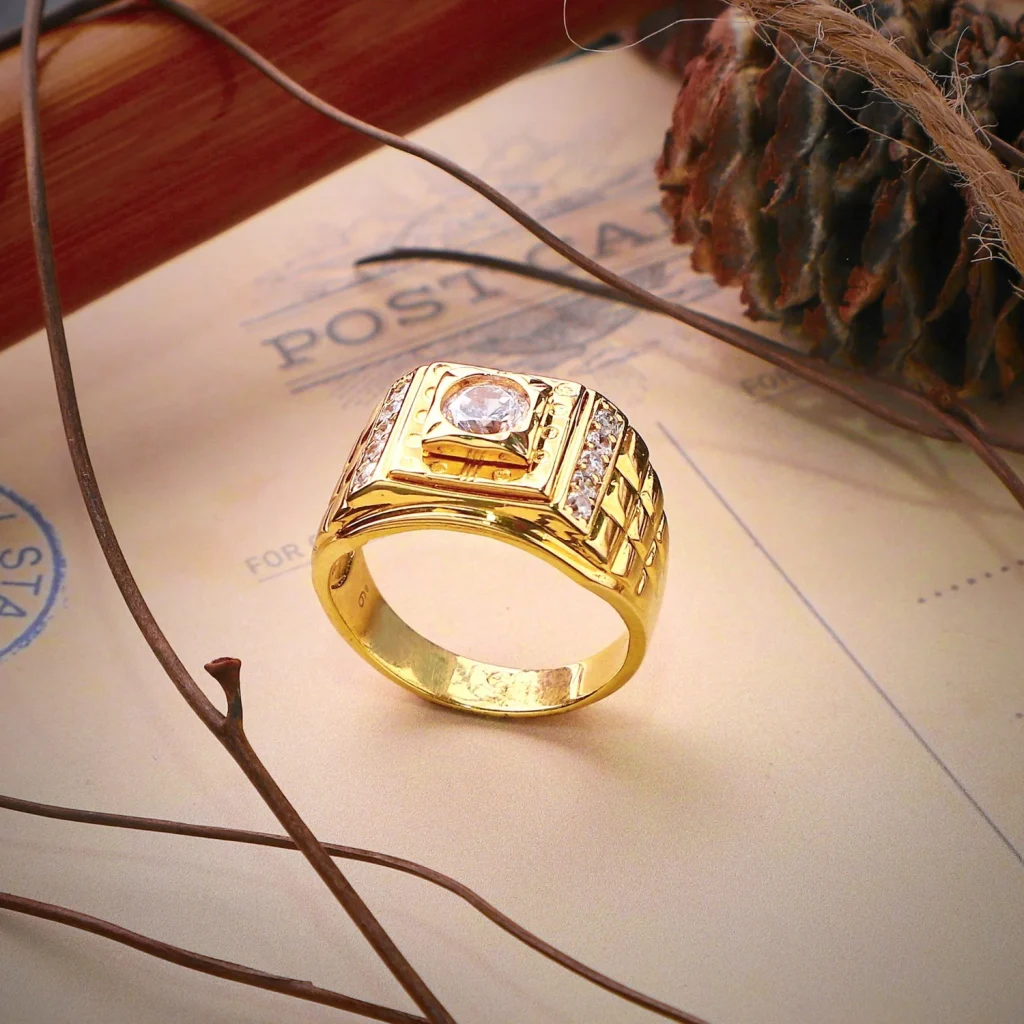
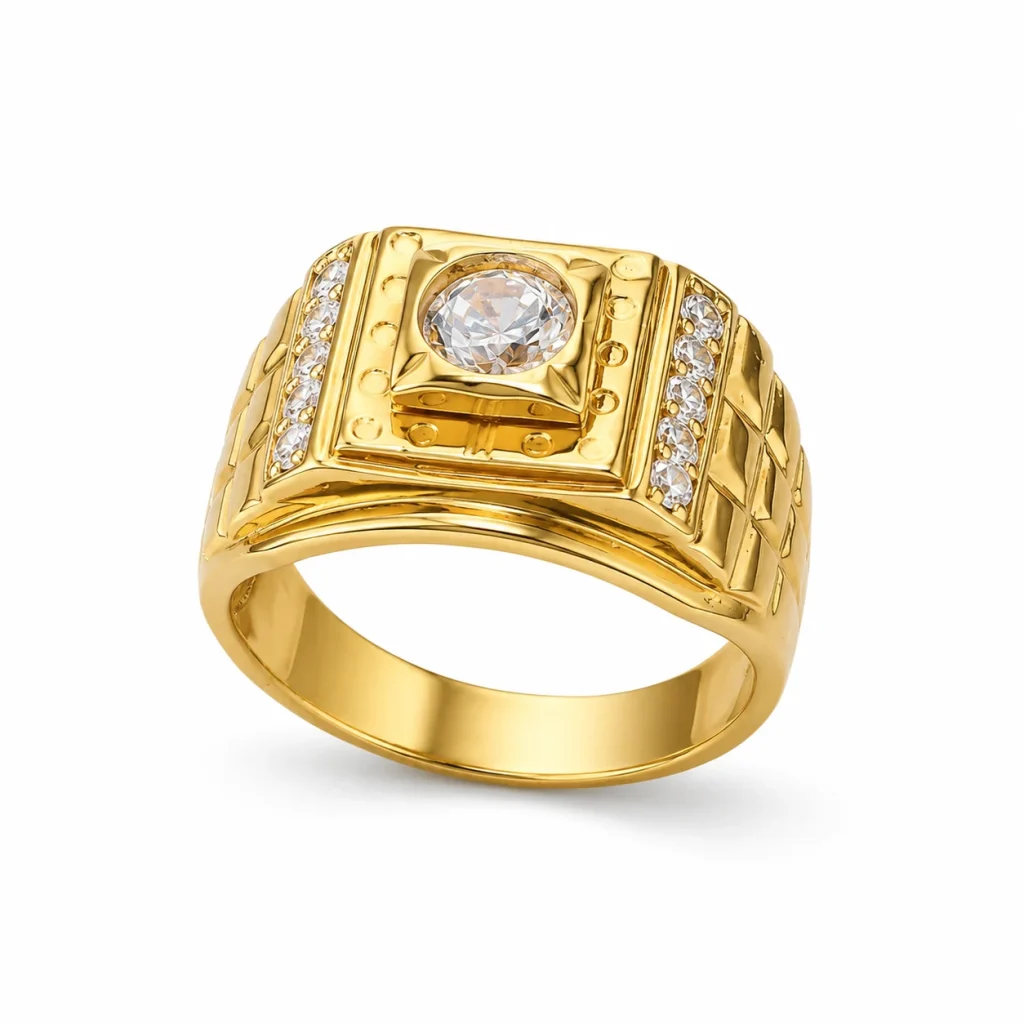
Jewelry
Fashion editorial
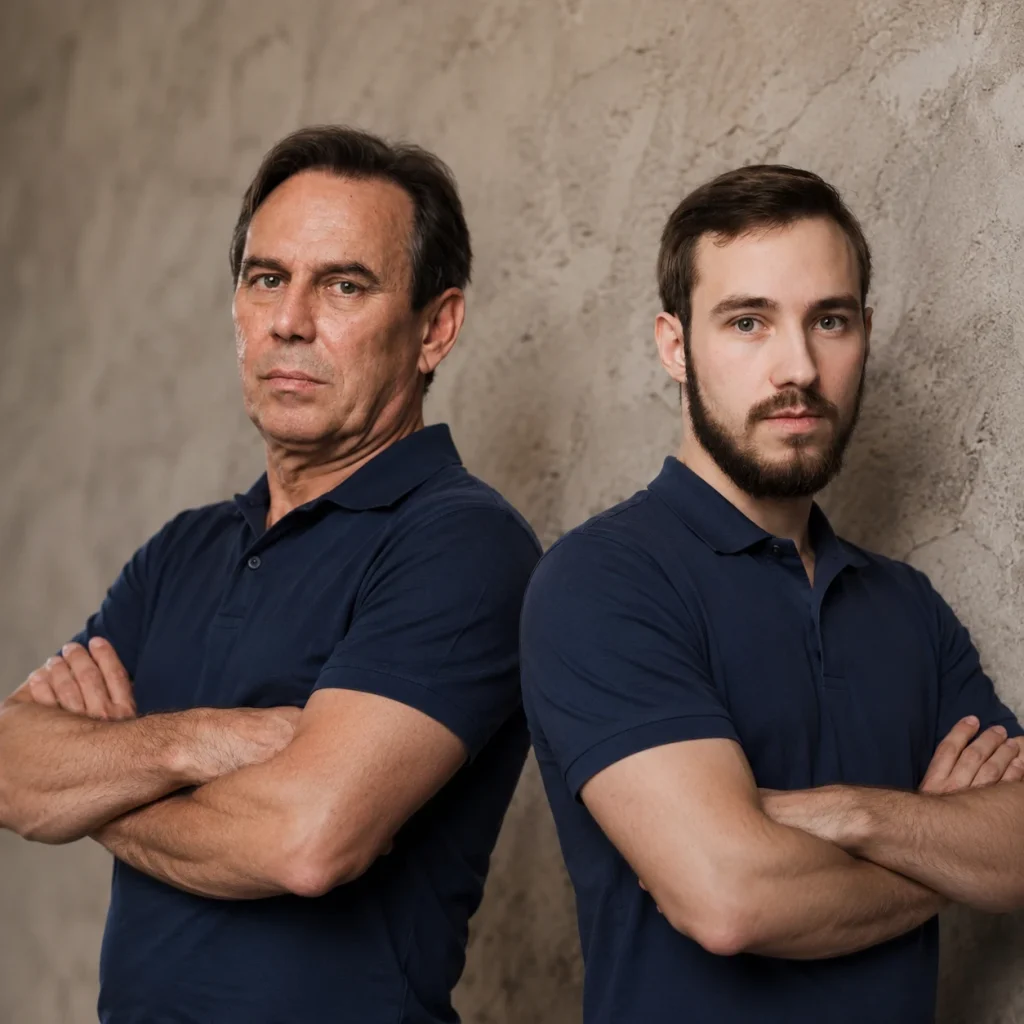
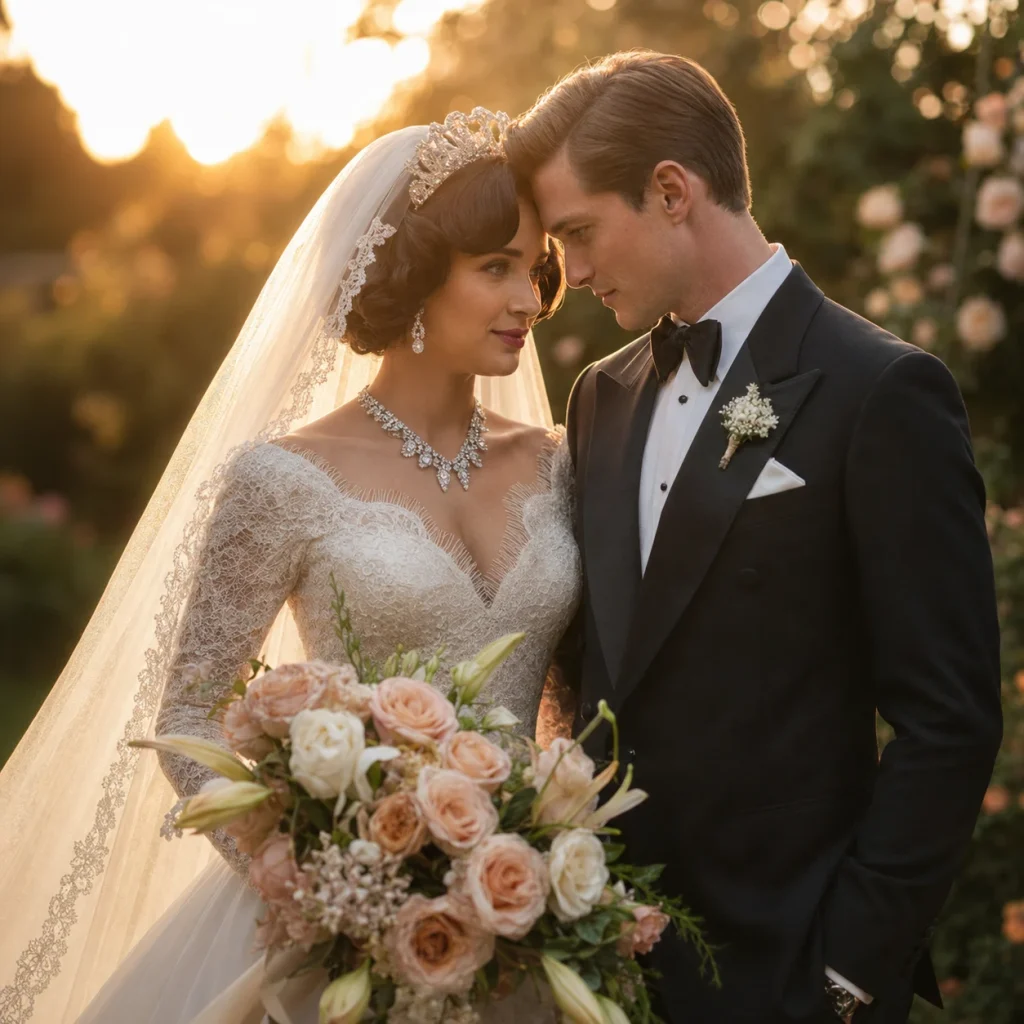
Wedding portrait
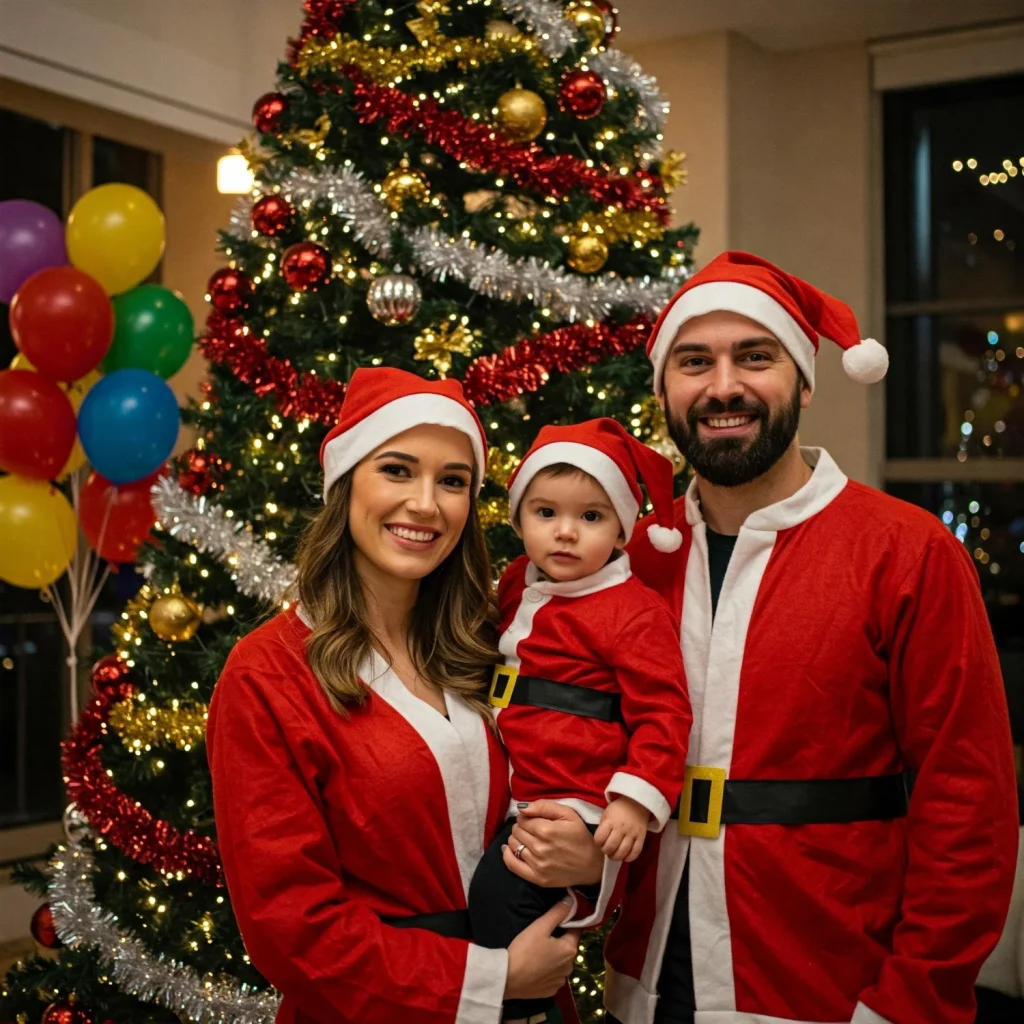
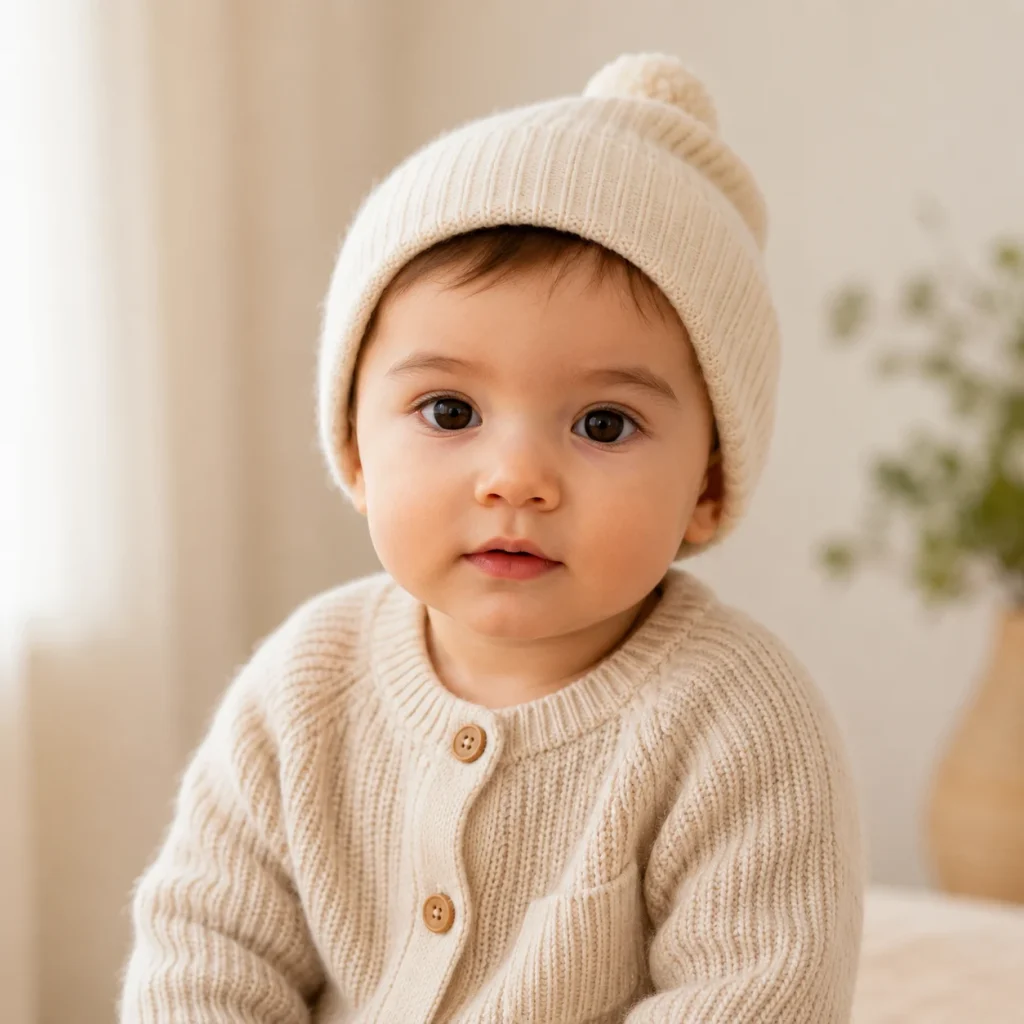
Baby and family
Professional Prompt Keywords That Produce Better Photos
Here is a trick real photographers use without thinking, and the AI understands it fluently. When you name camera and lighting terms, the model treats your request like an actual photograph instead of a cartoon. These are the modifier words I keep on hand and drop into prompts like seasoning. Steal the lists.
Lighting Modifiers
Golden hour, rim lighting, softbox lighting, natural window light, soft window light, overcast daylight, dramatic side light, a beam of warm light. Lighting is the single highest-leverage word you can add, so if you change only one thing, change this.
Camera Modifiers
Shot on a full-frame camera, 85mm portrait lens, f/1.8 shallow depth of field, DSLR quality, ISO 400 film grain, Kodak Portra 400, Fujifilm color. These carry an entire look in a few words. If you want to understand why lens choice changes a portrait so much, our guide to the best Canon lenses for portraits breaks it down in plain terms.
Mood Modifiers
Moody, editorial, luxury, dreamy, matte, cinematic, high-fashion, nostalgic. One or two of these steer the emotional tone of the whole frame without you describing every detail.
Quality Modifiers
Ultra-detailed, photorealistic, natural skin texture, high dynamic range, micro-contrast, sharp focus, soft focus for background separation. Stack a few of these at the end of any prompt, and the output reads as genuine photography, not a render.
The “Want This / Use This” Cheat Sheet
When you know the vibe but not the words, this quick table bridges the gap. Find the look on the left; drop the phrase on the right into your prompt.
| What you want | What to type in your prompt |
|---|---|
| Softer, natural skin | natural skin texture, preserve pores |
| Luxury / high-end feel | editorial fashion lighting, luxury mood |
| Vintage film look | Kodak Portra 400, analog grain, faded blacks |
| Dramatic, moody image | cinematic lighting, high contrast, crushed blacks |
| Clean studio look | softbox key light, seamless backdrop |
| Razor-sharp detail | ultra detailed, tack sharp, high dynamic range |
| True-to-life realism | photorealistic, natural color, no over-smoothing |
| Warm sunset glow | golden hour light, warm rim light, soft shadows |
| Blurred background | shallow depth of field, f/1.8, creamy bokeh |
| Nostalgic snapshot | film grain, subtle light leak, candid feel |
How to Preserve Facial Identity in ChatGPT

If you take one clause into every portrait edit, take this one. The most common complaint I hear is “the AI made me look like a different person.” It is not a bug. Because the model rebuilds the image, it will happily “improve” your face into a stranger unless you tell it not to.
The fix is a single sentence you append to any portrait prompt. This is the exact ChatGPT prompt for photo editing without changing face that I paste every single time:
Keep my facial features exactly as they appear in the uploaded image, same eyes, nose, mouth, and face shape. The person must stay clearly recognizable.
One more pro move: when you refine an edit over several turns, repeat that preserved line each time. The model drifts across regenerations, and restating what must stay fixed keeps your likeness locked in. Say what changes, then say what must not.
How to Refine an Edit Without Starting Over
This is the skill that separates people who fight the AI from people who direct it. ChatGPT remembers the conversation, so you almost never need to rewrite a full prompt. You nudge one thing at a time and let it build on the last result. This is where the real magic happens.
The rule I live by: change one variable per turn, and lock everything else. Ask for five changes at once, and you will spend ten minutes guessing which one caused the drift. Here are the follow-up phrases I use constantly.
- Keep everything exactly the same, but make the lighting warmer.
- Change only the background. Keep the subject, pose, and face identical.
- Preserve the face and clothing, but remove the object on the right.
- Undo the last change and go back to the previous version.
- Use the first image’s lighting with the second image’s background.
A clean way to work is in passes: fix composition first (remove objects, extend the background), then subject details (hair, wardrobe), then finish with color and texture. OpenAI’s own image guidance says the same thing in plain terms: change one element at a time and restate what must stay fixed to prevent drift.
Step-by-Step: Using These Prompts in ChatGPT
Desktop and Web
- Open ChatGPT and start a new chat. Use an image-capable model such as GPT-4o or the current GPT Image model.
- Click the “+” icon and choose “Add photos & files,” or drag your image straight into the chat.
- Paste a prompt from this guide, fill in the bracketed details, and press Enter.
- Review the result. If something is off, reply with one specific correction rather than rewriting the whole prompt.
- When you are happy, download the image. Regenerate two or three times if you want options.
Editing Photos on the ChatGPT Mobile App
The phone workflow is nearly identical, and honestly, most trend edits are made on mobile. Open the app, tap the plus or photo icon, pick an image from your camera roll, then paste your prompt in the message box. Everything else works the same. Expect three to five tries for a polished result, especially on complex edits with text or multiple people.
Weak Prompt vs. Strong Prompt (Before and After)
This is where the formula clicks. Below are real rewrites. The weak version is what most people type. The strong version is the same request rebuilt with the five parts. Read them side by side, and you will feel the difference in specificity.
Weak:
Make this photo look better.
Strong:
Enhance this portrait. Preserve the face exactly, remove the background clutter, keep natural skin texture, increase dynamic range, and relight with soft golden-hour light. DSLR quality, shallow depth of field, high resolution.
Weak:
Give me a cinematic portrait.
Strong:
Turn this portrait into a cinematic image. Dramatic side lighting, rich orange-and-teal color grade, shallow depth of field, subtle film grain, moody contrast. Keep the face and expression identical. 85mm look, 4:5 ratio.
Weak:
Fix the background.
Strong:
Replace the background of this image with a clean light-gray studio backdrop. Keep the subject sharp with clean edges, and match the shadows and lighting naturally so the composite looks seamless. Preserve the subject exactly.
See the pattern? Every added clause is doing a job: one protects the face, one sets the light, one names the format. You are not writing more words for the sake of it. You are removing the guesswork that the AI would otherwise fill in badly.
Common ChatGPT Photo Editing Mistakes (And How to Fix Them)
Every one of these has burned me at some point, so learn from them instead of repeating them. Match your symptom on the left and apply the fix on the right.
| Problem | Cause | The fix |
|---|---|---|
| Face looks like a stranger | The model “improves” your features | Append: keep facial features identical, same eyes, nose, mouth, face shape |
| Garbled text in the image | Text rendering is still imperfect | Put exact text in quotes, spell tricky words out, expect 2-3 tries |
| Oversaturated, fake colors | AI defaults to punchy output | Add: natural color, realistic saturation, no over-processing |
| Generic “AI look” | The prompt lacks specific detail | Add camera, lighting, and unusual concrete details |
| Distorted hands or fingers | A known limit of all AI models | Add: realistic hands, defined fingers, no extra digits; regenerate |
| Too many changes at once | Conflicting instructions confuse it | Break the edit into single-change steps across turns |
| Result looks flat / low-res | Free-tier limits or vague ask | Ask for high-resolution and stack-quality keywords at the end |
Notice the theme: nearly every fix is about being more specific and slowing down. If your colors keep coming out wrong, professional color correction is the reliable route when the stakes are high and the AI keeps missing.
ChatGPT vs. Other AI Photo Tools
ChatGPT is not the only game in town, and it is not always the right one. Here is my quick take on where each tool shines, so you can pick the best fit instead of forcing everything through one door.
| Tool | Best for |
|---|---|
| ChatGPT (GPT Image) | Conversational edits, style transfers, quick concepts, iteration |
| Google Gemini (Nano Banana) | Strong face preservation, polished portraits and headshots |
| Adobe Firefly | Commercially safe generation inside an Adobe workflow |
| Photoshop | Pixel-perfect masking, layers, precise professional retouching |
| Midjourney | Highly artistic, stylized image generation from scratch |
| Flux | Photorealistic detail and high-fidelity portraits |
| Canva | Fast social graphics with templates and simple edits |
My honest workflow: I draft and explore in ChatGPT, then finish critical work in a dedicated tool when precision matters. No single model wins every task, and knowing that saves you a lot of wasted regenerations.
You can also check for Gemini photo editing prompts.
Professional and Commercial Use of ChatGPT Photo Edits
If you run a business, this section matters more than any prompt. Creators and store owners use these edits for ecommerce listings, social campaigns, marketing visuals, and client deliverables. The convenience is real, but so are a few practical limits worth knowing before you publish.
On rights: under OpenAI’s current terms, images you create from photos you own or have permission to use are generally yours to use commercially, including in ads and listings. For anything high-stakes, confirm the current rules on OpenAI’s images on the ChatGPT help page and, for major campaigns, check with a professional.
Where AI still struggles for commercial work: exact color accuracy across a product line, consistent output across dozens of images, and pixel-clean edges on complex shapes. Those are the moments a trained editor earns their keep.
For client-facing and catalog work where every image has to match, professional photo retouching services deliver the consistency that batch AI edits rarely hold on their own.
When AI Prompts Aren’t Enough (And What to Do Instead)
I love these tools, and I still tell people the truth: AI prompting is fantastic for concepts, social content, and quick wins. It is not a full replacement for skilled editing when the result has to be flawless. Knowing the line keeps you from wasting hours on something a human would nail in one pass.
Reach for a professional when you need catalog-grade consistency across a big batch, true-to-life color your customers will judge you on, delicate restoration of a damaged heirloom, or pixel-precise cutouts on hair, fur, and glass. The AI gets you 80 percent there. The last 20 percent is where reputations are made or lost.
And if you are wondering where all this leaves human photographers, our take on whether AI will replace photography is a grounded read on how the two actually work side by side.
Frequently Asked Questions
Can ChatGPT edit multiple photos at once?
It works best with one or two images per prompt. You can upload a small set and tell it how they relate, for example, “apply image 2’s style to image 1,” but large batches are better handled one at a time.
Can ChatGPT remove backgrounds?
Yes, and it is one of its most reliable tasks. Ask for a transparent background with clean edges. For intricate hair or fur, a dedicated tool or a professional editor still gives cleaner cutouts.
Can ChatGPT replace or remove people?
Yes. Name the person clearly, such as “the person in the red shirt on the left,” and tell it to rebuild the background naturally while leaving your main subject untouched.
Can ChatGPT restore damaged photos?
It can repair scratches, fading, and mild damage impressively well. For severely damaged or precious originals, treat AI as a first pass and rely on professional restoration for believable, careful repair.
Can ChatGPT edit RAW images?
Not directly. It reads standard formats like PNG and JPEG. Export a high-quality JPEG or PNG from your RAW file first, then upload that for editing.
Why does ChatGPT change my face?
Because it rebuilds the image rather than editing your original pixels. Always add a line telling it to keep your exact features, and repeat that instruction on every refinement turn.
Can ChatGPT see or store my photos?
Your uploads are processed to complete your request, and data handling follows OpenAI’s policies. As a simple rule, avoid uploading sensitive documents or private images you would not want processed by a third party.
Final Thought
Here is what I want you to walk away with. The tool is easy. The prompt is the craft. Once you internalize the five-part formula, lock your identity clause, and learn to refine one change at a time, you can create almost any edit you can picture, without touching a single slider.
Start with one prompt from the library that matches a photo on your phone right now. Change the lighting, swap the background, or push the mood. Then refine, one nudge at a time, until it feels like yours. That is the whole game, and now you know how to play it.