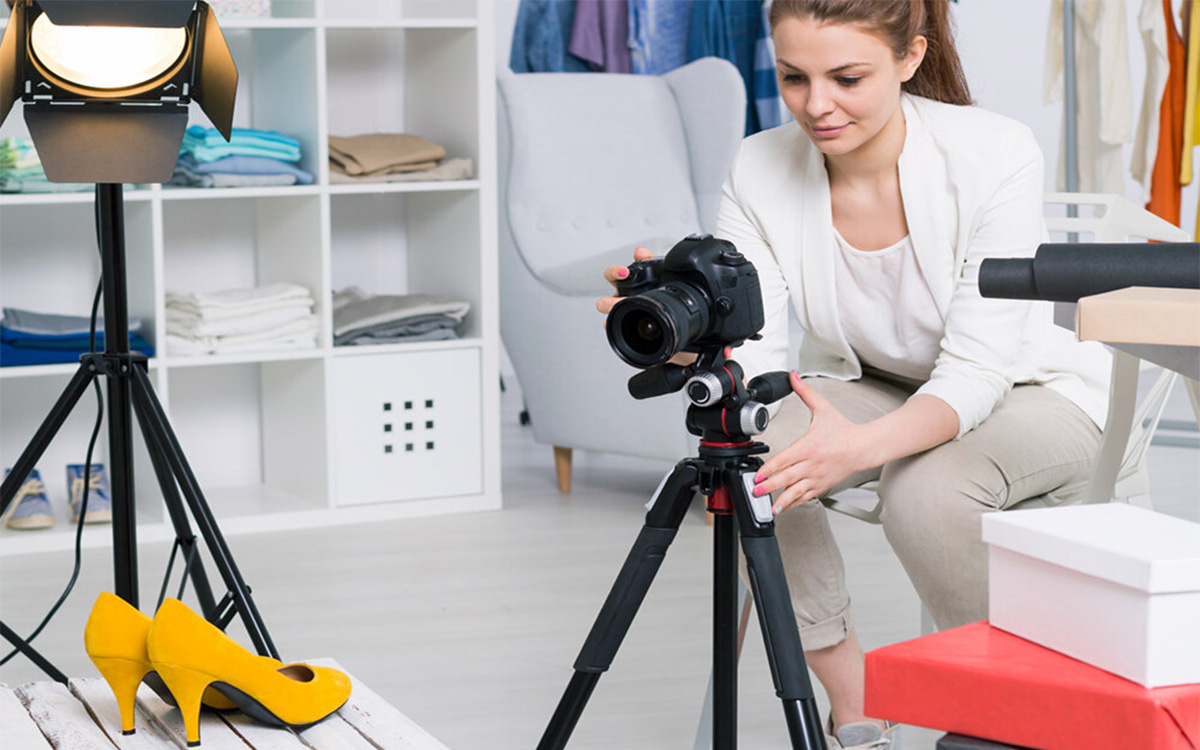
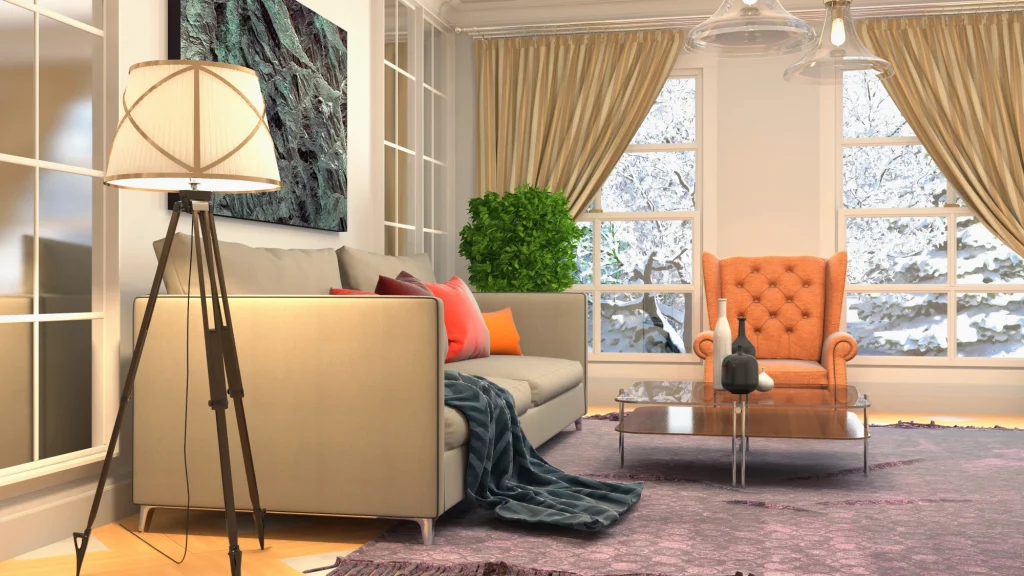
Stepping into the world of property photography can feel overwhelming. When you walk into a beautifully lit living room, how do you capture it exactly as your eyes see it? The secret lies in mastering real estate photography camera settings.
Unlike portrait or landscape photography, real estate demands a unique approach. You must balance tricky interior lighting with bright outdoor windows, ensure every corner of a room is razor-sharp, and represent the property accurately. As a beginner, understanding the exposure triangle—aperture, ISO, and shutter speed—is your foundation.
In this comprehensive guide, we will break down the exact camera settings for real estate photography. Whether you are shooting a cozy studio apartment or a sprawling luxury estate, these practical tips will help you capture stunning, professional-grade images that make listings pop.
What you’ll learn in this article
- 1 Best Real Estate Photography Camera Settings at a Glance
- 2 What Makes Real Estate Photography Settings Different?
- 3 Best Aperture for Real Estate Photography
- 4 Best ISO for Real Estate Photography
- 5 Best Shutter Speed for Real Estate Photography
- 6 Manual Mode vs Aperture Priority for Real Estate Photography
- 7 HDR Bracketing Settings for Real Estate Photography
- 8 Interior Real Estate Photography Camera Settings
- 9 Exterior Real Estate Photography Camera Settings
- 10 Twilight Real Estate Photography Camera Settings
- 11 White Balance and Color Settings for Real Estate Photos
- 12 Focus Settings for Real Estate Photography
- 13 Lens and Focal Length Settings for Real Estate Photography
- 14 Flash, Flambient, and Natural Light Settings
- 15 Camera Settings by Property Photo Type
- 16 Common Real Estate Camera Setting Mistakes
- 17 Real Estate Photography Camera Settings Checklist
- 18 Frequently Asked Questions
- 18.1 Should I use manual mode or aperture priority?
- 18.2 Should I shoot real estate photos in RAW?
- 18.3 What bracketing settings should I use?
- 18.4 What white balance should I use indoors?
- 18.5 What focal length is best for real estate photography?
- 18.6 Do I need a tripod for real estate photos?
- 18.7 What settings should I use for twilight real estate photos?
Best Real Estate Photography Camera Settings at a Glance

If you are looking for a quick reference before heading out to a shoot, here are the best camera settings for real estate photography. You can dial these in as a starting point and adjust as needed based on the specific lighting conditions of the property.
- Shooting Mode: Manual (M)
- File Format: RAW
- Aperture (f-stop): f/8 to f/11
- ISO: 100 to 400 (keep it as low as possible)
- Shutter Speed: 1/60s to 1/200s (adjust based on natural light and flash sync limits)
- White Balance: Auto (AWB) or Custom (Kelvin)
- Focus Mode: Single AF (One-Shot AF)
- Metering Mode: Matrix / Evaluative
- Drive Mode: Continuous or Bracketing (AEB set to 3, 5, or 7 frames at 2 EV spacing)
What Makes Real Estate Photography Settings Different?
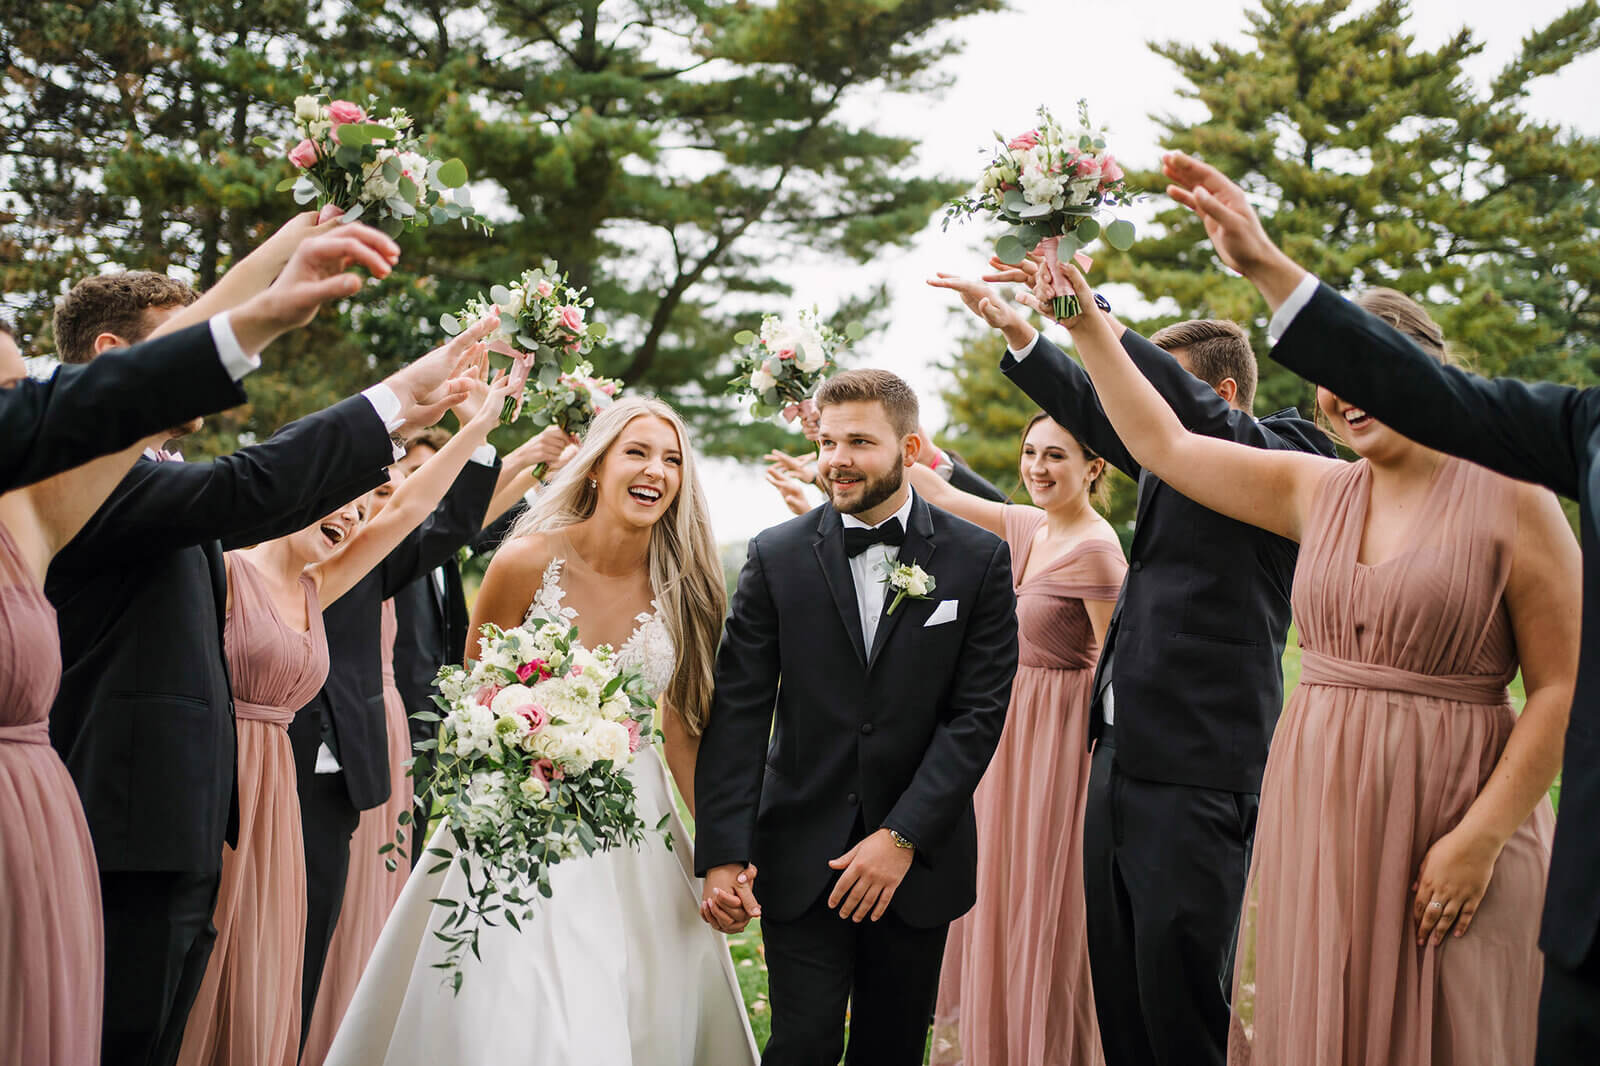
Real estate photography settings differ significantly from other genres. When you shoot a wedding, you prioritize a fast shutter speed to freeze motion and a wide aperture to blur the background. In real estate, you want the exact opposite.
Your primary goal is to maximize depth of field so that everything from the front edge of the dining table to the back wall is in sharp focus. Furthermore, you are constantly battling extreme dynamic range. The human eye can seamlessly adjust to a dark room and a bright window simultaneously. A camera sensor cannot.
To overcome this, real estate photographers rely on specific settings to balance interior ambient light with harsh exterior sunlight. This often involves using a tripod, shooting in Manual mode, and utilizing HDR (High Dynamic Range) bracketing. By locking down your settings, you ensure consistency across an entire shoot, making the editing process much smoother.
Best Aperture for Real Estate Photography
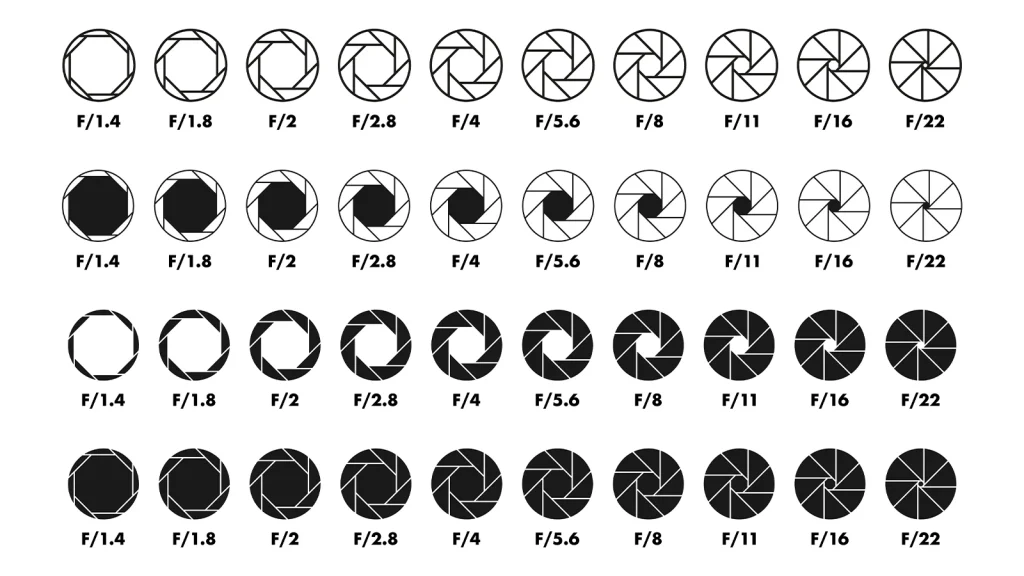
Aperture controls the size of the opening in your lens, which directly affects how much light hits the sensor and your depth of field. In real estate, depth of field is king.
Why f/8 to f/11 is the Sweet Spot
The best aperture for real estate photography typically falls between f/8 and f/11. At these f-stops, you achieve a deep depth of field. This ensures that all elements in the room—foreground furniture, midground features, and background walls—remain crisp and in focus.
Shooting “wide open” at f/2.8 or f/4 will blur the background. While this looks great for a detail shot of a kitchen faucet, it is a disaster for wide interior shots. Buyers want to see the entire room clearly.
Avoiding Diffraction
While it might be tempting to shoot at f/16 or f/22 for maximum sharpness, you should avoid this. Pushing your aperture too narrow causes an optical phenomenon called diffraction. Diffraction actually softens your image, reducing overall sharpness. Sticking to f/8 or f/11 gives you the perfect balance between edge-to-edge sharpness and optimal lens performance.
If you want to master framing your shots perfectly at these apertures, check out our guide on photography composition tips.
Best ISO for Real Estate Photography
ISO measures your camera sensor’s sensitivity to light. In real estate photography, your goal is to produce clean, noise-free images that look professional in print and on digital listing platforms.
Keep It Low: ISO 100 to 400
Always start at your camera’s base ISO, which is usually ISO 100. Because you will be using a tripod, you do not need a fast shutter speed to prevent camera shake. This allows you to keep the ISO low, maximizing image quality.
If you are shooting in a dimly lit basement or a twilight exterior and need a slightly faster shutter speed, you can bump the ISO up to 400. Modern cameras handle ISO 400 exceptionally well, introducing virtually no noticeable digital noise.
The Danger of High ISO
Avoid pushing your ISO above 800. High ISO settings introduce grain or digital noise into your shadows. When you shoot interiors, shadows inevitably occupy a large portion of the frame. Noisy shadows look terrible when brightened during post-processing and can make a luxury property look cheap. For more tips on handling tricky lighting scenarios, explore our real estate photography tips.
Best Shutter Speed for Real Estate Photography
Shutter speed determines how long your camera’s sensor is exposed to light. Because real estate photography is a static subject, you have a lot of flexibility here.
The 1/60s to 1/200s Range
A shutter speed between 1/60s and 1/200s is generally ideal for interior real estate photography. If you are shooting using only natural light and your camera is mounted securely on a tripod, you can easily shoot at 1/60s or even slower (like 1/15s) to let in more ambient light.
However, if you are using flash or Flambient (flash + ambient) techniques, your shutter speed is dictated by your flash sync speed. Most camera flashes sync reliably at 1/200s or 1/250s. Going faster than your sync speed will result in a dark band across your image.
Controlling Ambient Light
You can use shutter speed to control how bright the windows look in your interior shots. A faster shutter speed (e.g., 1/200s) will darken the outdoor view, preventing blown-out highlights. A slower shutter speed (e.g., 1/30s) will let in more ambient light, brightening the room naturally. Finding the right balance is key to producing natural-looking real estate photos.
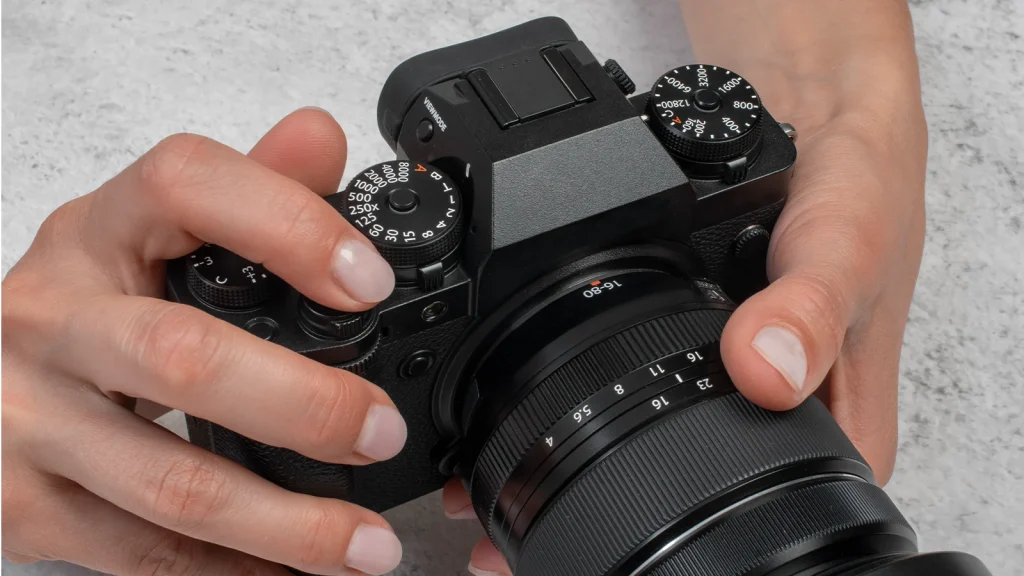
Manual Mode vs Aperture Priority for Real Estate Photography

One of the most common debates among beginner real estate photographers is whether to shoot in Manual mode or Aperture Priority.
Why Manual Mode Wins
Manual mode is highly recommended for real estate photography camera settings. When you shoot in Manual, you lock in your aperture, ISO, and shutter speed. This guarantees that every photo in your final gallery has the exact same exposure baseline. This consistency is crucial when blending HDR images or applying batch presets during editing.
The Problem with Aperture Priority
Aperture Priority (A or Av) lets the camera choose the shutter speed based on the available light. While convenient, it is problematic for real estate. If you move your camera slightly to frame a dark wall, the camera will lengthen the shutter speed to brighten the image. If you frame a bright window, it will shorten the shutter speed, plunging the room into darkness. This creates inconsistent exposures that are a nightmare to edit later.
Locking your settings in Manual mode ensures the lighting remains consistent, allowing you to focus on composition and wide-angle photography techniques.
HDR Bracketing Settings for Real Estate Photography
High Dynamic Range (HDR) photography is the backbone of real estate image creation. Because no single camera setting can perfectly expose a dark room and a bright sky simultaneously, we use a technique called Auto Exposure Bracketing (AEB).
Setting Up AEB
To set up HDR bracketing, configure your camera to take a series of 3, 5, or 7 photos in rapid succession, each at a different exposure level.
- 3 Brackets: -2 EV, 0 EV, +2 EV (Great for evenly lit rooms)
- 5 Brackets: -4, -2, 0, +2, +4 (Best for high contrast, like rooms with massive windows)
- 2 EV Spacing: Always set your bracketing step to 2 EV (exposure values). This provides enough dynamic range data between frames for a seamless blend.
How to Shoot HDR
Mount your camera on a sturdy tripod. Set your drive mode to continuous shooting. Press and hold the shutter button (or use a remote trigger) until the camera fires off all the brackets. Later, in software like Lightroom or Photomatix, you will merge these frames to create one perfectly exposed image.
Proper organization of these brackets is vital for a fast workflow. Learn how to manage your files efficiently by reading our guide on what is the best way to organize photos for efficient editing.
Interior Real Estate Photography Camera Settings
Shooting interiors requires a meticulous approach to balance artificial indoor lighting with natural light pouring through windows. Here are the ideal camera settings for indoor real estate photography:
- Aperture: f/8
- ISO: 100 to 200
- Shutter Speed: 1/60s to 1/200s (adjust based on window blowout)
- White Balance: Auto (AWB) or custom set to around 3200K-4000K if interior lights are dominant.
- Bracketing: 5 shots at 2 EV spacing.
When framing your interior shot, keep your camera at chest height (about 5 feet). This perspective prevents converging vertical lines, making walls and doorframes look straight and natural. Always focus about one-third of the way into the room to maximize your depth of field.
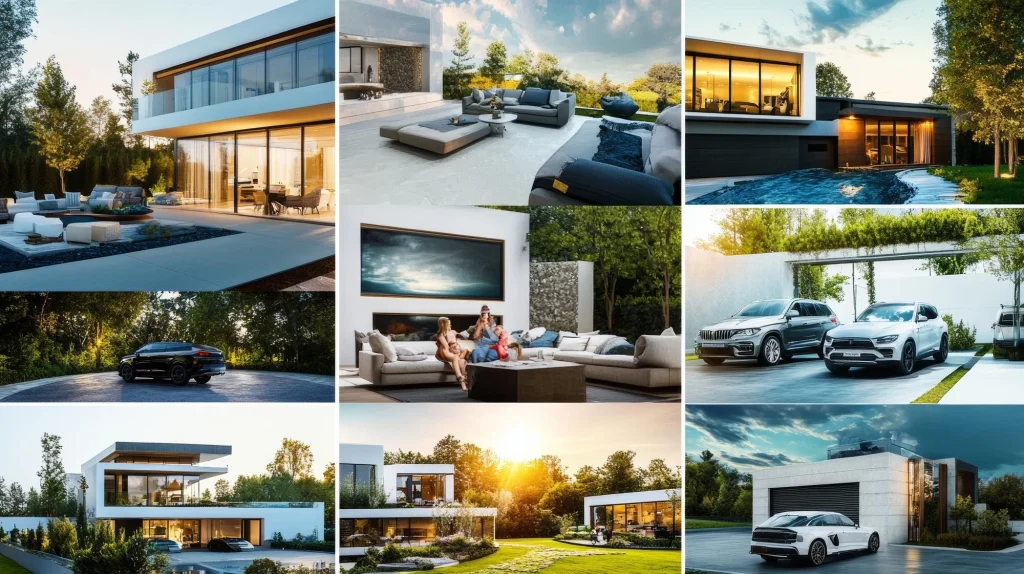
Exterior Real Estate Photography Camera Settings
Exterior shots are all about curb appeal. You want to capture the architecture of the home while retaining detail in the sky and the landscaping. Since you are dealing strictly with sunlight, your settings will shift slightly.
- Aperture: f/8 to f/11
- ISO: 100
- Shutter Speed: 1/125s to 1/400s (depending on the brightness of the day)
- White Balance: Daylight (approx. 5200K) or AWB.
- Bracketing: 3 to 5 shots at 2 EV spacing.
Shooting exteriors usually does not require a tripod unless you are doing a long exposure at twilight. However, using a tripod ensures your HDR brackets align perfectly, especially if there is a slight breeze moving trees and bushes. Wait for a cloudy or overcast day for the softest, most flattering light, or shoot when the sun is behind the house to avoid harsh shadows on the facade.
Twilight Real Estate Photography Camera Settings
Twilight photography is the most impactful style in real estate. Capturing the “blue hour”—the short window after sunset where the sky turns a deep, rich blue—makes properties look luxurious and inviting.
- Aperture: f/8
- ISO: 200 to 400 (twilight has less light, requiring a slight ISO bump)
- Shutter Speed: 1 to 30 seconds (long exposures are mandatory)
- White Balance: Custom (around 4000K to balance warm interior lights with the cool blue sky)
- Bracketing: 5 to 7 shots at 2 EV spacing.
Because you are using long exposures, a heavy, sturdy tripod is absolutely non-negotiable. Even a slight vibration will blur the image. Use a remote shutter release or your camera’s 2-second timer to prevent camera shake when pressing the button. The goal is to capture the warm glow of the interior lights contrasting beautifully against the deep blue twilight sky.
White Balance and Color Settings for Real Estate Photos

White balance (WB) controls the color temperature of your image, dictating how warm (yellow/orange) or cool (blue) the photo appears. Real estate photographers face mixed lighting scenarios daily—think warm tungsten living room lamps mixed with cool daylight from a kitchen window.
Shoot in RAW
First and foremost, always shoot in RAW format. JPEGs lock in your white balance, making it difficult to change later. RAW files retain all color data, allowing you to fine-tune your white balance perfectly in post-production without degrading image quality.
Auto White Balance (AWB) vs. Kelvin
For beginners, Auto White Balance (AWB) is a highly capable starting point. Modern cameras analyze the scene and neutralize color casts effectively. However, if you want total consistency, switch your white balance to the Kelvin (K) scale.
If a room is dominated by warm interior lights, set your camera to around 3200K to 4000K. If you are shooting an exterior in broad daylight, 5200K to 5500K is ideal. Locking your Kelvin temperature ensures that all your bracketed shots blend seamlessly without introducing weird color shifts.
Focus Settings for Real Estate Photography
Getting sharp focus in real estate photography can be tricky. If you focus too close, the back of the room will be blurry. If you focus too far, the foreground details will be soft.
Single AF and Single Point
Set your camera to Single AF (Nikon) or One-Shot AF (Canon). This tells the camera to lock focus once you half-press the shutter, rather than continuously tracking a subject (which is for sports and wildlife). Use a single focus point in the center of your viewfinder.
The Rule of Thirds for Focus
To maximize your depth of field, aim your center focus point at an object roughly one-third of the way into the room. For example, if you are photographing a bedroom, focus on the edge of the bed or a nightstand. Because you are shooting at f/8, this focus point will pull everything from the foreground to the background into acceptable sharpness.
Once you achieve focus, switch your lens to Manual Focus (MF). This locks the focus in place, preventing the camera from hunting for a new focus point when you press the shutter for your HDR brackets.
Lens and Focal Length Settings for Real Estate Photography
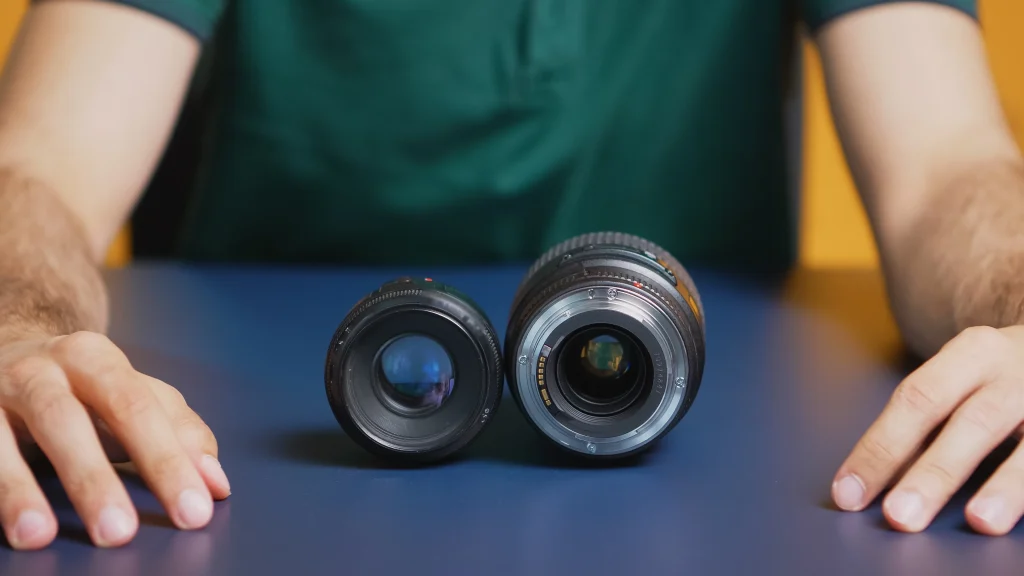
The lens you choose dramatically impacts the look of your real estate photos. Wide-angle lenses are essential to capture the full scope of a room, but there is a fine line between wide and distorted.
The 16-35mm Sweet Spot
Most professional real estate photographers use a full-frame camera paired with a 16-35mm wide-angle lens. For crop-sensor (APS-C) cameras, a 10-24mm lens provides a similar field of view.
Avoiding Extreme Distortion
When using a wide-angle lens, try to stay between 16mm and 24mm. Shooting at the extreme wide end (e.g., 10mm or 12mm) causes barrel distortion, making straight walls bow outward and stretching furniture unnaturally. Buyers subconsciously feel deceived when rooms look artificially large, which can lead to disappointment during physical showings.
Always shoot from a corner to maximize the view of the room, and be prepared to correct lens distortion in Lightroom or Photoshop during your photography post-processing. If you are expanding into video, using the right glass is just as crucial. Check out our recommendations for real estate videography equipment to build out your kit.
Flash, Flambient, and Natural Light Settings
Real estate photographers use three primary lighting methods. Your camera settings will shift depending on which technique you employ.
Natural Light Settings
Shooting with natural light means using only the sun and existing room lights. Your settings will rely heavily on HDR bracketing (5 to 7 shots at 2 EV). Keep your ISO at 100, aperture at f/8, and adjust your shutter speed to balance the room’s ambient light with the windows.
Flash Settings
Using a flash provides consistent, controllable light. Mount an external speedlight or strobe on your camera and bounce it off the ceiling or a wall behind you.
- Aperture: f/8
- ISO: 100
- Shutter Speed: 1/200s (flash sync speed)
Flash Power: Manual power set to 1/8 or 1/4 (adjust based on room size)
- With flash, you use your shutter speed to control the ambient light (the windows) and your flash power to control the light in the room.
Flambient Settings
Flambient is a hybrid technique combining Flash and Ambient light. You take one perfectly exposed flash shot, and then take a series of ambient (natural light) brackets. You then blend them in Photoshop.
- Flash Shot: f/8, ISO 100, 1/200s.
Ambient Brackets: f/8, ISO 100, bracketing shutter speed from 1/200s down to 1/15s.
- This method yields highly realistic colors and crisp window views, making it a favorite among high-end real estate photographers.
Camera Settings by Property Photo Type
Not every room is shot the same way. Here is a quick breakdown of real estate photography camera settings for beginners based on specific property photo types:
- Living Rooms: f/8, ISO 100, 5 brackets at 2 EV. Focus on the main seating area.
- Kitchens: f/8, ISO 100, 3 to 5 brackets. Turn on under-cabinet lighting for a warm glow.
- Bathrooms: Bathrooms are tight spaces. Shoot at f/5.6 or f/8. Keep the door open to avoid trapping humidity and use a flash to brighten dark corners.
- Detail Shots (Fixtures, textures): Open your aperture to f/4 or f/2.8 to create a shallow depth of field. This blurs the background and highlights the craftsmanship of the home.
- Exteriors: f/11, ISO 100, 3 brackets at 2 EV. Shoot during the golden hour for the best shadows and warmth.
Common Real Estate Camera Setting Mistakes
Even with the right gear, beginners often make simple mistakes that ruin real estate photos. Avoid these common pitfalls:
- Shooting Handheld: Without a tripod, your HDR brackets will not align. Furthermore, handholding forces you to raise your ISO and open your aperture, reducing image quality and depth of field.
- Using Too Wide an Aperture: Shooting at f/2.8 to brighten the room will blur the back walls. Always stick to f/8 for maximum sharpness.
- Forgetting to Turn Off Image Stabilization (IS/VR): If your lens has Vibration Reduction or Image Stabilization, turn it OFF when mounting on a tripod. The internal lens elements can shift, creating micro-blurs in your long-exposure images.
- Relying on Auto Mode: Auto mode strips away your control over the exposure triangle, leading to inconsistent exposures and blown-out windows. Always shoot in Manual.
- Over-Editing HDR: Pushing HDR sliders too far results in “halos” around windows and an unnatural, painterly look. Aim for realistic, clean edits.
Real Estate Photography Camera Settings Checklist

Before you press the shutter on your next property shoot, run through this quick checklist to ensure your camera is set up for success:
- Camera is in Manual (M) mode.
- Image format is set to RAW.
- Aperture is set between f/8 and f/11.
- ISO is locked at 100 (or 200 max).
- White Balance is set to AWB or a specific Kelvin temperature.
- Image Stabilization / Vibration Reduction is turned OFF.
- Drive mode is set to Continuous or AEB (Bracketing at 2 EV spacing).
- Focus is set to Single AF, locked on a point one-third into the room.
- Camera is mounted securely on a tripod at chest height.
- Lens is level to prevent converging vertical lines.
Frequently Asked Questions
Should I use manual mode or aperture priority?
You should use Manual mode. Aperture Priority causes the camera to adjust exposure as you move around the room, leading to inconsistent images. Manual mode locks your exposure, making HDR blending and batch editing much easier.
Should I shoot real estate photos in RAW?
Absolutely. RAW files retain all the dynamic range and color data from your camera sensor. This is crucial for real estate, as you need to recover blown-out highlights from windows and lift shadows in dark corners during post-processing.
What bracketing settings should I use?
Set your camera to Auto Exposure Bracketing (AEB). Capture 3 to 5 images with a 2 EV (exposure value) spacing between each shot. This ensures you capture enough shadow and highlight detail for a seamless blend.
What white balance should I use indoors?
Auto White Balance (AWB) works well for beginners shooting in RAW. For maximum consistency, set a custom Kelvin temperature between 3200K and 4000K to neutralize warm interior bulbs, and adjust slightly in post-processing.
What focal length is best for real estate photography?
A focal length between 16mm and 24mm on a full-frame camera is best. It is wide enough to capture entire rooms but narrow enough to avoid unnatural distortion. Avoid going wider than 14mm to prevent furniture and walls from looking stretched.
Do I need a tripod for real estate photos?
Yes, a tripod is mandatory. It ensures your HDR brackets align perfectly, allows you to shoot at low ISOs with slow shutter speeds, and helps you keep your camera perfectly level to avoid distorted vertical lines.
What settings should I use for twilight real estate photos?
For twilight photography, use f/8, ISO 200 to 400, and a long shutter speed (anywhere from 1 second to 30 seconds). A sturdy tripod and a remote shutter release are essential to prevent camera shake during these long exposures.