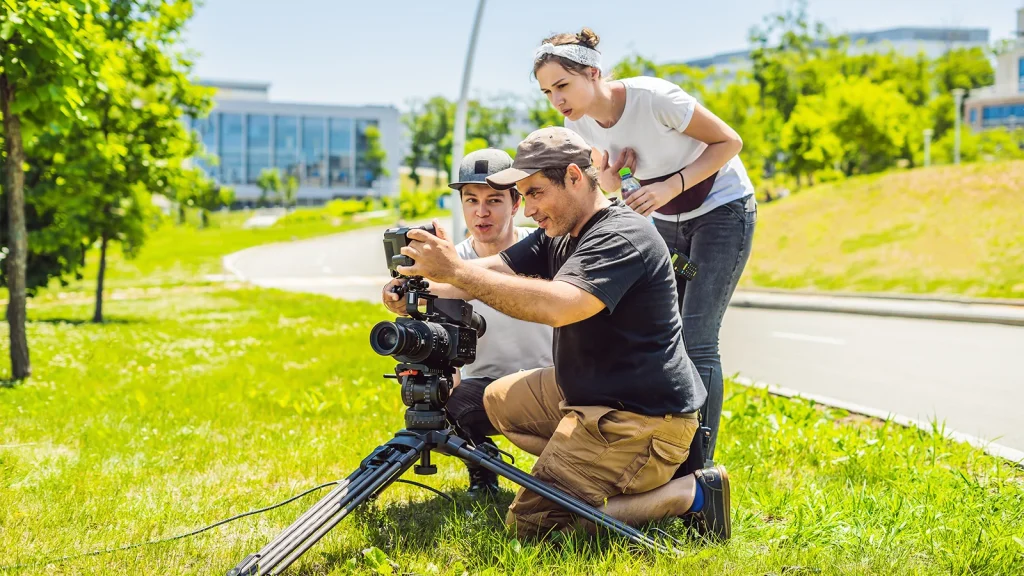
Have you ever watched a real estate video that made a home look bright, spacious, and welcoming? It probably wasn’t just the property that caught your attention. The right equipment helped create that first impression.
Great real estate videos do more than show rooms. They help buyers imagine living in the home. To make that happen, videographers use tools like cameras, wide-angle lenses, gimbals, drones, lights, and editing software.
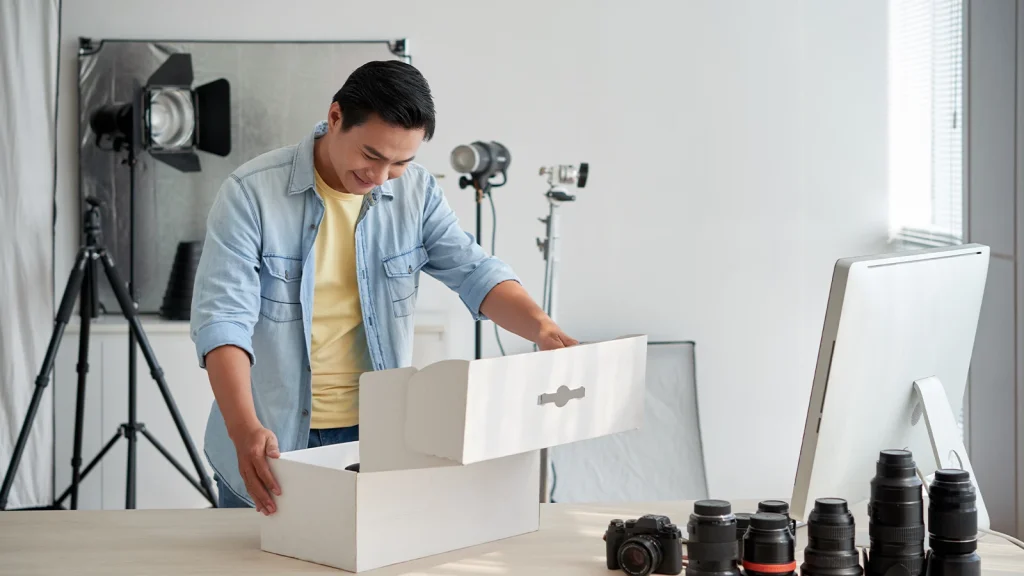
Here’s the good news: you don’t need the most expensive gear to create professional results. What matters most is choosing the right equipment and learning how to use it well.
In this guide, you’ll discover the essential real estate videography equipment used by both beginners and professionals. We’ll explain what each tool does, how to choose the right one, and how to build a kit that fits your budget and the type of videos you want to create.
What you’ll learn in this article
- 0.1 What Is Real Estate Videography Equipment?
- 0.2 Essential Real Estate Videography Equipment Checklist
- 0.3 Best Cameras for Real Estate Videography
- 0.4 Wide-Angle Lenses for Real Estate Video
- 0.5 Stabilization Gear: Gimbals, Tripods, Sliders, and Monopods
- 0.6 Drone Equipment for Real Estate Videography
- 0.7 Lighting Equipment for Real Estate Video
- 0.8 Audio Equipment for Real Estate Videos
- 0.9 360 Cameras and 3D Virtual Tour Equipment
- 0.10 Accessories Every Real Estate Videographer Should Carry
- 0.11 Editing Software and Post-Production Tools
- 0.12 Budget vs Professional Real Estate Videography Equipment
- 0.13 How to Choose Equipment for Real Estate Video Type
- 0.14 Real Estate Videography Camera Settings and Workflow
- 0.15 Common Real Estate Videography Equipment Mistakes
- 1 Frequently Asked Questions
- 1.0.1 Can I shoot real estate videos with a smartphone?
- 1.0.2 Do I need a gimbal for real estate videography?
- 1.0.3 Do I need an FAA Part 107 license for paid real estate drone work?
- 1.0.4 Is Matterport equipment worth it for real estate videographers?
- 1.0.5 What should I upgrade first in my real estate video kit?
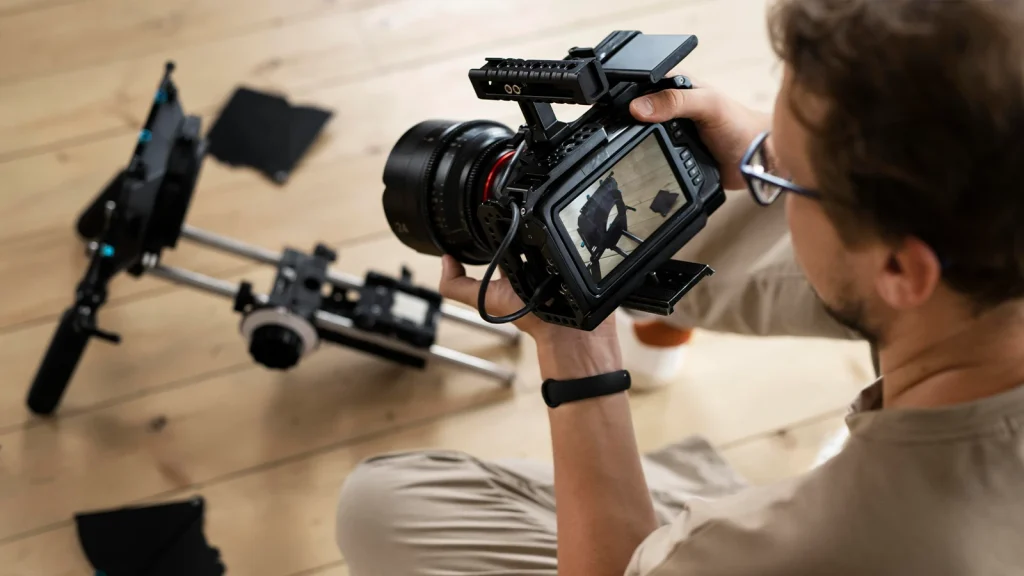
What Is Real Estate Videography Equipment?
Real estate videography equipment includes cameras, lenses, stabilization gear, drones, lighting, audio tools, and editing software used to create professional property videos that attract buyers and showcase homes effectively.
And using this equipment to create high-quality property videos. These videos can include home walkthroughs, aerial drone shots, neighborhood highlights, virtual tours, and agent-led presentations.
The main motive is to help potential buyers see the property clearly and understand how the space feels. A well-produced video can showcase room size, layout, natural light, and the overall flow of a home far better than photos alone.
Essential Real Estate Videography Equipment Checklist
Professional real estate videos rely on more than just a good camera. You’ll need the right combination of equipment to capture sharp footage, smooth camera movement, clear audio, balanced lighting, and polished final edits.
Start with the essentials and upgrade your kit as your skills, projects, and business grow. The checklist below covers the core equipment every real estate videographer should own, along with recommended and optional gear for more advanced productions.
| Equipment | Purpose | Essential? |
|---|---|---|
| 4K Camera | Records high-quality property footage | ✓ |
| Wide-Angle Lens | Captures more of each room in a single shot | ✓ |
| Gimbal | Creates smooth walkthrough videos | ✓ |
| Tripod | Keeps shots stable and professional | ✓ |
| Drone | Captures aerial views and neighborhood footage | ✓ |
| LED Lighting Kit | Brightens dark interiors and balances exposure | ✓ |
| Wireless Microphone | Records clear audio for agents and voiceovers | ✓ |
| High-Speed Memory Cards | Stores video files reliably | ✓ |
| Spare Batteries | Keeps you shooting without interruptions | ✓ |
| Battery Charger | Recharges batteries between shoots | ✓ |
| Portable SSD / External Hard Drive | Backs up and stores footage safely | ✓ |
| Video Editing Software | Edits, color grades, and exports final videos | ✓ |
| Camera Backpack | Organizes and protects gear during travel | Recommended |
| ND Filters | Controls exposure in bright outdoor conditions | Recommended |
| Lens Cleaning Kit | Keeps lenses free from dust and fingerprints | Recommended |
| Monopod | Provides stability while remaining portable | Optional |
| Camera Slider | Adds cinematic motion to detail shots | Optional |
| External Monitor | Helps monitor focus, framing, and exposure | Optional |
| 360 Camera | Creates immersive virtual tours | Optional |
| Matterport System | Produces professional 3D property walkthroughs | Optional |
| RGB Lights | Adds creative lighting for agent branding videos | Optional |
| Teleprompter | Helps agents deliver scripts naturally | Optional |
| Backup Camera Body | Prevents delays if the primary camera fails | Optional |
| Extra Drone Batteries | Extends drone flight time during large shoots | Optional |
Best Cameras for Real Estate Videography
The best cameras for real estate videography are the Sony ZV-E10, Canon R50, and Panasonic G95 for beginners, and the Sony A7 IV, Canon R6 Mark II, and Panasonic S5 II for professionals.
When choosing a camera, look beyond the brand. Features like 4K recording, wide dynamic range, image stabilization, reliable autofocus, and good low-light performance have the biggest impact on video quality.
The table below compares some of the best cameras for different budgets and experience levels.
| Camera | Why It’s a Good Choice |
|---|---|
| Sony ZV-E10 | Affordable, lightweight, and capable of sharp 4K video. |
| Canon R50 | Easy to use with reliable autofocus and great color. |
| Panasonic G95 | Strong stabilization and beginner-friendly controls. |
| Sony A7 IV | Excellent image quality, dynamic range, and autofocus. |
| Canon R6 Mark II | Strong low-light performance and smooth video capture. |
| Panasonic S5 II | Outstanding video features and professional color options. |
Wide-Angle Lenses for Real Estate Video
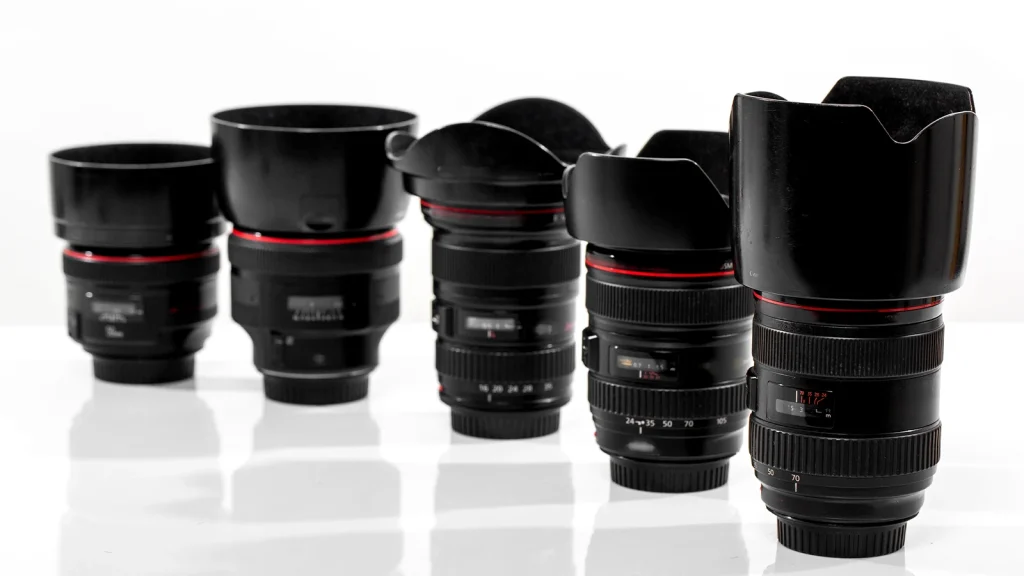
A wide-angle lens is one of the most important tools for real estate videography. It captures more of each room, creates a natural sense of space, and helps buyers understand the property’s layout without making it look unrealistic.
The best lens depends on your camera system, budget, and the type of properties you film.
The table below compares some of the most popular wide-angle lenses used by real estate videographers, from beginner-friendly options to professional-grade glass.
| Lens | Camera Mount | Best For |
|---|---|---|
| Sony FE 16–35mm f/2.8 GM II | Sony E | Professional real estate videos |
| Canon RF 15–35mm f/2.8L IS USM | Canon RF | Luxury homes and commercial properties |
| Sigma 14–24mm f/2.8 DG DN Art | Sony E / Leica L | Ultra-wide interior shots |
| Tamron 17–28mm f/2.8 Di III RXD | Sony E | Budget-friendly professional setup |
| Sony E 10–20mm f/4 PZ G | APS-C Sony | Lightweight kit for beginners |
| Canon RF-S 10–18mm f/4.5–6.3 IS STM | Canon APS-C | Affordable entry-level option |
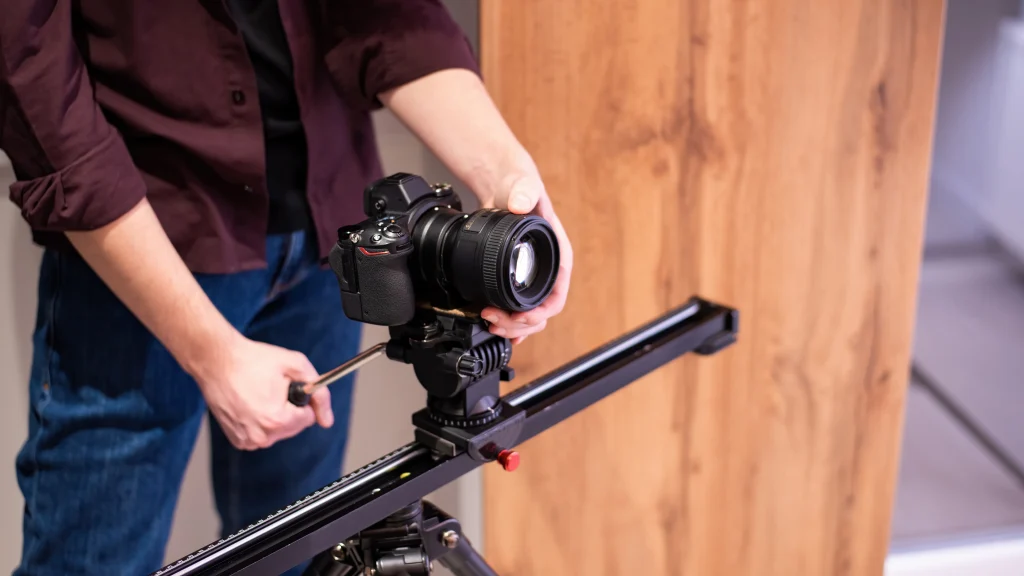
Stabilization Gear: Gimbals, Tripods, Sliders, and Monopods
Stabilization gear includes gimbals, tripods, sliders, and monopods. A gimbal creates smooth walkthrough shots, a tripod keeps the camera steady, a slider adds cinematic movement, and a monopod provides extra support while staying easy to carry.
Even the best camera can’t fix shaky footage. Using the right stabilization tool helps you create smooth, professional-looking videos that keep viewers focused on the property instead of camera movement. The table below explains when to use each type of stabilization gear.
| Equipment | Best For | Main Benefit |
|---|---|---|
| Gimbal | Walkthroughs and moving shots | Produces smooth, shake-free video while walking. |
| Tripod | Static shots, agent presentations, and exterior views | Keeps the camera stable and level. |
| Slider | Kitchen, bathroom, and feature close-ups | Adds slow, cinematic movement to highlight details. |
| Monopod | Fast-paced shoots and tight spaces | Provides stability while remaining lightweight and portable. |
Drone Equipment for Real Estate Videography

A drone captures aerial photos and videos that showcase a property’s location, lot size, landscaping, and surroundings. It’s an essential tool for filming luxury homes, waterfront properties, large estates, commercial buildings, and other listings where outdoor features add value.
When choosing a drone, consider your budget, the types of properties you film, and the video quality you need. The table below compares some of the best drones for real estate videography, from beginner-friendly models to professional options.
| Drone | Best For | Key Features |
|---|---|---|
| DJI Mini 4 Pro | Beginners and everyday property shoots | Lightweight, 4K video, obstacle sensing, easy to travel with |
| DJI Air 3S | Professional real estate videographers | Dual cameras, longer flight time, and excellent image quality |
| DJI Mavic 3 Pro | Luxury homes and commercial properties | Triple-camera system, advanced video features, exceptional dynamic range |
Lighting Equipment for Real Estate Video
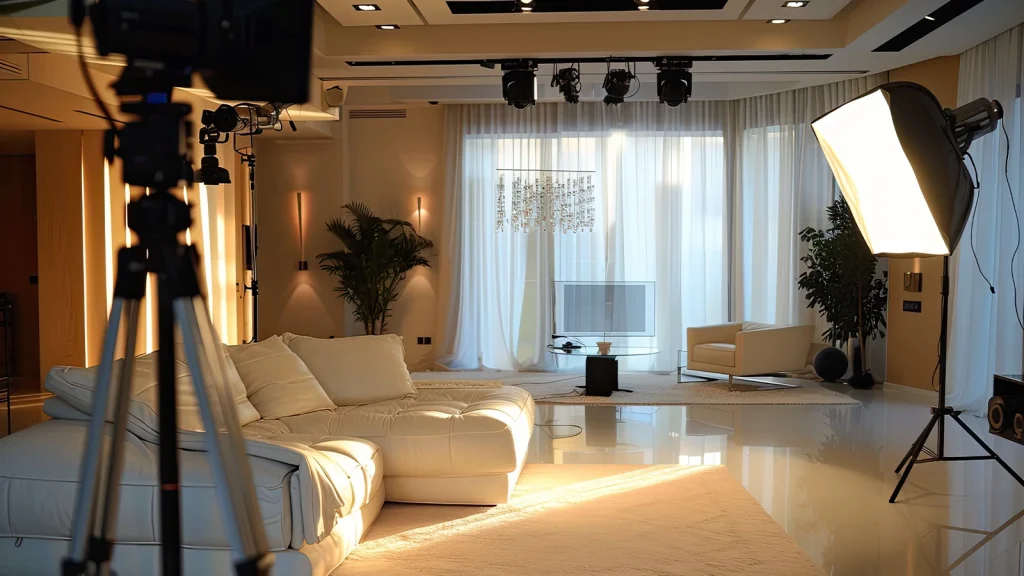
Lighting equipment helps create bright, balanced, and natural-looking real estate videos. Most videographers use portable LED lights, softboxes, and light modifiers to improve indoor scenes while keeping the property looking realistic.
The goal isn’t to make a home look brighter than it is. Good lighting simply reveals the space at its best by reducing harsh shadows, balancing bright windows, and bringing out important details. The table below highlights the essential lighting equipment used for most real estate video projects.
| Equipment | Best For | Why It Matters |
|---|---|---|
| Portable LED Panel | Interior rooms and walkthroughs | Adds soft, even light without taking up much space. |
| Softbox Light | Agent interviews and presentations | Creates natural-looking light and reduces harsh shadows. |
| RGB LED Light | Luxury listings and branding videos | Adds creative accent lighting when needed. |
| Light Stand | Holding lights securely | Lets you position lights at the right height and angle. |
| Reflector | Bouncing natural light | Brightens dark areas without adding another light source. |
| Diffuser | Softening direct light | Reduces glare and creates a more natural look. |
Audio Equipment for Real Estate Videos
Audio equipment helps you record clear voices and reduce unwanted background noise. For most real estate videos, a wireless microphone, a shotgun microphone, headphones, and a windscreen are all you need to capture professional-quality sound.
Poor audio can make even the best property video feel unprofessional. Clear, natural sound keeps viewers engaged and makes agent presentations easier to follow.
The table below compares the essential audio equipment used for property walkthroughs, interviews, and other real estate video projects.
| Equipment | Best For | Why It Matters |
|---|---|---|
| Wireless Microphone | Agent presentations and interviews | Delivers clear voice recordings while allowing the speaker to move freely. |
| Shotgun Microphone | Indoor tours and ambient sound | Captures focused audio while reducing surrounding noise. |
| Lavalier Microphone | Talking-head videos and walkthroughs | Small, discreet, and ideal for recording speech. |
| Headphones | Monitoring audio during filming | Helps you catch noise or recording issues before it’s too late. |
| Windscreen (Deadcat) | Outdoor filming | Reduces wind noise for cleaner recordings. |
| Portable Audio Recorder | Backup audio or advanced productions | Provides an extra layer of protection if the camera audio fails. |
360 Cameras and 3D Virtual Tour Equipment
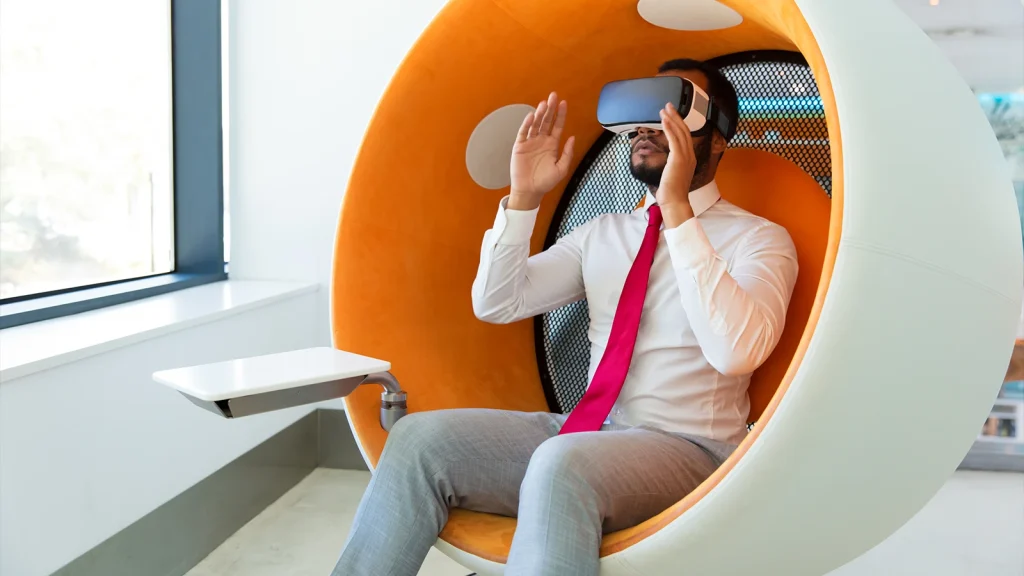
360 cameras and 3D virtual tour equipment capture an entire property in every direction, creating interactive walkthroughs that buyers can explore online. Unlike a traditional video, virtual tours let viewers move through each room at their own pace, making it easier to understand the property’s layout and features before scheduling a visit.
These tours are especially useful for luxury homes, commercial properties, vacation rentals, and buyers who are relocating from another city or country. If you want to offer virtual tour services, choosing the right equipment is essential.
The table below compares the key tools needed to create high-quality, immersive virtual tours.
| Equipment | Best For | Why It Matters |
|---|---|---|
| 360 Camera | Virtual home tours | Captures every angle of a room with a single shot. |
| 3D Camera System | Interactive property walkthroughs | Creates accurate floor plans and immersive 3D tours. |
| Tripod | Stable 360 captures | Keeps the camera level for better image quality. |
| Panoramic Tripod Head | Professional virtual tours | Helps create smooth, accurate panoramic images. |
| High-Speed Memory Card | Storing large files | Handles high-resolution photos and videos reliably. |
Accessories Every Real Estate Videographer Should Carry

Every real estate videographer should carry accessories like extra batteries, memory cards, portable SSDs, ND filters, a lens cleaning kit, a camera backpack, and a multi-tool. These small items improve your workflow and help prevent common problems during a shoot.
Professional videographers know that success often comes down to preparation. A forgotten battery or a full memory card can delay a shoot or even cause you to miss important shots. That’s why it’s a good idea to keep a few essential accessories packed and ready to go.
The table below highlights the accessories every real estate videographer should have, along with why each one deserves a place in your camera bag.
| Accessory | Why You Need It |
|---|---|
| Extra Camera Batteries | Keep filming without stopping to recharge. |
| Extra Drone Batteries | Extend flight time for larger properties. |
| High-Speed Memory Cards | Store high-resolution photos and 4K videos safely. |
| Portable SSD or External Hard Drive | Back up footage immediately after filming. |
| Memory Card Reader | Transfer files quickly to your computer. |
| Battery Charger | Recharge batteries between shoots or while traveling. |
| ND Filters | Control exposure when filming outdoors in bright sunlight. |
| Lens Cleaning Kit | Remove dust, fingerprints, and smudges for sharper footage. |
| Camera Backpack | Protect and organize your gear while traveling. |
| Rain Cover | Keep your camera safe during unexpected weather. |
| Multi-Tool | Tighten tripod plates, camera mounts, and other accessories. |
| Gaffer Tape | Secure cables and mark equipment without leaving residue. |
Editing Software and Post-Production Tools
Editing software helps you trim clips, correct colors, stabilize footage, add titles, improve audio, and export professional real estate videos. Popular choices include Adobe Premiere Pro, DaVinci Resolve, Final Cut Pro, and Adobe After Effects.
Each editing program has its own strengths. The right choice depends on your experience, operating system, and editing style.
Not sure which editing software to choose? The table below compares some of the most popular options, what they’re best for, and the features that make each one stand out.
| Software | Best For | Key Strength |
|---|---|---|
| Adobe Premiere Pro | Professional video editing | Powerful timeline editing, color correction, and broad format support. |
| DaVinci Resolve | Color grading and professional editing | Industry-leading color tools with a free version available. |
| Final Cut Pro | Mac users | Fast performance and an intuitive editing workflow. |
| Adobe After Effects | Motion graphics and visual effects | Creates animated titles, logo reveals, and other graphics. |
| CapCut Desktop | Beginners and social media content | Easy-to-use editing tools with quick export options. |
Budget vs Professional Real Estate Videography Equipment
A budget real estate videography setup is ideal for beginners and small projects, while a professional setup offers better image quality, low-light performance, and advanced features for luxury homes and commercial properties. The right choice depends on your budget, the clients you serve, and your business goals.
More expensive equipment can improve your workflow, but it won’t replace good filming techniques or editing skills. The table below compares budget and professional setups to help you choose the right equipment for your current needs.
| Category | Budget Setup | Professional Setup |
|---|---|---|
| Estimated Cost | $1,500–$3,000 | $8,000–$20,000+ |
| Camera | Sony ZV-E10, Canon R50 | Sony A7 IV, Canon R6 Mark II |
| Lens | Wide-angle prime or entry-level zoom | Premium 16–35mm f/2.8 zoom lens |
| Stabilization | DJI RS 3 Mini | DJI RS 4 Pro with accessories |
| Drone | DJI Mini 4 Pro | DJI Air 3S or DJI Mavic 3 Pro |
| Lighting | Portable LED panels | Professional LED lighting kit with softboxes |
| Audio | Wireless lavalier microphone | Dual wireless microphone system with backup recorder |
| Editing Software | DaVinci Resolve (Free) | Adobe Premiere Pro + After Effects |
| Storage | External SSD | Multiple SSDs with backup drives |
| Best For | Beginners, freelancers, small residential listings | Luxury homes, commercial properties, and full-time businesses |
How to Choose Equipment for Real Estate Video Type
Choose your equipment based on the type of real estate video you’re creating. A basic property tour needs only a few essential tools, while luxury homes, commercial properties, and virtual tours often require extra gear like drones, lighting kits, and 360 cameras.
Instead of carrying every piece of equipment to every shoot, build your setup around the property’s size, features, and your client’s goals. This saves time, makes your workflow more efficient, and helps you capture the shots that matter most.
The table below recommends the essential equipment for different types of real estate videos, helping you choose the right gear for every project.
| Video Type | Essential Equipment | Why It Matters |
|---|---|---|
| Apartment Tours | 4K Camera, Wide-Angle Lens, Gimbal | Small spaces need wide, smooth walkthrough shots. |
| Single-Family Homes | Camera, Wide-Angle Lens, Gimbal, Tripod | Captures both interiors and exterior details with stability. |
| Luxury Homes | Camera, Premium Lens, Drone, Gimbal, Slider, LED Lights | Creates cinematic footage that highlights premium features. |
| Commercial Properties | Camera, Wide-Angle Lens, Drone, Tripod, External Monitor | Shows building layout, parking, and surrounding businesses. |
| Vacation Rentals (Airbnb) | Camera, Gimbal, Lighting Kit, Drone | Highlights lifestyle, amenities, and nearby attractions. |
| Agent Branding Videos | Camera, Tripod, Wireless Microphone, Softbox Lights | Produces clear, professional videos with high-quality audio. |
| 360° Virtual Tours | 360 Camera, Matterport System, Tripod | Creates interactive walkthroughs for remote buyers. |
| Social Media Reels | Camera or Smartphone, Gimbal, Wireless Microphone | Ideal for short, engaging vertical videos. |
Real Estate Videography Camera Settings and Workflow
For most real estate videos, use 4K resolution, 24 or 30 fps, a shutter speed that’s double your frame rate, the lowest possible ISO, and manual white balance. These settings help you capture sharp, natural-looking footage that’s easy to edit.
Use these settings as your starting point, then adjust them to match the lighting and shooting conditions at each property. Pairing the right camera settings with a consistent workflow will help you work more efficiently and deliver professional results.
The table below outlines a simple workflow that many real estate videographers follow on every shoot.
| Step | What to Do |
|---|---|
| 1. Prepare Your Gear | Charge batteries, format memory cards, clean your lens, and balance your gimbal. |
| 2. Walk Through the Property | Plan your shooting route and identify the property’s best features. |
| 3. Film the Exterior | Capture the front of the home, driveway, backyard, and outdoor spaces. |
| 4. Record Interior Walkthroughs | Move slowly through each room using a gimbal for smooth footage. |
| 5. Capture Detail Shots | Highlight premium features like kitchens, bathrooms, fireplaces, and custom finishes. |
| 6. Record Drone Footage | Add aerial views if the property and location are suitable. |
| 7. Review Your Footage | Check for focus, exposure, and any missed shots before leaving. |
| 8. Edit and Deliver | Organize clips, edit the video, color grade, add music, and export the final version. |
Common Real Estate Videography Equipment Mistakes
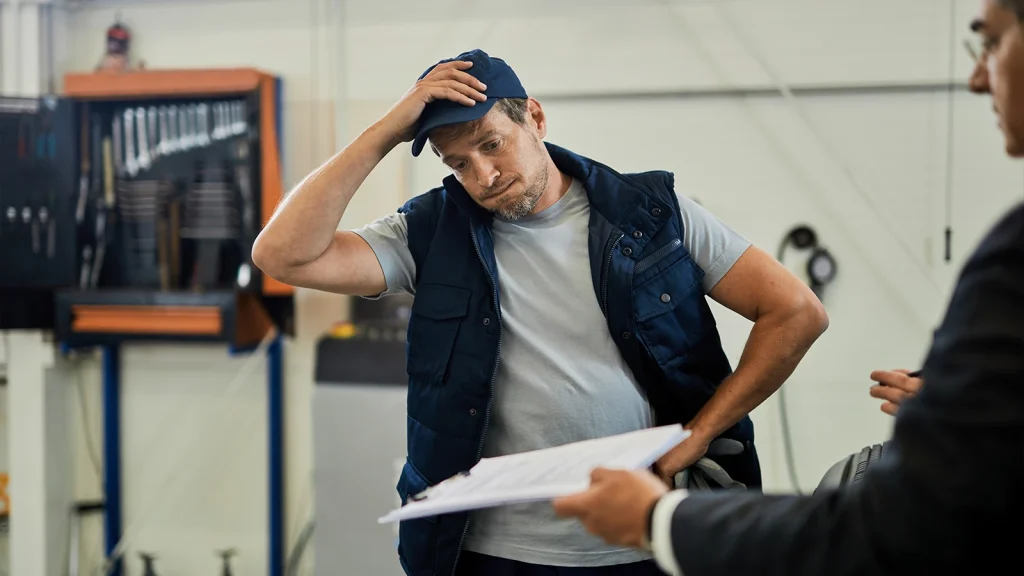
The most common real estate videography equipment mistakes include using the wrong lens, skipping stabilization, poor lighting, forgetting backup gear, and buying expensive equipment too early. Avoiding these mistakes will improve your video quality and make every shoot run more smoothly.
Owning expensive equipment doesn’t guarantee professional results. Even the best camera can’t fix shaky footage, poor lighting, or the wrong lens. The table below explains these common mistakes, why they matter, and how to avoid them.
| Mistake | Why It’s a Problem | Better Approach |
|---|---|---|
| Using the Wrong Lens | Rooms may look too small or unnaturally stretched. | Use a quality wide-angle lens between 16mm and 24mm for most interior shots. |
| Skipping Stabilization | Shaky footage distracts viewers and looks unprofessional. | Use a gimbal for walkthroughs and a tripod for static shots. |
| Ignoring Lighting | Dark rooms lose detail and appear less inviting. | Make the most of natural light and use LED panels when needed. |
| Poor Camera Settings | Videos may look noisy, blurry, or inconsistent. | Shoot in 4K, keep ISO low, and use manual white balance. |
| Using Cheap Memory Cards | Slow cards can cause recording errors or dropped frames. | Choose high-speed memory cards designed for 4K video. |
| Not Carrying Spare Batteries | Your shoot may stop before you’ve finished filming. | Always bring fully charged backup batteries. |
| Forgetting to Back Up Footage | Equipment failure could result in lost files. | Save your footage to an SSD or external drive after every shoot. |
| Buying Too Much Gear Too Soon | It increases costs without improving your skills. | Master the essentials before investing in advanced equipment. |
| Ignoring Audio Equipment | Agent presentations may sound unclear or distracting. | Use a wireless microphone for all on-camera speaking. |
| Flying a Drone Without Planning | You may miss key shots or face flight restrictions. | Check weather, battery levels, and local drone rules before filming. |
Frequently Asked Questions
Can I shoot real estate videos with a smartphone?
Yes. Modern smartphones can produce excellent real estate videos, especially when paired with a gimbal, a wide-angle lens attachment, and good lighting. While dedicated cameras offer better image quality and more control, a smartphone is a great option for beginners.
Do I need a gimbal for real estate videography?
A gimbal isn’t required, but it’s highly recommended. It creates smooth walkthrough shots, reduces camera shake, and gives your videos a more professional look. If you film property tours regularly, a gimbal is one of the best investments you can make.
Do I need an FAA Part 107 license for paid real estate drone work?
If you’re flying a drone for paid real estate work in the United States, you’ll generally need an FAA Part 107 Remote Pilot Certificate. Always check the latest local aviation rules and regulations in your country before offering commercial drone services.
Is Matterport equipment worth it for real estate videographers?
Yes, if your clients regularly request 3D virtual tours. Matterport systems create immersive walkthroughs and digital floor plans, making them a valuable investment for professionals who serve luxury homes, commercial properties, or remote buyers.
What should I upgrade first in my real estate video kit?
Upgrade your equipment based on the biggest limitation in your workflow. For most videographers, the best upgrade order is camera → wide-angle lens → gimbal → drone → lighting → audio → advanced accessories. Investing in this order usually provides the biggest improvement in video quality and efficiency.