When you visit a physical store, pick up a shirt, feel the fabric, or try it on to see how it fits. Unfortunately, you can’t do any of that when shopping online. That’s the biggest challenge of selling clothes online.
And learning how to photograph clothes for online store listings can help bridge that gap. Clear, detailed product photos help shoppers understand the fabric, fit, shape, color, and overall construction before they make a purchase.
You do not need a huge studio to achieve professional results. A modern smartphone or camera, proper positioning, soft lighting, a clean setup, and careful styling are enough to produce professional clothing photography for e-commerce.
Your goal is not to create overly dramatic images. Instead, you should present the clothing as clearly and accurately as possible so shoppers can evaluate the product with confidence.
This guide walks through a practical nine-step apparel photography workflow, from planning and garment prep to editing, export, and publishing. It works for a few pieces at home or a growing catalog with dozens of SKUs.
How To Photograph Clothes For An Online Store In 9 Steps
The best way to photograph clothing for an online store is to treat the shoot as a system rather than a series of one-off images. Each step below protects something the shopper needs to judge: presentation, fit, color, construction, or consistency.
Step 1: Define Your Image Standard and Shot List
Decide what the finished gallery should look like before styling the first garment. This prevents late reshoots for a different crop, background, or missing angle.
- Decide which will be your primary sales channels: your own store, Shopify, Amazon, Etsy, eBay, or another marketplace.
- Set one standard aspect ratio, crop, product position, and amount of space around the garment for your main catalog images.
- Define the mandatory views for each product type, such as front, back, side, or 3/4 views, detail, label, and fit reference, where relevant.
- Create one approved reference image for each garment category so later SKUs can match its camera height, crop, lighting direction, and styling.
Check platform rules early. Amazon’s current MAIN-image guidance calls for a pure white background, no added text or watermarks, and a product occupying at least 85% of the frame. Etsy recommends listing images at least 2000 pixels in width and height; eBay recommends images around 1600 × 1600. Verify requirements before large production runs.
Step 2: Prep and Steam the Garment
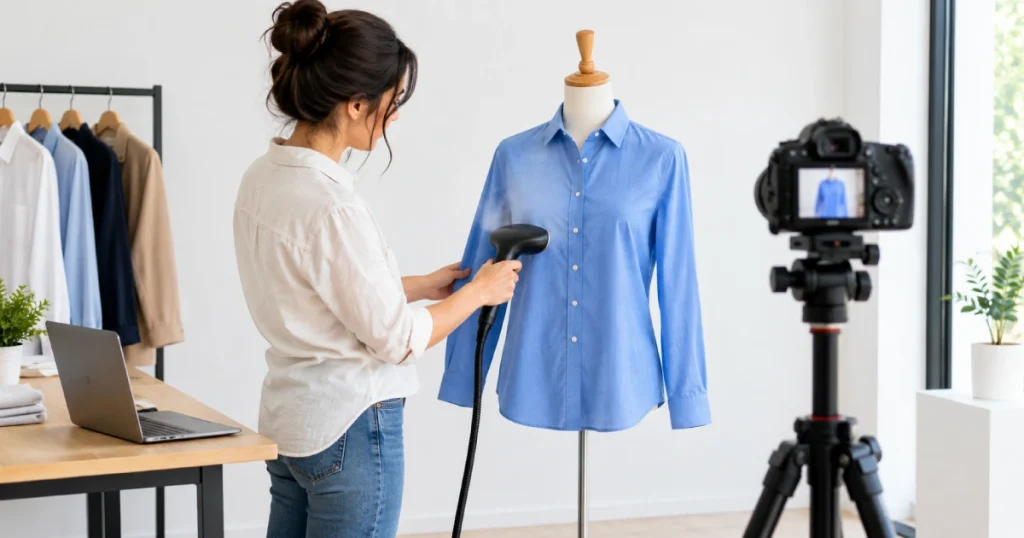
A camera records details you may overlook while handling clothing. Lint, loose threads, uneven collars, packaging creases, and small marks become obvious once the image is enlarged. Check the following:
- Inspect the garment for stains, holes, loose stitching, missing buttons, broken zippers, and manufacturing defects.
- Remove packaging, removable tags that are not part of the product presentation, stray threads, lint, dust, and hair.
- Steam or press wrinkles according to the care instructions, then let the garment dry and cool completely before placing it on set.
- Fasten buttons and zippers that should appear closed, straighten labels, and check matching pieces before shooting.
- Look at the garment again under the actual shooting lights; side lighting often reveals creases or lint that room light hides.
For used or vintage clothing, do not hide real damage. Photograph flaws clearly so the listing sets accurate expectations.
Step 3: Choose the Right Display Method
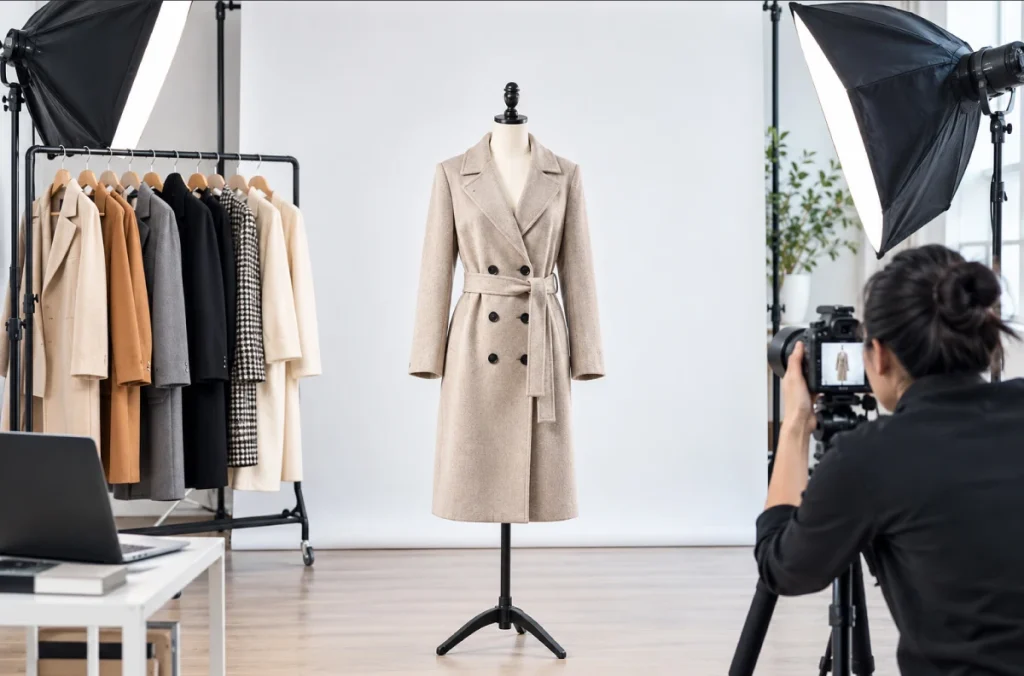
The display method changes what shoppers can understand. Flat lays show shape differently from mannequins, while on-model images add fit and scale that isolated product shots cannot fully communicate.
Flat lays work well for T-shirts, knitwear, casual tops, children’s clothing, and accessories. Hanger photography is inexpensive for shirts, dresses, and light jackets, but it can make structured garments look flatter than they are.
Whereas a regular mannequin gives jackets, blazers, dresses, and fitted garments more body. A ghost mannequin effect removes the visible support in post-production while retaining the garment’s three-dimensional shape and inside neckline.
Use on-model photography when fit, proportion, length, drape, or scale affects the buying decision. Baymard’s apparel UX research shows that human-model imagery helps shoppers judge qualities such as length and fit.
| Method | Setup | Shows shape | Shows fit | Best for |
| Flat lay | Low | Limited | No | T-shirts, knitwear, accessories |
| Hanger | Low | Moderate | No | Shirts, dresses, lightweight apparel |
| Mannequin | Medium | Good | Moderate | Structured or fitted garments |
| Ghost mannequin | High | Very good | Moderate | Consistent ecommerce catalog images |
| On-model | High | Excellent | Excellent | Fit-sensitive fashion and apparel |
Step 4: Set Up the Shooting Space
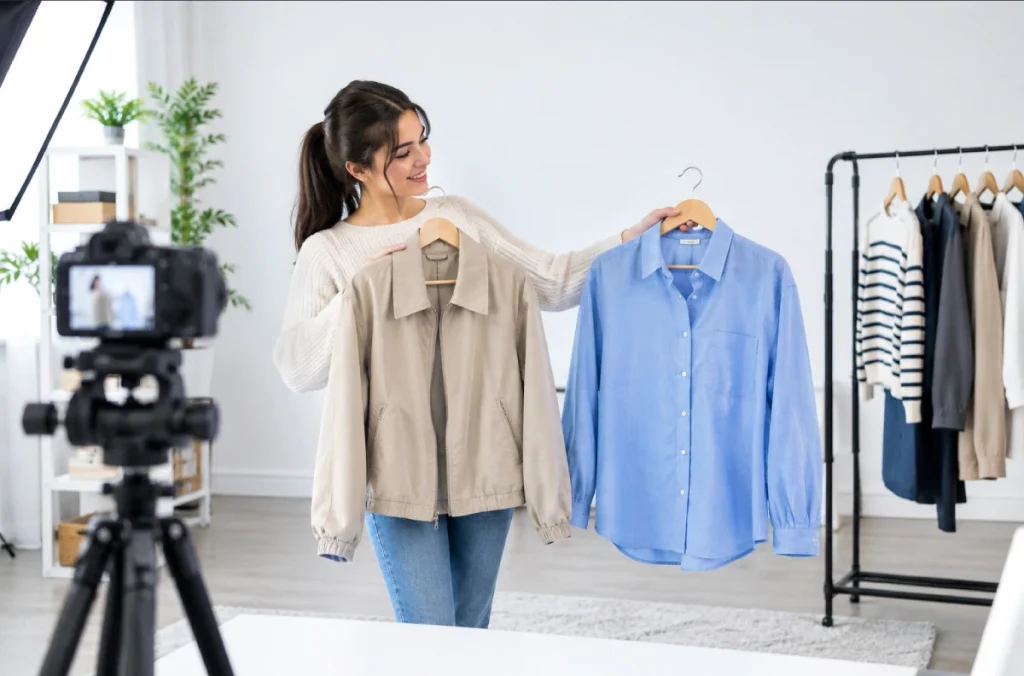
Use a clean white or neutral seamless backdrop for predictable eCommerce images, with enough clearance for long dresses, coats, wide sleeves, or model movement. Keep the camera far enough away to avoid relying on a wide-angle perspective.
Set the tripod at a fixed height and distance, then mark the positions of the tripod, mannequin, flat-lay board, and light with tape. Those marks make it much faster to reset a repeatable set across dozens of SKUs.
If you need a broader studio refresher, these product photography tips cover background, composition, and consistency beyond apparel.
Step 5: Style and Shape the Garment
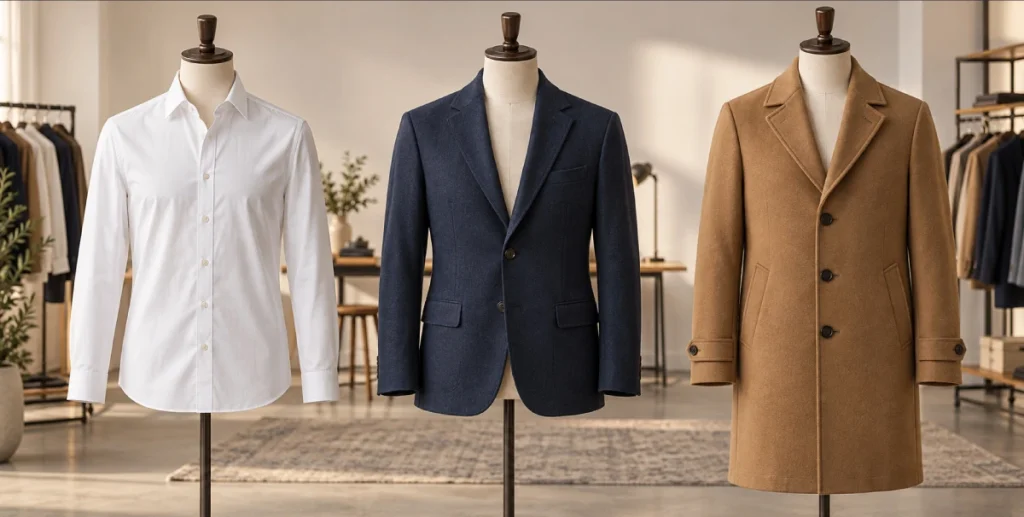
Style the garment so its real cut looks intentional and easy to understand, rather than forcing every piece into an idealized shape.
- Straighten the collar, shoulders, sleeves, cuffs, plackets, hems, lapels, pockets, and visible seams.
- Check symmetry on flat lays and mannequins, but do not remove every natural fold. The fabric still needs to communicate its drape and softness.
- Use clips or pins behind the garment to control obvious excess fabric, not to change the actual cut or fit.
- For dresses and skirts, check that the hem falls evenly and the waist is not twisted. For jackets, make sure lapels and shoulders sit naturally.
- Center the garment within the approved framing and compare it with your reference SKU before shooting.
Fix physical problems on set whenever possible. Straightening a cuff once is faster than retouching it at every angle and color variant.
Step 6: Dial In Lighting, Exposure, and Color
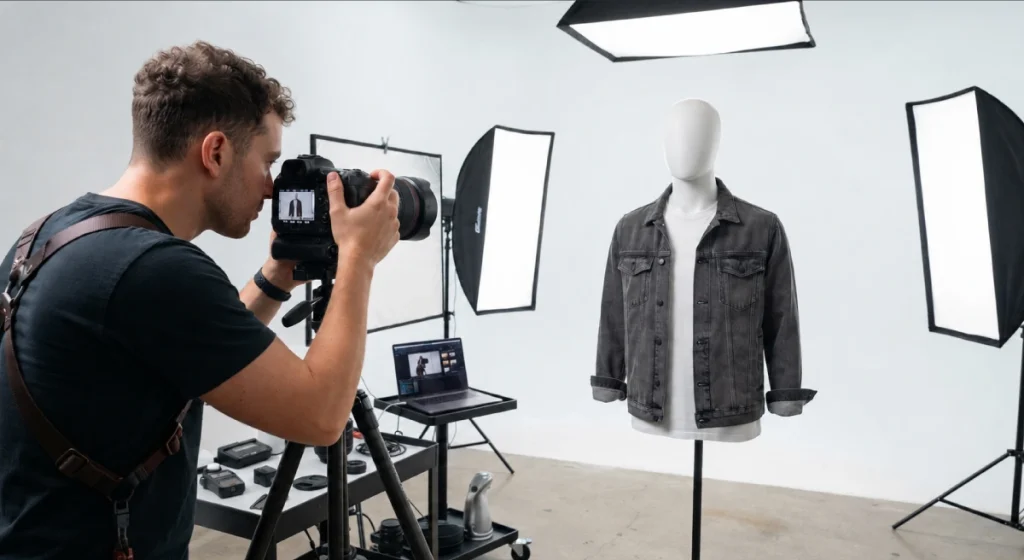
Good lighting and camera settings make the texture readable without creating harsh catalog images. Aim for soft, controlled light with enough direction to reveal seams, folds, and fabric surface.
Once the light is soft and repeatable, fine-tune the capture for the device and fabric in front of you. Use these as practical starting points, then judge the result against the actual garment:
- Smartphone: Clean the lens, use the main rear camera rather than digital zoom, lock focus/exposure when your camera app allows it, turn off flash, and keep the phone parallel to the garment. A tripod or phone clamp helps maintain catalog consistency.
- DSLR or mirrorless: Keep ISO low when practical; often around ISO 100–400 in a controlled studio. Around f/8 is a useful starting point for many static garments because it provides a comfortable depth of field, but it is not a rule. Set shutter speed to suit your light source, camera support, and subject movement; with strobes, stay within the camera’s flash-sync limits.
- White balance: Avoid mixing different light colors. Adobe recommends a gray card when precise product color matters; photograph it under the same light and use it to establish or verify white balance.
- White clothing: Watch the histogram or highlight warning so white fabric does not clip into featureless white. You still want stitching, weave, folds, and edge separation to remain visible.
- Black clothing: Expose so the fabric remains dark while preserving texture. Add controlled fill or edge separation rather than simply brightening the entire image until black becomes gray.
- Patterns and fine weaves: Check the files at 100% for moiré patterns, especially with fine checks, tight stripes, herringbone, knit structures, and synthetic weaves. A small change in camera distance, angle, aperture, or output size can sometimes reduce the interference.
- Reflective fabrics: For satin, sequins, coated textiles, or metallic details, use broad, diffused light and adjust the light angle or the garment until highlights reveal the material without obscuring important details.
Step 7: Capture the Complete Clothing Shot List
Start with the main front-facing image, then capture only the additional frames that answer a real buying question.
- Front view: the cleanest full view and usually the primary ecommerce image.
- Back view: shows rear construction, closures, pockets, graphics, vents, and garment length.
- Side or 3/4 view: useful when the silhouette, thickness, drape, or construction is not obvious from the front and back.
- Fabric close-up: shows weave, knit, texture, print, embroidery, washing, or surface finish.
- Construction detail: stitching, buttons, zippers, pockets, lining, cuffs, hems, hardware, or special features.
- Label or size reference: helpful when authenticity, material information, or item sizing is relevant.
- Fit reference: add an on-model view for products where shoppers need to judge length, proportion, scale, or drape.
- Flaw/condition view: for used or vintage clothing, clearly document wear, stains, repairs, or damage.
Baymard’s research shows why fit references matter and cut-out apparel images can leave shoppers unsure about length, tightness, and drape. For fit-sensitive products, add a clear, relatively unstyled model image.
Step 8: Edit and Export the Images Consistently
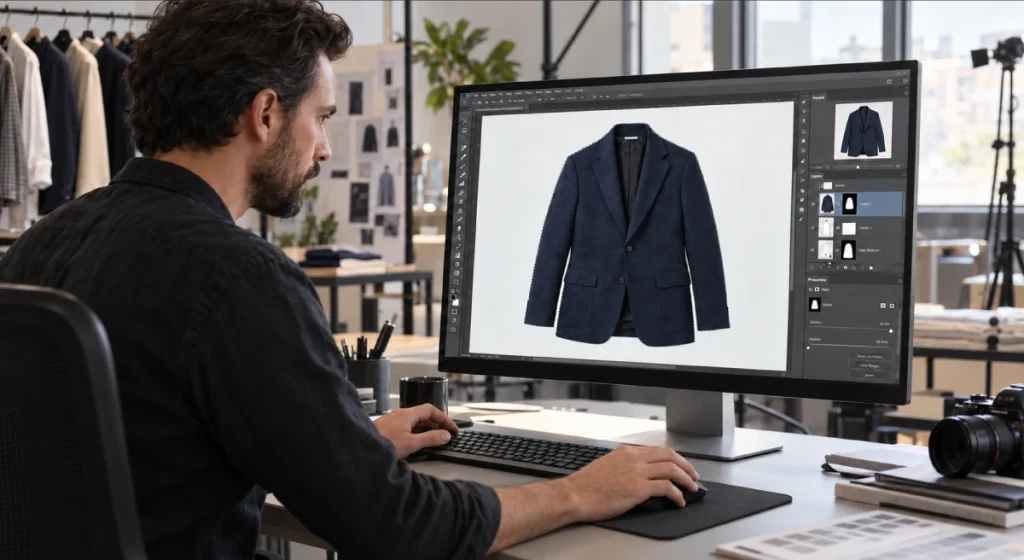
Editing is where you standardize the shoot, not reinvent the garment. Start by correcting the image as a whole, then move to product-specific cleanup only where it improves clarity without changing what the customer will receive.
A reliable ecommerce edit usually comes down to these seven checks:
- Correct the base image: Start with basic corrections such as crop, straightening, exposure, white balance, and controlled contrast. Keep the correction neutral enough that the fabric still looks like the physical garment.
- Clean only temporary distractions: Remove dust, lint, temporary creases, sensor spots, support pins, and backdrop marks. Preserve real texture, color, construction, and proportions; do not slim, lengthen, recolor, or hide permanent defects.
- Choose the edge treatment by fabric: Clean, hard garment edges often suit a precise photo editing service. For fur, faux fur, and knit fringe, masking is usually safer because a hard path can chop off soft fibers. When a clean product background is required, use accurate background removal without damaging garment edges.
- Build ghost mannequin composites carefully: Combine the mannequin frame with the matching interior or neck-insert frame, then check the neckline, armholes, sleeve openings, and seams so the garment still looks structurally believable.
- Batch only repeatable corrections: At higher SKU volumes, synchronize white balance, exposure, crop templates, output dimensions, and metadata. Keep product-specific retouching separate so that automation does not erase unique textures or details.
- Prepare filenames and alt text: Use descriptive filenames such as black-wool-blazer-front.jpg instead of IMG_4028.jpg. Write useful alt text for the image itself rather than stuffing keywords. Google Search Central notes that descriptive filenames can provide light clues about image content, while meaningful alt text supports accessibility and image understanding.
- Export for the destination: Treat ecommerce image optimization as a balance between visible detail and delivery speed. Keep enough resolution for product zoom and the platform layout without creating unnecessarily oversized derivatives.
Step 9: Publish, Organize, and Run a Final QA Check
Review the image set as a customer will see it. Keep a predictable order: primary front view, other full views, details, then fit or context images; so shoppers can scan every product without relearning the gallery each time.
Before you upload anything, run one consistent catalog QA pass:
- Match the product data: Confirm every image is attached to the correct SKU, color variant, and product title.
- Compare the catalog view: Check framing, background, aspect ratio, color, and spacing against neighboring products on the collection or category page.
- Check the full-size file: Verify sharpness, fabric texture, and retouching at full zoom, not just in a thumbnail.
- Test desktop and mobile: Open the product page on both and check crops, focal points, thumbnail order, and loading behavior.
- Confirm image metadata: Make sure descriptive filenames and useful alt text are in place before or during upload.
- Keep a clean master set: Store the high-quality edited files in an organized master folder so you can create marketplace-specific versions without re-editing from scratch.
Once the catalog itself passes QA, do a second check against the destination platform. The same master image may need a different crop, background, or export specification depending on where you publish it.
What Equipment Do You Need for Clothing Product Photography?
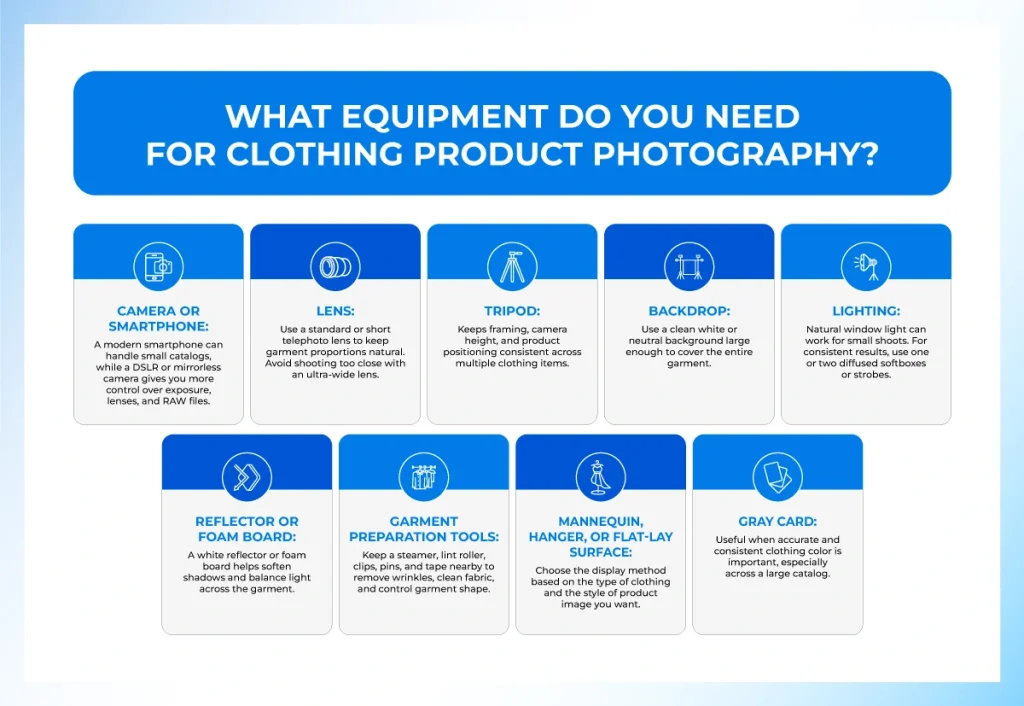
You can photograph clothing with surprisingly little equipment, but each tool should solve a real problem: camera movement, uneven light, wrinkles, poor color, or inconsistent garment positioning. If you are building a setup from scratch, this product photography gear guide gives a broader overview; for clothing, start with the essentials below.
- Camera or smartphone: A modern smartphone can handle small catalogs, while a DSLR or mirrorless camera gives you more control over exposure, lenses, and RAW files.
- Lens: Use a standard or short telephoto lens to keep garment proportions natural. Avoid shooting too close with an ultra-wide lens.
- Tripod: Keeps framing, camera height, and product positioning consistent across multiple clothing items.
- Backdrop: Use a clean white or neutral background large enough to cover the entire garment.
- Lighting: Natural window light can work for small shoots. For consistent results, use one or two diffused softboxes or strobes.
- Reflector or foam board: A white reflector or foam board helps soften shadows and balance light across the garment.
- Garment preparation tools: Keep a steamer, lint roller, clips, pins, and tape nearby to remove wrinkles, clean fabric, and control garment shape.
- Mannequin, hanger, or flat-lay surface: Choose the display method based on the type of clothing and the style of product image you want.
- Gray card: Useful when accurate and consistent clothing color is important, especially across a large catalog.
Clothing Photo Editing Tips for eCommerce
Post-production turns a mixed batch of captures into one coherent catalog. Prioritize accurate color, clean edges, repeatable spacing, and natural fabric detail over heavy retouching.
Correct Color, Exposure, and White Balance
Make global corrections first, then compare color across all angles and variants. The front and detail image of the same garment should not appear to be different shades.
Remove Wrinkles, Dust, and Minor Imperfections Carefully
Remove lint, sensor dust, temporary hanger marks, backdrop dirt, and minor handling creases. Keep permanent marks and construction details that affect what the buyer will receive.
Preserve Fabric Texture and Garment Details
Avoid smoothing that flattens denim grain, wool fibers, knits, embroidery, lace, or brushed fabric. Texture helps shoppers judge weight, finish, softness, and quality.
Remove Backgrounds for a Clean Product Look
Use background cleanup when a store needs pure white, transparent, or consistently neutral catalog images. Protect lace, straps, fringe, translucent fabric, and fine hems instead of cutting into their real edges.
Create a Natural Ghost Mannequin Effect
A ghost mannequin composite should look structurally possible. Match the insert shot’s light and perspective, and keep necklines, waist openings, seams, and interior panels realistic.
Keep Clothing Images Consistent Across Your Catalog
Standardize canvas size, product scale, position, background tone, shadow treatment, and sharpening. Compare new work with one approved reference file rather than editing each batch in isolation.
Frequently Asked Questions
What’s the Best Camera for Photographing Clothes to Sell?
A recent smartphone can handle small catalogs. For more control, use a mirrorless or DSLR camera with reliable manual exposure and white balance controls and a normal-perspective lens.
How Can I Photograph Clothes Without a Model or Mannequin?
Use flat lay or hanger photography against a clean background. Carefully shape sleeves, collars, and hems so the garment looks balanced without misrepresenting its natural proportions.
Should I Use Flat Lay, Mannequin, or Ghost Mannequin Photography?
Choose by garment and buyer need: flat lay for simple pieces, mannequins for structure, ghost mannequin for clean 3D catalog images, and fit models.
How Many Photos Should I Take per Clothing Item?
Capture enough images to answer buying questions. A practical set usually includes front, back, detail views, important features, plus side or on-model images when fit matters.
Is It Worth Outsourcing Clothing Photo Editing?
Yes, when editing volume, publishing delays or consistency suffer. Outsourcing is especially useful for repetitive background removal, ghost mannequin work, clipping paths, masking, and batch corrections.
Final Thoughts
The best clothing photography is not about the most expensive camera. It is about controlling garment preparation, shape, light, color, shot coverage, and consistency so shoppers can judge the product confidently.
Build the workflow once and repeat it: fix preventable problems before the shutter, capture views that answer buying questions, and edit to standardize presentation without changing the garment.