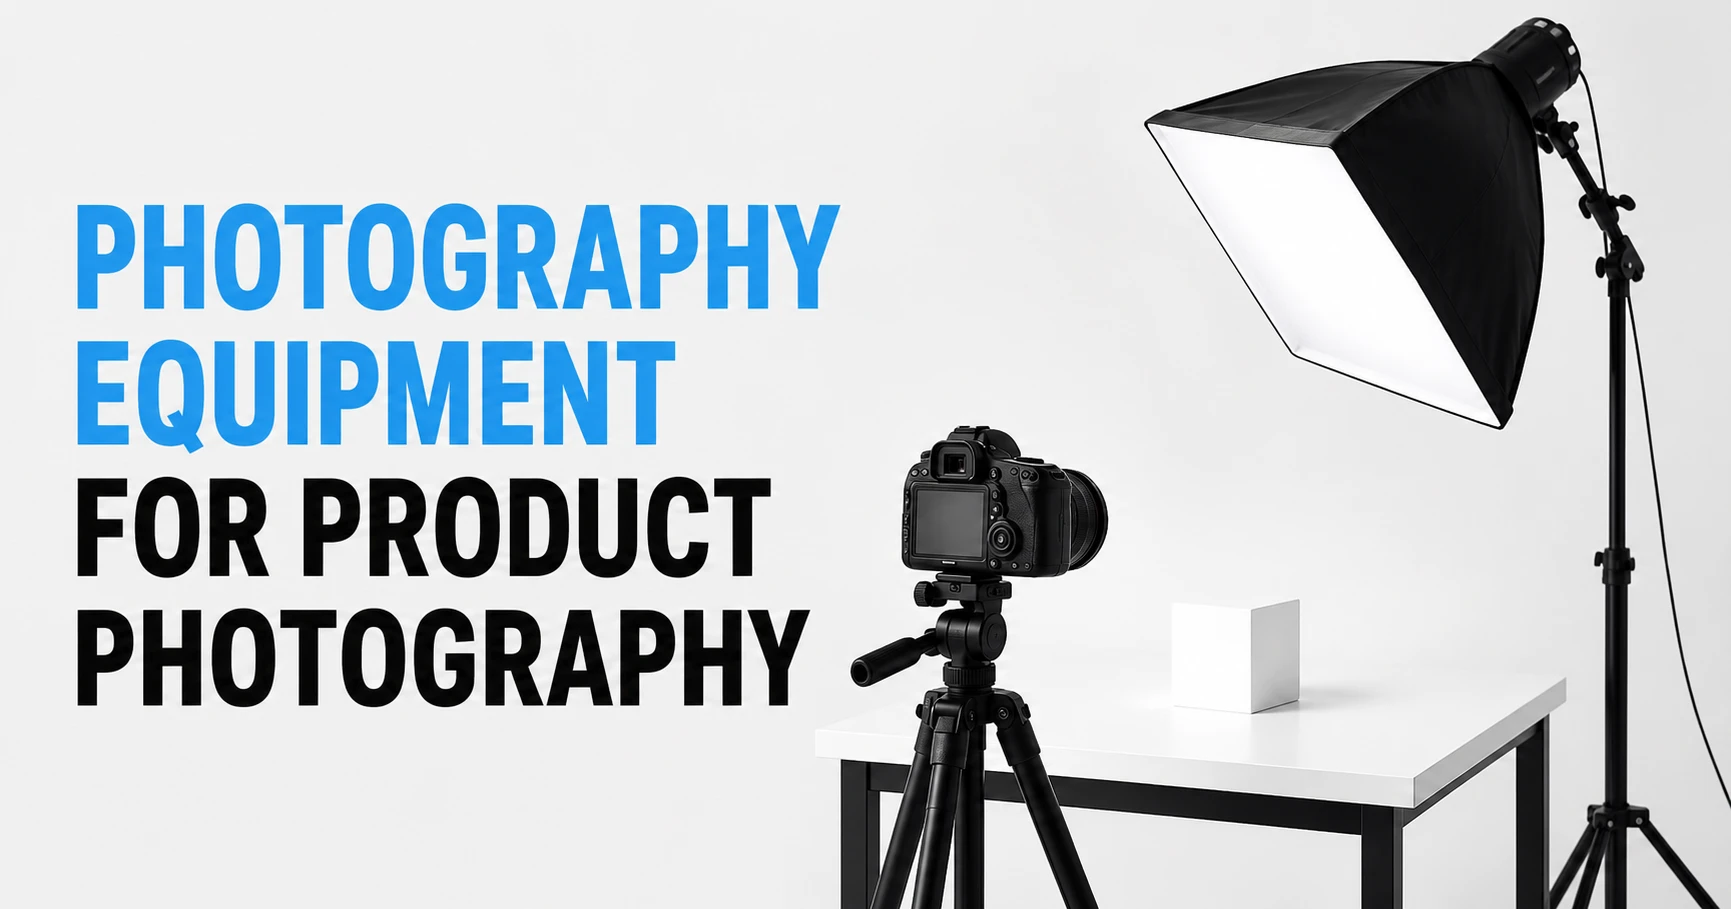
Getting your product photos right starts long before you press the shutter. The essential photography equipment for product photography includes a mirrorless DSLR camera, a suitable lens, a stable tripod, controlled lighting, a clean backdrop, and simple accessories such as reflectors, clamps, and a remote trigger. Initially, you may not need all the equipment. Start with the core six, then upgrade around based on product type and workload.
We edit thousands of seller-submitted product photos every month at Offshore Clipping. That gives us a different view than most gear guides. We see exactly which equipment choices lead to clean, fast edits, and which ones create extra work, extra cost, or a reshoot. This guide covers what to buy, in what order, and what to watch out for once you start shooting.
Ready to shoot? Keep reading for the full gear breakdown, and come back to our product photo editing services once your photos are done.
Key Takeaways
- A workable setup needs six core items: camera, lens, tripod, lighting, backdrop, and basic accessories.
- A smartphone, tripod, and one continuous light can produce sellable ecommerce images.
- Lighting quality matters more than buying an expensive chttps://docs.google.com/document/d/1VBg1DkkZ1pEKDH1ZO_AJw8hjRr3Tdg6Jyt6h3t8hPsg/edit?tab=t.1f65546lgdfxamera body first.
- Jewelry, apparel, furniture, food, and glass require different priority gear.
- Poor lighting, mixed color temperatures, and weak support equipment increase editing time.
- A realistic starter setup costs about $150 to $400. A stronger setup usually costs $800 to $2,000.
Photography Equipment for Product Photography: The Core List
Before you buy anything else, get these items sorted first. Use this equipment list for product photography as your buying order. The first four items are required for almost every setup. Start here, and check each one off before moving to specialty gear.
90% of online shoppers say photo quality shapes whether they buy, ranking it above product cost and shipping fees, according to recent ecommerce photography research. That is exactly why getting this list right matters before you touch anything else on your store.
- Camera or smartphone
- Lens suited to your product
- Tripod
- Remote trigger or shutter release
- One reliable light source
- Backdrop
- Memory card and storage
Camera: DSLR, Mirrorless, or Smartphone
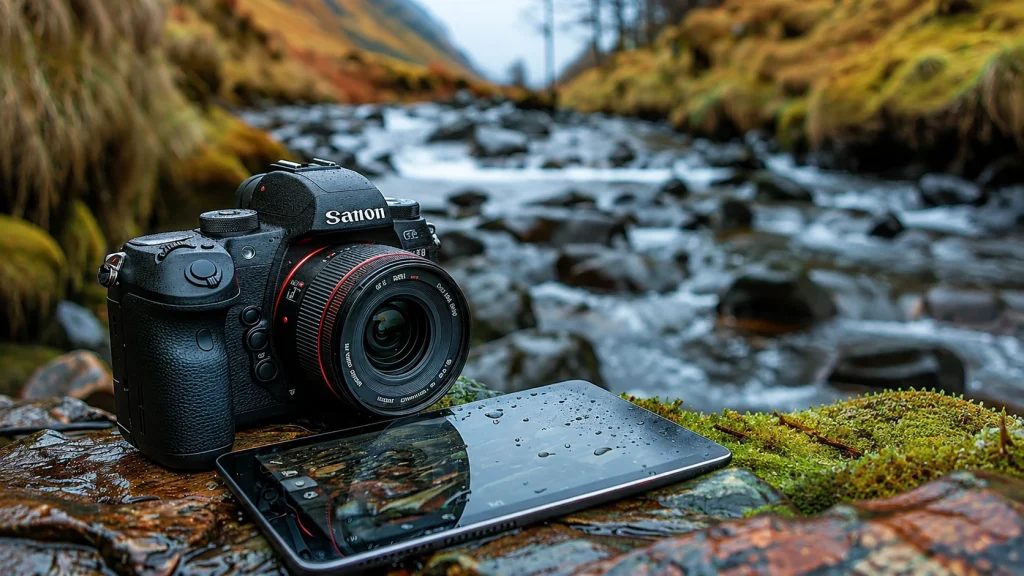
Now, most current smartphones have enough resolution for web listings when the light is controlled and the phone stays steady. Start with what you own first. Entry-level mirrorless or DSLR bodies generally cost $400 to $900, but the upgrade matters less than better lighting, focus, and repeatable framing.
Choose a device that offers exposure lock, focus control, and preferably RAW capture. RAW files preserve more highlight and color information for difficult products. JPEG is acceptable for simple listings, but avoid heavy in-camera filters, portrait modes, or automatic background blur that can damage product edges.
Lens: Match Focal Length to the Product
There is no single “best” lens, only the right one for what you sell. Picking based on your actual products, instead of buying whatever is popular, saves you money and gets you sharper, more natural-looking shots from day one.
- 50mm prime ($100 to $350): The reliable all-rounder. Sharp, low distortion, and a great fit for general tabletop products where you just want an honest, accurate shot.
- 85mm ($200 to $600): More working distance means less awkward close-up crowding. A natural pick for cosmetics, shoes, and medium-size items that need to keep their true shape.
- 100mm macro ($400 to $1,200): Built for close focusing and true 1:1 detail, this is the lens jewelry and fine detail work deserve. Worth the investment once detail shots become a regular part of your catalogue.
- Smartphone macro attachment ($15 to $60): A budget-friendly way to try close-up shots before committing to a dedicated macro lens. Sharpness and distortion vary by brand, so treat it as a starting point, not a long-term solution.
- 24-70mm zoom ($500 to $2,500): The flexible workhorse most studios lean on. One lens covers a wide range of product sizes, which makes it a strong choice once you are shooting a varied catalogue.
- 70-200mm ($600 to $3,000): For furniture and larger products, this lens lets you shoot from farther back. That distance flattens out the stretched, distorted look that close-range wide-angle shots tend to create.
Still getting uneven backgrounds and inconsistent colors after buying better photography gear? Our Professional Photoshop Services turn imperfect shots into polished product images.
Tripod
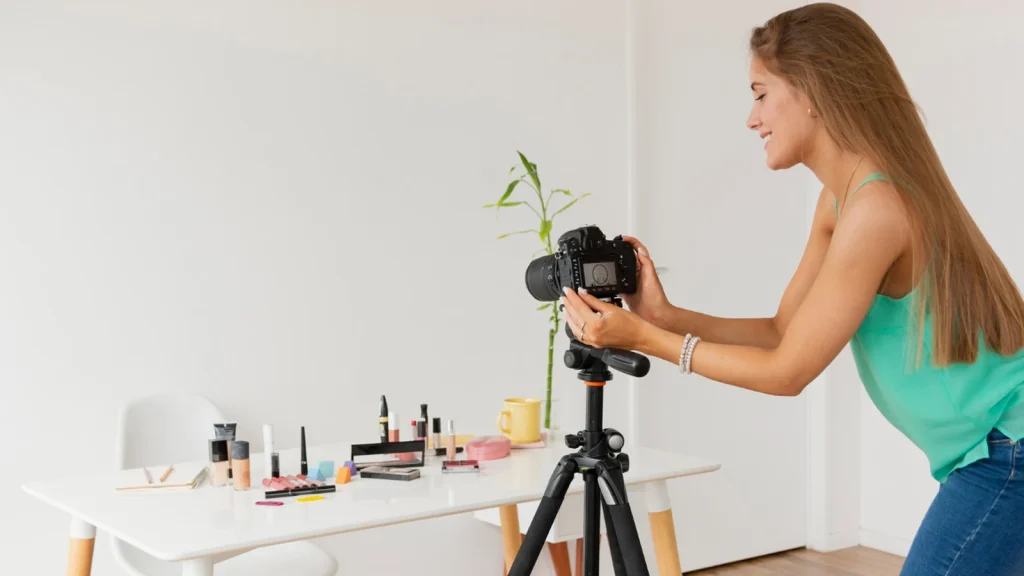
A tripod is non-negotiable for consistent framing across a shoot. It keeps every product in the same position and angle, which matters for a cohesive catalogue. Budget tripods start under $30, while sturdier models cost $80 to $200. Avoid the cheapest wobbly option because movement at slow shutter speeds can soften every image in the batch.
Remote Trigger or Shutter Release
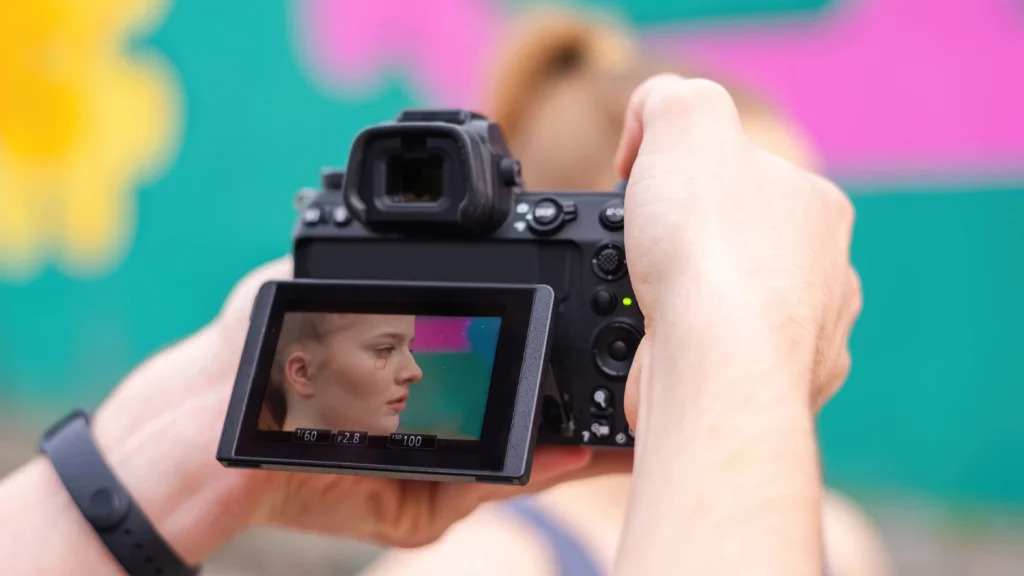
Pressing the shutter button by hand can shake the camera, especially during close-up macro shots and repeatable 360 captures. A remote trigger or a phone’s Bluetooth shutter button removes that risk entirely. Wired and wireless versions both cost under $20 for most camera models. A two-second self-timer is the free alternative.
Smartphone Accessories
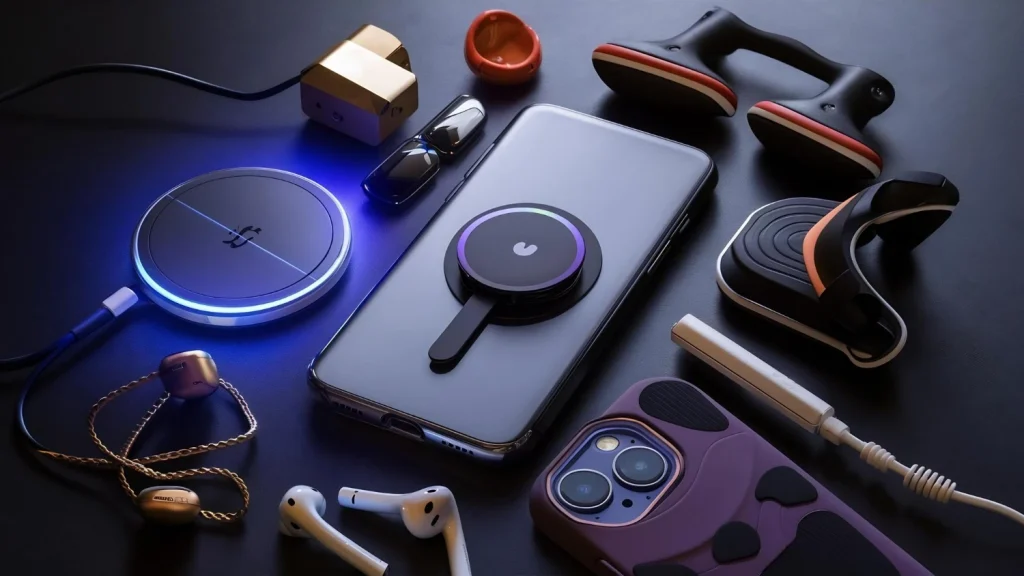
A complete phone-based starter kit can include a $15 to $35 tripod mount, a $10 to $20 Bluetooth remote, a $15 to $60 clip-on macro lens, and a $30 to $100 small LED or mini softbox. Add a phone stand for overhead flat lays.
Memory Cards and Storage
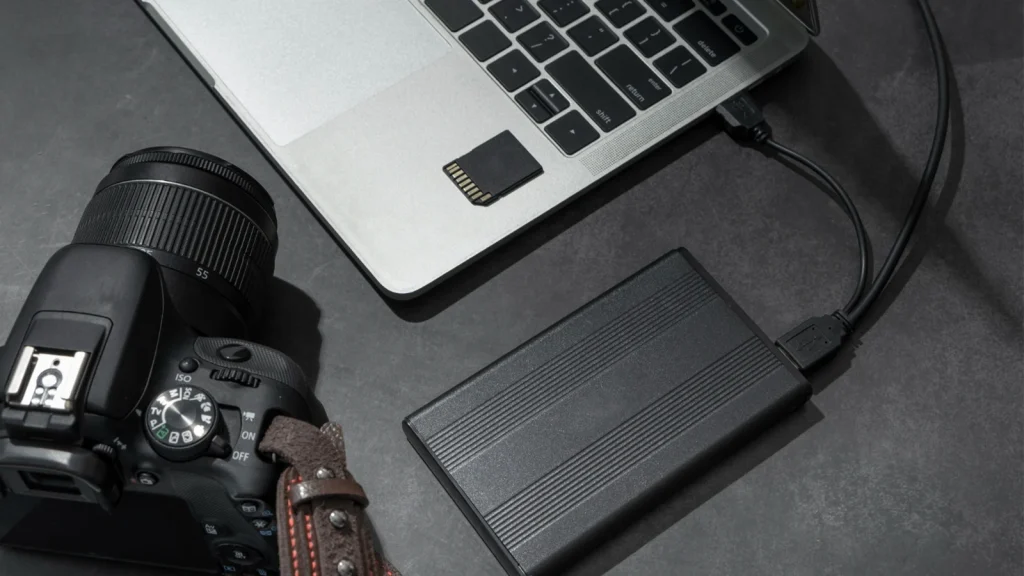
Use a reputable memory card with enough speed for RAW files and a spare card for backup. Expect $20 to $70 per card. Store finished shoots on two separate drives or one drive plus cloud storage. A basic external SSD usually starts near $70.
Backdrop
A clean backdrop separates the product and reduces cleanup later. Poster board starts below $10, seamless paper rolls often cost $25 to $80, and durable vinyl commonly costs $40 to $150. The dedicated backdrop section below explains which surface suits each shooting style.
| Equipment | Nice to Have |
|---|---|
| Camera or smartphone | Required |
| Tripod | Required |
| One light source (natural or artificial) | Required |
| Plain backdrop | Required |
| Macro lens | Required for jewelry and small details |
| Second light or reflector | Nice to have |
| Color calibration tools | Nice to have |
| Turntable | Required for 360 |
Lighting Equipment for Product Photography
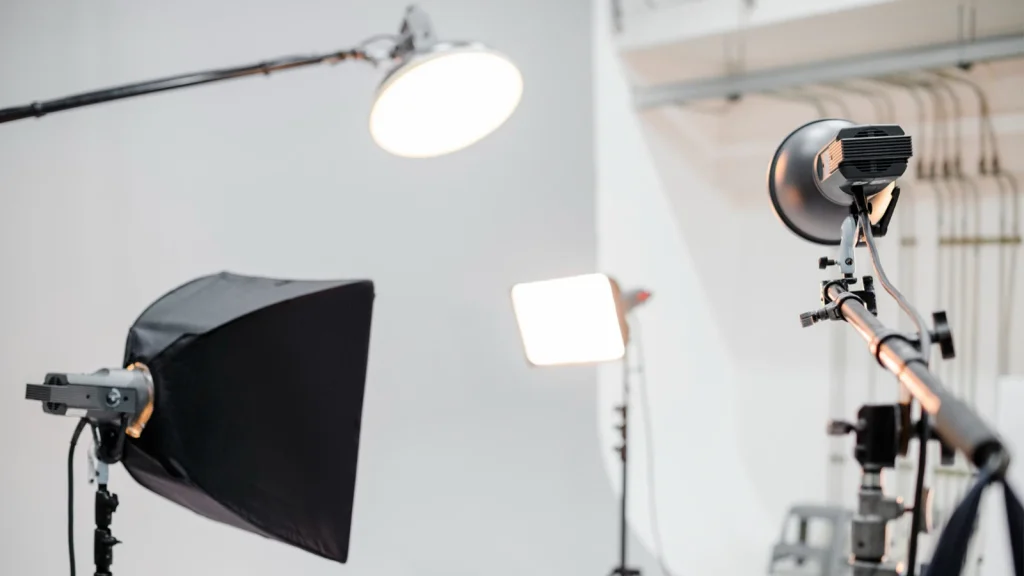
Lighting is the best first upgrade because it controls shape, color, texture, and shadow quality. The best lighting equipment for product photography is not always the most powerful option. It is the light you can position, soften, and reproduce across the entire shoot.
Natural Light
Window light is free and flattering for small batches, food, handmade goods, and lifestyle images. Place the product beside the window rather than in direct sun. Its weakness is inconsistency. Cloud movement, time of day, and weather make catalogue matching difficult across several hours or days.
Continuous LED Lights
Continuous LEDs show the lighting result before you press the shutter, making them the easiest option for beginners. Small panels start around $30 to $80 each.
Two-light kits with stands and modifiers usually cost $120 to $500, depending on output, color quality, and build.
Check color temperature and color rendering before buying. Daylight-balanced fixtures around 5,500K are easy to match, while adjustable bi-color lights offer flexibility. Look for a CRI or TLCI rating near 95 when accurate product color matters, especially for cosmetics, apparel, paint, and home decor.
Strobes and Speedlights
Flash freezes movement, provides more output, and stays consistent during high-volume work. A speedlight setup can begin around $80 to $250. Studio strobe kits often run from $400 to $1,500 or more. They are worthwhile when continuous lights force high ISO or slow production.
Diffusers and Softboxes
A $10 to $30 diffusion sheet or scrim is the cheapest way to soften a hard light. Umbrellas commonly cost $20 to $70. Softboxes range from about $40 to $200 each and provide better spill control, cleaner edge highlights, and more repeatable reflections on glossy packaging.
Reflectors and Bounce Cards
White foam board costs only a few dollars and fills dark shadows without adding another light. Foldable reflector kits usually cost $20 to $60 and add silver, white, black, and translucent surfaces. For platform-specific guidance, see these tips to enhance product photos on Amazon.
Even good photography equipment may produce unwanted or uneven product shadows.Let our Drop Shadow Services create clean shadows that highlight your product naturally.
Backdrops and Surfaces
Think of your backdrop as the stage your product performs on. Pick the wrong one, and it steals attention, adds glare, or piles extra hours onto your editing bill. Pick the right one, and it almost disappears, which is exactly the point. Match your choice to how often you shoot and what you sell, not to whatever is cheapest on the shelf.
Seamless Paper Rolls
This is the classic for a reason. Seamless paper gives you a smooth, shadow-free surface with no visible seams or corners in the shot. White is required on most major marketplaces, and colored rolls are handy for lifestyle listings. A roll runs $15 to $40 depending on width, and it is genuinely the cheapest option per shot.
Fabric and Vinyl
Paper tears, wrinkles, and scuffs fast if you shoot often. Fabric and vinyl backdrops cost more upfront, usually $20 to $60, but they wipe clean in seconds and shrug off daily use. If you are shooting several times a week, this pays for itself quickly.
Light Tents and Lightboxes
Want background and lighting sorted in one purchase? A light tent does both. These self-contained boxes diffuse light evenly and box out clutter, typically for $30 to $80. For a beginner shooting small items, this is one of the fastest routes to consistent, professional-looking results.
Acrylic Sheets and Risers
For a glossy, reflective, almost floating look, acrylic is the go-to, especially for cosmetics and electronics. A basic sheet runs $20 to $60. One heads-up from the editing side: visible acrylic edges creeping into frame are one of the most common cleanup requests we get.
DIY Options
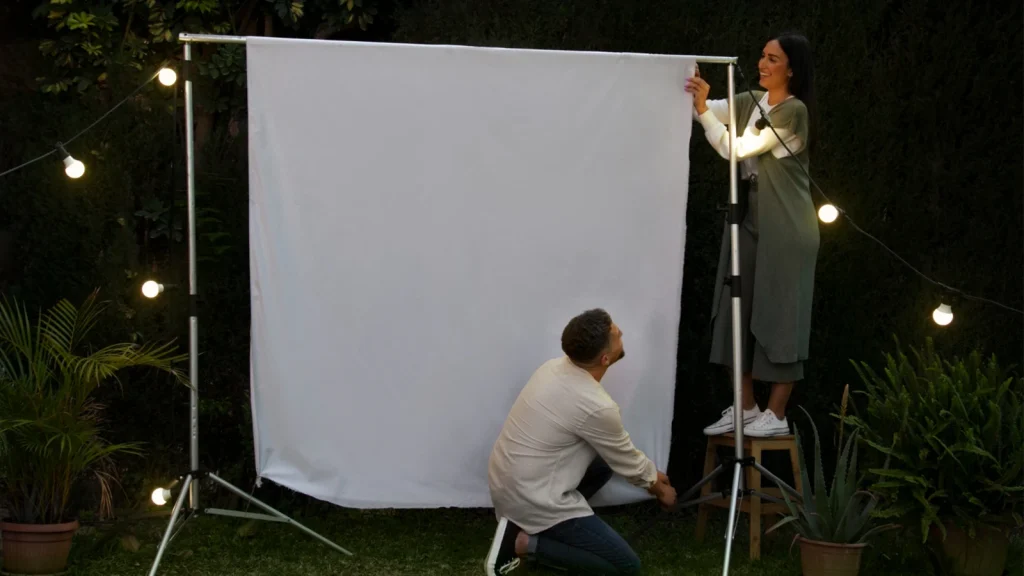
Do not underestimate a poster board, a sheet of foam board, or even a plain bedsheet pinned to the wall. These cost next to nothing and, shot well, produce clean, sellable results. They are real starting points, not a lesser workaround while you save up for something else.
Styling Kit, Accessories, and Props
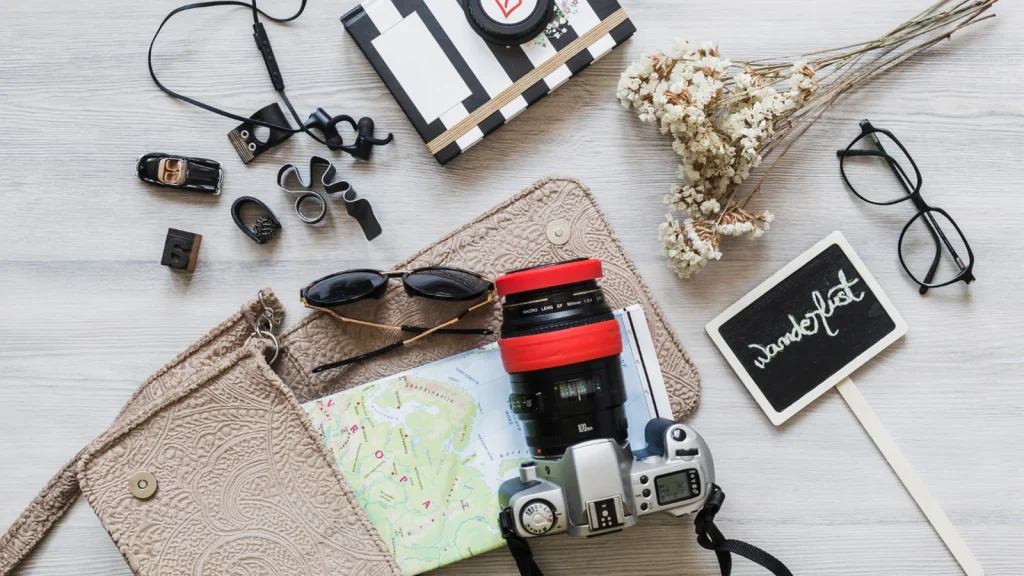
A small kit of accessories rounds out your setup and solves problems that gear alone cannot. None of these need to be expensive, but each one saves real time on shoot day.
Clamps and Clips
Spring clamps and binder clips hold backdrops taut, secure reflectors in place, and hang fabric without wrinkles. A basic set costs under $15 and gets used on nearly every shoot.
Air Blower or Duster
Dust shows up clearly on glossy and dark-colored products under strong light. A rubber air blower, usually under $10, clears dust from both the product and your lens without scratching either surface.
Styling Props
Risers, small stands, and context props add scale and visual interest to a shot. Keep them modest in size so they support the product rather than competing with it for attention.
Hand Models
A hand model can help show scale or demonstrate how a product is used, which works well for jewelry, tools, or skincare. For a simple catalogue shot, though, a hand often adds distraction rather than value, and the product should stay the focus.
See how these choices carry through into post-production in our guide to product photo retouching.
Photographing Tricky Materials: Reflective Objects and Textures
Some products fight back against standard lighting setups. Reflective and textured materials both need adjusted technique, not just more equipment, to photograph cleanly.
Reflective Objects
Glass, metal, jewelry, and glossy plastic all bounce light in ways that are hard to control. Use a large, diffused light source and shoot from indirect angles rather than straight on. Black flags, simple black cards placed just outside the frame, absorb stray light and cut down on unwanted hot spots and reflections. Reflections a photographer cannot avoid in camera are exactly the kind of fix that lands on our editing desk most often.
Textured Products
Fabric, wood, leather, and ceramics all have surface detail worth showing off. Flat, front-on light flattens that texture out completely. Side lighting, sometimes called raking light, hits the surface at a low angle and brings out grain, weave, and grip that a buyer wants to see before purchasing.
Learn more about cleaning up reflections and backgrounds in our photo cut-out services guide.
Equipment for Professional-Level Consistency
Once your basics are solid, these three additions push your output toward professional, retouch-ready quality. None are required for a beginner, but all three pay off once you are shooting regularly.
Color Calibration Tools
A monitor calibrator, such as a Datacolor Spyder, costs roughly $100 to $170 and ensures the colors you see match what buyers see on their own screens. A ColorChecker Passport, around $100, gives a reference point for accurate color correction.
A simple white balance card, often under $15, is the cheapest entry point into this category. A listing photo that looks accurate on your screen but is off on a buyer’s screen creates returns, and inconsistent color across a shoot is one of the most common fixes we handle.
Tethered Shooting
Tethered shooting connects your camera directly to a laptop using software like Capture One or Lightroom’s tethered capture tool. Each shot appears full-size on a large screen immediately, instead of a small camera display. This is standard practice in professional studios shooting high volumes, since it catches focus, framing, and lighting problems before the shoot wraps up.
Polarizing Filters
A circular polarizing filter, typically $30 to $80 depending on lens size, cuts unwanted reflections and glare directly in camera. It works on glass, plastic, metal, and packaging alike. Removing a reflection in camera with a polarizer is almost always cheaper and faster than removing the same reflection later in editing.
Even expensive photography equipment cannot always fix exposure, glare, or background problems. Let our Ecommerce Image Editing Services refine your shots before they reach your customers.
Equipment Needed for 360 Product Photography
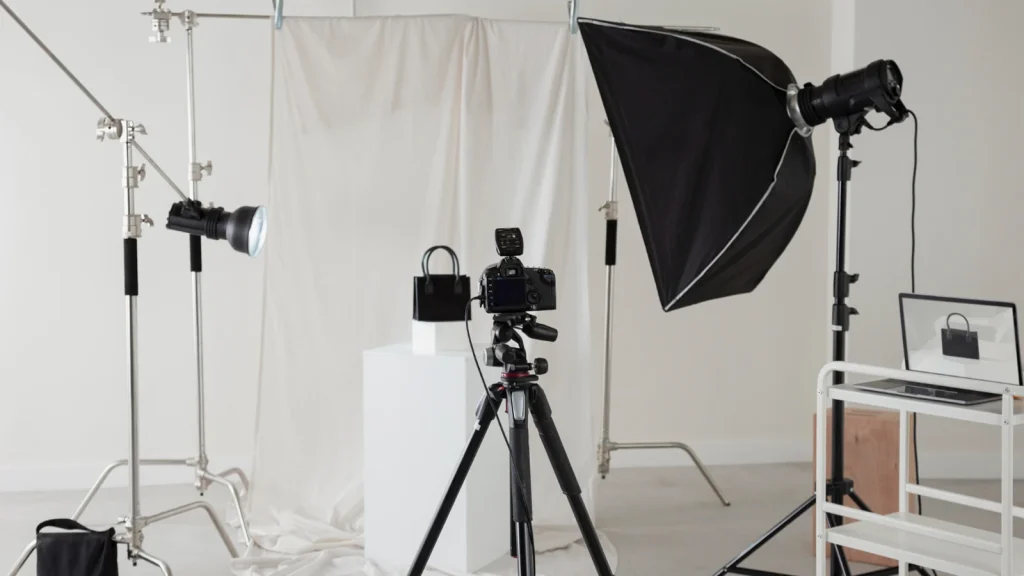
A 360 product view lets buyers rotate an item on screen, which works well for shoes, electronics, and furniture. It needs a slightly different equipment list than a standard still shot.
| Item | Why It’s Needed |
|---|---|
| Camera or smartphone | Same core requirement as standard product photography |
| Turntable | Manual or motorised. Motorised turntables sync with capture software for consistent rotation intervals |
| Tripod or camera mount | Camera position must stay fixed while the product rotates |
| Remote trigger | Avoids camera shake across dozens of sequential shots |
| Consistent lighting | Inconsistent light across frames creates visible flicker in the final view |
| 360 capture software | Stitches individual frames into an interactive rotating view |
A basic manual turntable costs $30 to $60. Motorised turntables that sync with capture software run $100 to $300, and are worth the upgrade once you are producing 360 views regularly rather than occasionally.
Beginner vs Professional Equipment: What to Buy First
Buying gear in the right order saves money and prevents you from owning tools you are not ready to use. Building up your photography equipment for product photography in stages also keeps you from overspending before you know what your store actually needs.
Starter Setup ($150 to $400)
A smartphone or an entry-level DSLR you likely already own, one continuous LED light, a basic tripod, and a white seamless backdrop or a light tent cover the essentials. This setup can produce genuinely sellable listing photos.
Growing Setup ($400 to $1,200)
Add a macro lens for detail shots, a second light for fill, proper reflectors, and a wider range of backdrop colors. This tier suits a store that has moved past its first few dozen listings.
Established Setup ($1,200 to $3,000+)
Strobe lighting, color calibration tools, a tethered shooting setup, multiple lens options, and possibly a motorised turntable round out a setup built for volume and consistency across a large catalogue.
| Budget | Recommended Setup |
|---|---|
| Under $200 | Smartphone, tripod mount, one LED panel, white foam board backdrop |
| $200 to $500 | Entry DSLR or continue on smartphone, proper tripod, two-light continuous kit, seamless paper backdrop |
| $500 to $1,500 | DSLR or mirrorless with a macro lens, softbox lighting, reflector kit, multiple backdrop colors, basic props |
| $1,500+ | Full lens range, strobe lighting, color calibration tools, tethered shooting setup, motorised turntable for 360 |
Best Equipment by Product Category
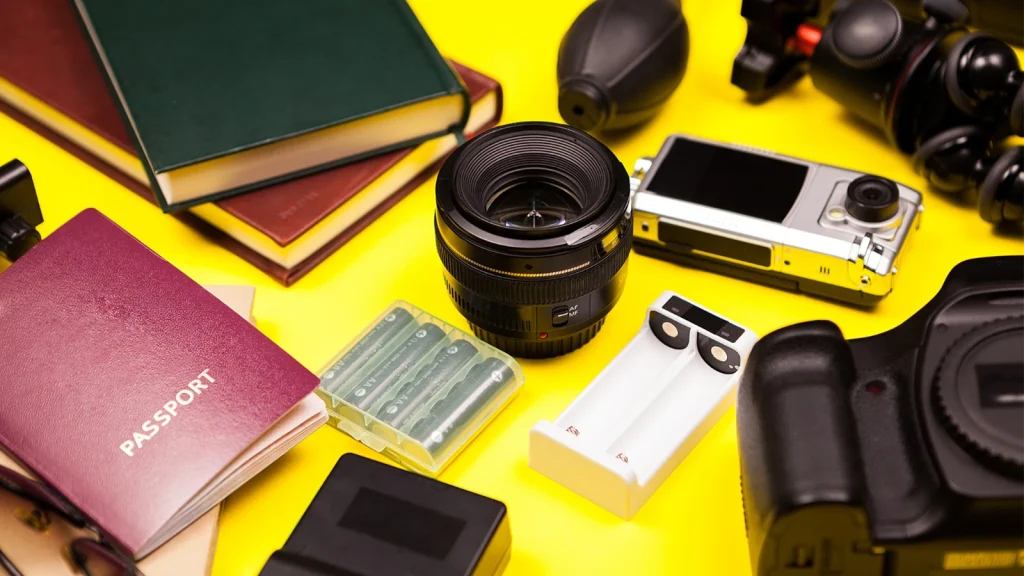
Different product categories need genuinely different gear, and buying generically wastes money on tools you will not use. The right photography equipment for product photography always depends on what you sell, so match your purchases to your category using the table below.
| Category | Priority Gear |
|---|---|
| Jewelry | 100mm macro lens, focus stacking, multiple small light sources, black and white reflective cards, anti-vibration surface |
| Fashion and apparel | 85mm or 24-70mm lens, larger softboxes for full-body coverage, mannequin or steamer, ghost mannequin setup for flat shots |
| Furniture | Wider shooting space, 70-200mm lens for distance shooting, larger diffused light sources, wide seamless backdrop or in-room staging |
| Food | Natural or daylight-balanced continuous light, reflectors for fill, styling props, macro lens for close detail shots |
| Cosmetics | Macro lens, color calibration tools since shade accuracy is critical, softbox lighting, acrylic risers |
| Electronics | Polarizing filter for screens and glossy casings, larger diffused lighting, 24-70mm lens |
| Glass | Polarizing filter, large diffused light sources, black flags for reflection control, light tent for small pieces |
| Home decor | 24-70mm and 70-200mm lens range depending on item size, warm continuous lighting, lifestyle props and staging surfaces |
For more on preparing detailed items like rings and necklaces for a listing, see our guide on jewelry photo editing.
Essential Equipment for a Home Product Photography Setup
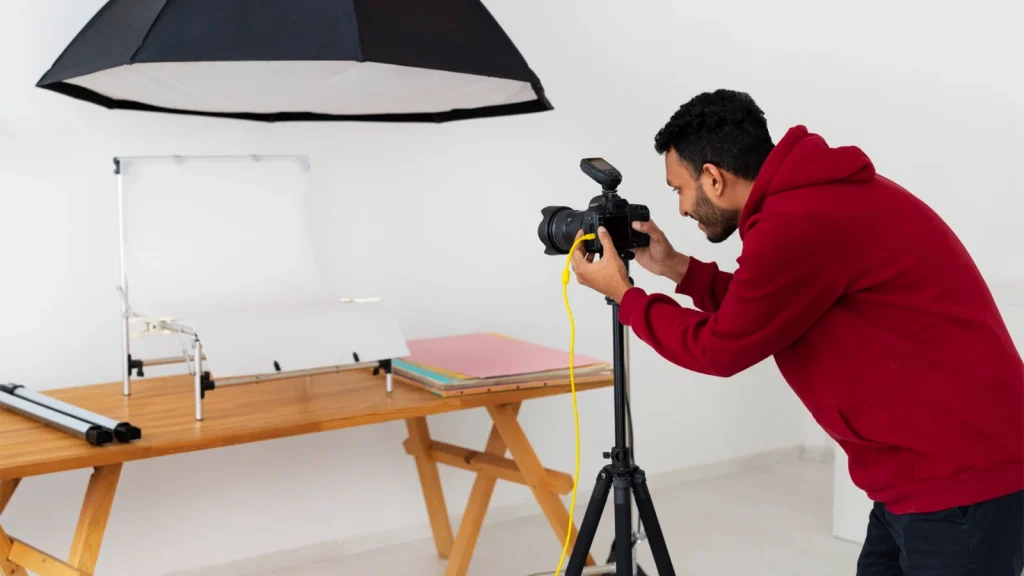
No studio? No problem. A spare room, a corner of the living room, or even a cleared-off dining table works just fine. Here is how to make a small home setup punch above its weight.
How Much Space You Actually Need
Most people picture a studio when they hear “product photography setup.” In reality, a basic setup fits comfortably in roughly six by six feet, smaller than most sellers expect before they try it themselves.
Where to Put Your Lights
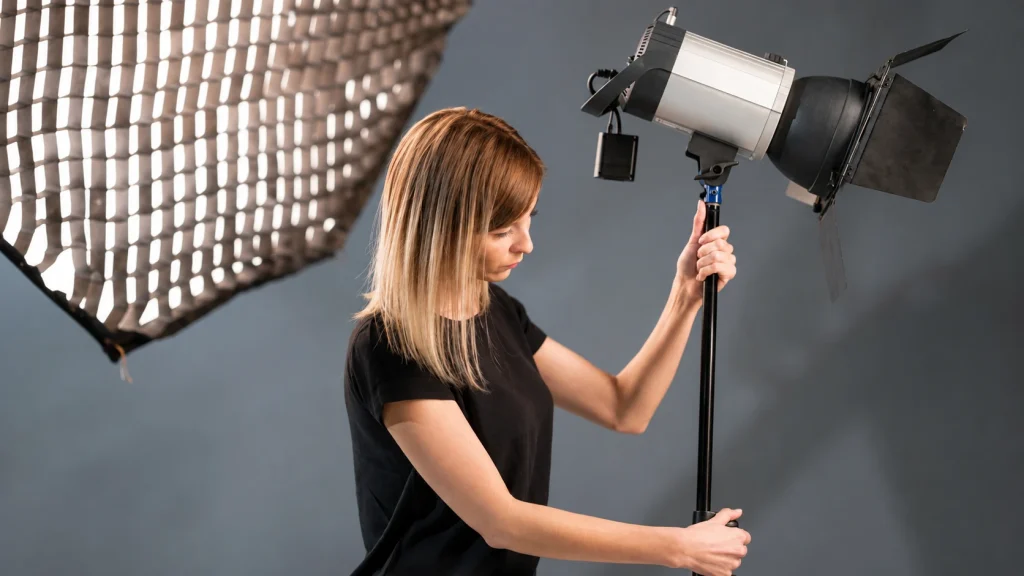
Let a window do half the work for free. Use it as your main or fill light, then place artificial lights at roughly 45 degrees on either side of the product. A reflector opposite the main light bounces fill into shadows without needing a third light.
Gear That Fits a Small Space
Home shooters deal with real space limits that a dedicated studio never has to think about. Collapsible backdrops and lightweight stands that break down fast matter more here. Look for gear you can pack away the moment the space is needed for dinner, homework, or anything else.
Why Consistency Beats a Bigger Setup
Shoot every product in the same spot, with the same settings, and your listings suddenly look like they came from one cohesive catalogue. We notice this immediately on the editing side too, since inconsistent shots are one of the fastest signs of a rushed or disorganized setup.
FAQs
What lighting equipment is best for product photography?
Continuous LED panels are the most beginner-friendly choice. They show the result in real time, unlike strobes, which need more experience to use well.
What equipment is needed for 360 product photography?
A turntable, a fixed tripod or camera mount, consistent lighting, a remote trigger, and 360 capture software to stitch the individual frames together.
What equipment do I need for photographing small products like jewelry?
A 100mm macro lens, multiple small light sources, black and white reflective cards, and a stable, vibration-free surface for close-up detail work.
Can I do product photography with just a smartphone?
Yes. A recent smartphone paired with a tripod, one light source, and a clean backdrop can produce genuinely sellable listing images for most product types.
What backdrop is best for product photography?
A plain white seamless backdrop works for most listings and is often required by major marketplaces. Colored or textured backdrops suit lifestyle shots instead
Conclusion
Building the right photography equipment for product photography does not mean buying everything at once. Start with the six core items, then prioritize lighting control before any other upgrade. Buy toward the specific product category you sell, and avoid the common mistakes covered above that cost extra time once your photos reach editing.
Once your photos are shot, we can take it from there. Explore our product photo editing services to see how clean source photos turn into polished, ready-to-list images.