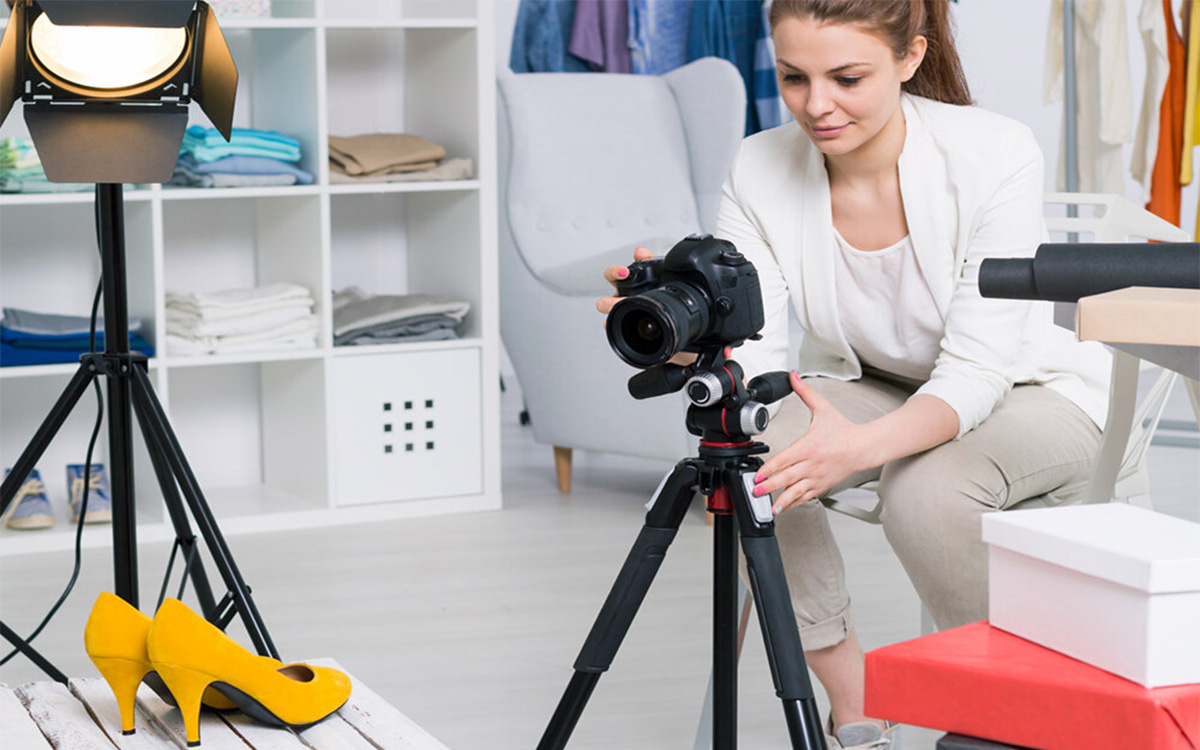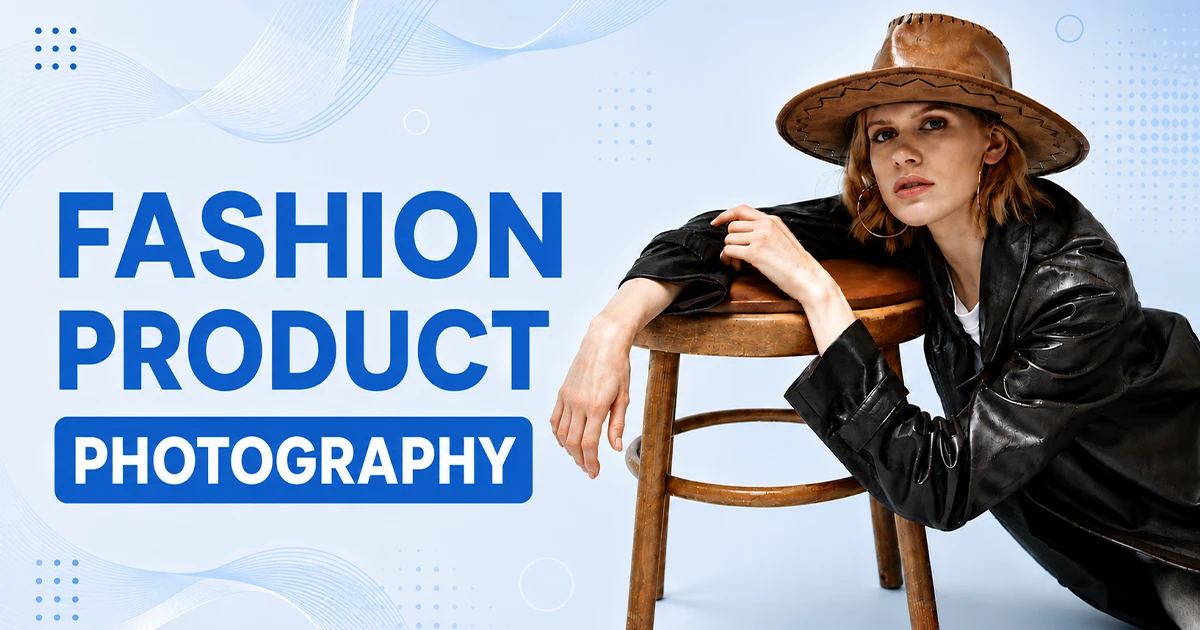
Your customer will never touch the fabric before they buy it. They can’t check the drape, feel the stitching, or see how a dress actually moves. Every purchase decision rests on a handful of photos, and if those photos fail to answer basic questions about fit, texture, and quality, the sale is gone before it starts.
Fashion product photography is the practice of photographing clothing and accessories to clearly show fit, fabric, color, and construction. So, online shoppers can make confident purchase decisions without physically handling the item. It goes beyond a clean product shot. It has to compensate for everything a dressing room usually provides.
This guide covers the styles, equipment, lighting, camera settings, and editing workflow needed for photography of fashion products that convert browsers into buyers. Plus, how AI tools fit into a modern production pipeline.
Already shooting, but the images still fall flat? Sometimes the gap isn’t the camera. It’s the post-production. Explore our fashion photo editing techniques to see what professional editing can fix without a full reshoot.
Fashion Product Photography Ideas: Choose the Right Style
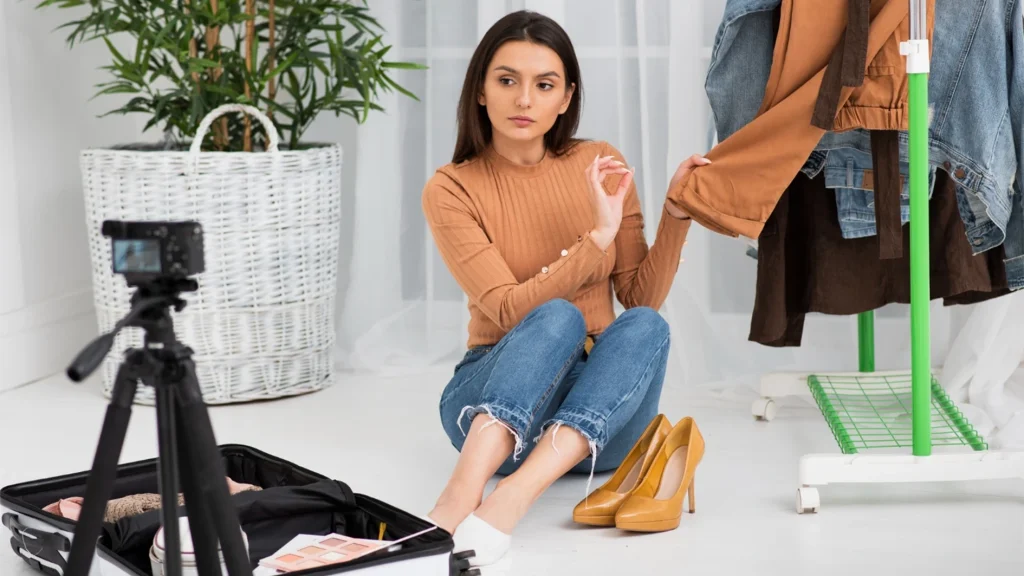
Most fashion brands don’t need to pick one photography style. They need to know when to use each one. Here are the six formats worth mastering.
E-commerce / Packshot Photography
A garment photography straight-on against a white or neutral background. This is the standard for product pages and marketplaces. Because it puts the item front and center with nothing to distract from color, cut, or detail. It works best when the goal is fast, clean comparison shopping.
Flat Lay Photography
The garment is arranged on a flat surface and shot from directly above. It suits shirts, knitwear, and accessories well. It also gives you room to style folds and layering. The limitation is that flat lays can’t show how a piece drapes on a body. So, pair them with another angle when fit matters. A flat lay product photography breakdown can definitely help you with setup tips.
Ghost Mannequin Photography
This technique creates the illusion of an invisible body inside the garment. So, the piece appears three-dimensional without a visible model or mannequin. It’s especially useful for jackets, shirts, dress photography, and structured sportswear.
Getting a convincing result depends heavily on post-production. See ghost mannequin photography and editing for how the compositing works.
Hanging / Hanger Photography
Simply doing garment photography on a hanger. It’s fast, inexpensive, and works well for catalogs or smaller stores that need volume over polish. The main risk is a lifeless-looking product. You can avoid it with better lighting and slight garment steaming before the shot.
On-Model Photography
Shooting the garment on a real person shows proportion, movement, and fit in a way flat images cannot. Capture front, side, back, and detail views, and choose poses that reveal the garment instead of hiding it.
Lifestyle Photography
These images place the product in a real-world setting, supporting brand personality and editorial storytelling. They’re most useful for social media, campaigns, and building an emotional connection with the product.
A strong e-commerce gallery rarely relies on just one of these. A typical sequence, such as packshot, back view, detail shot, on-model, and lifestyle, gives shoppers everything they need in one scroll.
Quick reference: which style fits which need
| Style | Best For | Editing It Usually Needs |
|---|---|---|
| Packshot / E-commerce | Product pages, marketplaces | Background removal, clipping path |
| Flat Lay | Shirts, knitwear, accessories | Color correction, cleanup |
| Ghost Mannequin | Jackets, dresses, structured garments | Ghost mannequin compositing |
| Hanger | Catalogs, budget shoots | Basic retouching |
| On-Model | Fit-focused listings | Model & product retouching |
| Lifestyle | Social, campaigns, brand storytelling | Color grading, light retouching |
Why Fashion Product Photography Drives Sales
Clothing is one of the hardest product categories to sell online. Because fit, fabric, and texture matter more than almost any other purchase decision. Strong fashion product photography replaces the fitting room by showing exactly how a garment falls, stretches, and sits on the body.
Help shoppers understand the product
Clear photos communicate fit, shape, texture, fabric weight, construction, and true color. These are the details a shopper would normally check by hand.
Build confidence before checkout
Multiple angles, close-up detail shots, and consistent, color-accurate imagery reduce hesitation and lower return rates. Shoppers know what they’re actually getting.
Support your entire e-commerce funnel
The same shoot can supply product pages, collection pages, marketplace listings, paid ads, social posts, lookbooks, and email campaigns. Clean product shots and lifestyle imagery aren’t competing formats. They work together, with packshots proving quality and lifestyle shots proving relevance.
Preparing for Your Fashion Product Shoot
Professional results start well before the camera comes out. Garment preparation and planning are what separate a rushed shoot from one that produces usable images the first time.
Prepare and inspect every garment
Steam out wrinkles, remove lint, trim loose threads, and check for stains before a single frame is shot. Fix loose buttons or zippers, and shape collars, cuffs, and sleeves. So the garment holds its intended silhouette under the lights.
Plan your shot list
Decide in advance which angles you need for every SKU. A hero shot, front, back, side, and detail views covering texture, fit, and any label or craftsmanship details worth highlighting.
For a deeper breakdown of shot lists and prep routines, see our clothing product photography tips.
Create a styling checklist
- Note garment positioning,
- any accessories or props,
- model styling requirements, and
- brand-specific rules before the shoot begins,
So nothing gets improvised on set. Current apparel photography practice puts as much weight on preparation. Wrinkle removal, clean backgrounds, careful shaping as it does on the camera work itself.
Building the Perfect Studio Setup
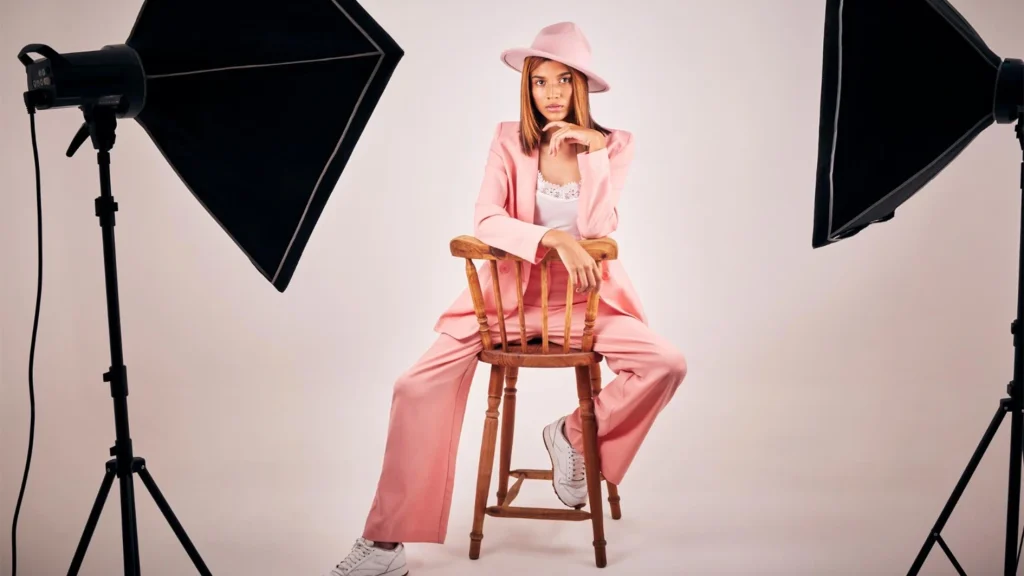
A dependable studio setup doesn’t need to be elaborate, but it does need to be consistent from one shoot to the next.
Essential studio equipment
A camera and lens suited to apparel work. A tripod, light stands, softboxes, reflectors, diffusers, a backdrop, and basic clamps or styling tools cover most fashion shoots.
Choosing the Right Backdrop
What’s the best background for fashion photos? It depends on the goal. Pure white or off-white backgrounds are the default for e-commerce. Because they meet most marketplace requirements and keep attention on the product. Gray and black backdrops suit higher-contrast or premium presentations. While colored or lifestyle backdrops support branding and storytelling, they are less suited to marketplace listings.
For most product pages, white-background fashion product photography stays the safer, more conversion-friendly choice, while lifestyle sets are reserved for campaigns and social content.
Mastering Lighting
Soft, diffused light generally flatters fabric better than hard light. This can create harsh shadows across seams and texture. A one-light setup can work for simple flat lays. While a two- or three-point setup (key, fill, and rim light) gives more control over shape and depth for on-model or ghost mannequin shots.
- Lighting Tools and Modifiers
Softboxes, umbrellas, reflectors, diffusers, and fill cards all shape how light wraps around a garment and how much shadow detail survives.
- Choosing Light Power
Consistency matters more than raw power. Keep your light-to-garment distance fixed across a shoot. So exposure stays even from one SKU to the next. That consistency is what makes a catalog look professionally shot rather than assembled from mismatched sessions.
Camera Gear and Settings for Apparel Photography
Camera and Lens Choices
Both DSLR and mirrorless cameras handle apparel work well. The bigger factor is the lens. A standard zoom offers flexibility for a range of shots. While a prime lens (commonly 50mm–85mm on full frame) keeps distortion low. This matters for clothing since a wide-angle lens can subtly stretch a garment’s proportions.
Recommended Camera Settings
- Shoot with a mid-range aperture (around f/8–f/11) for even sharpness across the garment.
- Keep ISO as low as your lighting allows to avoid noise.
- Set a custom white balance rather than relying on auto.
Since fabric color accuracy is non-negotiable for e-commerce. Shooting in RAW preserves the detail needed for retouching later. Single-point autofocus keeps focus locked on the garment rather than the background.
Keep Every Product Frame Consistent
Lock your camera height, focal length, and distance from the subject for every SKU in a session. Combined with steady exposure and white balance. This consistency is what lets a customer compare products confidently across your entire catalog. Inconsistent framing is one of the fastest ways to make a store look unprofessional.
Essential Shooting Techniques for Better Results
Capture Multiple Angles
Front, back, side, three-quarter, and close-up shots each answer a different question a shopper has. Skipping angles is one of the most common reasons return rates climb on apparel listings.
Show Fabric and Construction Details
Close-ups of stitching, texture, buttons, zippers, embroidery, prints, and seams reassure shoppers about quality. Details that are easy to overlook when you’re focused on the overall shot.
Keep Composition Consistent
Use the same framing, product scale, background, and camera position across a category. So the gallery reads as one cohesive shoot rather than a patchwork of sessions.
Shoot for the Shopper, Not Just the Photographer
Before every frame, ask what a customer would need to see before feeling comfortable buying this piece sight unseen. That question does more to improve conversion than any single piece of equipment. It’s the mindset that separates competent fashion product photography from photography that actually sells.
Special Techniques for Challenging Products
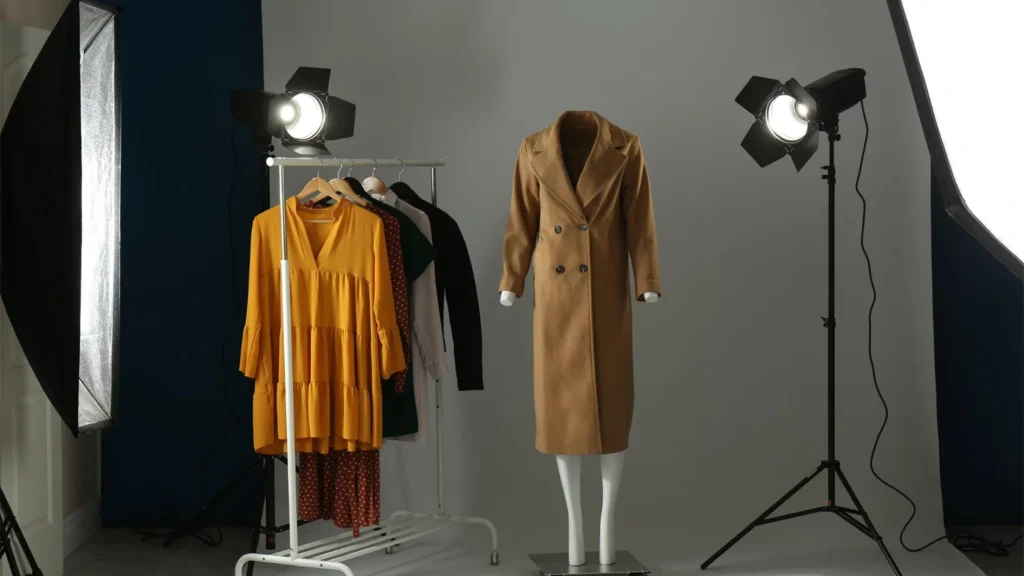
Photographing Black and Dark Garments
Dark fabrics swallow detail fast. Use a slightly wider light spread and a fill light to hold texture in the shadows. Keep the garment visually separated from the background with subtle rim lighting so edges don’t disappear.
Photographing White Clothing
White garments blow out easily. Meter carefully to protect highlight detail, avoid over-lighting, and watch for color-matching between the fabric and a pure white backdrop. This can otherwise merge together and hide the garment’s edges.
Photographing Reflective or Shiny Fabrics
Satin, silk, sequins, metallics, and leather all reflect light sources directly and create hot spots. Larger, softer light sources and slight adjustments to camera angle usually solve this faster than trying to fix it in editing.
Photographing Difficult Shapes
Puffy jackets, structured garments, draped dresses, and knitwear hold their shape differently under gravity and lighting. Small adjustments such as clips, tucks, or steaming mid-shoot often matter more than camera settings for these pieces.
Creating the Right Mood and Style
Match the Visual Style to the Brand
Minimalist, luxury, streetwear, editorial, sustainable, youth-focused, and outdoor or activewear brands each call for a different visual language. Different backgrounds, poses, and color treatments that reflect brand identity, not just the product.
Balance Product Clarity With Creativity
There’s a difference between selling the garment and selling the lifestyle around it. E-commerce imagery leans toward clarity; campaign and lifestyle imagery leans toward story. Most brands need both, used in the right place.
Use Props and Styling With Restraint
Props can add context, but the garment should always remain the visual priority. If a prop competes with the product for attention, it’s doing more harm than good.
Editing and Post-Production
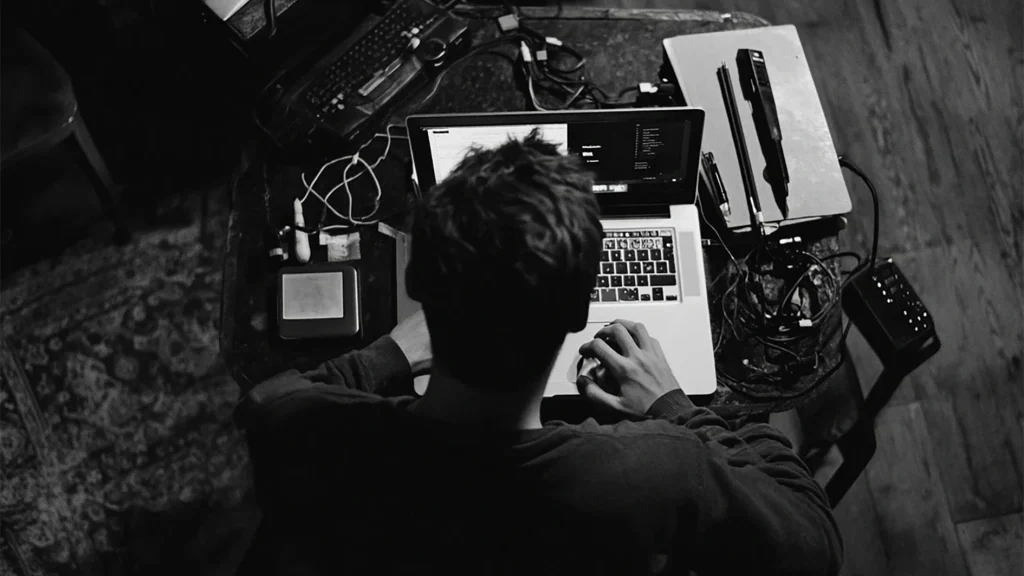
Editing turns a good shoot into e-commerce-ready imagery. It’s often where the biggest quality gap between DIY and professional results shows up.
Basic Color Correction
Correct white balance, exposure, and contrast first. Then fine-tune color accuracy so the fabric on-screen matches the fabric in real life. A mismatch here drives returns more than almost any other editing mistake.
Unwanted color ruining your fashion product photos?
Color is something that speaks for your photos maximum times. Offshore Clipping levels up your images from that perspective.
Advanced Color Correction
Background Removal and Cleanup
Clipping paths, background removal and masking give you a clean, marketplace-ready image. Edge refinement makes sure fine details like loose threads or fabric edges stay sharp instead of getting clipped off.
Garment Retouching
Wrinkle removal, lint and dust cleanup, and thread removal fix the small imperfections without altering the true shape or texture of the garment.
Ghost Mannequin and Composite Editing
This is one of the more technical edits in apparel photography:
- Removing mannequin sections
- Combining inner and outer garment views
- Compositing them into a single image that shows natural shape and structure.
Want that 3D ghost-mannequin look without doing it yourself?
Get My Ghost Mannequin Edit
Make an Entire Catalog Look Consistent
Standardize dimensions, background, crop, shadow style, and color treatment across every SKU. This single step is often what separates a brand’s imagery from a competitor’s, even when the raw photography is similar.
A Practical Fashion Product Photography Workflow
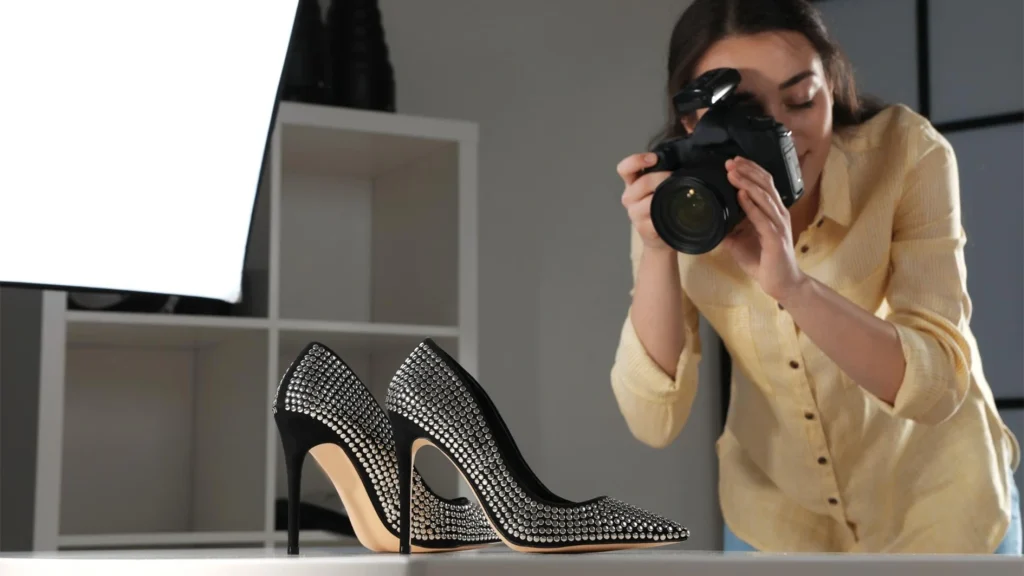
Here’s how the full process fits together, start to finish.
- Plan the shoot: Define SKUs, the shot list, and required angles before scheduling studio time.
- Prepare garments: Steam, clean, and inspect every piece so nothing needs fixing mid-shoot.
- Set up lighting and background: Lock in your setup so every product in the batch is shot under identical conditions.
- Lock camera settings: Fix aperture, ISO, white balance, and focus mode before the first frame.
- Shoot the complete product set: Capture every angle on your shot list for each SKU.
- Cull and organize images: Sort usable frames and file them by SKU to keep editing efficient.
- Edit and retouch: Apply color correction, background removal, and garment retouching.
- Export for e-commerce: Save in the dimensions and formats each channel requires.
- Check consistency: Compare finished images side by side across the catalog before publishing.
- Publish and reuse: Push images live, then repurpose the same assets across ads, social, and email.
Following consistent product photography best practices at each step is what keeps a growing catalog looking cohesive instead of stitched together from different shoots.
Pro Tips for Outstanding Fashion Product Photos
- Steam every garment before it goes in front of the camera.
- Keep lighting consistent across an entire shoot, not just one product.
- Shoot tethered when possible, so you catch problems before the session ends.
- Lock your camera position to keep framing identical across SKUs.
- Photograph the details shoppers actually care about: fabric, fit, and finish.
- Avoid over-styling; let the garment stay the focal point.
- Double-check color accuracy against the physical garment, not just your monitor.
- Leave enough negative space where a layout or platform requires it.
- Maintain consistent cropping across the whole catalog.
- Create multiple image formats such as square, portrait, and detail crops from one shoot.
- Review every fashion product image at 100% zoom before it goes to the client or store.
Using AI to Shake Up Fashion Product Photography
AI tools have moved from novelty to a genuine part of the fashion item photography workflow in 2026. But they work best as an extension of luxury fashion photography, not a replacement for it.
AI-Generated Backgrounds and Scenes
Modern AI tools can place a garment into a realistic lifestyle setting from a single studio shot. Cutting down the need for separate location shoots for every scene variation.
Virtual Models and On-Model Visualization
Some platforms can now show a garment on a range of AI-generated model body types and poses. It gives brands more on-model coverage without booking additional talent for every SKU.
Turning Simple Product Shots Into New Marketing Assets
A single flat lay, or packshot, can be extended into multiple lifestyle variations. Social crops and even short motion clips stretch the value of one shoot across more channels.
Where AI Still Needs Human Control
AI output still needs a trained eye reviewing garment accuracy, texture, logo placement, color, fit, and anatomy before anything goes live. Small distortions in hands, fabric folds, or proportions are still common enough that unreviewed AI images carry real brand risk. Treat AI as a way to extend a solid fashion product photography foundation, not a substitute for it.
DIY Solutions and Scaling Your Workflow
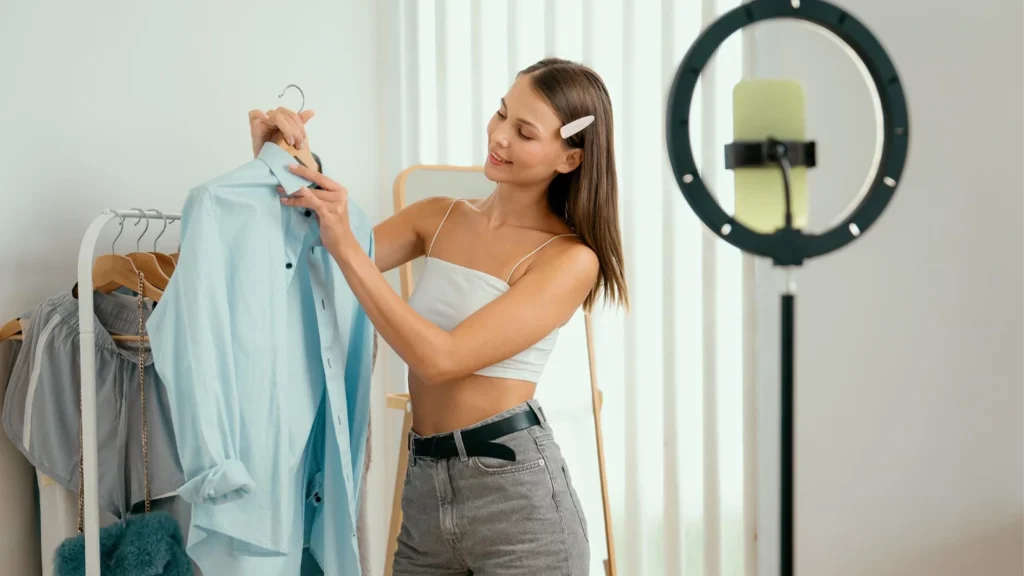
- Can You Shoot Professional Images at Home?
Yes, within limits. Soft window light, a white foam board for bounce, a simple backdrop, and a tripod. Even a modern smartphone camera can produce usable fashion product images for a small store or early-stage brand.
- When DIY Stops Being Efficient
DIY setups tend to break down as SKU count grows, colorways multiply, and seasonal collections stack up alongside stricter marketplace image requirements. At that point, the editing workload alone.
Background removal, color matching, and keeping a hundred-plus SKUs visually consistent. Usually costs more time than it saves. This is when most fashion brands start outsourcing post-production rather than trying to scale a DIY setup indefinitely.
Trends Shaping Fashion Product Photography in 2026
AI-Assisted Product Content
More fashion brands are folding AI tools into parts of their imaging pipeline. Background generation, on-model visualization, and image variation, rather than treating AI as a separate experiment.
More Authentic Lifestyle Imagery
Overly polished, heavily posed imagery is giving way to more natural-looking shots. Models mid-movement, candid expressions, and less rigid styling that mirrors how the garment actually looks when worn.
More Product Detail and Context
Shoppers are getting more close-up, texture, and construction shots per listing. Not fewer, as brands lean into the confidence-building role of detailed imagery.
Omnichannel Visual Content
The same shoot increasingly has to serve product pages, marketplaces, social commerce, and short-form video. These push brands toward more efficient, reusable shot lists.
Faster Content Production for Growing Catalogs
As SKU counts and seasonal drops accelerate, brands are prioritizing workflows. Whether photography, editing, or AI-assisted, it can keep pace without sacrificing consistency across the catalog.
Frequently Asked Questions
What does fashion product photography stand for?
Fashion product photography is the practice of photographing clothing and accessories to clearly show fit, fabric, color, and construction. It helps online shoppers make confident purchase decisions without handling the item in person.
What is the best background for fashion photos?
White or off-white backgrounds work best for most e-commerce listings and marketplace requirements. Gray, black, colored, and lifestyle backdrops suit branding, campaigns, and social content instead of standard product pages.
Which photography style is best for clothing e-commerce?
There’s no single best style. Most stores combine packshots, flat lays, ghost mannequin shots, and on-model imagery to cover both product clarity and fit within one product gallery.
What lighting is best for photographing clothes?
Soft, diffused light generally flatters fabric and reduces harsh shadows across seams and texture. A two- or three-point setup gives the most control for on-model and structured garments.
What camera settings should I use for clothing photography?
A mid-range aperture around f/8–f/11, a low ISO, a custom white balance, and RAW capture cover most apparel shoots. These settings keep detail sharp and color accurate for editing later.
Can I get professional results with a smartphone?
For small catalogs, yes. With good natural light, a steady setup, and a simple backdrop. As SKU count and marketplace requirements grow, dedicated camera gear becomes worth the investment.
How do I make clothing photos look more professional?
Prepare garments carefully, keep lighting and framing consistent across every SKU, and invest in editing that corrects color and removes background distractions before publishing.
How do I photograph clothes without a model?
Ghost mannequins, flat lay, and hanger photography all show garments clearly without a model. Ghost mannequin techniques in particular can convey shape and structure convincingly.
Is AI useful for fashion product photography?
Yes, for backgrounds, on-model variations, and extending one shoot into more assets. But AI output still needs human review for garment accuracy, texture, and fit before publishing.
Conclusion
Fashion product photography isn’t about owning the most expensive camera on the market. It’s about showing the garment clearly and consistently. Get the preparation, lighting, and camera settings right. Then editing becomes the layer that makes an entire catalog look polished and dependable.
If your team would rather hand off the editing workload than build it in-house, our e-commerce product photography guide outlines how a dedicated editing partner fits into that process.