Have you ever taken a photo of someone and felt like it captured exactly who they are, their personality, emotions, and unique story? That’s the magic of portrait photography.
Portrait photography is one of the most rewarding genres of photography because it’s about more than just taking pictures of people. A great portrait can reveal confidence, joy, vulnerability, or character in a single frame. It creates a connection between the subject and the viewer, turning an ordinary moment into something memorable.
In this beginner-friendly guide, you’ll learn everything you need to know to get started with portrait photography in 2026. We’ll cover essential camera settings, how to work with natural and artificial light, simple posing techniques, composition tips, and easy editing methods that can transform your images.
Whether you’re shooting with a DSLR, a mirrorless camera, or even a smartphone, everything here is designed to be immediately actionable.
What you’ll learn in this article
- 1 Key Takeaways
- 2 What Is Portrait Photography?
- 3 The Portrait Photography Beginner Framework
- 4 Essential Gear for Beginner Portrait Photographers
- 5 Portrait Photography Camera Settings Explained
- 6 Mastering Portrait Lighting for Beginners
- 7 Composition Techniques for Portrait Photography
- 8 Types of Portrait Photography
- 9 Post-Processing Basics for Beginner Portrait Photographers
- 10 Common Portrait Photography Mistakes and How to Fix Them
- 11 Conclusion
- 12 FAQs
Key Takeaways
- Exposure Triangle for balance aperture, shutter speed, and ISO for every shot
- Aperture f/1.8–f/2.8 for individual portraits; f/5.6–f/8 for groups
- Always focus on the nearest eye for sharp eyes make the portrait
- Soft, indirect light is almost always more flattering than direct sunlight
- Golden hour and overcast days are your best friends outdoors
- Rule of Thirds creates more dynamic compositions than centering every shot
- Rapport with your subject is more valuable than any piece of gear
- Shoot in RAW and edit in Lightroom for maximum control
- Background matters for scan your frame before every shot
- Practice consistently for portrait photography improves fastest through repetition
What Is Portrait Photography?
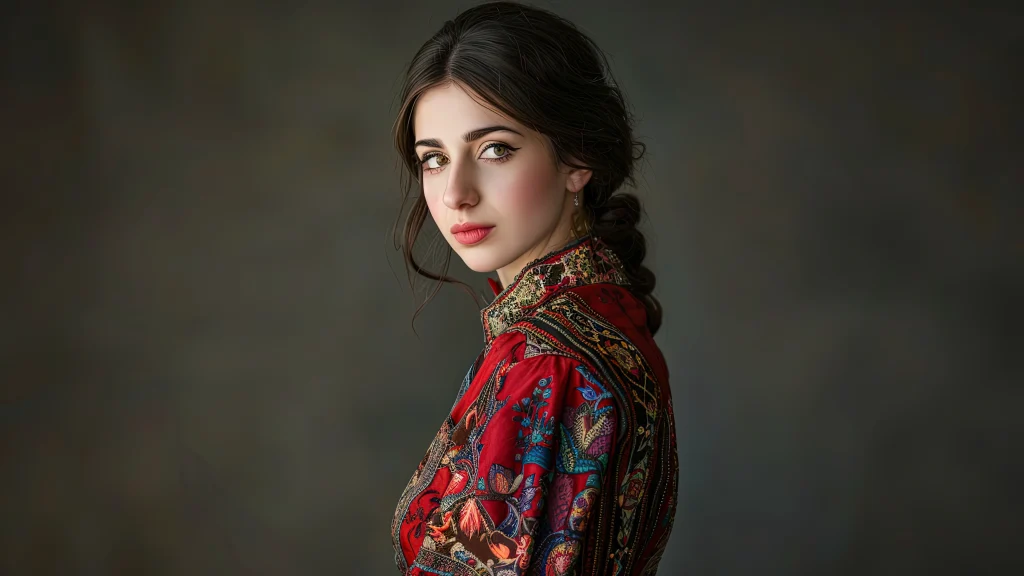
Portrait photography is the art of photographing people in a way that tells a story about who they are. A good portrait goes beyond showing what someone looks like; it captures their personality, emotions, and character.
Unlike candid photos or street photography, portrait photography is usually planned. The photographer carefully considers the lighting, background, composition, and pose to create an image that represents the subject in the best possible way.
The Portrait Photography Beginner Framework
Before diving into individual settings and techniques, it helps to have a mental structure. Think of every portrait session through five lenses:
- Person: Who is the subject? What do you want to say about them?
- Light: Where is your light coming from, and is it flattering?
- Lens & Settings: Are your technical choices supporting the mood you want?
- Composition: How is the subject placed in the frame?
- Connection: Does your subject feel comfortable? Is their expression genuine?
Every technique in this guide connects back to one of these five pillars. Master them together, and technically imperfect shots will still feel powerful.
Essential Gear for Beginner Portrait Photographers
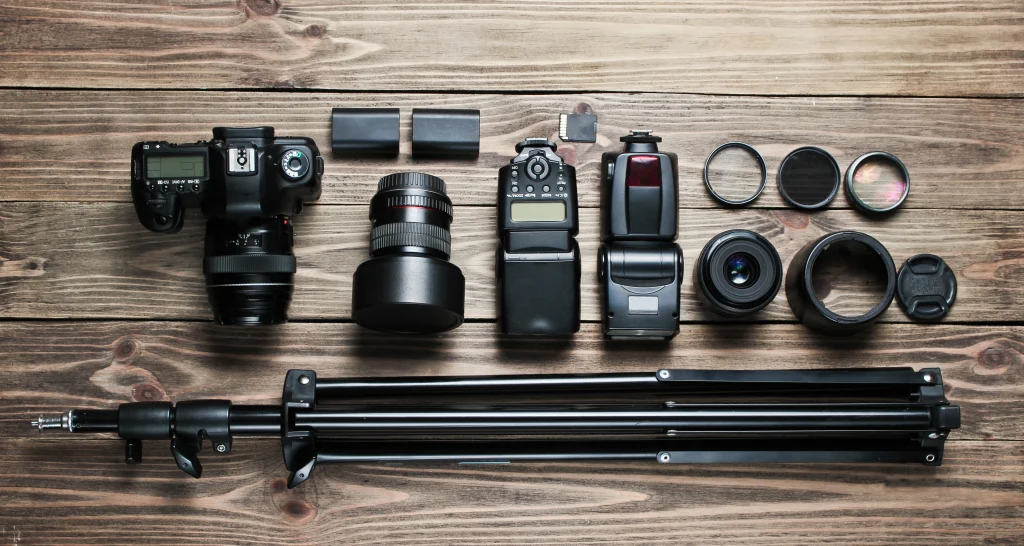
You don’t need expensive equipment to start taking great portraits. A camera, a good lens, and decent lighting are enough for most beginners.
As you gain experience, you can add more gear to your setup. For now, focus on the basics and learn how to use them well. Good technique matters more than having the latest equipment.
Here is the essential gear for beginners in portrait photography:
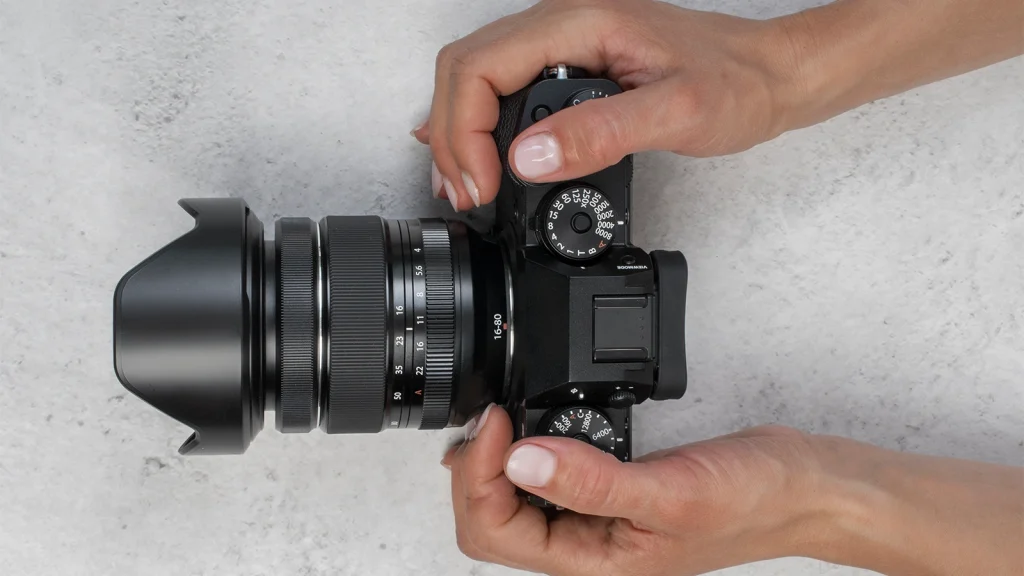
Camera Body
You don’t need the most expensive camera. A modern entry-level DSLR or mirrorless camera, such as a Canon Rebel series, Nikon D3500, Sony Alpha a6000, or Fujifilm X-T30, is more than capable of producing professional-quality portraits. What matters far more is your understanding of how to use it.
Key features to look for:
- Manual and Aperture Priority mode
- Interchangeable lens system
- Decent autofocus with eye-detection (increasingly common even on budget bodies)
- RAW file support
Best Lenses for Portrait Photography: 50mm vs 85mm
Lens choice has a significant impact on how your portraits look and feel. Different focal lengths affect perspective, background compression, and subject separation, all of which influence the overall appearance of a portrait.
| Feature | 50mm (Nifty Fifty) | 85mm (Portrait Classic) |
|---|---|---|
| Field of view | Wider, includes more background | Narrower, more compressed |
| Background blur | Moderate at f/1.8 | Beautiful, creamy bokeh |
| Working distance | Closer to the subject | More distance from the subject |
| Cost | Very affordable | Moderate to premium |
| Best for | Street, environmental, casual portraits | Headshots, studio, close-up portraits |
| Distortion | Slight at close range | Minimal, flattering perspective |
| Beginner friendliness | ★★★★★ | ★★★★☆ |
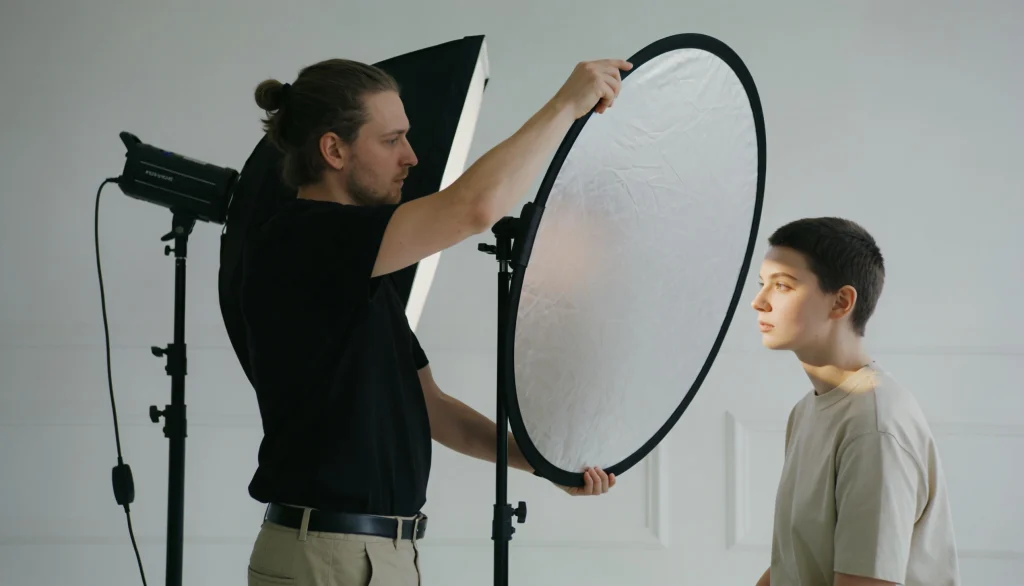
Lighting Equipment
You don’t need studio strobes on day one. Start with:
- Reflector (5-in-1): The single most useful tool for natural light portraits. Bounces sunlight back onto your subject to fill in shadows.
- External Flash (Speedlite/Speedlight): A step up from your camera’s pop-up flash, offering more power and the ability to bounce light off walls and ceilings.
- Softbox or Umbrella: When you’re ready to explore studio or indoor artificial lighting.
Useful Accessories
- Tripod: Allows you to step away from the camera and connect with your subject.
- Remote shutter release: Frees you to interact while shooting.
- Memory cards and extra batteries: Never miss a shot for preventable reasons.
Portrait Photography Camera Settings Explained
Camera settings can feel overwhelming at first. Here’s how to approach them systematically. Here’s how to approach them systematically. Understanding how aperture, shutter speed, and ISO work together will give you greater control over exposure, background blur, subject sharpness, and overall image quality.
Here are the settings you need to follow for portrait photography:
The Exposure Triangle for Portraits
Every photograph is governed by three settings that work together: aperture, shutter speed, and ISO, commonly called the exposure triangle. Changing one affects the others.
- Aperture controls depth of field (background blur)
- Shutter speed controls motion (sharpness)
- ISO controls light sensitivity (grain/noise)
For portraits, your primary concern is aperture (for that beautiful background separation), while keeping shutter speed fast enough for sharp results.
Best Aperture for Portrait Photography
The best aperture for portrait photography is between f/1.8 and f/2.8 for individual headshots, creating background blur while keeping the face sharp. For groups, use f/5.6 to f/8 to keep everyone in focus.
| Scenario | Recommended Aperture | Result |
|---|---|---|
| Single subject headshot | f/1.8 – f/2.8 | Beautiful background blur, subject pops |
| Single subject, full length | f/3.5 – f/5.6 | Sharp head to toe, subtle blur |
| Two to three people | f/4 | All subjects in focus |
| Groups of four or more | f/5.6 – f/8 | Everyone sharp |
| Environmental portrait | f/5.6 – f/8 | Subject and setting both visible |
| Children (active) | f/5.6 | Sharp on moving subjects, background blurred |
Shooting wide open at f/1.4 looks beautiful in theory, but the depth of field becomes so thin that even slight subject movement can throw an eye or ear out of focus. Start at f/1.8–f/2.8 for more margin for error.
Shutter Speed for Sharp Portraits
A minimum shutter speed of 1/125 second is recommended for stationary adults. For children or anyone who moves frequently, push to 1/200 or faster. The general rule is that your shutter speed should be at least equal to your focal length (so 1/85s minimum for an 85mm lens, ideally faster).
ISO Settings
Keep ISO as low as possible in good light; ISO 100–400 is ideal. Modern cameras handle ISO 1600–3200 cleanly, so don’t be afraid to push it indoors rather than compromise on shutter speed or depth of field. Always prioritize a sharp, well-exposed shot over low noise.
Recommended Shooting Mode for Beginners
The best mode for beginner portrait photographers is Aperture Priority (Av/A mode)
In Aperture Priority, you set the aperture and ISO, and the camera automatically selects the correct shutter speed. This gives you creative control over background blur while handling exposure automatically, the ideal training wheels that don’t hold you back.
Once you’re comfortable, switch to Manual mode (M) in controlled settings like studios or when using off-camera flash.
Mastering Portrait Lighting for Beginners
Lighting is the single most impactful variable in portrait photography. The same subject shot in the same location can look completely different depending on where the light is coming from.
Natural Light Portraits
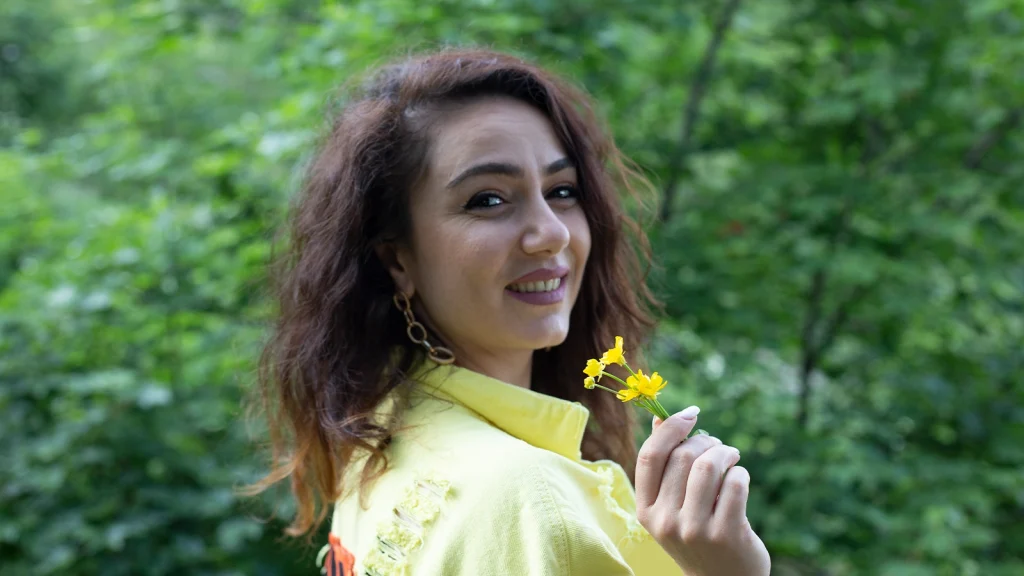
Natural light is free, beautiful, and unpredictable, which makes learning to use it one of the most valuable skills you can develop. Soft, indirect natural light is the most flattering for skin tones and produces gentle, natural-looking shadows.
The single biggest mistake beginners make is shooting portraits in direct midday sunlight in an open field. This creates harsh shadows under the eyes, nose, and chin, and causes subjects to squint. Always seek shade, overcast days, or the soft light of golden hour.
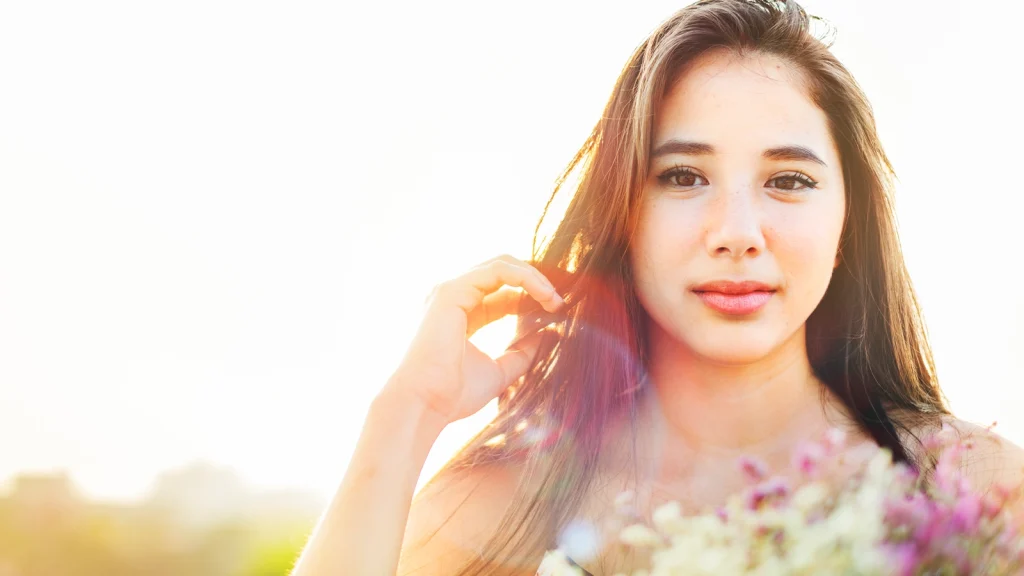
Golden Hour and Overcast Days
- Golden hour produces warm, directional light that wraps beautifully around subjects. Position your subject with the sun slightly behind and to the side for a flattering glow, or use it as a rim light.
- Overcast days are underrated. Cloud cover acts like a giant natural softbox, diffusing sunlight into soft, even illumination with no harsh shadows. It’s some of the best portrait lighting available without any equipment.
Window Light Technique
A large window is the indoor portrait photographer’s best friend. It provides soft, directional light that rivals expensive studio setups for free.
How to use window light:
- Position your subject facing the window, or at a 45-degree angle to it
- The larger the window, the softer the light
- Use a reflector or white foam board on the opposite side to fill in shadows
- Avoid direct sunlight streaming through the window (use a sheer curtain to diffuse it)
- Shoot during the middle of the day when light is bright but not harsh
Light Direction Quick Reference
Where your light is positioned relative to your subject determines the entire mood of the portrait. Here quick table to understand the light direction:
| Light Position | Effect | Best For |
|---|---|---|
| Front (flat) lighting | Evenly minimal shadows, safe | Beginners, soft beauty shots |
| 45-degree (Rembrandt) | Depth, dimension, flattering | Most portrait styles |
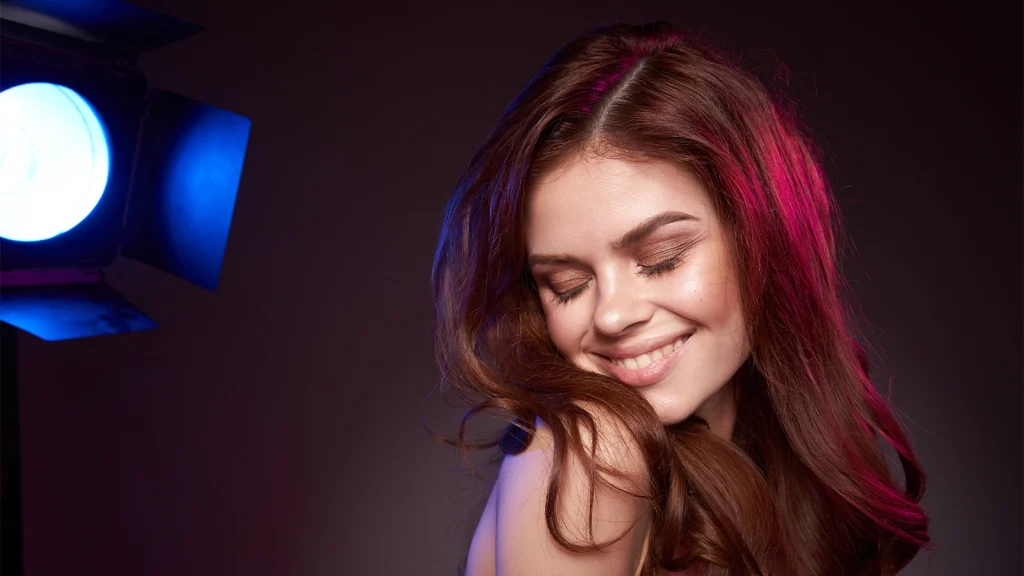
| Side (split) lighting | Dramatic, half face in shadow | Moody, artistic portraits |
| Backlighting (rim light) | Glowing outline, dreamy | Creative, golden hour shots |
| Under lighting | Unusual, eerie | Creative, intentional effect |
Positioning your main light source 45 degrees to one side and slightly above the subject is considered the most versatile and universally flattering position and the ideal starting point for beginners.
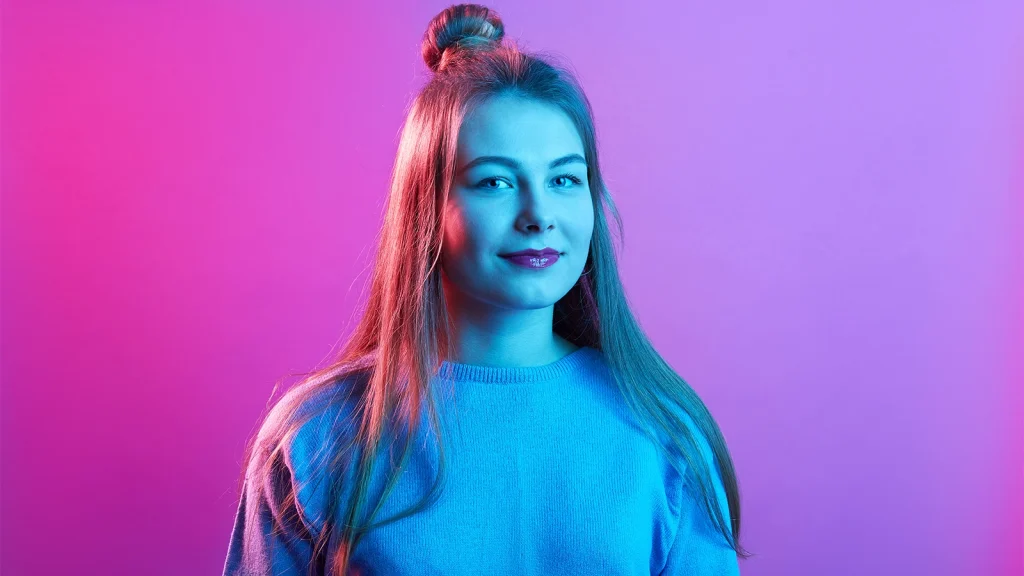
Artificial and Studio Lighting Basics
When natural light isn’t available or controllable, basic artificial lighting expands your options dramatically.
- Softbox: Wraps your flash in a large diffuser, producing soft, directional light similar to a window
- Umbrella (shoot-through): Diffuses light broadly and softly, great for beginners
- Reflector: Bounces and redirects existing light to fill shadows
Start with a one-light setup (key light + reflector) before adding complexity. Understand each element before adding the next.
Composition Techniques for Portrait Photography
Composition is how you arrange the elements within your frame. Good composition guides the viewer’s eye exactly where you want it to your subject’s face, and especially their eyes.
Here are some composition techniques for portrait photography:
Rule of Thirds
Divide your frame into a 3×3 grid (most cameras can display this overlay). Placing your subject’s eyes along the upper third horizontal line, rather than in the dead center of the frame, creates a more dynamic, visually interesting portrait. It leaves room for context, sky, environment, and negative space without the subject feeling crowded.
Eye Contact and Focus
Always focus on the nearest eye. Eyes are the emotional anchor of every portrait. If the eyes are sharp, the image works even if other elements aren’t perfect.
Many modern cameras offer Eye AF (Eye Autofocus) a feature that automatically detects and locks focus on the nearest eye. If your camera has this, use it for every portrait session.
Headroom and Lead Room
- Headroom: The space between the top of your subject’s head and the top of the frame. Too much looks empty; too little feels cramped. A small, intentional amount is usually correct.
- Lead room (Nose room): If your subject is looking to one side, give slightly more space in the direction they’re looking. This feels natural and comfortable to the viewer. Ignoring it creates visual tension that reads as a mistake.
Background Selection
A cluttered, distracting background undermines even a technically perfect portrait. Before every shot, scan the entire frame, not just the subject.
Background rules for beginners:
- Use a wide aperture (f/1.8–f/2.8) to blur busy backgrounds
- Look for clean, uncluttered areas, walls, foliage, and open sky
- Avoid poles, branches, or other objects appearing to “grow” from the subject’s head
- Move your subject, not just your camera, to change the background
- Place your subject in the brightest area of the frame to help them stand out
Cropping Guidelines
Cropping can improve a portrait, but there are rules to follow:
Safe to crop at:
- Mid-forehead (intentional, dramatic)
- Upper chest
- Just above or below the knees
- Mid-shin
Never crop at:
- Wrists (looks severed)
- Ankles
- The very top of the head (looks accidental)
- Fingertips
Posing and Directing Your Subject
Technical perfection is undone by stiff, uncomfortable-looking subjects. Posing isn’t about forcing someone into shape; it’s about helping them feel at ease so authenticity comes naturally.
Making Your Subject Feel Comfortable
The most important posing tip isn’t a specific angle or hand position; it’s your relationship with the subject. Talk to them. Show them the back of the camera. Tell them what’s working. A relaxed subject produces more genuine expressions in five minutes than a tense subject does in an hour.
Begin by practicing with friends or family who trust you. The rapport you build carries over directly into the photographs.
Natural Posing Techniques
- Ask subjects to take a breath and roll their shoulders back. This naturally improves posture and expression
- Slight body turn: Angling the shoulders 15–30 degrees away from the camera is more flattering than a full front-on stance for most people
- Weight shift: Having your subject put their weight on their back leg creates a natural, casual lean
- Hand placement: Hands in pockets, folded gently in front, or resting naturally on a surface all look better than rigid arms at the sides
- Lean forward slightly: Subtly bringing the face toward the camera is universally flattering
- Chin down, slightly: Lowering the chin just a touch prevents an unflattering upward-looking angle in most scenarios
Common Posing Mistakes to Avoid
Even with the right camera settings and lighting, poor posing can make a portrait feel awkward or unflattering.
That’s why understanding basic posing principles is just as important as mastering your camera. Many beginners unknowingly make small mistakes that affect the final image.
The following mistakes and fixation of poses for portrait photography:
| Mistake | Fix |
|---|---|
| Arms flat against the body | Slightly separate arms from torso |
| Full front-on stance | Rotate subject 15–30 degrees |
| Stiff hands | Give hands a purpose (pocket, prop, chin) |
| Forced smile (“say cheese”) | Get a genuine laugh with conversation |
| Subject looking straight at lens blankly | Ask them to think of something specific |
| Expression doesn’t match body language | Ensure they work together |
Types of Portrait Photography
Understanding the different portrait styles helps you choose the right approach for each subject and situation. Here is a table to describe the different types of portrait photography:
| Portrait Type | Description | Setting | Best For |
|---|---|---|---|
| Standard/Traditional | Subject-centered, eye contact, neutral background | Studio or simple outdoor | Headshots, professional photos |
| Environmental | Subject in their natural setting (home, workspace) | Location | Storytelling, editorial |
| Lifestyle/Candid | Unposed, natural moments | Anywhere | Family, documentary |
| Headshot | Tight crop, face as the primary focus | Studio | Professional profiles, actors |
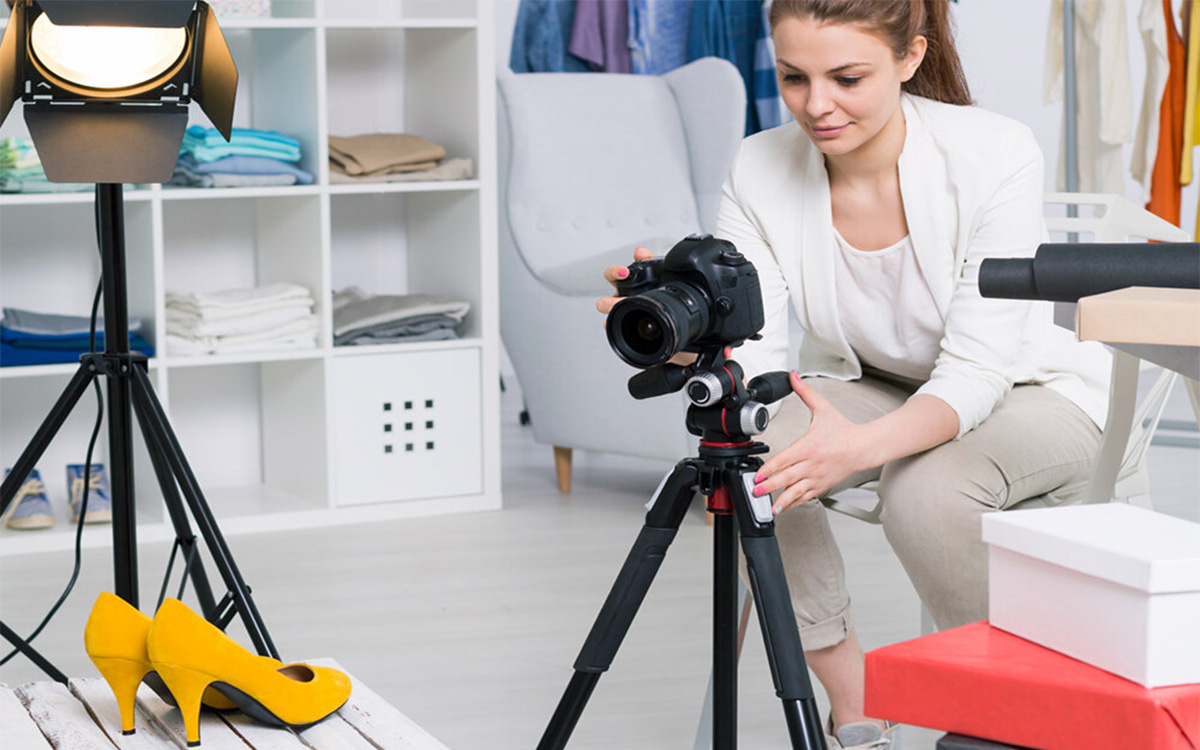
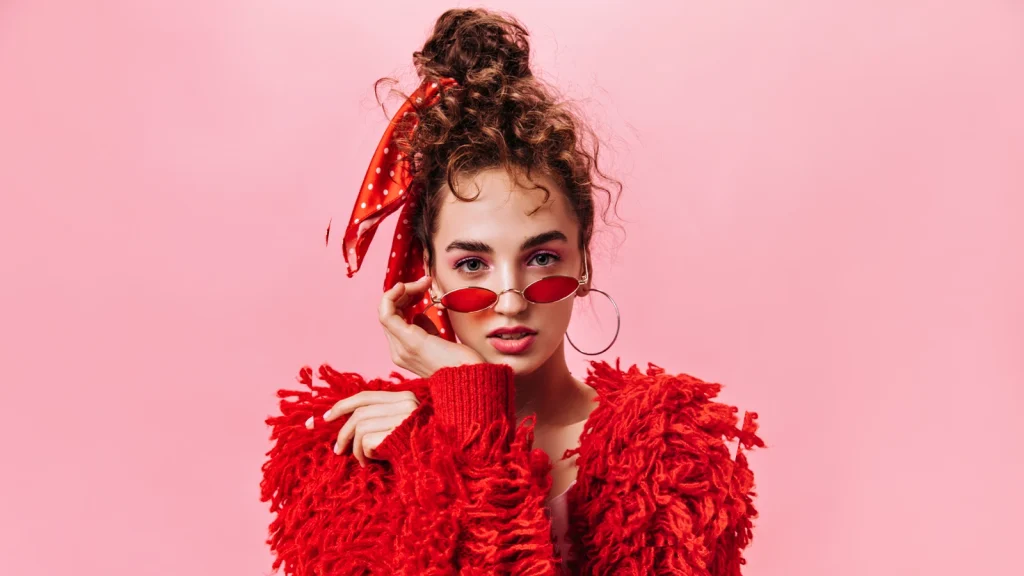
| Fashion | Style-forward, clothing is part of the story | Studio or location | Editorial, commercial |
| Fine Art | Conceptual, artistic expression | Varies | Gallery, personal projects |
Post-Processing Basics for Beginner Portrait Photographers
Great portraits rarely come straight out of the camera; a small amount of intentional editing elevates them significantly. Here is the list of post-processing basics for beginner portraits:
Shoot in RAW (Always)
RAW files preserve all the data your camera sensor captures, giving you far more flexibility in editing. JPEGs apply in-camera processing and discard the rest. For portrait photography, where skin tone, white balance, and exposure adjustments are common, RAW is essential.
Adobe Lightroom Workflow for Beginners
Adobe Lightroom is the most beginner-friendly professional editing platform, and the recommended starting point for new portrait photographers.
Basic Lightroom editing order:
- Exposure: Brighten or darken the overall image
- White Balance: Correct for warm (yellow) or cool (blue) casts. For skin tones, a slightly warm white balance is generally more flattering
- Contrast: Add gentle contrast to give the image depth
- Highlights/Shadows: Recover blown-out skies or lift dark shadow areas
- Clarity/Texture: Use sparingly; too much creates unflattering skin texture
- HSL (Hue/Saturation/Luminance): Adjust skin tone colors specifically: slightly increasing orange luminance brightens skin naturally
- Cropping: Final composition adjustments
Skin Tone Corrections
Skin tones are the most sensitive element of portrait editing. A common beginner mistake is over-processing skin until it looks plastic or unnatural.
Key principles:
- Aim to enhance, not transform
- Use the Adjustment Brush in Lightroom to reduce blemishes selectively
- Slightly desaturate red tones if skin appears blotchy
- Global edits (not spot-fixes) are usually cleaner and more natural-looking
Background Cleanup and Professional Finishing
Once your basic retouching is complete, evaluate the background. Any distracting elements can reduce the visual impact of the portrait and pull attention away from the subject.
A clean background helps:
- Keep focus on the subject
- Create a more professional look
- Improve consistency across a portfolio
- Meet client and commercial requirements
If you want backgrounds removed or swapped cleanly and accurately, professional clipping and masking services can save significant time. Offshore Clipping provides manual clipping path, masking, and retouching services to help photographers deliver polished, client-ready portraits efficiently.
Common Portrait Photography Mistakes and How to Fix Them
Even with the right camera settings and equipment, mistakes are a natural part of learning portrait photography. The good news is that most beginner errors are easy to identify and correct once you know what to look for. Here are the following mistakes and solutions to common portrait photography:
| Mistake | Why It Happens | How to Fix It |
|---|---|---|
| Blurry eyes | Slow shutter speed or missed focus | Use Eye AF; keep 1/125s minimum |
| Harsh shadows on face | Direct midday sun or bare flash | Move to shade or use diffuser/reflector |
| Distracting background | Not scanning the full frame | Walk around, change angle, use wider aperture |
| Unflattering skin tones | Wrong white balance or JPEG compression | Shoot RAW; adjust WB in Lightroom |
| Subject looks stiff | Insufficient rapport | Talk more; show them images; use prompts |
| Background as sharp as subject | Aperture too narrow | Open up to f/1.8–f/2.8 |
| Eyes look lifeless | No catchlights (light reflection in eyes) | Ensure a light source is reflected in the eye |
| Subject squinting | Looking into direct sun | Reposition; use backlight or shade |
Conclusion
Portrait photography is a skill that grows with every photo you take. Each session teaches you something new, how light shapes a face, how people express themselves, and how to trust your creative eye.
The fundamentals covered in this guide, from mastering camera settings and understanding light to composing your shots and connecting with your subject, become stronger with practice.
Don’t feel pressured to learn everything at once. Start with one technique, such as using window light or applying the rule of thirds, and focus on it during your next shoot.
As your confidence grows, add new skills one step at a time. Great portrait photography is built through consistent practice, not overnight perfection.
Most importantly, remember that great portraits are not created by expensive gear alone. They come from noticing the light, building a connection with your subject, and capturing a genuine moment.
FAQs
Do I need an expensive camera to take good portraits?
No. Modern entry-level DSLRs and mirrorless cameras produce excellent portrait images. Lens quality and lighting understanding matter far more than camera body price.
How do I avoid harsh shadows in portrait photography?
Move your subject out of direct sunlight into open shade. Alternatively, shoot on overcast days (natural diffusion), use a window as your light source indoors, or position the sun behind your subject and use a reflector to bounce light back onto their face.
How do I make my portrait subject feel comfortable?
Talk to them before and during the shoot. Show them images you’re taking so they feel involved. Give specific, encouraging feedback. Start with simple poses and build gradually. People relax when they feel seen and respected, not when they’re being rushed through poses.
When is the best time of day to shoot outdoor portraits?
Golden hour is usually the hour after sunrise and the hour before sunset, producing the most flattering warm, directional light for outdoor portraits. Overcast days are the second-best option, offering naturally diffused, shadowless light throughout the day.