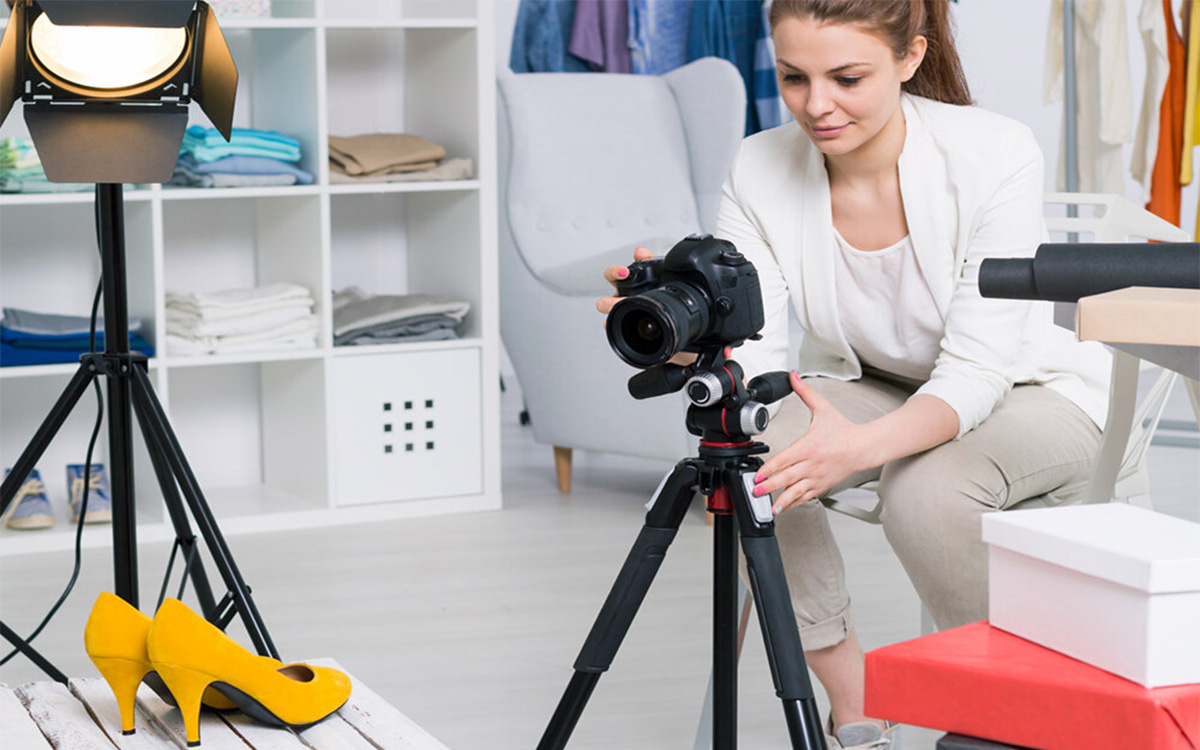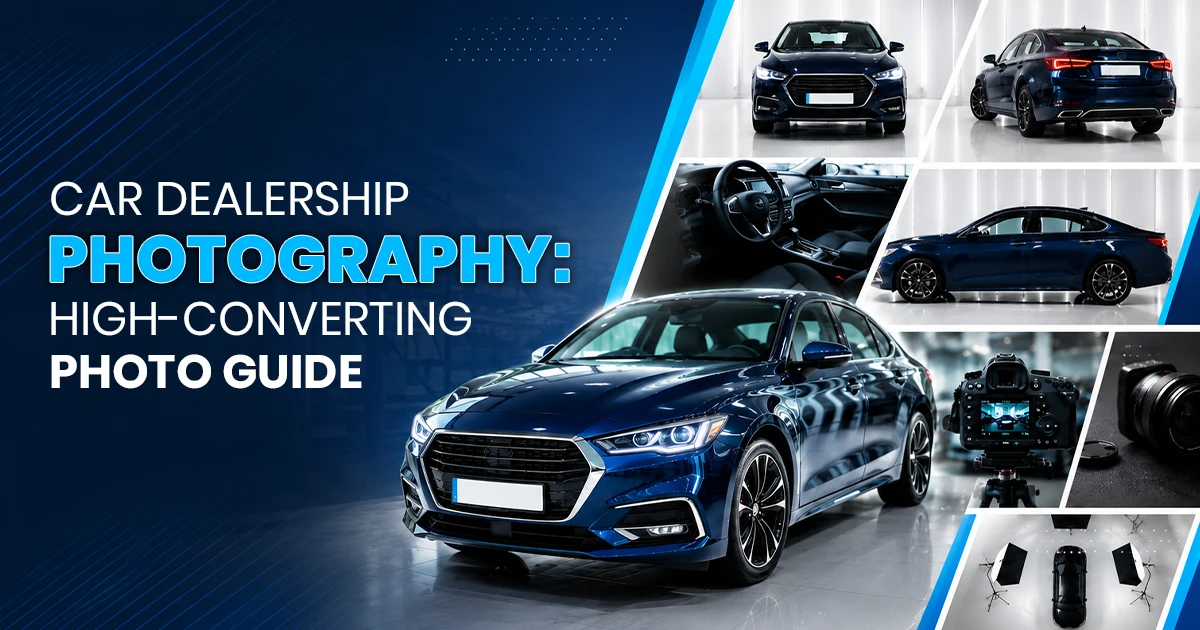
Car dealership photography refers to taking shots of dealers’ cars for online listing to promote sales. High-quality images clarify confusion, reduce physical check and drive conversions.
Professional dealership photography includes inventory, commercial, lifestyle, 360 degree, macro photography among others. Take clear shots, choose a consistent background, shoot in soft light to get the best pictures. The best angles for car photos are front 3/4 shots, side profile, rear angle, interior shots etc.
What is Car Dealership Photography?
Car dealership photography is the photography that shots car inventory, indoor, and outdoor, to create a digital twin for selling online. Dealership photography for cars is a structured workflow. It includes standard shooting sequences, an AI-assisted creativity application, and 360-degree interactive spins.
Professional car dealer photos connect the physical lot and the global audience for the brands. It shows clear images. Shoppers get a comprehensive view that answers their queries and replaces the physical walk-around.
Why Car Dealer Photography Matters for Sales?
Car dealer photography matters for car sales to boost CTA (click-through rate) for car sellers and marketers in the competitive economy. When business is highly focused on quality visuals, low-quality images pose threats. They struggle to deliver value and remain invisible to the algorithm and the buyer.
Professional imagery, as a solution, acts as a brand representative even during off-peak hours. They build credibility and authority. High-end images signal professional standards and attention to detail. As a result, it assures buyers of well-maintained products and better service.
How High-Quality Photos Increase Conversions?
High-quality photos increase conversions by establishing visual trust in product quality. Quality images perform as an online proxy for physical checking. High-end images ensure clarity, highlight product features, and eliminate buyer confusion, helping them decide and buy.
Other ways in which quality photos increase conversion are as follows.
- Quality images differentiate the products and increase click-through rates.
- Professional images highlight cars’ key features, upselling the value.
- It reduces the risk of buyer confusion and of driving buyers away.
- High-end images accelerate buyers’ decision-making process.
- It improves prospects’ engagement and stay time on the page.
- Quality photos build brand authority and recognition.
- It optimizes for visual search and online ranking.
Types of Dealership Photography
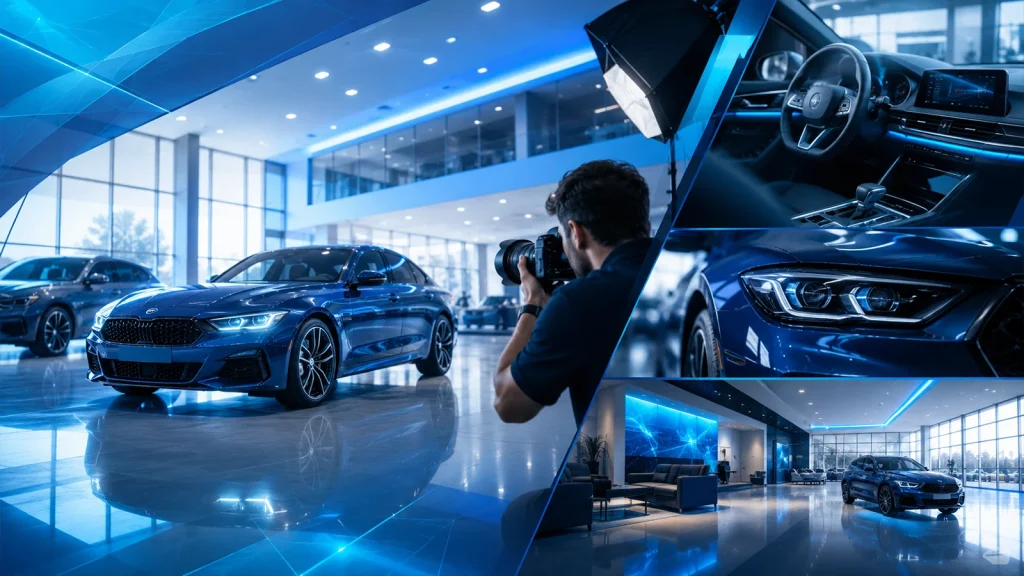
The types of dealership photography include inventory photography, commercial photography, lifestyle photography, 360-degree photography, macro photography, transparency photography, dealership branding photography, social media photography, etc. These types of photos pique potential buyers’ interest and guide them through the entire sales funnel.
- Inventory photography: It captures the standard 20–30 shot walk-around. It focuses on a clean, 1:1 representation of the vehicle’s current condition for daily listings.
- Commercial photography: It covers hero shots, angle shots, side shots, drone/birds-eye shots. These photos are published on website banners, billboards, and primary marketing campaigns.
- Lifestyle photography: It shows the vehicle’s purpose in real-world settings. Models show the car in city streets or mountain roads. So, buyers relate to and visualize their desire.
- 360° interior & exterior shots: This is interactive, and panoramic shots. It allows users to virtually sit in the driver’s seat or walk around the car from their screen.
- Macro photography: It focuses on micro details, high-value textures, and tech, such as carbon fiber trim, branded brake calipers, or premium audio interfaces.
- Transparency (Condition) photography: It is for reconditioned cars. It shows minor flaws, tire tread depth, and the VIN plate to build absolute trust through honest disclosure.
- Dealership Branding photography: These types of photos display the facility, the service bay, and the staff. So that viewers can have an experience and a professional environment.
- Social Media/Short-Form Content: It includes vertical, behind-the-scenes shots or stylized edits. Social shots boost engagement and set trends on social platforms like Pinterest, Instagram, and TikTok.
Car Dealership Photography Equipment & Setup
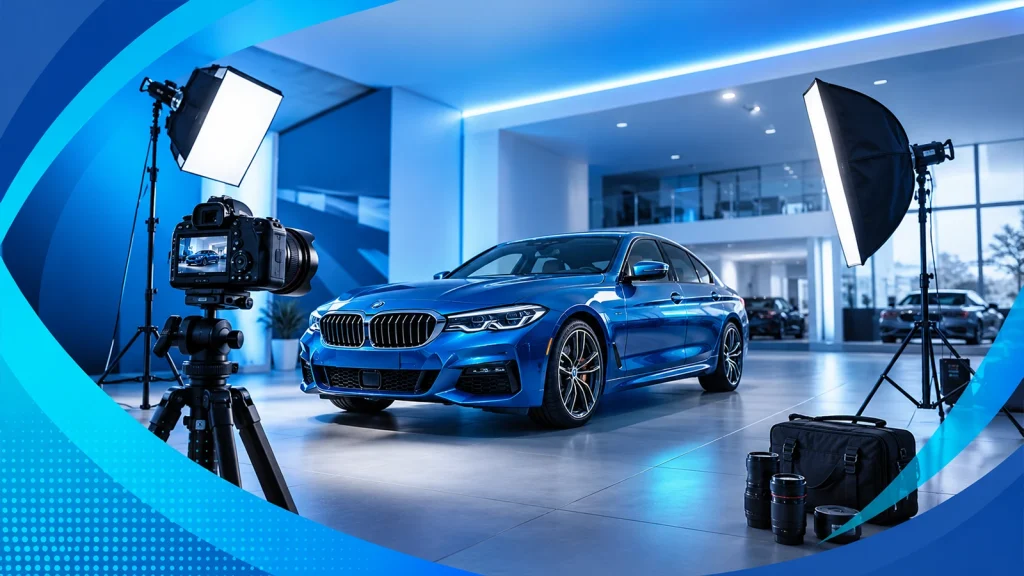
Car photography equipment and setup should contribute to a strategic visual ecosystem. It requires professional-grade hardware and a standardized environment without distractions. You can shoot with a smartphone or camera, and the setup must prioritize consistency and clarity.
Camera vs Smartphone for Dealership Photography
The camera is the best choice to shoot professional car images. A mirrorless or DSLR camera is the professional standard for hero shots and commercial ads. It provides superior depth and low-light clarity.
If you are new or short on budget, use smartphones. Smartphones are excellent for high-volume daily inventory for their speed and automatic AI processing. Learn to capture from angles. Later, shift to a professional camera for a premium, high-end showroom finish.
Essential Gear
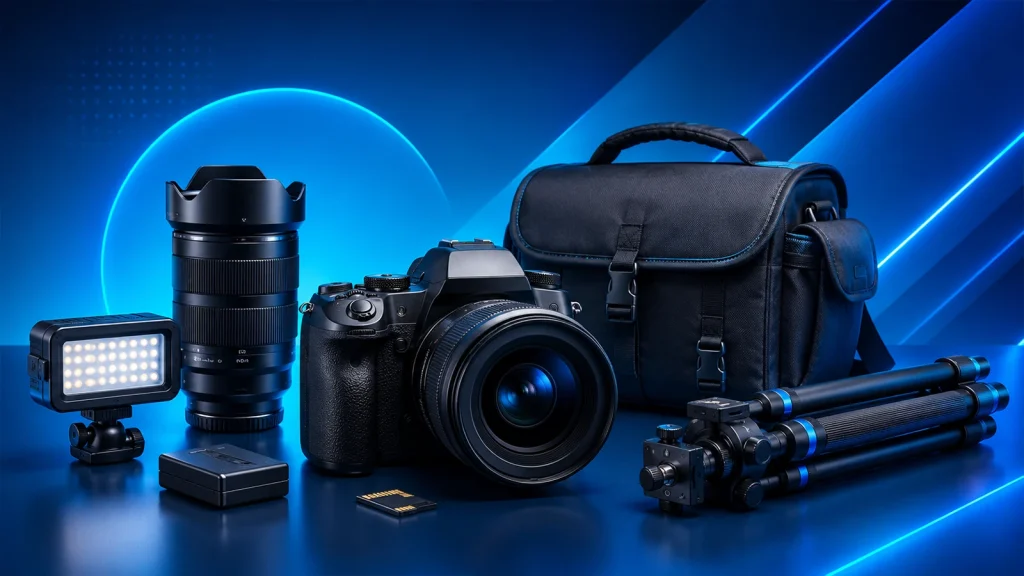
Essential gears in car dealer photography are the same as those in any other photography. It includes a lens, polarizer, tripod, backdrops, etc.
Lens
The lens controls perspective and image quality. Photographers can capture everything from expansive exteriors to intricate interior details with it. Lens ensures the vehicle looks proportioned and convincing to potential online buyers.
There are 4 types of lens used for shooting cars, such as standard zoom lens, prime lens, macro lenses, and telephoto lenses.
- Standard zoom lenses offer the essential flexibility to shoot both exterior and interior.
- Prime lenses have unmatched sharpness and wide apertures to create hero shots.
- Macro lenses specialize in capturing high-detail parts, textures like carbon fiber, premium stitching, and intricate dashboard controls.
- Telephoto lenses are best to shoot car features, eliminating perspective distortion from distance for a realistic view.
Circular Polarizer (CPL)
A Circular Polarizer manages how light interacts with reflective surfaces. By rotating the glass, you can physically block unwanted glare from windshields and body panels. It will reveal the car’s true color and interior details. Choose standard CPL, Linear Polarizer, Drop in Polarizer to shoot purposeful images.
Tripod
A tripod offers a foundation for consistency. It ensures every listing has a perfectly level horizon line. It eliminates blurriness caused by tremor or camera shake. Among the tripod variations in the market, you can choose the following ones.
- A standard tripod provides a stable base for shooting exterior.
- A tripod with a ball head allows rapid, fluid adjustments to keep the vehicle centered.
- Compact/mini tripod stays stable on seats or consoles to capture sharp, focused shots of the interior.
- Monopods offer both stability and mobility during high-volume shoots.
Backdrops
A dedicated shooting environment eliminates noise like power lines, price stickers, or neighboring vehicles. The right background guides the buyer’s focus onto the car’s design and condition. Use Cyclorama (Cyc) Walls, Chroma Key (Green Screen), Branded Vinyl Wraps, Physical White or Neutral Walls, Outdoor Photo Spots, and High-Contrast Screens, to shoot cars.
Recommended Camera Settings for Listings
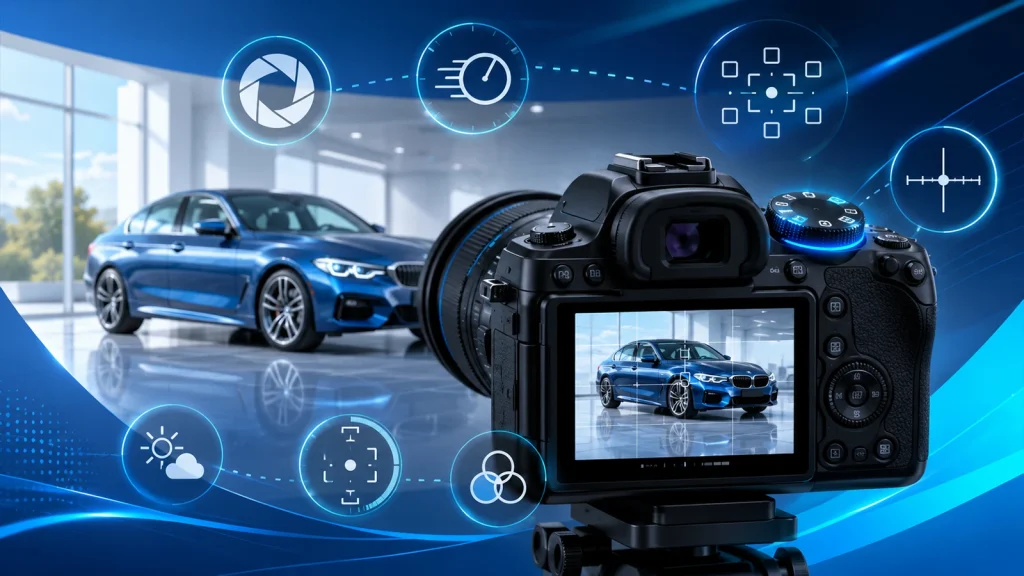
The best camera settings for car photo listing are a mid-range aperture of low ISO (100 or 200), medium aperture (f/8 to f/11), and shutter speed at least 1/250 (for still cars) for showroom quality photos.
The mid-range aperture ensures a depth of field, creating sharp images from the front grille to the rear bumper. Adjust these settings to get a clear and stable view. Set Single-Point AF to lock focus on the headlight. Always shoot in RAW format to preserve maximum data for editing.
Shooting Setup for Consistent Inventory Photos
Car dealership photo consistency builds brand authenticity and trustworthiness. Include the following factors while preparing for your photoshoot setup to ensure consistency.
- Stage
It is a designated, specific, flat area of the lot with a clean background. The stage can be inside the studio, any outdoor setting, or you can use a green screen to create a virtual stage later.
- Standard lighting
When shooting outdoors, place the camera between the car and the sun (Sun➡Camera➡Car). The camera view should be on the car, while the sun illuminates the car. If you are shooting indoors, use diffused overhead lighting to avoid harsh hot spots on the hood.
- Sequence
Follow a strict 20-shot checklist (e.g., Front 3/4, Side Profile, Rear, Interior Dash, Rear Seats).
- Height consistency
Keep the camera at chest height for interiors and headlight height for exteriors. Try following one consistent height across your entire inventory. It will create a seamless scrolling experience for the buyer.
Preparing Vehicles for Dealership Photography
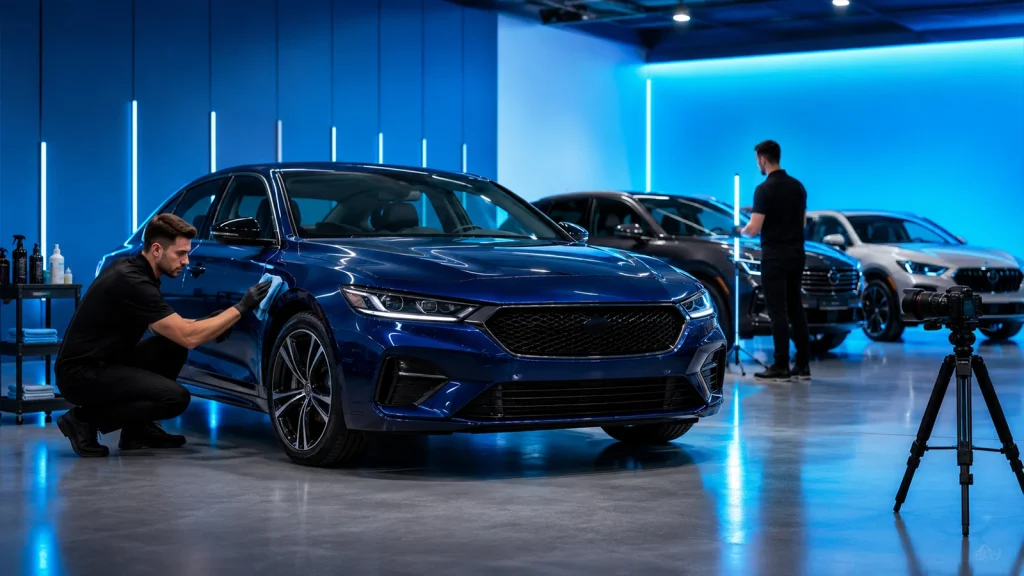
Before starting shooting, prepare your vehicles for a professional presentation. Always try to shoot new, clean, and flawless vehicles. Decide on the location and timing, and you create a cohesive digital showroom that highlights the vehicle’s quality. This preparation helps create visual consistency and builds buyer trust.
Follow these steps to prepare the vehicles for shooting car photos.
- Clean and detail the car before shooting
Shoot a car or any products in pristine condition. If not possible, make sure to perform a detailed cleaning. Focus on high-visibility areas like wheels, touchscreens, and glass. The camera will amplify any lingering smudges or dust. Don’t worry about marks or spots that aren’t removable. Edit them after you have taken shots.
- Choose a consistent background for all listings
Shoot in an uncluttered area first. Don’t use props or many items for creativity at once. Step up your process one at a time. Consistency in background emphasizes brand identity. It also prevents potential buyers from being distracted by surrounding inventory.
- Pick the Right Time of Day
Avoid shooting during midday. The images will reflect the harsh, vertical shadows. Target working during the golden hours or under overcast skies. At that time, you get soft and diffused light. It prevents blown-out highlights on chrome and glass.
- Plan a Standard Photo Checklist for Inventory
Follow a strict sequence of angles to shoot cars, for example, front 3/4, profile, and key interior features. This systematic approach ensures capturing every detail. You get a predictable, user-friendly browsing experience for the customer.
Car Dealership Photography Workflow
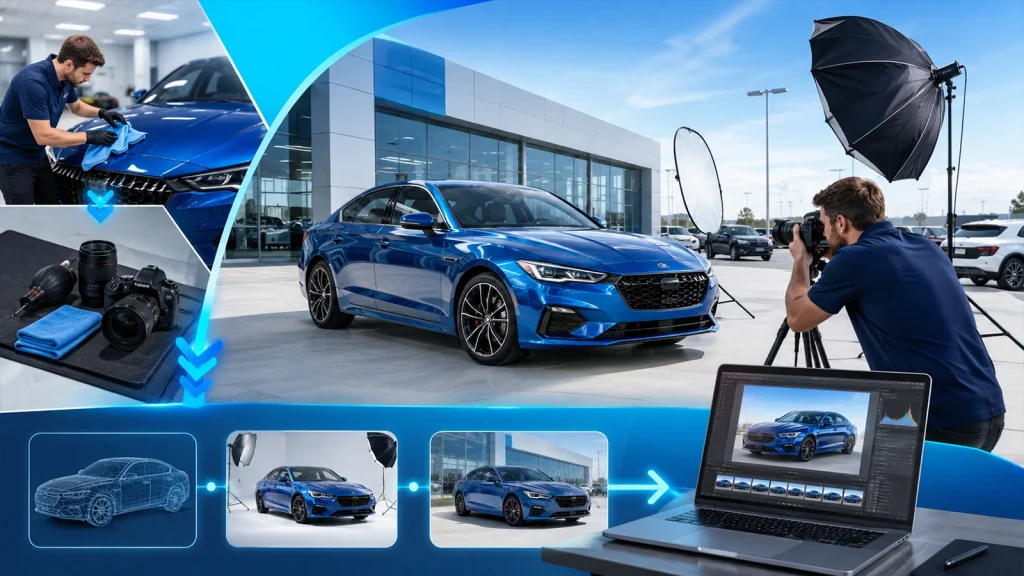
Photography workflow is a systematic process. It turns raw images into a high-converting digital asset. The workflow involves preparing the car, capturing a standardized sequence of angles, applying batch edits for visual consistency, and optimizing files for rapid marketplace uploading.
Step-by-Step Shooting Workflow
The step-by-step process to shoot cars is as follows.
Step 1: Staging and Alignment
Position the vehicle in a designated spot. Ensure the wheels are turned slightly toward the camera for an aggressive stance.
Step 2: Exterior Rotation
Execute a standardized 360-degree walk-around. Capturing the hero 3/4 shots, side profiles, and rear angles.
Step 3: Interior Documentation
Take shots of the interior, from the dashboard, odometer, to the upholstery condition, and key technology features. To shoot interior, use diffused lighting.
Step 4: Detail Capture
Shoot with a macro lens or a close-up zoom lens. Highlight tires, rims, engine bays, etc., for a transparent look.
Step 5: Data Verification
Review the captured images on the SD card to verify focus and exposure consistency before moving the vehicle.
Batch Editing for Large Inventory
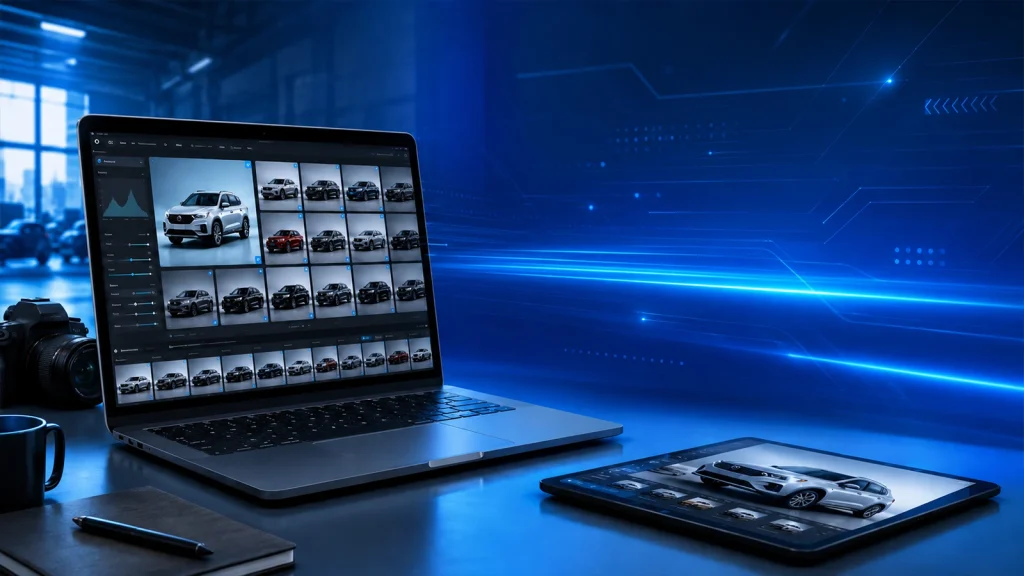
Post-production begins with culling to remove blurry or duplicate frames, followed by global adjustments to exposure and color to match the dealership’s brand. Once basic editing is complete, files are exported in web-ready formats and synced to a cloud-based management system for immediate access by the sales team.
Common photo editing tasks performed in car images are as follows:
- Removing distracting backgrounds to create a clean, studio-like finish.
- Balancing color and white balance to ensure the paint matches the car’s real-world look.
- Masking or blurring license plates for privacy and professional branding.
- Reducing harsh glare and reflections from the bodywork and windshield.
- Adding or enhancing natural shadows to give the vehicle a grounded, realistic feel.
- Cropping and resizing images to fit specific marketplace aspect ratios.
- Digitally darkening window glass to simulate a premium tint.
- Applying dealership logo watermarks to protect and brand the visual assets.
Maintaining Consistency Across Listings
Use the same style for every photo. Keep similarities in shooting location. use uniform camera heights, and a repeatable editing preset. It makes viewers recognize upon viewing. Every vehicle image, regardless of model, should appear as part of a cohesive collection. It makes the digital storefront appear organized and reliable.
Uploading & Optimizing for Marketplaces
Finalize the workflow process by uploading your images. Prioritize SEO for speed and visibility. Compress your images for fast loading. Use SEO-friendly titles like the VIN or model name, etc. Arrange the gallery so the most striking angles appear first to grab the buyer’s attention.
Car Dealership Photography Tips
To take the best shots for a car dealership, follow these tips and apply them to minimize mistakes.
- Use natural light/golden hour: Golden hour is the time after sunrise and before sunset, when the sunlight is soft. Shoot this time to capture the car’s natural curve in a warm glow.
- Avoid harsh shadows: Refrain from shooting during midday. It creates harshness in light and shadow. Alternatively, use an overhead diffuser to prevent dark, distracting lines across the bodywork.
- Shoot with even lighting: Illuminate the setup with even lighting to take consistent automotive shots for e-commerce platforms.
- Use a CPL filter: Use a rotating polarizer to remove unwanted glare and reflections for a cleaner finish.
- Level the reflections: Keep the horizon line in the car’s paint straight to prevent the body from looking warped.
Best Angles for Car Dealership Photography
Cars are a giant product. So, the best angles for car dealer photos are front 3/4 angle for hero shot, side profile, rear angle, interior and dashboard, engine, and detail shot.
- Front 3/4 Angle (Hero Shot)
The front 3/4 hero shot is the image that shows a car’s face and its depth together. Place your camera at a 45-degree angle from the front corner. Position it at headlight level. Turn the front wheels slightly toward the lens to show off the rim design.
- Side Profile
Side profile angle is used to capture a flat, architectural view to show the car’s length, proportions, and ground clearance. Place the camera centered between the wheels on the longer side. Squat to eye-level (waist height) and take shots. Keep the roofline and doors straight and undistorted.
- Rear Angle
Rear-angle photos emphasize the vehicle’s stance, highlighting the taillights, trunk, and rear width. Position yourself at the rear corner of the car. Keep it low so that the tires look wider, and the car appears more planted.
- Interior & Dashboard
Interior and dashboard photos capture the view of the cockpit, displaying driving experience, technology, and material quality. Place the camera in the center of the back seat, or shoot through the open driver’s door. Use a standard camera or a wide-angle lens to capture the steering wheel, infotainment screen, and gear shifter in one frame.
- Engine & Detail Shots
Engine and detail shots are images of the car’s functional view, highlighting premium branding. Stand on a step stool for a clean overhead view or shoot at a slight downward angle to show the entire bay. For details like badges or headlights, get close and use a shallow depth of field to make the specific feature pop.
Composition & Framing Techniques
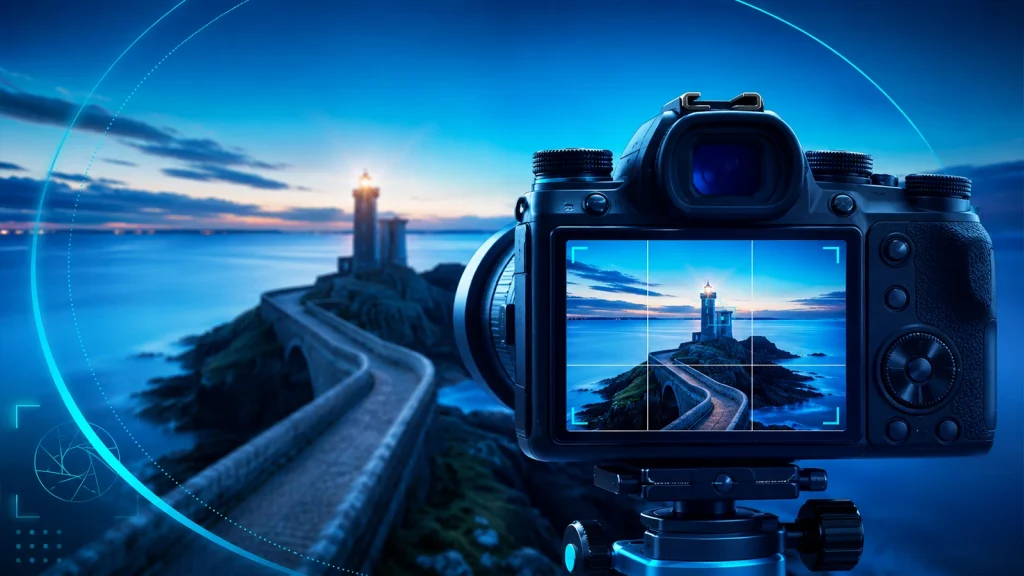
Some popular composition and framing techniques professional automotive photographers use are as follows.
- Rule of thirds: Place the key elements of the car along the intersections of a 3×3 grid. It creates a balanced and engaging image.
- Distraction-free background: Shoot on a clean, neutral backdrop. Don’t use any unwanted objects, poles, or messy signs. It makes the image unprofessional.
- Leading lines: Use road markings or curb edges to point directly toward the vehicle. It navigates buyers’ focus.
- Low-angle perspective: Squat to wheel level to make the car appear more impactful, dominant, and larger than life.
- Negative space: Leave ample negative space or white space in front of the car’s nose. It lets the car breathe within the frame. It also gives a fresh look to the viewers.
- Centered vs angled composition: Use a centered frame for a powerful, symmetrical look. Shoot in an angled approach to suggest movement and speed.
- Frame within a frame: Include garage door or nearby architecture in the frame. It creates a natural border around the car. Make sure to concentrate on the car.
Car Photography for Listings
To create product listings for selling cars, brand portfolios, or a company website generally include exterior shots, interior shots, close shots, damage closure shots, etc.
- Exterior shots: Front, rear, and side images provide a complete 360-degree overview of the car’s condition and paint quality.
- Interior shots: Cars’ dashboard, seats, and infotainment features display technology, conveying comfort available to the driver.
- Close-ups: Wheels, headlights, badges highlight premium branding and specific hardware details like tire tread or LED light signatures.
- Damage disclosure shots: Any scratches or dents on the images build immediate trust with the buyer and prevent surprises during the sale.
Advanced Car Dealer Photography Techniques
Some of the advanced car photography techniques include light control, HDR processing, background replacement, and stylistic consistency. These advanced methods eliminate visual imperfections, balance extreme lighting, and create high-end, premium imagery that captures buyer attention and drives online marketplace conversions.
- Using Reflections and Light Control
Using reflection and controlling light helps you manage environmental glare on reflective car surfaces. To do it, rotate a circular polarizer filter and use diffusers to block harsh light. Well-captured photos will appear with painting depth, transparent windows, and reduced surface distractions.
- HDR Photography for Balanced Exposure
HDR photography means combining multiple exposures to capture high-contrast scenes. To get this shot, shoot three bracketed frames (underexposed, baseline, overexposed) and merge them in post-production. Expect to get balanced details in both bright highlights and deep cabin shadows.
- Background Replacement and Editing
Background editing is the process of removing cluttered backgrounds to support a clean, understandable scenario. Shoot the car against any background, and later use photo-editing tools to swap the background for your preferred one. Images will appear distraction-free and professional for listings and social publishing.
- Creating Consistent Dealership Photo Style
Consistent dealership photos have standard colors, lighting presets, and framing across inventory. Apply identical editing presets (LUTs) and use fixed shooting angles for every vehicle. Consistent style creates a cohesive digital showroom, strengthening brand trust and recognition.
Editing Car Dealership Photos for Better Sales
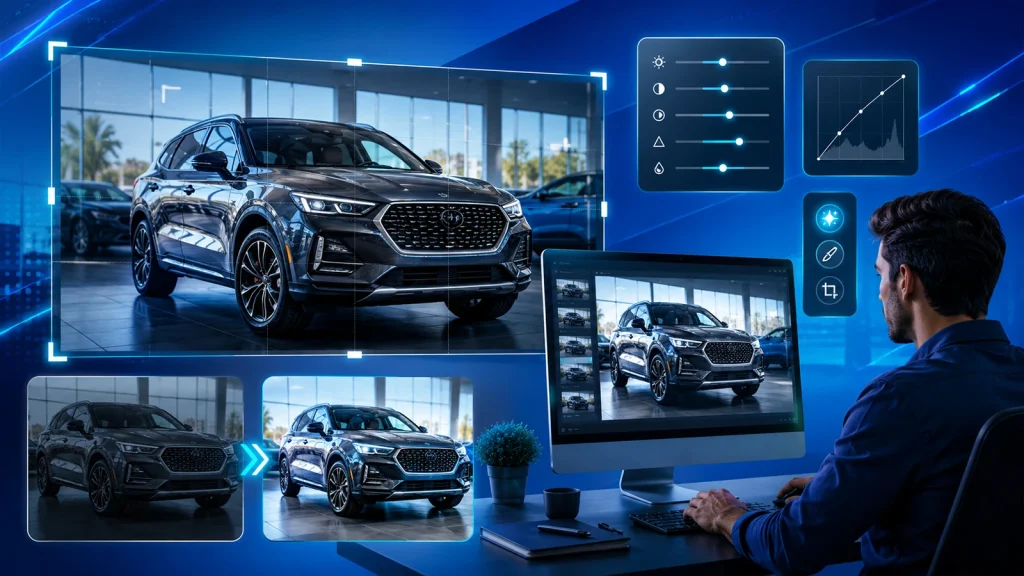
Some common photo editing techniques for car dealership photos are as follows.
- Background Removal: Background removal is setting a vehicle, placing it into a clean background. It eliminates distracting telephone lines, random people, or other cars. So the viewers can keep the buyer’s focus on the vehicle.
- Color Correction & White Balance Adjustments: Color correction refers to changing the color temperature, tint, and saturation. It matches real-world lighting by fixing unrealistic yellow or blue color casts. ensuring the paint color looks accurate and true-to-life to online buyers.
- Glare and Reflection Reduction: Glare and reflection reduction is to soften the harshness and brightness of lights on the bodywork and windshield. By using cloning, healing, or brush tools, you can do it. It reveals hidden interior details through the glass and prevents ugly light bursts.
- Background Removal: Background removal to replace the messy background with a clean one. It eliminates distracting telephone lines, random people, or other cars, keeping the buyer’s focus entirely on the vehicle.
- Color Correction & White Balance Adjustments: Color correction and white balance adjustments techniques to change image temperature, tint, and saturation. It fixes unrealistic yellow or blue color casts, ensuring the paint color looks accurate and true-to-life to online buyers.
- Glare and Reflection Reduction: Glare and reflection reduction is using cloning, healing, or brush tools to soften harsh, bright hot spots on the bodywork and windshield. It reveals hidden interior details through the glass and prevents ugly light bursts from washing out the car’s body lines.
- License Plate Masking: License plate masking is covering the existing license plate text with a branded graphic. It protects the previous owner’s privacy while giving the vehicle a uniform, retail-ready “showroom” appearance.
- Shadow Enhancement: Shadow enhancement is adding or deepening a realistic drop shadow underneath the tires after a background swap. It prevents the car from looking like it is awkwardly “floating” in a digital space, grounding it naturally in the new environment.
- Cropping and Perspective Correction: Cropping and perspective correction straighten the horizon line and frame. It follows the standard marketplace aspect ratios. It ensures every photo looks neat, aligned, and centered. It prevents awkward cutoffs when browsing on mobile screens.
- Window Tinting Simulation: Window tinting simulation is darkening transparent windows. The process maintains realistic gradients and transparency. It gives the car a premium, high-end look while keeping the inside visible from the outside.
- Logo and Watermark Overlay: Logo and watermark overlay is placing a subtle, transparent dealership logo. You can place it into a designated corner of the image gallery. Professional logos build brand recognition in branding and marketplaces. It also stops competing dealerships from stealing your inventory photos.
Common Car Dealership Photography Mistakes
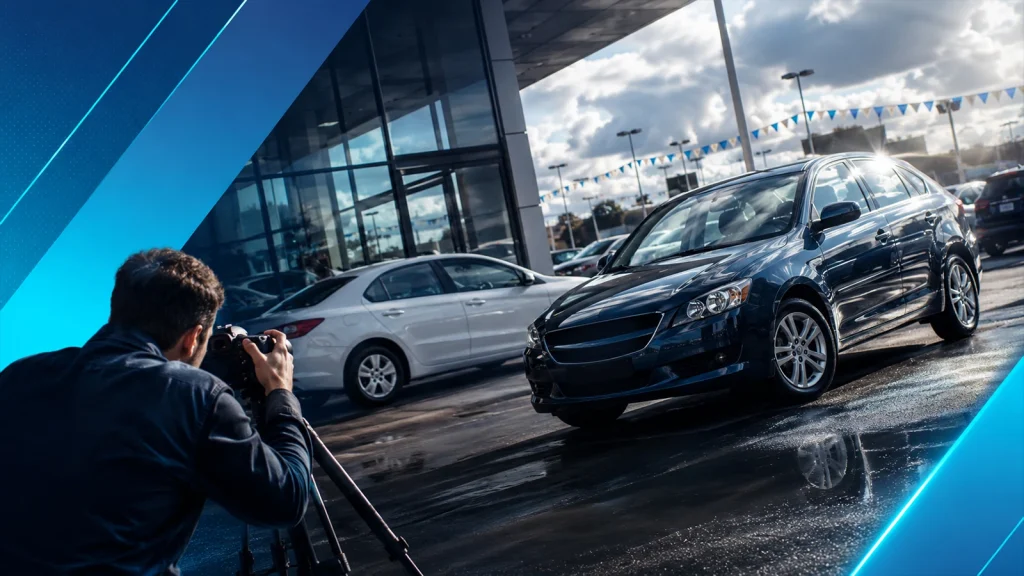
Some common car dealership photography mistakes are inconsistent background, poor lighting, shooting dirty vehicles, missing key angles, overusing filters etc.
1. Inconsistent Backgrounds: Mixing random areas of the lot, using unnecessary props in the frame distracts buyers and degrades your digital storefront’s professionalism.
Solution: Choose one dedicated, clean bay or section of the lot for every single vehicle shoot.
2. Poor Lighting Conditions: Shooting under direct midday sun creates harsh, dark shadows and ugly, blown-out highlights on the vehicle paintwork.
Solution: Aim to shoot during overcast days or the golden hour, or move inventory inside an evenly lit staging bay.
3. Dirty Vehicles: Lingering dust, water spots, and smudged windows break buyer trust and make premium cars look neglected.
Solution: Follow a strict pre-shoot detailing protocol focusing on tires, glass, and digital touchscreen displays.
4. Missing Key Angles: Omitting critical interior features or vehicle damage creates buying friction and increases customer skepticism online.
Solution: Perform a mandatory, standardized checklist covering a full 360-degree rotation and specific interior details.
5. Overuse of Filters: Applying heavy, unrealistic filters distorts the actual color of the car and looks highly unprofessional.Solution: Use clean, true-to-life editing adjustments that represent the vehicle in real-world situations.
Final Thoughts
Car dealership photography skills require the right equipment, manual camera precision, and a disciplined workflow. Use your equipment well, do ample practice, follow strict preparation and routine to uplift car inventory to from simple online listings to a premium digital showroom.
High-quality imagery builds buyer confidence, justifies pricing, and boosts conversions. Audit your staging process today or partner with a professional image editing service to scale your inventory sales.
Frequently Asked Questions
What is the best way to photograph cars for sale?
The best way to photograph cars for sale is with a front 3/4 hero shot, an eye-level profile shot, and a macro shot. To get the best car visual, use a consistent, neutral background that accentuates the car. Prioritize soft, natural lighting during the “golden hours,” or use diffused LED panels to avoid harsh glare on the paint. Show the authentic color and details, as it looks, ensuring the horizon is level, and the car is centered to meet marketplace display standards.
How many photos should a car listing have?
A car listing shot has standard 20 to 30 high-quality images. Follow e-commerce platforms’ image requirements, though. Otherwise, follow the bare minimum of 12 to the highest 35 images to establish trust. Excess images will create visual fatigue and increase loading speed.
What is the best angle for selling cars?
The best angle for selling cars is the front 3/4 hero shot, because it provides a three-dimensional perspective that highlights the car’s stance, wheels, and face in one frame. To get the best results, crouch down to hubcap height to make the car look grounded and avoid a distorted view. Turn the front wheels slightly toward the camera to show off the rims. This single angle acts as a visual handshake, showing the front, side, and stance all at once. Viewers get a clear look that influences their buying decision.
Can I use a phone for dealership photography?
Yes, you can use a phone for dealership photography. The 2026 flagship smartphones offer operational flexibility for high-volume shooting and automatically handle lighting and color for mobile shoppers. Use a tripod and avoid digital zoom to capture fine details with steadiness. However, use a commercial camera to shoot luxury halo cars or large-scale ads, because it creates professional depth and detail that phone sensors can’t match.
How much does car dealership photography cost?
Car dealership photography costs vary between $100 to $1000 per hour. The pricing differs considering other factors such as per project, per day, per session, photographers’ experience, expertise, on-location shots, etc. Some offer hybrid options, blending on-site and AI-powered solutions.