Sports photography tips start with one truth that every experienced shooter knows: the camera does not capture the moment. You do. The camera is just the tool. Whether you are a parent trying to freeze your kid’s winning goal or a hobbyist building a portfolio at local events, the difference between a blurry mess and a frame-worthy action shot comes down to preparation, positioning, and a handful of settings you can learn in an afternoon.
At its core, sports photography demands a fast shutter speed of at least 1/1000s to freeze motion, a wide aperture (f/2.8 to f/4) to isolate athletes from cluttered backgrounds, and continuous autofocus to track unpredictable movement. But settings alone will not give you great images. You also need to know where to stand, when to shoot, and how to edit the results.
This guide walks you through the complete workflow. From outdoor and indoor shooting techniques to post-processing strategies that turn good shots into great ones. No fluff, no gear-worship. Just practical sports photography tips for beginners and intermediate shooters who want images worth sharing.
Need help editing high-volume sports photos? Explore Offshore Clipping’s Photo Editing Services to get your images polished and delivered on deadline.
Camera Settings That Actually Matter
Let’s skip the textbook version and focus on what works at the field. Sports photography settings revolve around three controls, and each one affects the others directly.
Shutter Speed: Your First Priority
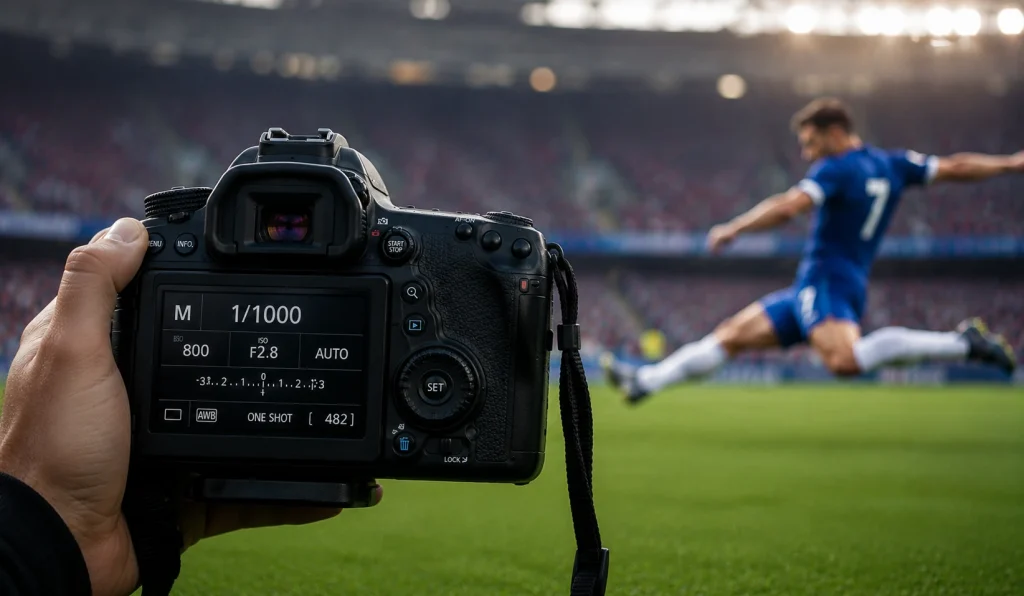
Set your shutter speed to 1/1000s as a starting point. That freezes most action in football, soccer, basketball, and track. For faster movements like a baseball swing, a tennis serve, or a sprint finish, push it to 1/2000s or higher. If you drop below 1/500s, expect motion blur on anything that is not standing still.
The one exception is intentional blur. When you want to convey speed rather than freeze it, try panning at 1/30 to 1/60s. Track the athlete with your camera while they move laterally across your field of view. The background blurs while the subject stays relatively sharp. It is one of the most rewarding sports action photography tips to master, though it takes practice. Expect a low keeper rate at first, but the successful frames are worth every missed attempt.
Aperture and ISO: Balancing Light and Clarity
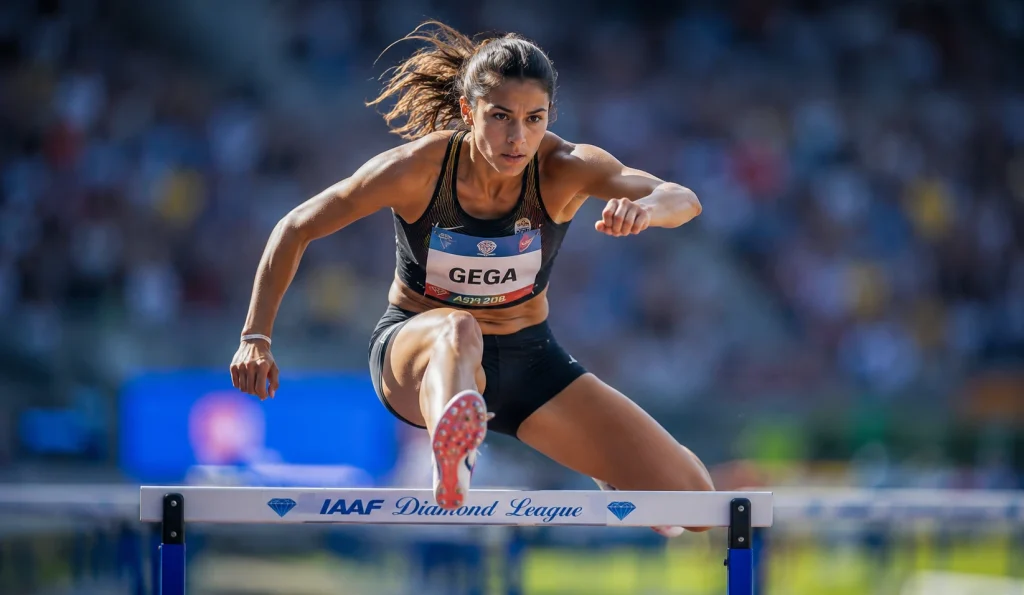
Open your aperture wide, somewhere between f/2.8 and f/4. This does two things for you: it lets in more light (which supports that fast shutter speed), and it creates a shallow depth of field that blurs distracting backgrounds like advertising boards, fences, and parked cars behind the field.
For ISO, keep it as low as your lighting allows. On a bright outdoor day, ISO 100 to 400 works perfectly. In a dim gym or under stadium lights at night, you may need to push it to 1600, 3200, or even higher. Modern camera sensors handle noise well at these levels. If conditions keep changing, like a partly cloudy day, switch to Auto ISO and let the camera adjust while you focus on the game.
Autofocus: Set It and Trust It
Switch to continuous autofocus. Canon calls it AI Servo. Nikon and Sony call it AF-C. This mode keeps adjusting focus as your subject moves toward or away from you, which is exactly what athletes do. Pair this with back button focus if your camera supports it. By separating the focus function from your shutter button, you gain much more control over when the camera locks on and when it fires.
For focus area, start with a zone or group selection rather than a single point. It gives you a better chance of nailing focus when athletes change direction suddenly.
Gear That Makes a Real Difference
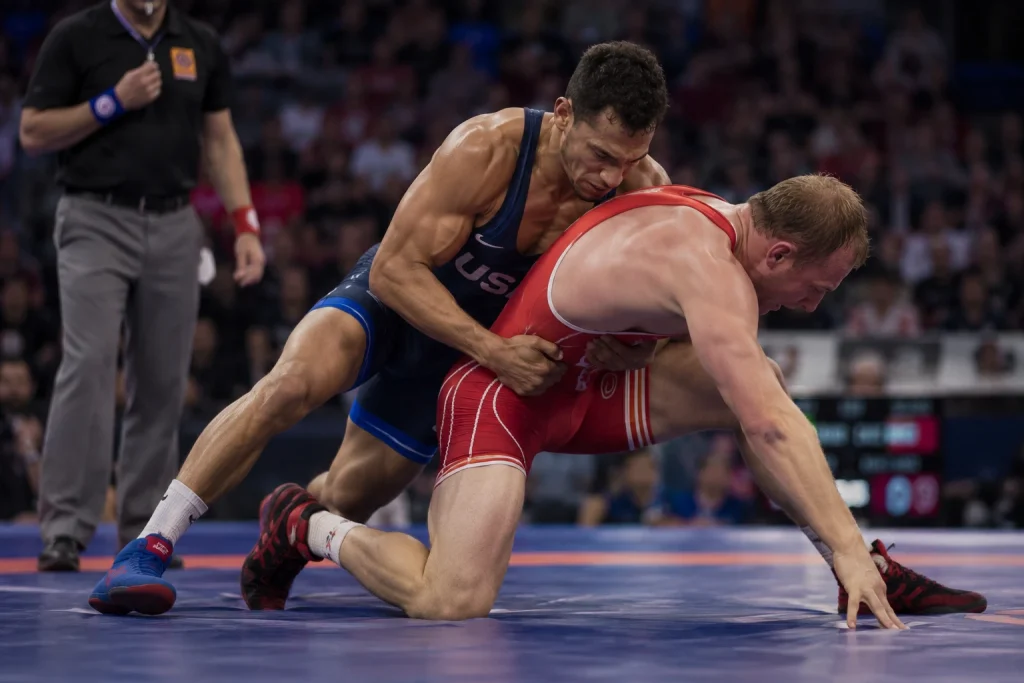
You do not need a $6,000 setup to shoot sports well. But certain gear choices make the job dramatically easier.
A telephoto zoom lens in the 70-200mm range with an f/2.8 aperture is the standard sports photography workhorse. It gives you reach and background blur in one package. If budget is tight, a 55-200mm f/4-5.6 or a 100-400mm will still get you far better results than a kit lens.
For close-access sports like volleyball, skateboarding, or wrestling, a 24-70mm works well. And keep a wider lens handy for team photos and environmental shots that capture the atmosphere.
On the camera body side, look for three things: high frames per second (7 fps or more), fast autofocus, and decent high-ISO performance. A monopod helps with stability during long games without restricting your movement the way a tripod would. And carry extra batteries and fast memory cards. Nothing kills a shoot faster than a dead battery in the fourth quarter.
Shooting Outdoor Sports Like a Pro
Outdoor sports give you one major advantage: natural light. Use it wisely.
Keep the Sun Behind You
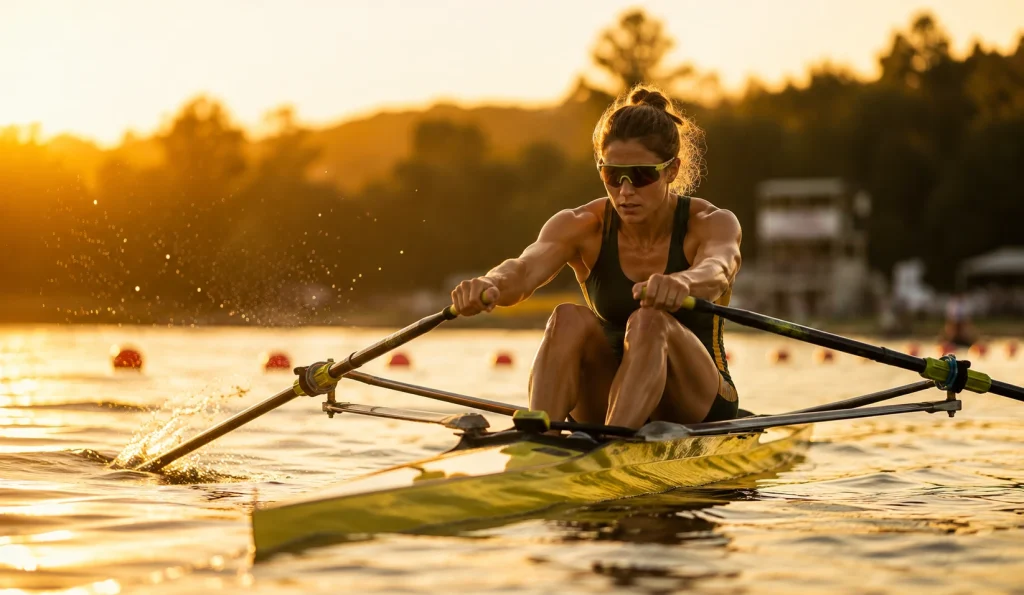
Position yourself so the sun is behind you. This illuminates athletes’ faces as they run toward you. If you are shooting during golden hour, the warm sidelight creates beautiful separation between the athlete and the background. Midday sun is harsher, so overexpose by about 1/3 stop to prevent faces from falling into shadow under helmets, caps, or visors.
Position Near the Scoring Area
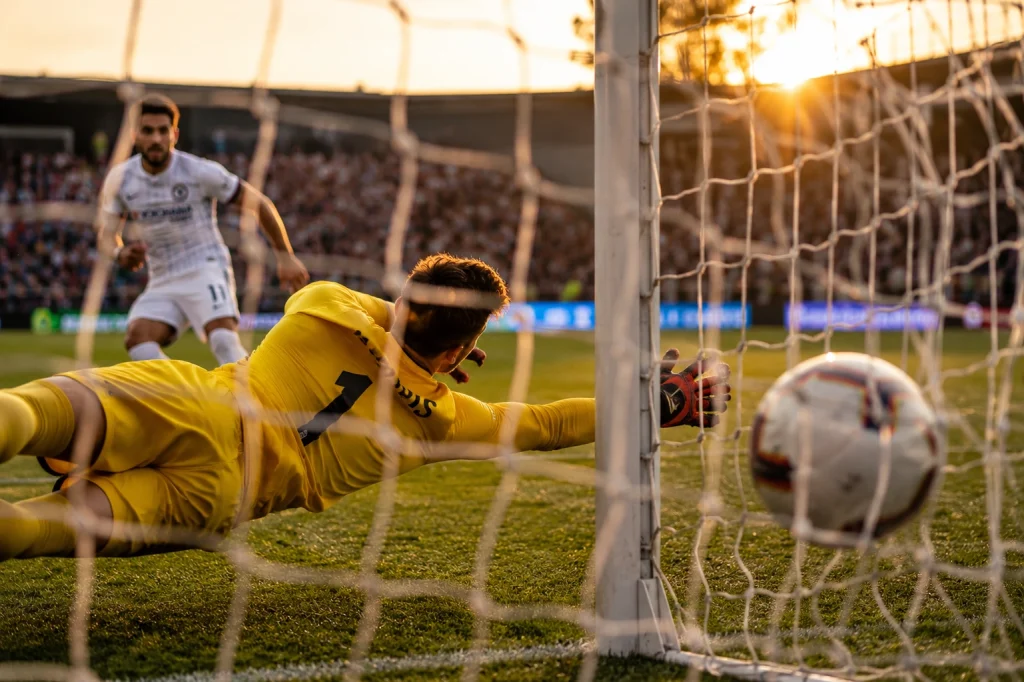
Where you stand matters more than which lens you carry. In football or soccer, position yourself near the goal area. That is where the peak-action moments happen: shots on goal, saves, celebrations. For track, shoot into the curve so runners face you rather than showing you their backs. In baseball, decide early if you are capturing the batter or the fielder. You cannot effectively do both from one position.
Changing the Spot Frequently
Change your spot throughout the game. Shooting 500 frames from the same angle produces 500 versions of the same photo. Move. Kneel for low-angle power shots that make athletes look dominant. Climb the bleachers for overhead views with cleaner backgrounds.
Be There Before Time
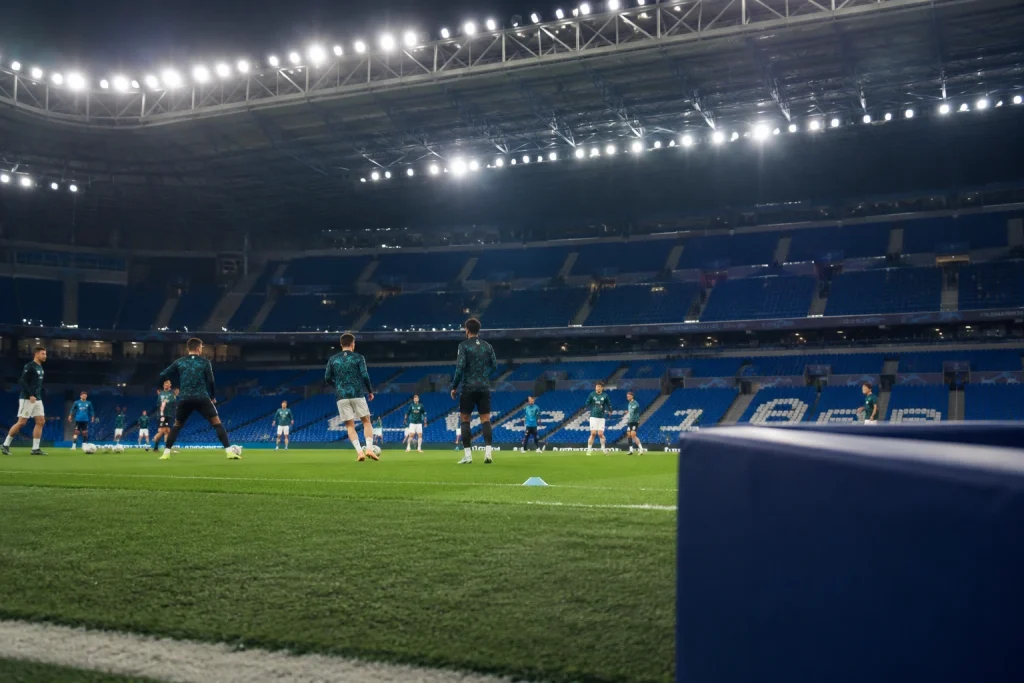
One more thing: arrive early. Pre-game warm-ups are prime shooting time. Players move slower, you can get closer, and the pressure is off for both of you. Some of the strongest portfolio images come from warm-up sessions, not the game itself.
Indoor Sports Photography Tips That Solve the Lighting Problem
Indoor venues are where most beginners struggle. The lighting in gyms and arenas is designed for spectators, not photographers. It is usually dim, uneven, and mixed in color temperature. Fluorescent, LED, and sodium vapor lights often exist in the same space, creating ugly color casts that are difficult to correct later.
Setting Your Fast Lens
Here is how to handle it. Open your aperture to f/2.8 (this is where a fast lens becomes essential). Push your ISO to 1600 or 3200. Accept some noise in exchange for a usable shutter speed. You can reduce noise in post-processing, but you cannot fix motion blur. Aim for at least 1/500s indoors, and 1/1000s if the light allows.
Understand White Balance
Understanding natural light versus artificial light helps you adjust white balance correctly. Set a custom white balance preset before the game starts, or shoot in RAW so you can fix the color temperature later without losing quality.
Be Cautious Using the Flash
A note on flash: many indoor sports events prohibit it because it can distract or momentarily blind athletes. Always check with the organizers before using flash. If flash is allowed, use it off-angle so you are not blasting players directly in the face during free throws or penalty shots.
Composition Tips That Tell Better Stories
Technical settings get you a sharp image. Composition is what makes that image worth looking at.
The F-F-A-E Formula
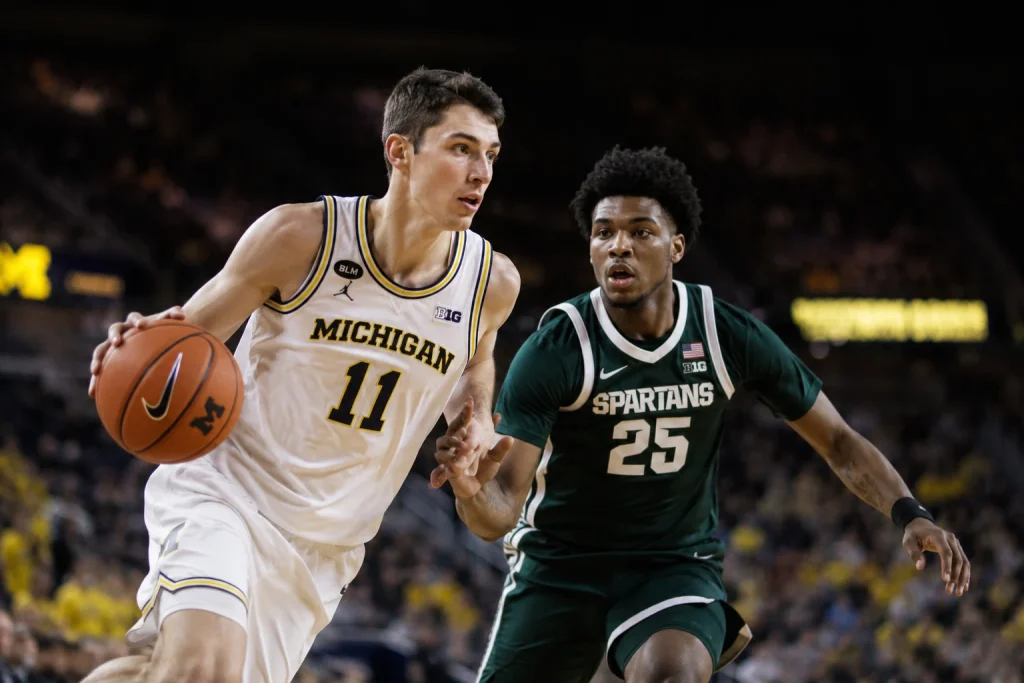
Follow this simple formula that veteran sports photographers rely on: Focus, Face, Action, Equipment. Your image should be sharp (focus), show the athlete’s expression (face), capture a moment of effort or athleticism (action), and ideally include the ball, bat, or racket (equipment). When all four elements come together, the photo tells itself.
Fill the Frame
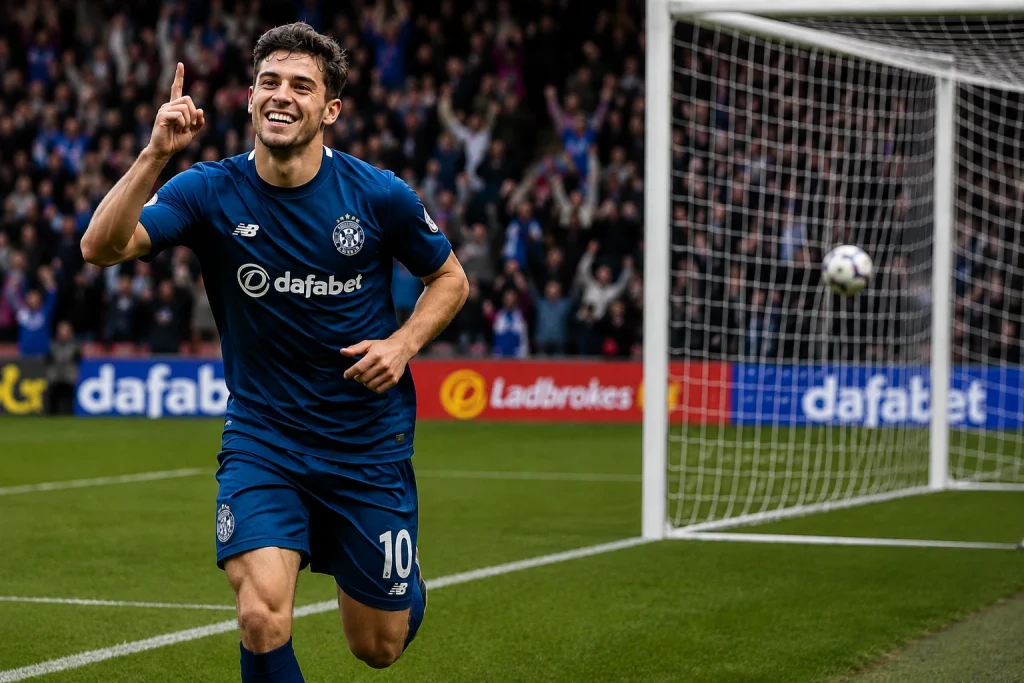
Fill the frame before you press the shutter. Wait for the action to come to you rather than relying on heavy cropping later. Every time you crop aggressively, you lose resolution and sharpness. If the play is happening on the other side of the field, be patient. Your side will get its turn.
Moments Shouldn’t be Restricted in Scoring
Do not forget the moments between plays. Celebrations, huddles, coaching reactions, a player catching their breath on the bench. These off-field moments often become the most emotionally powerful images in your set. They complete the story of the event, not just the score. Among all the sports photography tips and tricks you will pick up, learning to look for emotion is the one that separates a good gallery from a forgettable one.
Sports Photography with a Smartphone
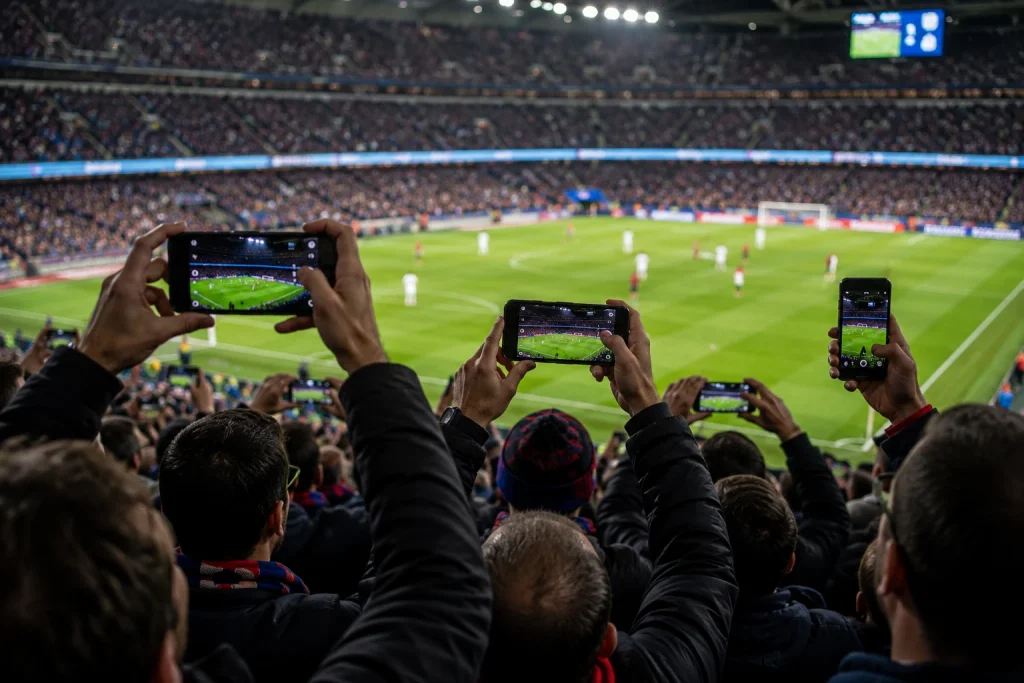
Not everyone carries a dedicated camera to every game, and that is perfectly fine. Modern smartphones are surprisingly capable sports photography tools when you know their strengths and limits.
Use burst mode. Most phones can fire 10 to 60 frames per second, which gives you the same spray-of-frames advantage that DSLR shooters use. Tap and hold the shutter button during the peak action, then pick the best frame later.
Avoid digital zoom at all costs. It just crops and enlarges, destroying detail. Instead, move closer. Smartphones thrive in bright outdoor light. In dim indoor gyms, their small sensors struggle badly with noise and motion blur, so manage your expectations there.
For more control, download a manual camera app like Lightroom Mobile. It lets you set shutter speed, ISO, and focus point manually, and it shoots in RAW for better editing flexibility.
Post-Processing: Where Good Shots Become Great
Capturing the shot is only half the job. The other half happens on your screen. Every professional sports photographer edits their images, and your workflow does not need to be complicated to be effective.
Culling Your Images
A typical game produces 500 to 1,000 frames. Delivering all of them is not an option. Photo culling is the process of narrowing that pile down to the shots that actually matter.
First pass: reject anything out of focus or badly composed. Second pass: pick the peak-action and peak-emotion frames. Third pass: select only the images you would confidently show a client or post publicly. Most shooters end up with 30 to 50 keepers from a full game. That is normal.
Edits That Make the Biggest Impact
Start by straightening the horizon. Crooked horizons are one of the most common mistakes in sports photography, and they are instantly noticeable. Next, crop to tighten the composition and remove distracting elements at the edges.
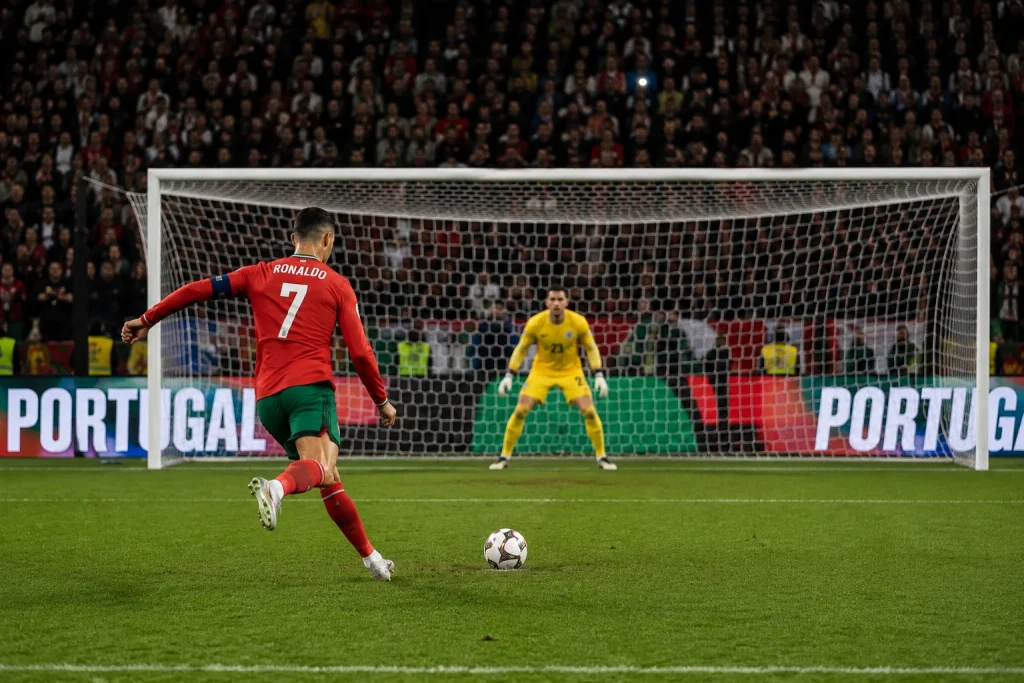
Adjust exposure and white balance, especially if you shot indoors under mixed lighting. Apply post-processing noise reduction on high-ISO images, then sharpen selectively on the athlete to make them pop against a softer background.
For high-volume work like league photography or tournament coverage, batch editing saves hours. Sync your exposure and white balance corrections across an entire series shot under the same conditions. Tools like Lightroom presets get you 80% of the way there. The remaining 20% is individual tweaks on your best frames.
If you are shooting multiple games per weekend or covering entire tournaments, the editing backlog piles up fast. That is where outsourcing to a professional editing team makes practical sense. You focus on shooting. They handle the repetitive corrections, noise reduction, and consistent delivery across hundreds of images.
Drowning in post-game edits? Try Offshore Clipping’s Color Correction Services for fast, consistent results on bulk sports photo orders.
Common Mistakes That Hold Beginners Back
After years of shooting and reviewing other photographers’ work, the same patterns show up again and again. Here are the mistakes that cost the most and the fixes that solve them.
Spray and pray without intent. Burst mode is powerful, but holding the shutter for 10 seconds straight while pointing vaguely at the field gives you hundreds of mediocre frames and no standouts. Be selective. Time your bursts to match the action peaks.
Ignoring the background. A great action shot is ruined by a trash can, a parking lot, or a porta-potty behind the athlete. Shift your angle, use a wider aperture, or wait for a play where the background is cleaner.
Chimping during live play. Checking every shot on your screen while the game continues is the fastest way to miss the next great moment. Review images during timeouts, halftime, or after the game. Not during play.
Never moving from one spot. If you plant yourself in one position for the entire game, every image has the same angle, the same background, and the same energy. Move along the sideline. Change levels. Your image variety will improve overnight.
Using on-camera flash from 50 feet away. Your built-in flash reaches maybe 10 to 15 feet. Firing it at a player 50 yards downfield does nothing except drain your battery and annoy the people sitting near you.
Etiquette and Access: The Rules Nobody Teaches
Your access to shoot is a privilege, not a right. Introduce yourself to coaches and event organizers before the game. If an official asks you to move, move without argument. You can discuss positioning after the game, not during it.
At youth and school events, put your camera down during injuries. A kid on the ground in pain does not need a lens pointed at them. Show the same respect you would want if it were your child.
Start small. Local leagues, community tournaments, and school events are the best training ground. You build your skills, your portfolio, and your reputation at the same time. Once coaches and athletic directors know and trust you, better access follows naturally.
Frequently Asked Questions
What shutter speed is best for sports photography?
Use 1/1000s as your baseline for most sports. Increase to 1/2000s or faster for high-speed action like baseball swings or sprint finishes. Drop to 1/30 to 1/60s only for intentional panning shots.
Can I shoot sports with a kit lens?
You can, but a telephoto zoom in the 70-200mm or 100-400mm range gives you far more reach and background blur. Even a budget 55-200mm f/4-5.6 is a meaningful upgrade over most kit lenses.
What is the best camera mode for sports?
Manual or Shutter Priority mode, paired with continuous autofocus and burst shooting. Manual gives you full control. Shutter Priority ensures your shutter speed stays fast while the camera handles aperture.
How do I take good sports photos indoors?
Open your aperture to f/2.8, push ISO to 1600 to 3200, and aim for a shutter speed of at least 1/500s. Shoot in RAW for easier white balance correction in post-processing.
Do professional sports photographers edit their photos?
Every single one. Post-processing is a standard part of the workflow. Professionals cull, crop, correct exposure and color, reduce noise, and sharpen images before delivery. Editing is not cheating. It is finishing the job.
Final Thought
The best tips for sports photography all point in the same direction: get out and shoot. Read about settings, study positioning, learn the sport you are covering. But nothing replaces the experience of standing on a sideline, tracking a play through your viewfinder, and pressing the shutter at the right moment. Every game you shoot makes the next one easier. The technical skills become instinct. The creative eye sharpens. And the images start telling stories that matter.