In this tutorial, we will be describing how to change background color from the existing image color to another one. You can do this using the selection technique or clipping path technique. Here we will explain about selection technique of photoshop to change the background color.
Why would you want to do so? One reason is if you have photos of your product and you want to change the color of the background to white for e-commerce sites so that a potential customer is not distracted by the background.
For better understanding read the following step by step guide:
What you’ll learn in this article
How to Change Background Color in Photoshop
But first, we need a photo to work with. Here is a photo with a simple background we can use.

This image has high contrast which will make it easier to remove the background from an image.
The Quick Selection Tool selects an object in your image by interpreting and selecting along defined edges visible in your image.
One advantage that the Quick Selection tool has over the Magic Wand tool is that it has edge detection built-in. That helps when you are trying to select certain areas of the photo.
The Quick Selection tool is a quick and easy way to select and mask certain portions of an image, giving you the ability to alter one part of your photo while leaving other parts intact.
The tool is a “go-to” tool when you want to display a product in various settings by showing it against different backgrounds, or when you want to remove a background altogether which is the goal here.
Step 1: Create a new layer
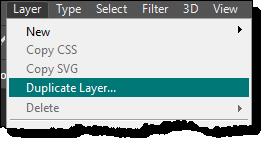
First, create a new layer by clicking Layer>Duplicate layer.
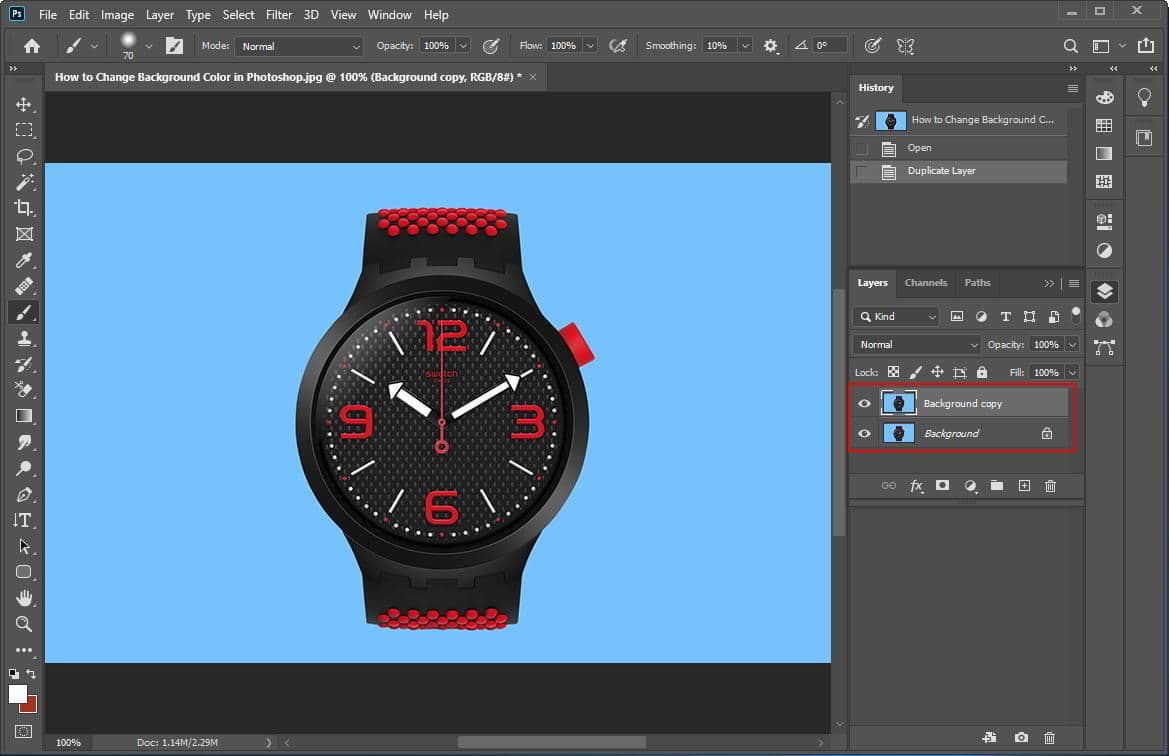
Notice the Layer panel in the lower right-hand corner.
Step 2: Turn off original background
Turn off viewing the original background and make sure the new layer is selected.
Step 3: Select quick selection too
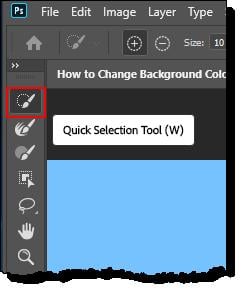
Select the Quick Selection tool and click on the Select and Mask button on the top Photoshop toolbar.

The Select and Mask window displays.
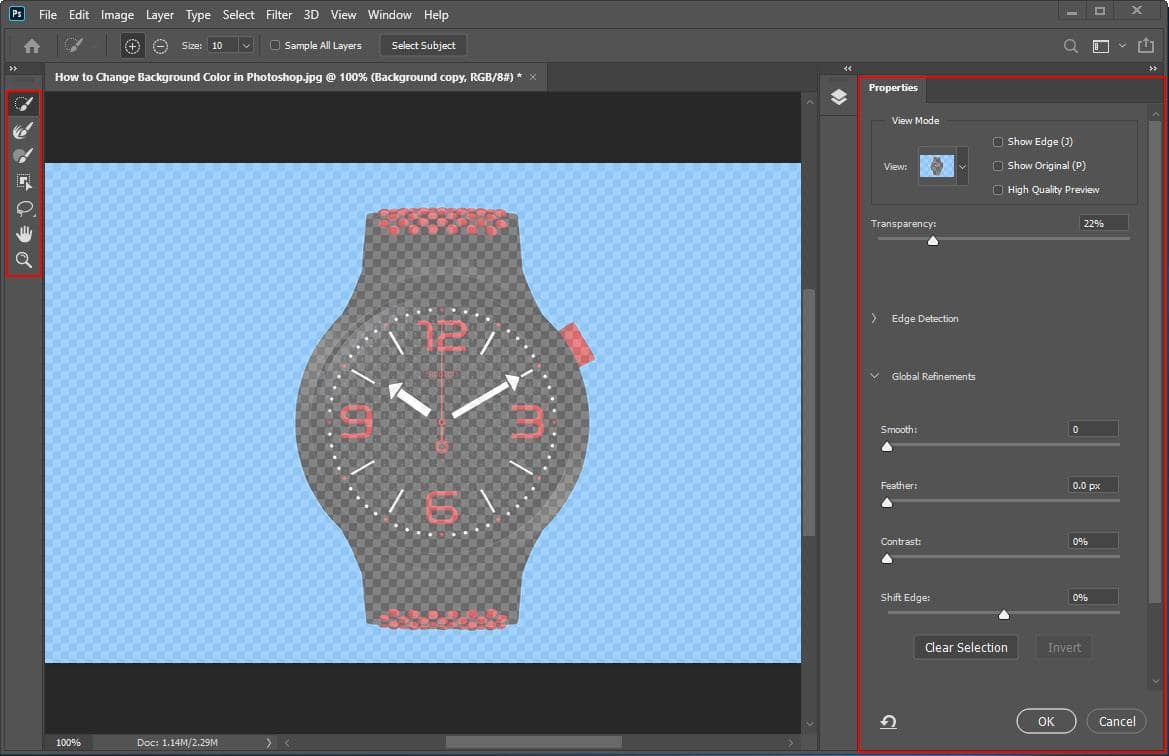
Notice how the left toolbar changes to mask-specific tools. We will identify the tools as we continue through the tutorial.
The right-hand panel changes to the Properties panel.
Step 4: Use the brush tool
Make sure the Quick Selection tool is selected in the left toolbar. Start brushing over the subject that you want to keep, in this case, the watch.
The Quick Selection tool gives a pretty good result. But some parts of the watch are not yet selected, as the “1” in the “12”, parts of the number “9”, and the watch stem.
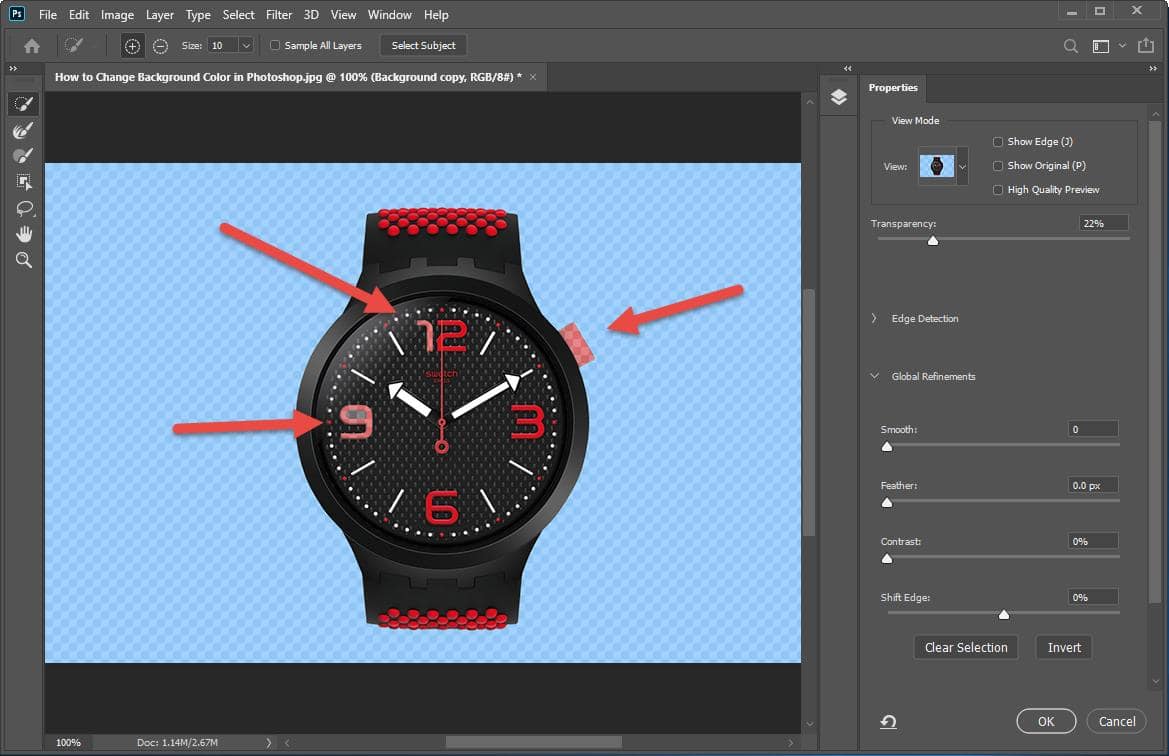
Step 5: Select remaining unselected areas
Continue to use the Quick Selection tool to select any remaining unselected areas.
Note the View Mode drop-down list in the right-hand panel.
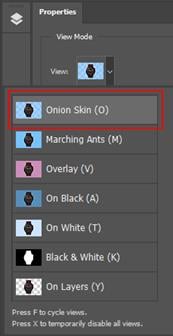
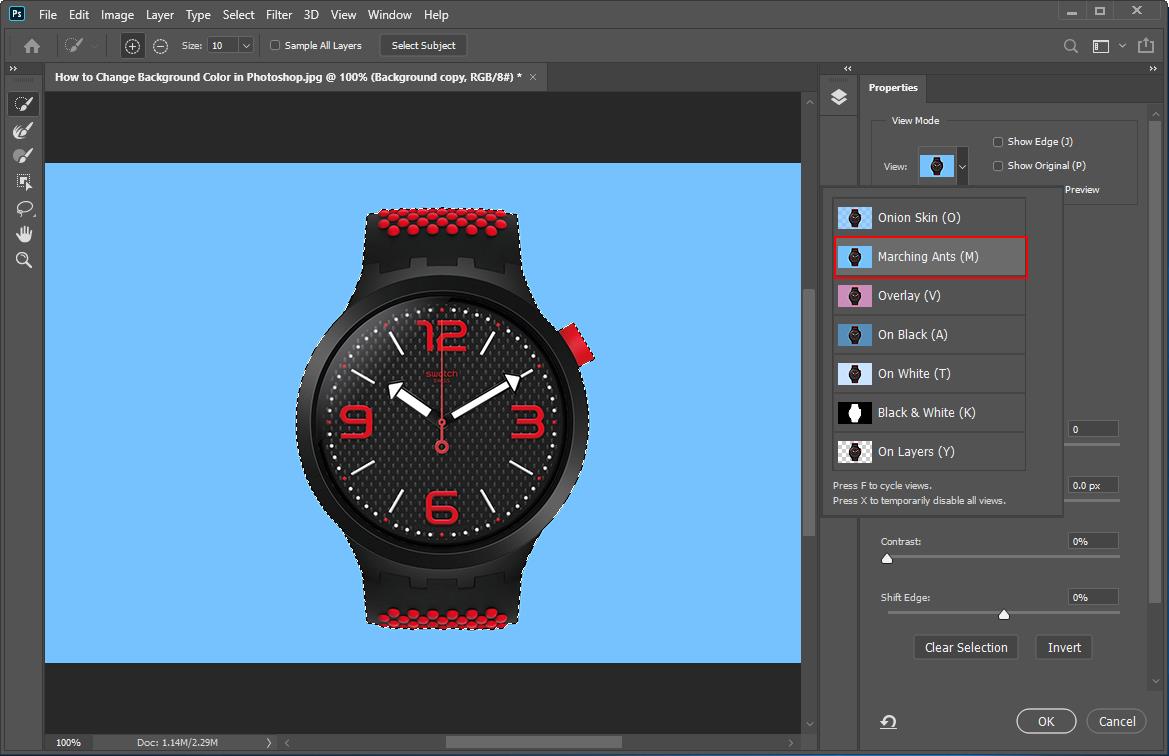
You can try other view modes to give you a different perspective on what has been selected. For instance, here is the Marching Ants option which will look familiar to you I am sure.
The Overlay view mode masks the unselected area of the image, in this case, the background. This is but another way that Photoshop enables you to see what is selected and what is not selected.
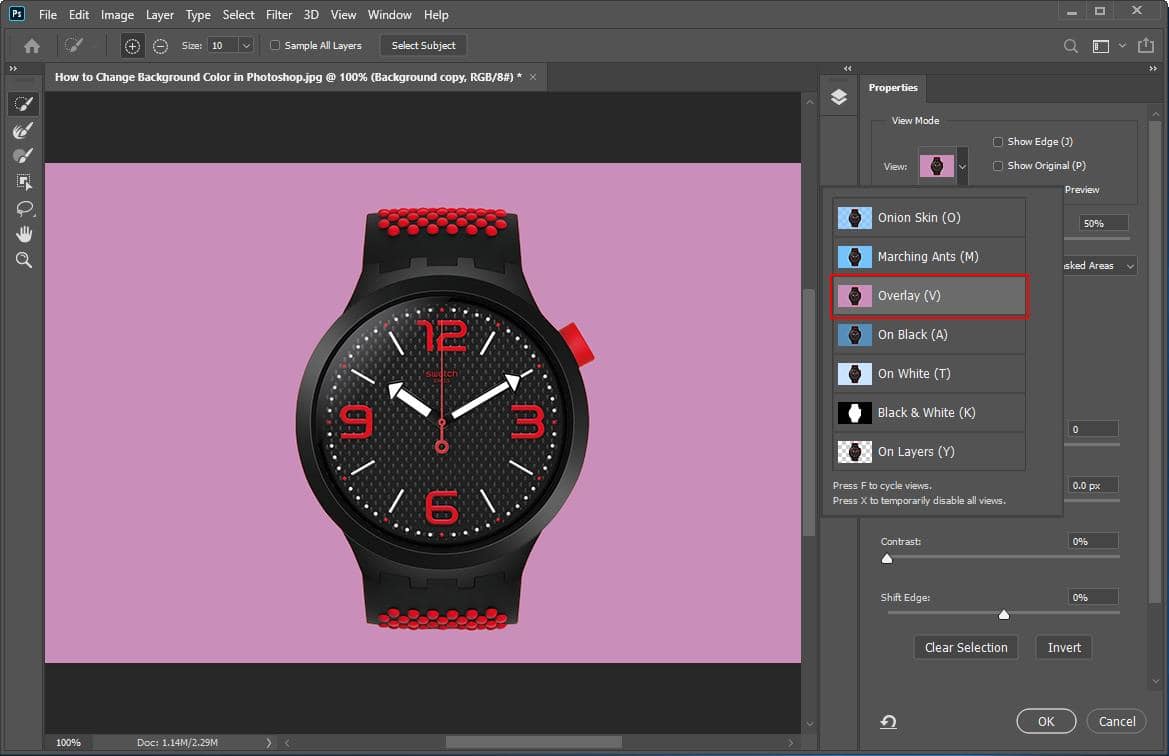
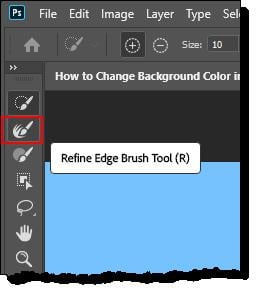
Again, this is an image with a high amount of contrast so it is not hard to select the entire subject quickly and easily. If you had a less-contrasted image you might wish to select the Refine Edge Brush tool and brush over those areas needing to be selected.
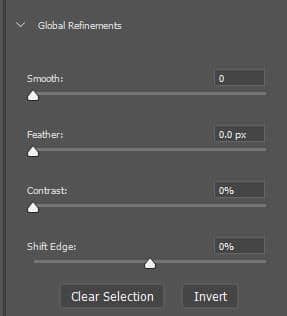
You can further enhance your selection using the Global Refinements section in the Properties panel. Here you can adjust the sliders to smooth, feather, contrast, or shift the edge.
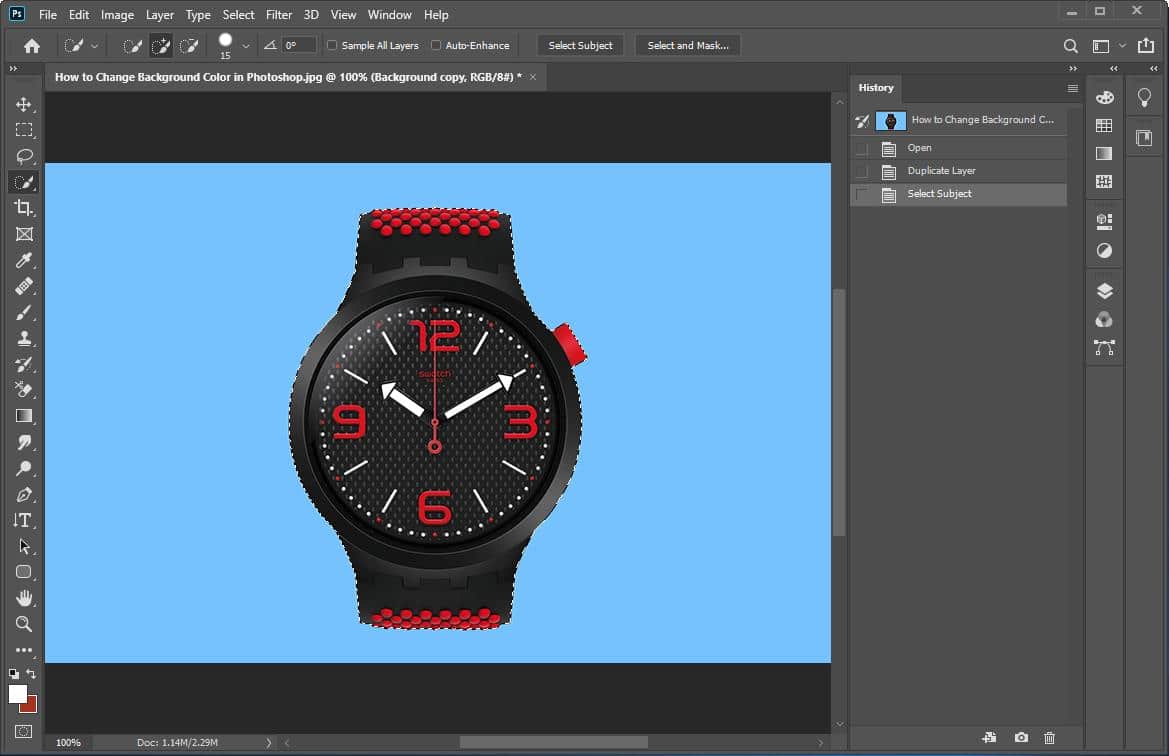
Yet another way to select the subject is by selecting the Quick Selection tool as before but this time, select the Select Subject button on the top toolbar.

This will give you instant good results if the image is of high contrast.
And if that were not enough to choose from, the November 2019 version of Adobe Photoshop has a new tool, named the Object Selection tool.
How to Make a Background White in Photoshop
This tool makes it easy to select a single object or part of an object in an image—for example, people, cars, furniture, pets, clothes, and more.
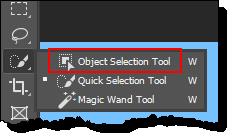
You simply draw a rectangular region or a lasso around the object; the Object Selection tool automatically selects the object inside the defined region.
The tool works better on well-defined objects than on regions without contrast.
Step 1: Select the subject
Draw a rectangle around the subject.
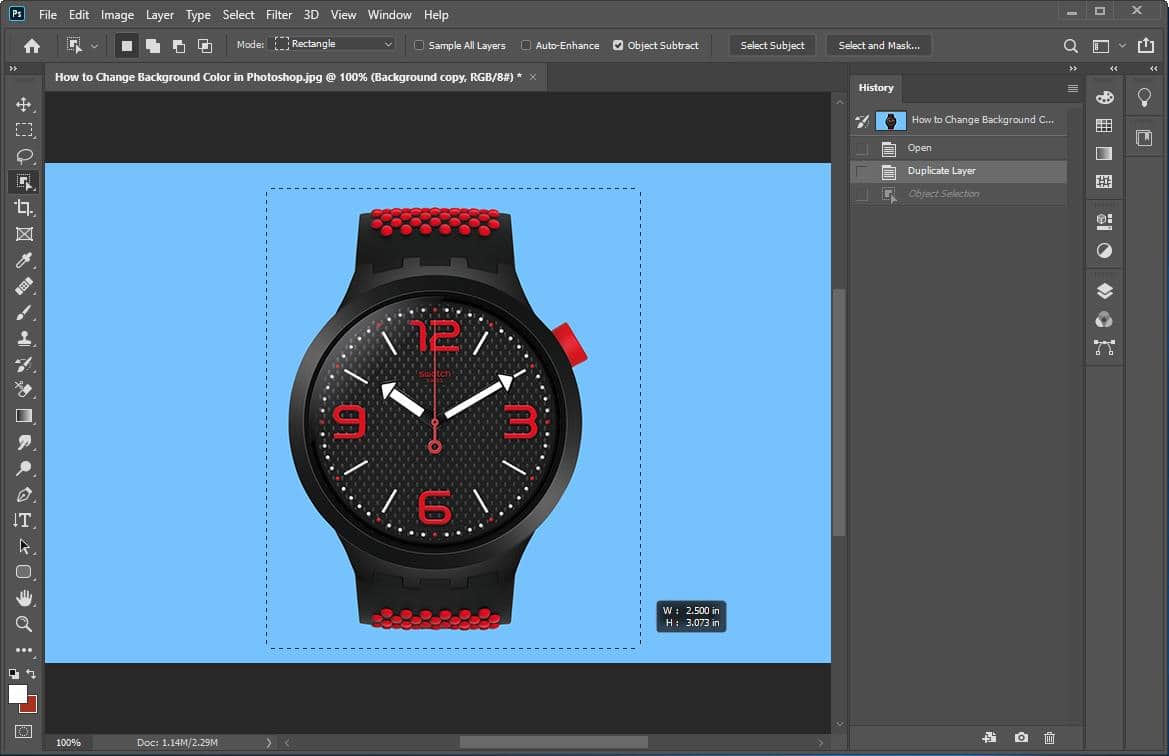
The Object Selection tool does an excellent job of selecting the subject.
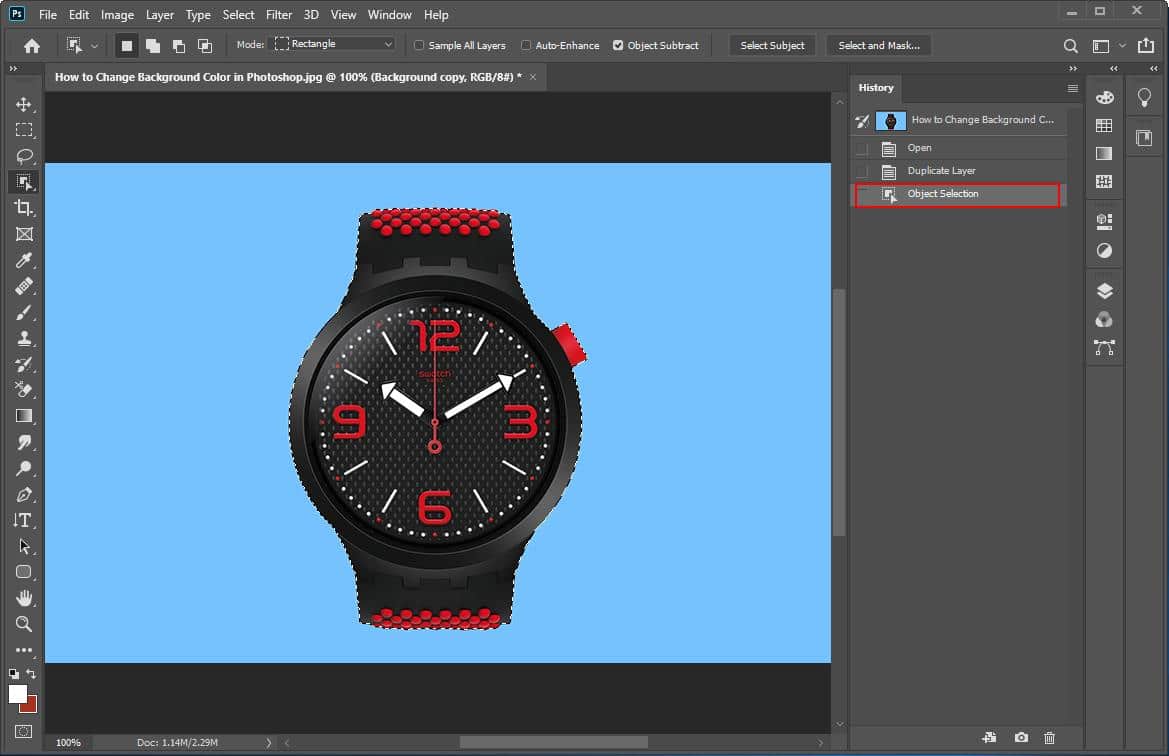
So now we have the subject of the image selected and we are satisfied with the result. The next step is to change the background to white.
Step 2: Invert the selection
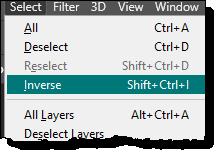
Since the subject is selected, we need to invert the selection so that the background is selected.
From the Select menu, click the Inverse menu option.
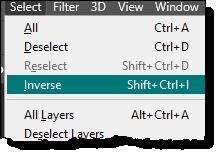
Now the background is selected as you can see by the running ants running around the image border.
Step 4: Press delete key
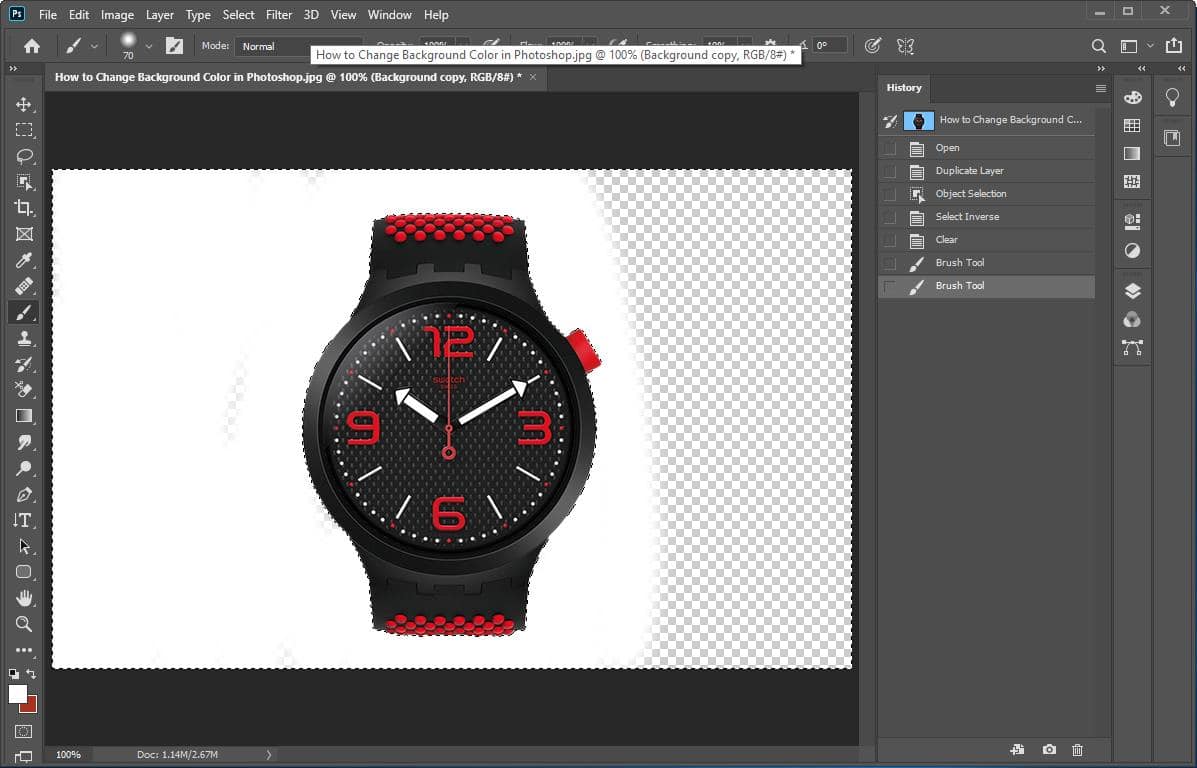
Press the Delete key and the background is now removed (note the checkerboard pattern that shows the background is gone).
Step 5: Open color picker
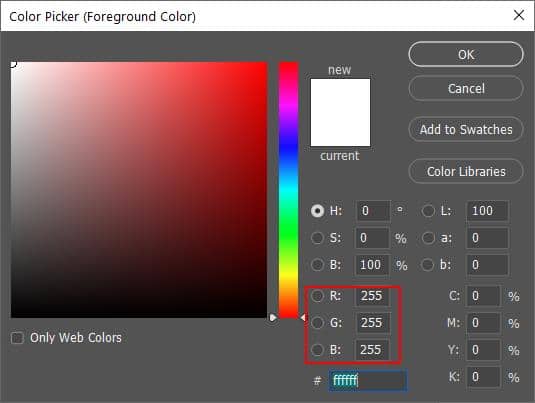
Click on the Foreground color in the left-hand toolbar.
Step 6: Select color
Select white as the foreground color. The RGB values for white are 255,255,255.
Step 7: Select brush
Select a large brush and make sure the Foreground color is white.
Step 8: Start brushing
Start brushing over the image to change the background to white.
Step 9: Click deselect
From the Select menu, click the Deselect menu option when finished.
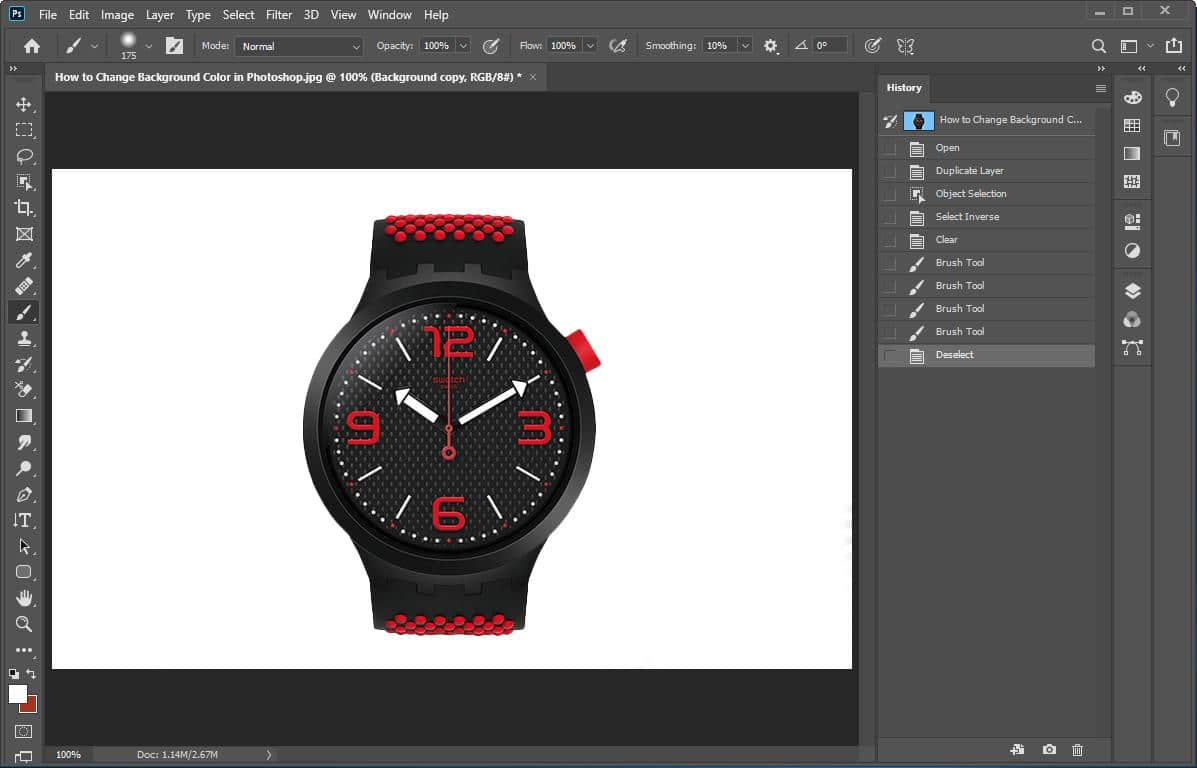
Here you see the image now with a white background.
There is never anyone way to complete a task in Photoshop. It all depends on what you want to accomplish and how you want to accomplish it. You will get more at Adobe Photoshop Elements.
Also, You May Like to Read:
